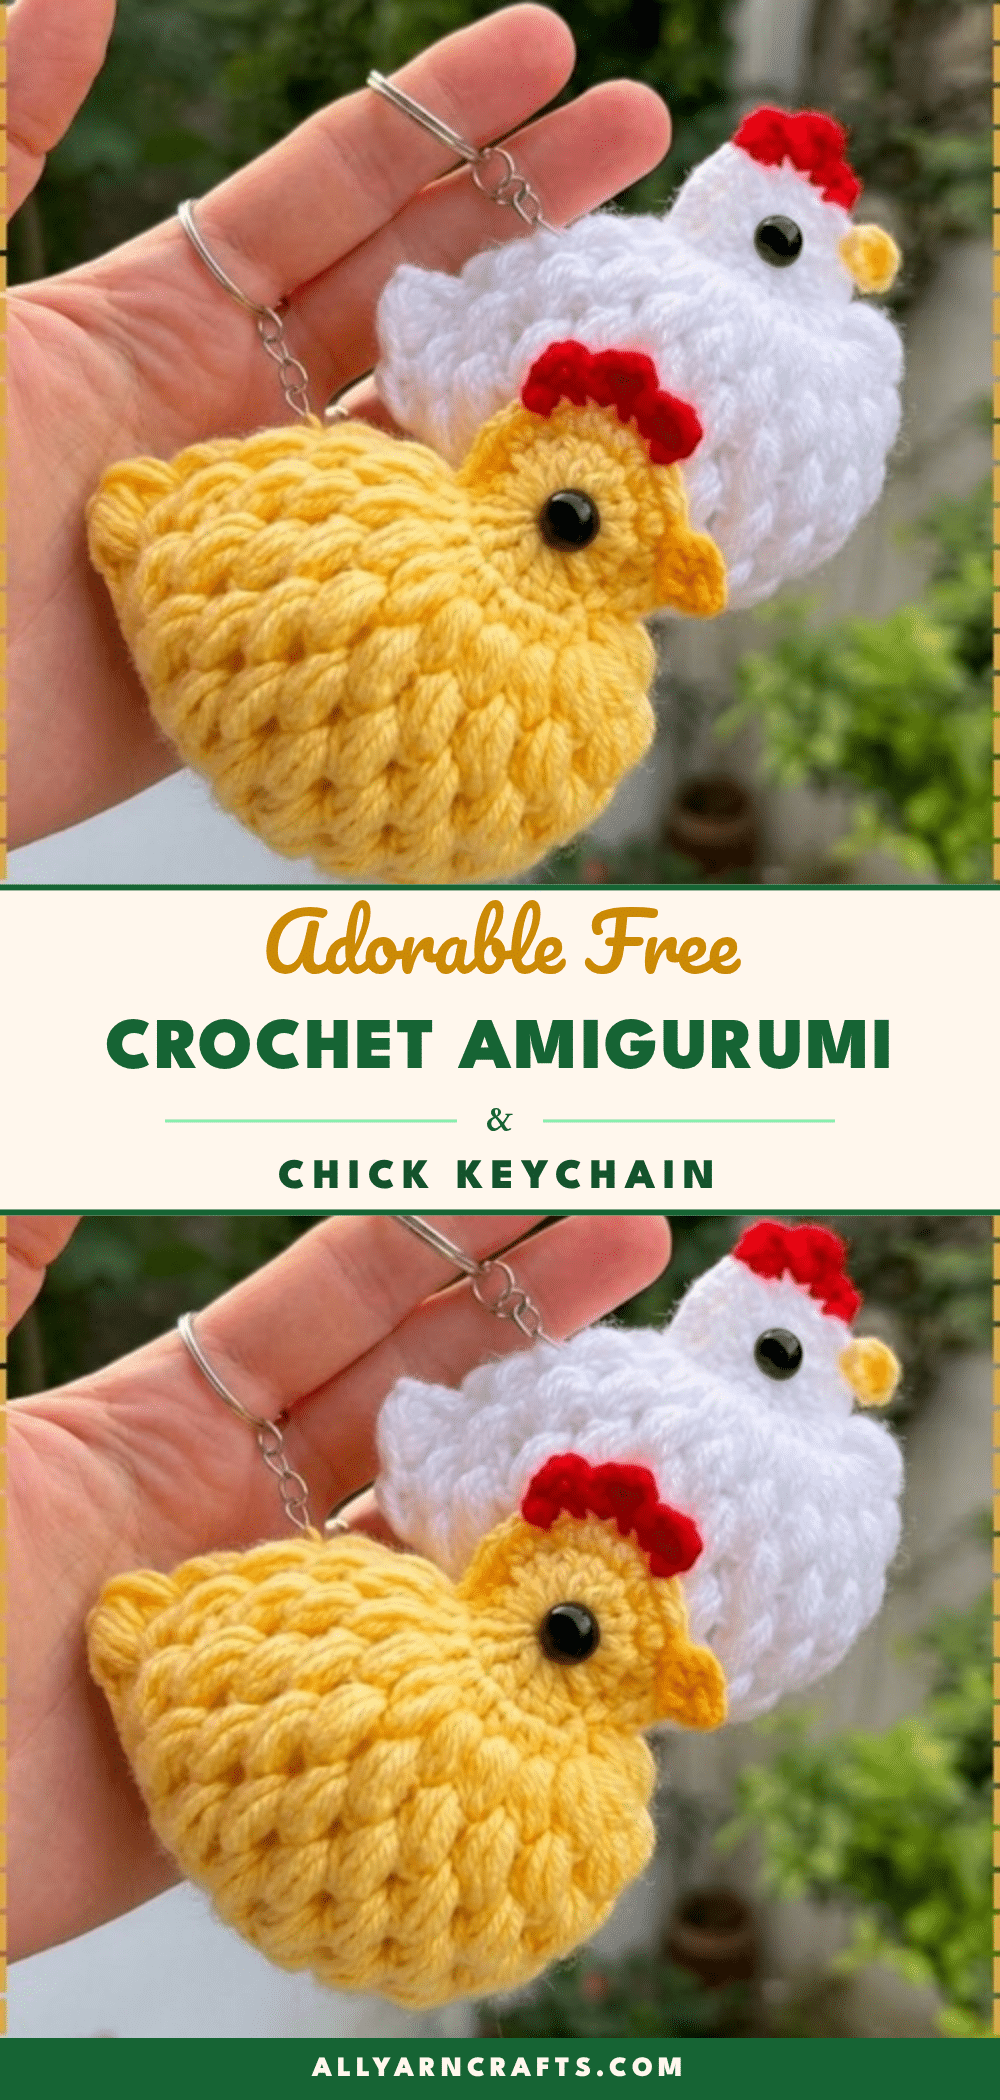
There is something undeniably satisfying about holding a finished amigurumi chick that is perfectly round, squishy, and ready to clip onto a bag. This mini yellow baby chick plush is the kind of project that delivers an instant mood boost. It is tidy, display-worthy, and small enough to make in an afternoon, yet the textured puff stitches give it a professional, feathered look that belies its beginner-friendly difficulty.
Why the Finished Piece Stands Out
What makes this chick keychain truly special is the clever use of puff stitches to create a bumpy, feathered surface without the need for sewing on separate wing or feather pieces. The result is a rounded teardrop shape with the head sitting flush against the body, creating a seamless and adorable silhouette. While the classic yellow and red colorway is instantly recognizable for Easter, the simple construction allows for endless customization. You can swap the yellow for a soft lavender or mint for a pastel spring vibe, or use golden mustard yarn for an autumn harvest decoration. The texture holds up beautifully whether it is hanging from a backpack zipper or sitting in a spring basket, making it a versatile addition to any maker’s collection.
Project Overview
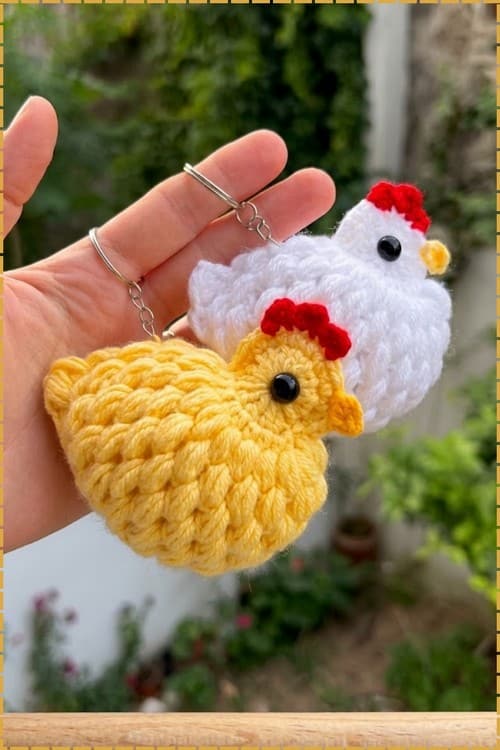
This amigurumi project is designed for beginners and focuses on shaping and stuffing techniques rather than complex assembly. The chick is worked in continuous rounds, with the wings added via short rows and the facial details embroidered directly onto the body. The finished keychain is approximately 1.5 to 2 inches tall, making it a perfect size for a keyring accessory or a small gift.
Quick Facts
- Project Type: Amigurumi Keychain
- Difficulty: Beginner
- Finished Size: Approximately 1.5 to 2 inches tall (estimated at 2.5 mm hook, fine yarn)
- Working Time: Approximately 45 minutes to 1.5 hours
- Piece Count: Body x1, Wings x2
Materials and Tools
- Yellow yarn for the body and wings
- Red yarn for the comb and wattle
- Orange yarn for the beak
- 2.5 mm or 3.0 mm crochet hook
- Fiberfill stuffing
- 5 mm safety eyes or black beads
- Keychain ring
- Yarn needle
- Scissors
- Stitch marker
Abbreviations
- Ch: chain
- SC: single crochet
- HDC: half double crochet
- DC: double crochet
- Inc: increase, work 2 SC into the same stitch
- Dec: decrease, SC two stitches together
Pattern Notes
Safety Eye Timing: The pattern lists safety eye insertion after round 10 in the construction order, but places the eye note between rounds 9 and 10 in the written rounds. The correct timing is between rounds 7 and 8, as explicitly stated in the eye placement instruction. Insert safety eyes at that point, before any decrease rounds begin, while the body is still open enough to secure the washers from inside. The post follows that order. If you are using bead eyes sewn after stuffing instead, the timing does not matter.
Pattern Instructions
Body (Yellow)
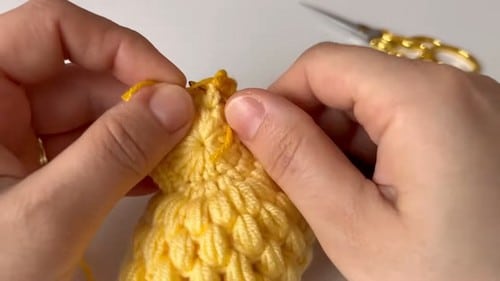
Round 1: Magic ring, 6 SC [6]
Round 2: Inc in every stitch around [12]
Round 3: 1 SC, inc, repeat around [18]
Round 4: 2 SC, inc, repeat around [24]
Checkpoint: The piece should be a flat disc at this point, lying without curling. If it is already cupping upward, your tension is too tight.
Round 5: SC in each stitch around [24]
Round 6: SC in each stitch around [24]
Round 7: SC in each stitch around [24]
Checkpoint: The disc is now becoming a shallow bowl. The sides should be just starting to rise. Insert safety eyes between rounds 7 and 8, spacing them 4 to 5 stitches apart. Secure the washers firmly from inside before continuing. For a toy going to a child under three, skip the safety eyes and embroider the eyes with black yarn once the body is fully assembled.
Round 8: SC in each stitch around [24]
Round 9: SC in each stitch around [24]
Checkpoint: The body should now look like a small round pouch. Stuff lightly at this point so the shape holds as you work the decrease rounds.
Round 10: 2 SC, dec, repeat around [18]
Stuff the body firmly with fiberfill before the opening narrows further.
Round 11: 1 SC, dec, repeat around [12]
Round 12: Dec in every stitch around [6], fasten off and close the opening
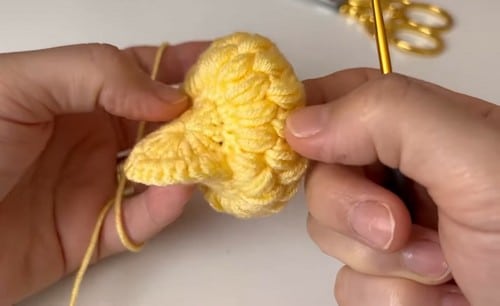
Wings (Make 2, Yellow)
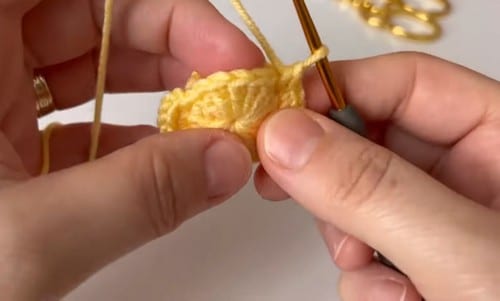
Chain 4
Work 1 SC into the second chain from the hook
Work 1 HDC into the next chain
Work 3 DC into the last chain
Checkpoint: The tip of the wing should fan out slightly at the DC end. If all three stitches look the same height, check that you are working DC and not SC.
Continue along the opposite side of the foundation chain: 1 HDC, then 1 SC
Fasten off leaving a tail for sewing
Facial Details
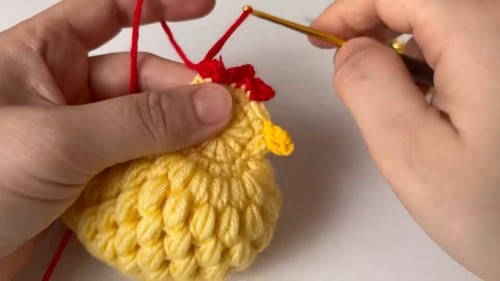
- Beak: Using orange yarn, embroider a small V shape centred between and just below the eyes.
- Comb: Join red yarn at the top of the head, then in each of three consecutive stitches work 1 SC, chain 2, 1 SC to form three raised bumps, fasten off.
- Wattle: Using red yarn, sew two small vertical stitches below the beak.
Stuffing Guide
Use small pinches of fiberfill rather than pulling a large chunk from the bag. This is the single biggest factor in whether the finished sphere looks smooth or lumpy. Begin stuffing lightly after round 9, before the decrease rounds close off access. Stuff firmly before round 11, aiming for a sphere that holds its shape under gentle pressure. Avoid packing the top section too tightly; the decrease rounds at the crown need to lie flat, and overstuffing there pushes them outward. If the body looks lumpy after closing, gently roll it between your palms to redistribute.
Assembly
Attach the wings before the comb and wattle so you can use the eye line as a reference point for height. Pin each wing to the side of the body slightly below the eye line and check from the front before sewing. They should mirror each other exactly. Sew through the body and wing with multiple passes to hold them flat against the body. Add the beak after the wings are set, centred between the eyes. Work the comb at the very top of the head last, since it will be next to the keychain ring and that area gets handled most. Check the comb and ring attachment by tugging the ring a few times before declaring the toy finished.
Attach the keychain ring at the top of the head, near the comb, by looping yarn through several strong stitches and through the ring multiple times before pulling tight and weaving in the tail. Weave in all remaining ends.
Top Three Tips
- Define the Comb: The comb bumps look most defined when you pull the chain-2 loops upright after fastening off, before the yarn settles. Do it while the piece is still in your hand.
- Eye Spacing: Eye spacing matters more than eye size at this scale. Four stitches apart reads as alert and round-faced. Five stitches apart reads as slightly surprised. Neither is wrong.
- Hook Size Impact: At 2.5 mm, even one hook size up makes a visible difference in the finished height of the body. If you want a taller chick, go to 3.0 mm before adding rounds.
Toy Safety
Safety eyes are not appropriate for children under three. Use embroidered black eyes instead and sew them through the stuffed body with a doubled thread and a knot buried inside. Keychain rings have small parts. This toy is designed as an accessory for older children and adults, not as a toy for toddlers. Weave in all ends with at least two changes of direction in the yarn path so they cannot pull free.
Frequently Asked Questions
Can I skip the safety eyes and embroider instead?
Completely fine, and for young children it is the better choice. Sew the eyes after stuffing and closing the body using a long needle that exits through the back of the head so you can bury the knot securely inside.
Why is my chick cupping upward in Round 4?
If the flat disc is curling up instead of lying flat, your tension is likely too tight. Try using a slightly larger hook or relaxing your grip on the yarn to ensure the piece lies flat.
How do I make the wings lie flat?
Pin the wings to the body slightly below the eye line and check the alignment from the front before sewing. Sew through the body and wing with multiple passes to secure them flat against the sides.
Can I use a different yarn weight?
Yes, but the finished size will change. Using a thicker yarn and a larger hook will result in a taller chick, while finer yarn will make it smaller. Adjust the hook size to maintain gauge if you want to keep the dimensions consistent.
Is this pattern suitable for absolute beginners?
Yes, the difficulty is listed as beginner. The shaping is straightforward with simple increases and decreases, and the assembly is minimal compared to larger amigurumi projects like the Courage amigurumi or the crochet bunny.
Pin This Crochet Pattern!