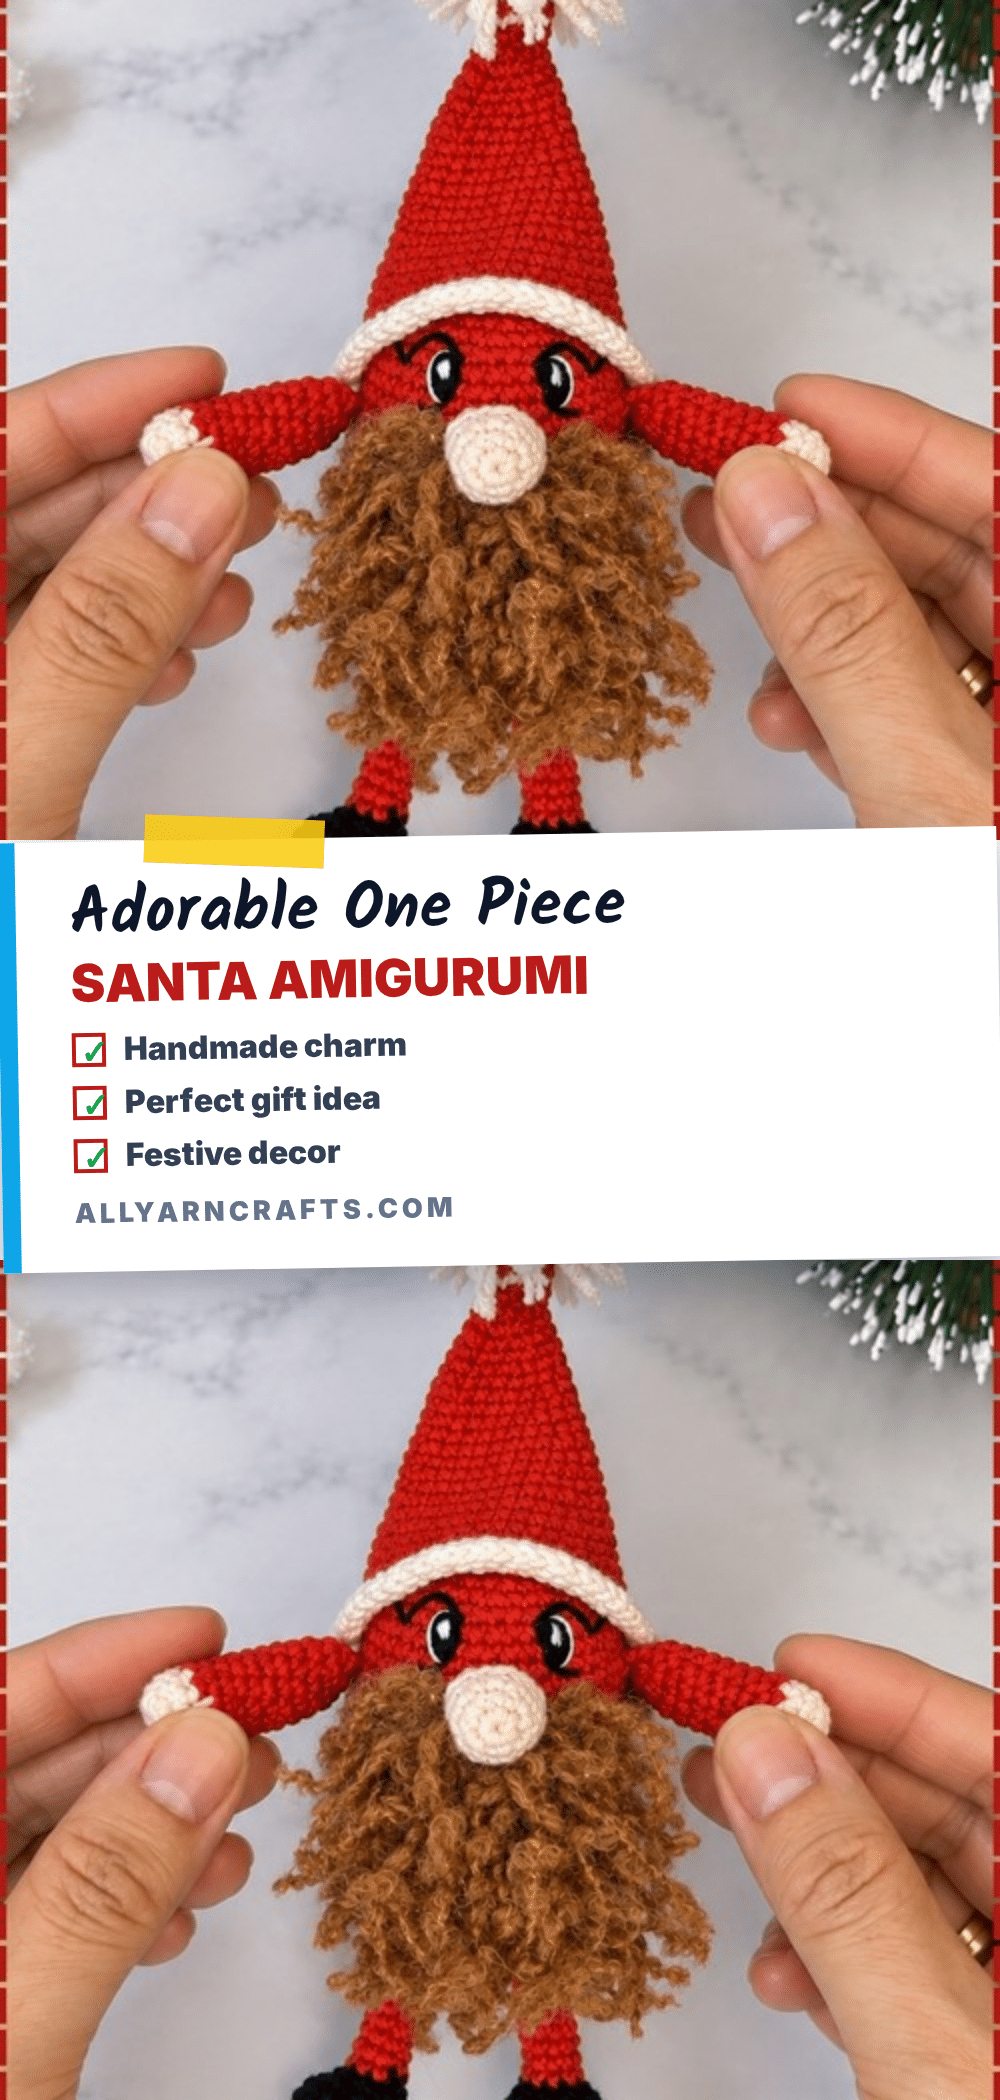
Yarn is on the table, hook is in hand, and the first loop of the magic ring is tightening. There is a specific kind of magic in watching a simple circle of stitches begin to take shape, especially when you know it is going to become a character with a personality. This one piece Santa amigurumi pattern is perfect for that moment. It is a continuous figure that builds from the top down, requiring no sewing of complex seams, just steady rounds and a few clever colour changes. It is the kind of project that feels manageable even on a busy day, yet results in a festive figure that looks like it has been waiting on your shelf all season.
Why This Project Works
What makes this Santa figure stand out is its simplicity and the way the design relies on placement rather than complex shaping. Because the body is a straight cylinder, the character comes entirely from the face and the iconic colour blocking. The black band acts as a visual anchor, separating the face from the red suit, while the beard carries the entire mood of the piece. It is forgiving for makers who prefer fewer pieces to assemble, as the arms and nose are small, flat additions that attach easily. The design also allows for a wide range of sizes depending on your yarn choice, letting you decide if you want a tiny desk ornament or a sturdy tree topper.
Project Overview
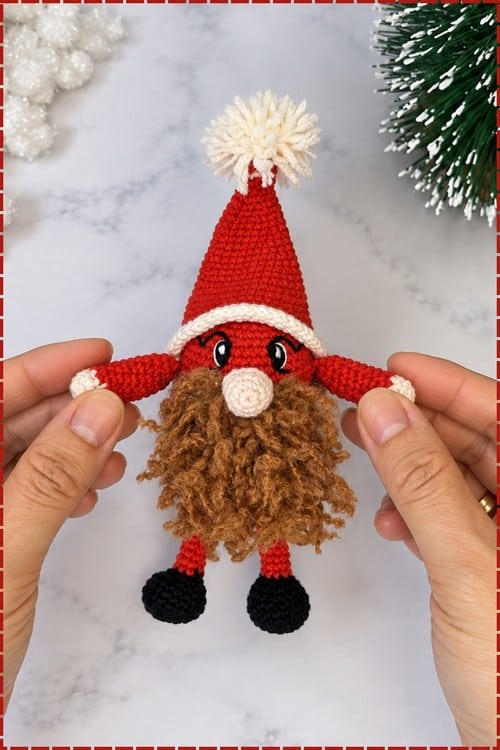
This pattern creates a one-piece Santa amigurumi figure. The head and body are worked in continuous rounds from the top of the head down to the base, eliminating the need to join or turn. The figure is finished with embroidered eyes, a small nose, and a textured beard. It is friendly for anyone who has made a few toys and is looking for a project that is quick to stitch but high on character.
Materials
- Yarn: Quantities are approximate as the pattern accommodates a wide range of hook sizes. You will need:
- Cotton yarn (colour not named in source, typically a skin tone for the face/head).
- Black yarn for the band at rounds 14 and 15.
- Red yarn for the suit (rounds 16 to 21).
- White yarn for the eyes and the beard.
- Crochet Hook: 1 mm for thread weight, or 2.5 mm to 3 mm if using thicker yarn.
- Stuffing: Standard amigurumi stuffing.
- Tools: Sewing needle, stitch markers, and pins.
Gauge and Finished Size
The finished height depends entirely on which end of the hook range you choose. The pattern does not provide a fixed gauge, so your measurements will vary:
- Thread with a 1 mm hook: Around 4 to 5 cm tall.
- 4 ply with a 2 mm hook: Around 8 to 9 cm tall.
- Light DK with a 2.5 mm to 3 mm hook: Around 10 to 12 cm tall.
Abbreviations
- SC: Single crochet
- INC: Increase, two single crochet in one stitch
- DEC: Decrease, invisible decrease recommended
- BLO: Back loop only
Note: Stitch counts appear in brackets [ ].
Pattern Notes
- Continuous Rounds: Work in a spiral. There are no joins or turning chains. Mark the first stitch of every round. The source labels these as rows, but they are rounds.
- Invisible Decrease: Recommended to keep the surface smooth. Work through the front loops only of the next two stitches, then finish the stitch as normal.
- Back Loop Only: Working BLO leaves a visible ridge. Round 8 uses this to mark where the head ends.
- Tension: Keep stitches tight. On the long stretch at 42 stitches, loose fabric will show stuffing through easily.
- Colour Changes: The design relies on precise colour placement. Rounds 14 and 15 are black, and rounds 16 to 21 are red. Miscounting the identical rounds 9 to 13 will throw these changes off.
Pattern Instructions
Head and Body, One Piece
Worked in continuous rounds. Shape checkpoints sit at the end of the round they apply to.
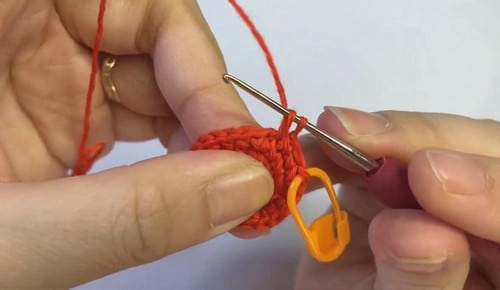
Round 1: Magic ring, 6 SC [6]
Round 2: 6 INC [12]
Round 3: 1 SC, 1 INC, repeat 6 times [18]
Round 4: 2 SC, 1 INC, repeat 6 times [24]
Checkpoint: A flat disc lying down on the table without cupping or ruffling. If the edge is waving, your increases are too loose.
Round 5: 3 SC, 1 INC, repeat 6 times, using an invisible increase in back loop only for the first stitch of each increase [30]
Checkpoint: This instruction is specific to this round. Work as written.
Round 6: 4 SC, 1 INC, repeat 6 times [36]
Round 7: 5 SC, 1 INC, repeat 6 times [42]
Checkpoint: A wide flat circle. This is the widest the figure ever gets.
Round 8: 42 SC in back loop only [42]
Checkpoint: A visible ridge should run around the piece. This marks the top of the head.
Round 9: 42 SC [42]
Round 10: 42 SC [42]
Round 11: 42 SC [42]
Round 12: 42 SC [42]
Round 13: 42 SC [42]
Checkpoint: Five identical rounds. Count carefully before switching colour. The piece should be a straight-sided cylinder.
Round 14: Change to black, 42 SC [42]
Round 15: 42 SC in black [42]
Checkpoint: A two-round black band. This sits at the join between the face and the suit.
Round 16: Change to red, 42 SC [42]
Round 17: 42 SC in red [42]
Round 18: 42 SC in red [42]
Round 19: 42 SC in red [42]
Round 20: 42 SC in red [42]
Round 21: 42 SC in red [42]
Checkpoint: Six rounds of red. Start stuffing now while the opening is still wide.
Round 22: 5 SC, 1 DEC, repeat 6 times [36]
Round 23: 4 SC, 1 DEC, repeat around [30]
Round 24: 3 SC, 1 DEC, repeat around [24]
Checkpoint: The base is pulling in. Keep adding stuffing.
Round 25: 2 SC, 1 DEC, repeat around, adding stuffing [18]
Round 26: 1 SC, 1 DEC, repeat around [12]
Continue decreasing until closed [6]. Fasten off and weave the tail through the front loops to close.
Arms, Make 2
Round 1: Magic ring, 6 SC [6]
Round 2: 1 SC, 1 INC, repeat 3 times [9]
Checkpoint: A tiny cup of 9 stitches. Fold the piece in half. Work 4 SC through both layers across the fold to close it properly, letting the odd stitch fold into one end. Fasten off leaving a tail for sewing.
Nose
Create a small round piece using a magic ring and single crochet. No specific stitch or round count is given. Stuff lightly. Sew to the centre of the face, positioned between the eyes and slightly lower.
Eyes
Embroider the eyes using white and black yarn. Place them slightly above the centre of the head, with equal spacing either side of where the nose will go. Mark positions with removable stitch markers first to ensure symmetry.
Beard
Attach the beard to the lower face area, directly under the nose. The beard should cover the lower half of the face and extend slightly to both sides. You can use strands of white yarn knotted on (using a fringe knot method) or a crocheted piece, depending on the style you prefer.
Assembly
- Body: Close and stuff the body first. Ensure stuffing is firm but not stretched, as there is no shaping to hold the form.
- Eyes: Embroider the eyes next, while the face is still clear.
- Nose: Sew the nose on, centred between the eyes.
- Beard: Attach the beard under the nose. Trim and shape once attached.
- Arms: Pin both arms to the sides of the body, slightly below the midpoint. Check they sit at the same height from the front. Sew each one across its full flattened edge so it cannot rotate.
Weave every end into the inside of the body.
Tips
- Stuffing: Start stuffing at round 21, not round 25. Add small pieces with the blunt end of your hook to avoid hard spots. Go easy near the closing rounds to prevent the base from bulging.
- Counting: The five identical rounds (9-13) are where most mistakes happen. Count round 13 twice before switching to black.
- Yarn Choice: Cotton is recommended because colour blocks stay crisp and the back loop ridge holds definition. Acrylic softens these details.
- Scaling: If you scale up past DK weight, consider adding a third round of black to keep the belt visible against the red suit.
FAQs
Does this pattern include a hat?
No, this pattern creates a one-piece figure with no hat. The red yarn is used for the suit (rounds 16-21). You will need to add a separate hat if desired.
How do I fix the arms if they won’t close?
The pattern yields 9 stitches, which is an odd number. To close the arm properly, fold it and work 4 SC through both layers across the fold, allowing the extra stitch to tuck into one end.
Can I use acrylic yarn?
You can, but cotton is recommended. Cotton keeps the colour blocks crisp and maintains the definition of the back loop ridge used to mark the head.
Why is my head ruffling?
If the disc is waving around rounds 5-7, your increases are likely too loose. Tighten your tension or drop a hook size to fix this.
How do I attach the beard?
The pattern does not specify a method. You can knot strands of white yarn onto the lower face using a fringe knot, or crochet a separate beard piece and sew it on.
If you enjoy making festive figures, you might also like this easy crochet Santa ornament for a smaller holiday project, or check out this crochet snowman tutorial for more winter character ideas.
Pin This Crochet Pattern!