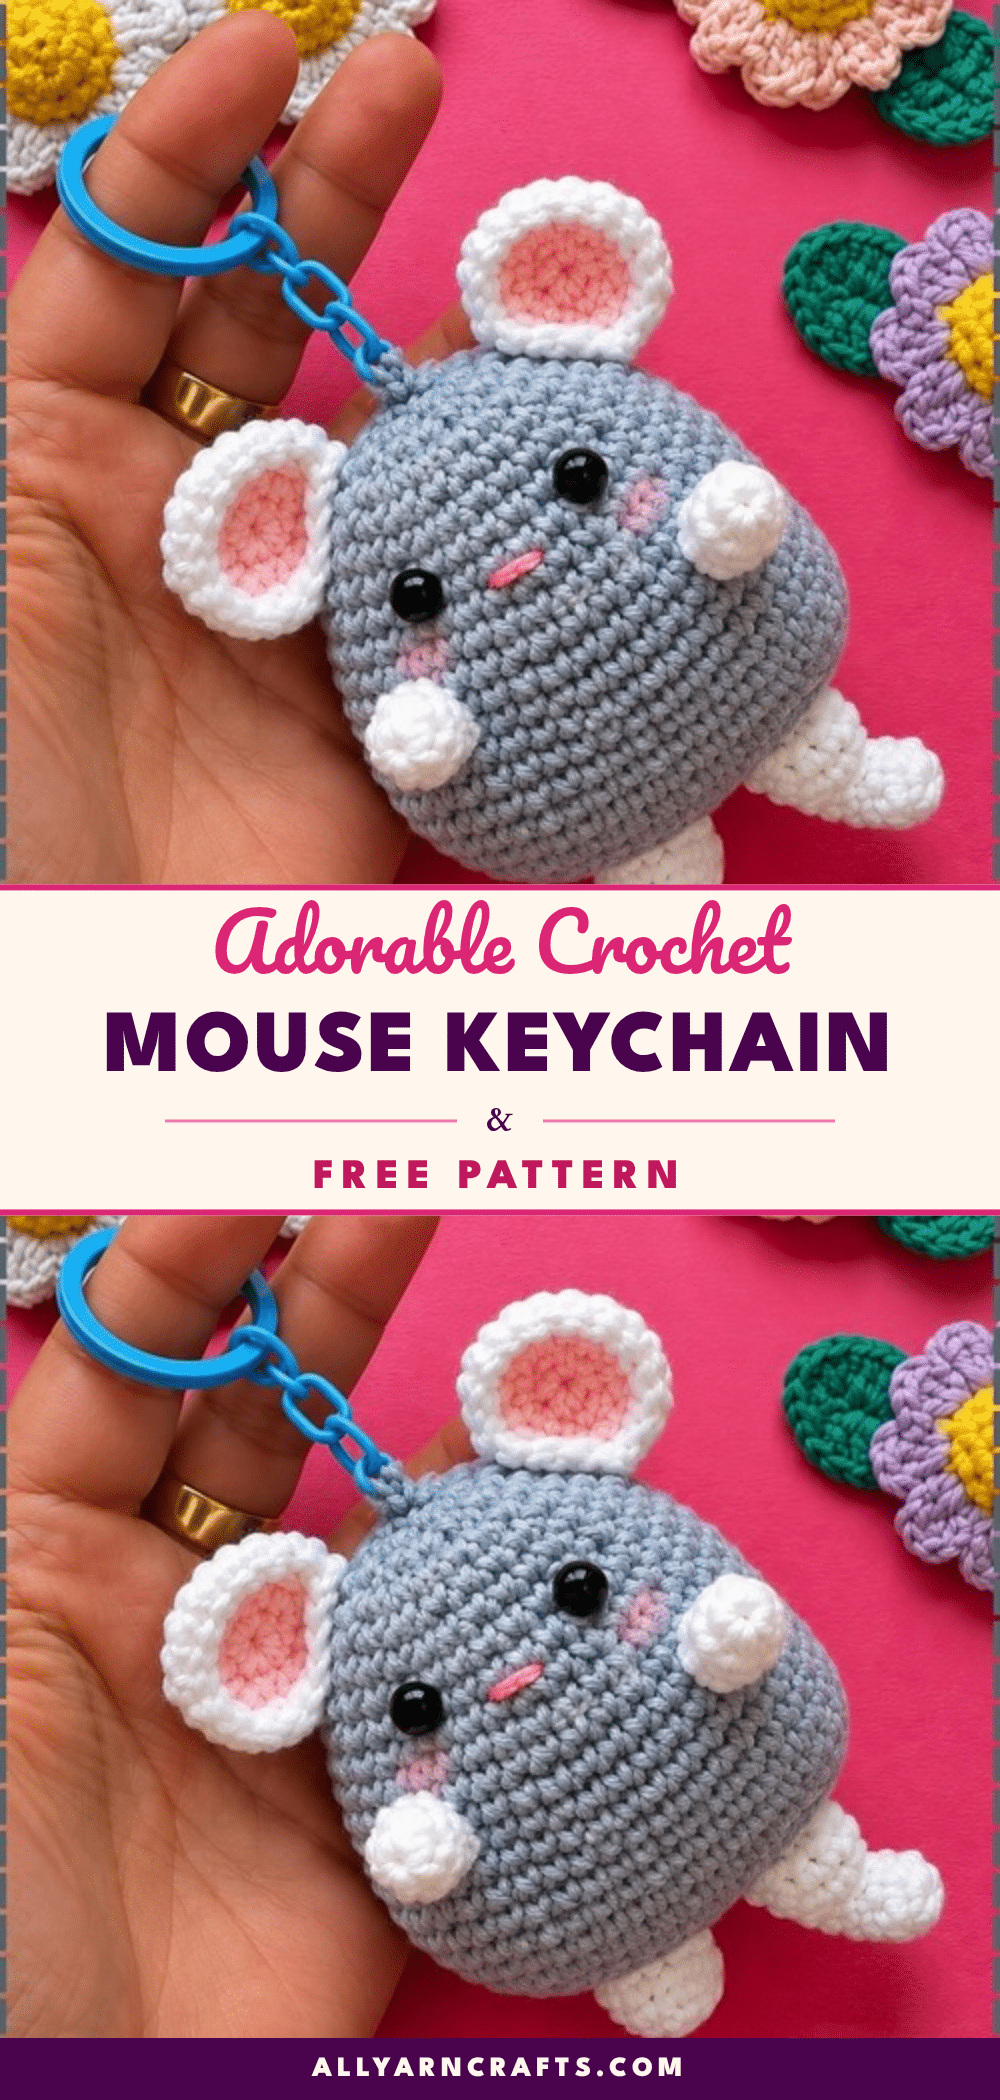
There is something undeniably charming about a chubby little amigurumi mouse that makes you want to squeeze it, hang it on your bag, or gift it to a friend. This adorable crochet mouse keychain is the perfect blend of cute and useful, transforming a simple keychain into a delightful accessory that adds personality to your daily carry. Whether you are hooking it up for your own car keys or making a batch for classroom rewards, the result is a tidy, display-worthy little character with a bit of attitude.
Why the Finished Piece Stands Out
What makes this mouse truly special is its “caught in the act” expression. The design features round ears rimmed in white that sit high on the head, giving the mouse a curious look. The body is a plump ball with no neck, allowing the tiny white paws to poke out at every angle, creating a busy, slightly guilty vibe that is full of character. The addition of small blush marks on the cheeks adds a touch of softness, while the wide-set bead eyes and stitched nose give it a distinct personality. It is a short, sweet build that reads as lively and endearing, making it a standout piece among other keychain patterns.
Project Overview
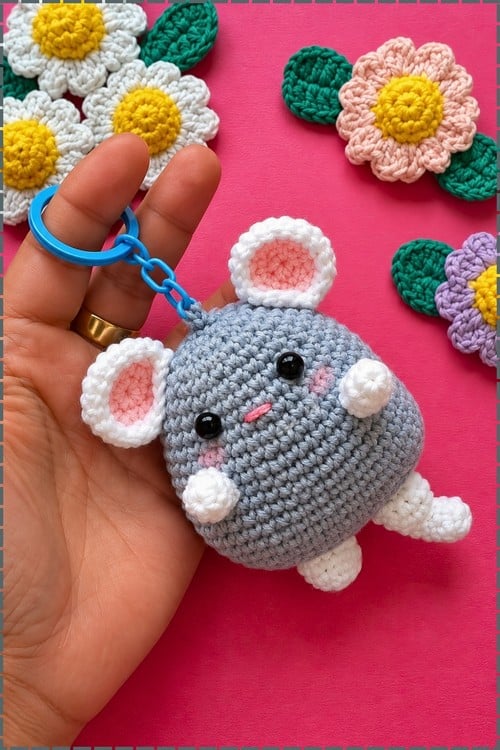
This amigurumi project creates a single-piece head and body that starts from a foundation chain rather than a magic ring. The mouse features distinct components including ears, arms, feet, and a tail, all assembled to create a balanced, sitting figure. The pattern is designed to be worked in continuous rounds, making it a straightforward project for crocheters who enjoy the flow of amigurumi construction.
Materials
- Cotton yarn in pink and white, or blue and white
- Small amount of fuchsia yarn for the nose
- 2.5 mm crochet hook
- 7 to 8 mm safety eyes
- Fiberfill stuffing
- Tapestry needle
- Stitch marker
- Keychain ring
- Scissors
- Small amount of blush or makeup for finishing
Gauge and Finished Size
Gauge and finished size measurements are not specified in the source pattern. The focus is on maintaining the correct stitch counts and shapes to ensure the mouse sits balanced and holds its form.
Abbreviations
- sc: single crochet
- inc: increase (2 sc in one stitch)
- dec: decrease (invisible decrease recommended)
Pattern Notes
This piece starts from a foundation chain, not a magic ring. Work in continuous rounds and use a stitch marker to keep track of the beginning of each round. For toys going to children under three: skip the safety eyes and embroider both eyes with black yarn in the same position between rounds 15 and 16, hiding tails inside before closing.
Pattern Instructions
Head and Body
Work in continuous rounds. Use a stitch marker. This piece starts from a foundation chain, not a magic ring.
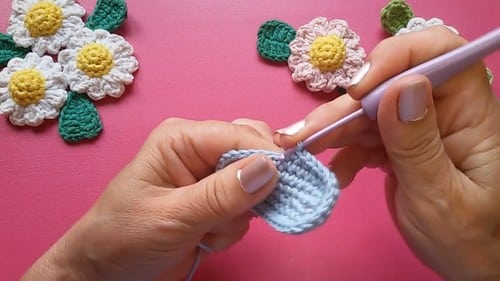
Round 1: Ch 12. Skip the first chain and work 9 sc. Work 3 sc in the last chain. Continue on the other side of the chain with 9 sc. Work 2 sc in the last stitch (24). Checkpoint: a flat oval, wider than it is tall — this is the base shape that will expand upward into the body.
Round 2: 1 inc, 9 sc, 3 inc, 9 sc, 2 inc (30)
Round 3: (1 sc, 1 inc) once, 10 sc, (1 inc, 1 sc) twice, 1 inc, 10 sc, 1 inc, 1 sc, 1 inc (36)
Round 4: 2 sc, 1 inc, 11 sc, (1 inc, 2 sc) twice, 1 inc, 11 sc, 1 inc, 2 sc, 1 inc (42). Checkpoint: a clear oval disc, still lying flat — the two short ends should be visibly rounder than the long sides.
Round 5: Sc in each stitch around (42)
Round 6: Sc in each stitch around (42)
Round 7: Sc in each stitch around (42)
Round 8: Sc in each stitch around (42)
Round 9: Sc in each stitch around (42). Checkpoint: by this round the oval should have curved up into a deep, rounded form — no longer flat, with the body volume clearly established.
Round 10: (12 sc, 1 dec) repeat around (39)
Round 11: Sc in each stitch around (39)
Round 12: (11 sc, 1 dec) repeat around (36)
Round 13: Sc in each stitch around (36)
Round 14: (10 sc, 1 dec) repeat around (33)
Round 15: Continue decreasing pattern gradually to shape the head.
Round 16: (9 sc, 1 dec) repeat around (30). Checkpoint: the top of the piece should be narrowing clearly now, pulling in toward the head shape — rounder at the bottom, tighter at the top.
Round 17: Sc in each stitch around (30). Insert safety eyes between rounds 15 and 16, about 5 to 6 stitches apart. Test alignment from the front before snapping the backs on. This must happen before the piece closes further. Embroider a small fuchsia nose centred below the eyes.
Round 18: (3 sc, 1 dec) repeat around (24). Begin stuffing lightly with fiberfill at this point.
Round 19: Sc in each stitch around (24)
Round 20: (2 sc, 1 dec) repeat around (18)
Round 21: (1 sc, 1 dec) repeat around (12)
Round 22: 6 dec (6). Checkpoint: a small closed puckered hole — the mouse should be fully rounded and lightly firm throughout. Fasten off and close the opening. Attach the keychain ring firmly at the top of the head.
Ears — Make 2
Round 1: MR, 6 sc (6)
Round 2: 6 inc (12). Checkpoint: a small flat circle.
Round 3: (1 sc, 1 inc) repeat around (18). Checkpoint: a flat disc about the size of a large button — should lie completely flat with no cupping.
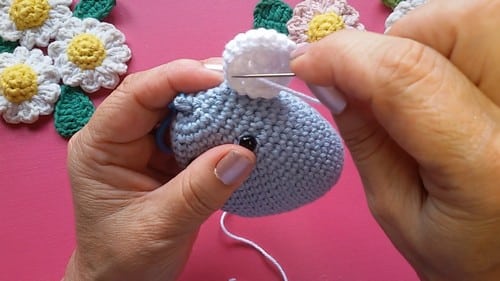
Round 4: Sc in each stitch around (18). Fasten off, leaving a long tail for sewing. Sew each ear above the eyes, between rounds 2 and 3 from the top of the head, angled slightly outward.
Arms — Make 2
Round 1: MR, 6 sc (6)
Round 2: Sc in each stitch around (6)
Round 3: Sc in each stitch around (6). Checkpoint: a small narrow tube, unstuffed and flexible. Fasten off, leaving a tail for sewing. Sew each arm to the side of the body, two rounds below the eyes.
Feet — Make 2
Round 1: MR, 6 sc (6)
Round 2: 6 inc (12). Checkpoint: a flat circle slightly larger than the arm base.
Round 3: Sc in each stitch around (12)
Round 4: Sc in each stitch around (12). Stuff lightly. Fasten off, leaving a tail for sewing. Sew each foot to the bottom front of the body, positioned slightly forward so the mouse sits balanced rather than tipping back.
Tail
Round 1: MR, 6 sc (6)
Round 2: Sc in each stitch around (6). Continue working sc in each stitch around until the tail reaches approximately 16 rounds in length. Fasten off, leaving a tail for sewing. Sew the tail to the back of the body between rounds 8 and 9.
Assembly
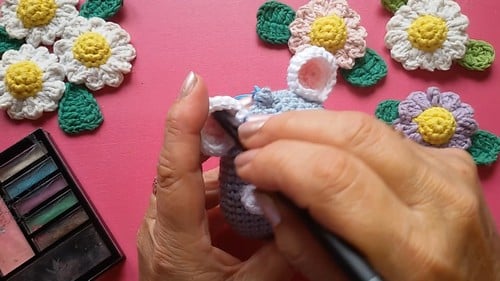
Embroider the nose and insert the safety eyes before assembly — do both while the head and body piece is still the only thing in your hands. Apply blush to the inside of the ears before sewing them on. Much easier to do now than after they are attached. Pin both ears to the top of the head above the eyes, angled slightly outward, before sewing either. Check from the front. Pin both arms to the sides of the body at the same height before sewing. Two rounds below the eyes is the target. Attach the feet to the bottom front of the body, pinning both before committing to either. Sew the tail to the centre back between rounds 8 and 9. Apply blush to the cheeks last, once the face is fully assembled.
Stuffing Guide
Start adding fiberfill at round 18, when the opening is still wide enough to shape with a finger. Add small amounts and press them into the sides — the oval shape means the body is naturally a little elongated, and stuffing should follow that rather than pushing everything into a ball. Light but consistent fill is the target. The head should feel rounded and smooth; the lower body slightly softer. Arms take no stuffing. Feet get the minimum — just enough to hold their disc shape. Overstuffing shows first at the later decrease rounds (20 to 21), where the stitches spread and gaps appear.
Tips
- If written amigurumi patterns feel like a lot right now, the video tutorial below is the easiest way to learn as you stitch!
- Start adding fiberfill at round 18, when the opening is still wide enough to shape with a finger.
- Add small amounts and press them into the sides — the oval shape means the body is naturally a little elongated, and stuffing should follow that rather than pushing everything into a ball.
- Light but consistent fill is the target. The head should feel rounded and smooth; the lower body slightly softer.
- Arms take no stuffing. Feet get the minimum — just enough to hold their disc shape.
- Overstuffing shows first at the later decrease rounds (20 to 21), where the stitches spread and gaps appear.
FAQs
What does round 15 mean by “continue decreasing pattern gradually”?
It means keep the same logic you have been using — one decrease per section, evenly spaced — without a strict formula. The pattern is intentionally flexible here because the oval shape means stitch counts at this point vary slightly between makers. Keep the curve smooth and trust the count to follow.
The safety eyes are placed between rounds 15 and 16, which is inside the decrease section — is that right?
Yes. The decreases start at round 10 and run gradually, so by rounds 15 to 16 the head is narrowing but still fully open. The eyes fit in and the backing applies without any problem. Just do not skip this step and continue past round 17.
Can I use a different colour combination?
The pattern lists pink and white or blue and white as the main options, but any two cotton colours that contrast enough to read the body shape clearly will work the same way.
How do I ensure the mouse sits balanced?
Position the feet slightly forward on the bottom front of the body when sewing. This forward placement counteracts the weight of the head and ears, allowing the mouse to sit upright rather than tipping back.
Is this pattern suitable for beginners?
This pattern is accessible for beginners who are comfortable with basic amigurumi stitches like single crochet, increases, and decreases. If written patterns feel overwhelming, consider checking out other beginner-friendly projects like our easy Squirtle amigurumi or the cherry keychain for similar skill-building exercises.
Pin This Crochet Pattern!