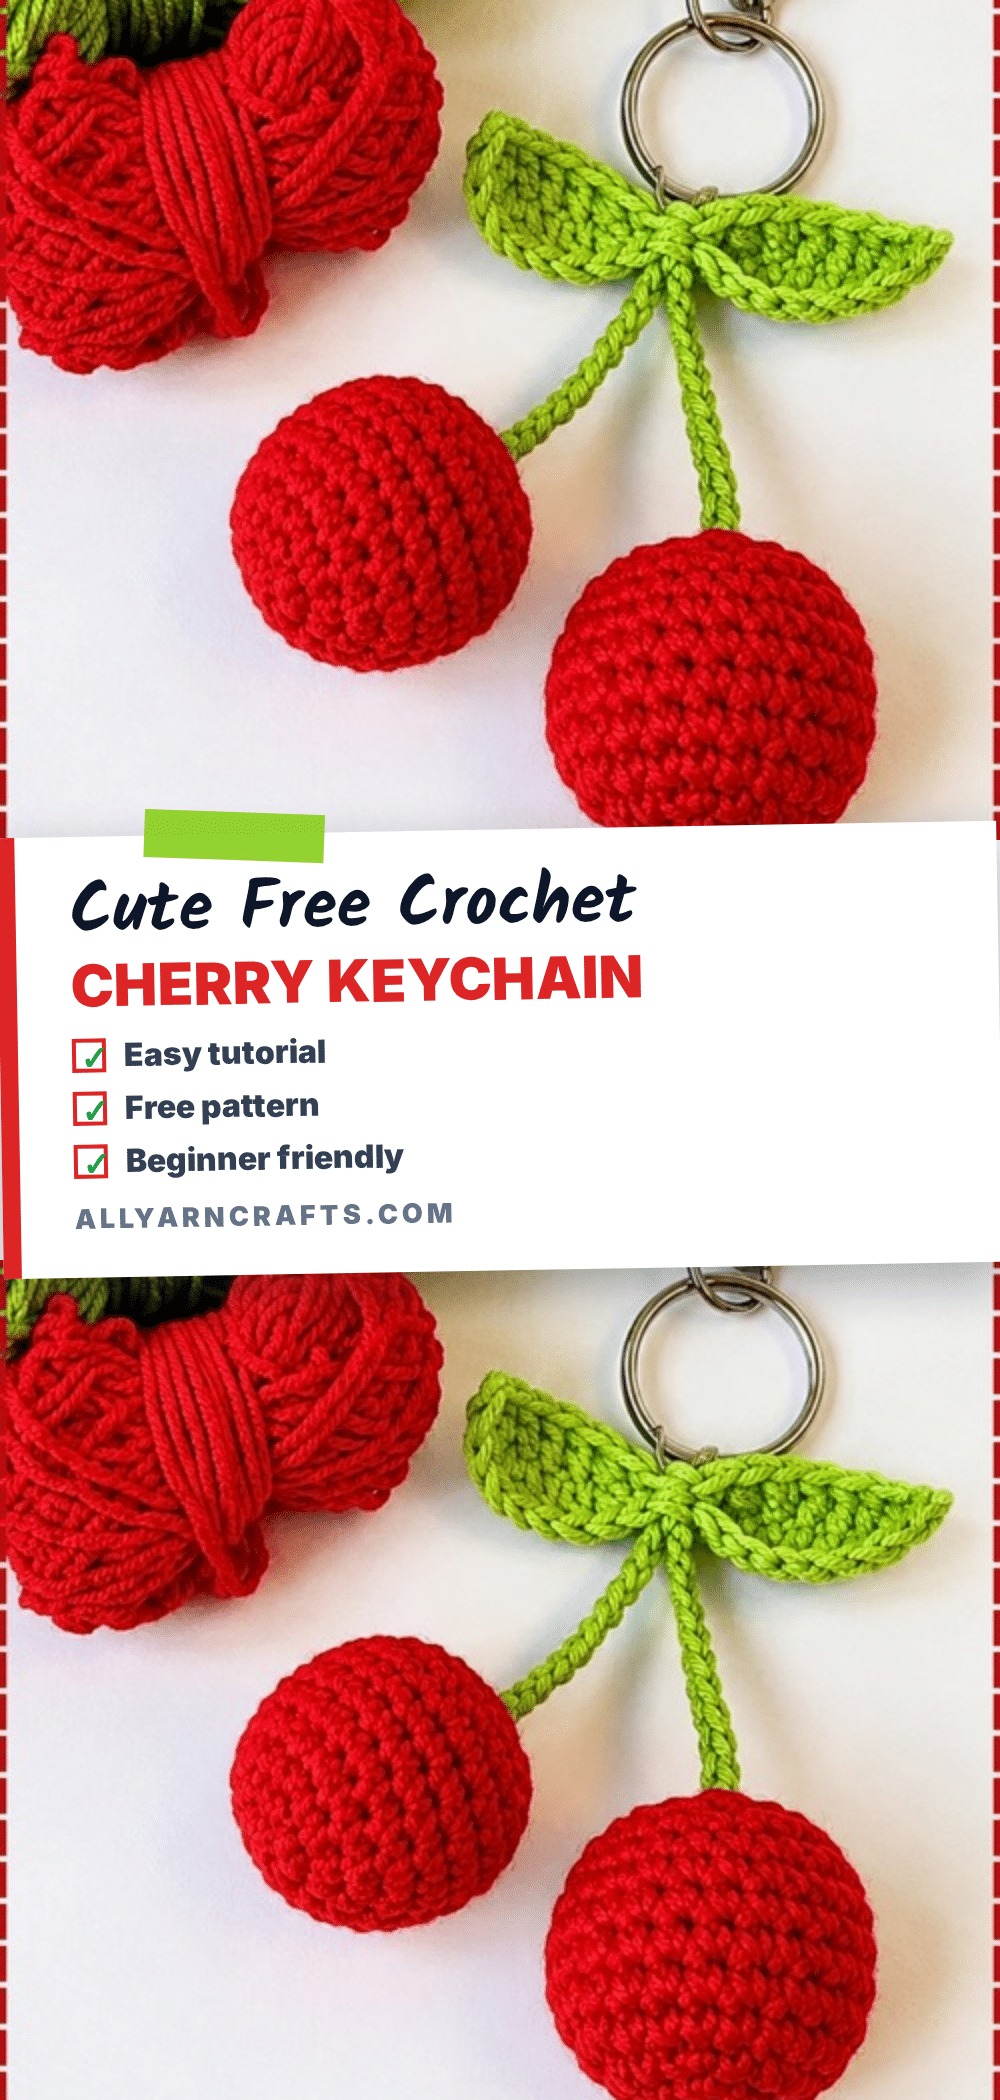
There is something undeniably satisfying about holding a perfectly formed, squishy little cherry in your hand. This cute crochet cherry keychain is the kind of project that delivers an immediate reaction: it is tidy, display-worthy, and practically begging to be clipped onto a summer bag or a set of keys. It is a small, giftable treat that captures the essence of warm months in a compact, amigurumi-friendly package. Whether you are looking for a quick stash-buster project or a charming addition to your accessories, this pattern offers a bright pop of color with minimal fuss.
Why the Finished Piece Stands Out
What makes this cherry keychain truly special is how it balances realism with charm. The glossy finish of mercerized cotton yarn catches the light in a way that mimics real fruit skin, giving the piece a convincing, tactile appeal that acrylic often misses. It is not just a toy; it is a functional accessory that feels right at home during fruit stand visits, picnics, or spring markets. The design relies on simple geometry—smooth spheres and pointed leaves—allowing the texture of the yarn to do the heavy lifting. It is a project that moves quickly, yet the result feels polished and intentional, making it a perfect confidence-booster for beginners and a delightful quick gift for seasoned crocheters alike.
Project Overview
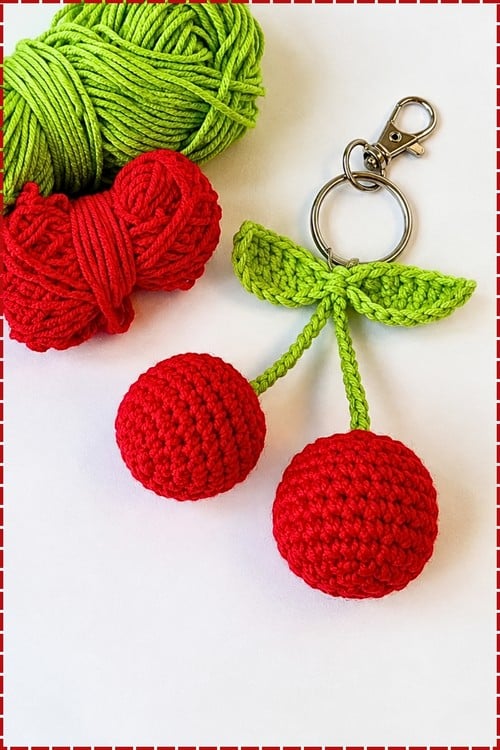
This crochet amigurumi cherry keychain features two round red berries, each stuffed firm and topped with a green chain stem. The stems meet under a pair of pointed leaves worked flat in green, and the entire cluster clips to a swivel hook and ring. The berries are worked in simple rounds, keeping the shaping even without complex counting. While the leaves require a bit of care at the tips to form points, the assembly is straightforward. The stems are worked directly onto the cherry rather than sewn, ensuring a secure connection. This is a small, approachable make that can be finished in one sitting.
Materials
- Red yarn: For the cherry body (light worsted cotton or DK recommended).
- Green yarn: For the stem and leaves.
- Crochet hook: Suitable for your yarn, usually 2.5 to 3.0 mm with light worsted cotton (approximate).
- Fiberfill stuffing: Standard polyester stuffing.
- Stitch marker: To mark the beginning of rounds.
- Yarn needle: For weaving in ends.
- Scissors: For cutting yarn.
- Keychain ring or jump ring: To attach the keychain hardware.
Gauge and Finished Size
There is no strict gauge required for this project, as the size is flexible based on your materials. The finished cherry lands around 2 to 2.5 inches across, approximate, depending entirely on your yarn weight and tension. If you choose to scale up or down, the round counts remain the same; only the hook size and stuffing amount change.
Abbreviations
- MR: Magic ring
- sc: Single crochet
- inc: Increase, 2 sc in one stitch
- dec: Decrease, sc 2 stitches together
- ch: Chain
- sl st: Slip stitch
Pattern Notes
This pattern uses no safety eyes, making it one of the safer small makes to hand to a child, provided you skip the metal keychain ring for anyone under three and sew a yarn loop instead. Weave every tail in for a good two inches so nothing can be pulled free. The cherry looks complete without the leaf, and many makers prefer to make a pair of cherries on one longer stem, which mimics how they actually grow. If you are looking for other quick summer projects, you might also enjoy exploring easy boho crochet top patterns for matching accessories.
Pattern Instructions
Cherry Base
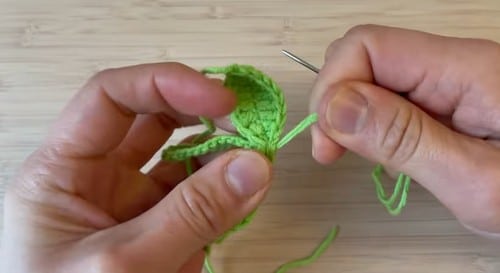
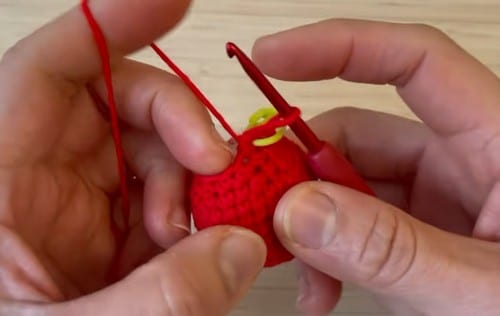
Work in continuous rounds. Use a stitch marker.
Round 1: MR, 6 sc. (6)
If the center hole gapes after pulling the tail, your hook is too big for the yarn. Fix it now, not later.
Round 2: inc in every stitch. (12)
Round 3: 1 sc, 1 inc, repeat around. (18)
Round 4: 2 sc, 1 inc, repeat around. (24)
Round 5: 3 sc, 1 inc, repeat around. (30)
Checkpoint: a shallow dish that curves upward at the rim, not a flat circle. A flat piece here means increases stacked on top of each other, which puts corners in the finished ball.
Rounds 6 to 9: 30 sc each round. (30)
Checkpoint: straight sides forming an open cup. This is where people lose the round count, so move the marker every single round rather than trusting your eyes on a spiral seam. Insert stitch marker at center front if needed. Begin stuffing gradually.
Round 10: 3 sc, 1 dec, repeat around. (24)
Stuff in pinches as you go. One big lump added at the end is what creates the dents you cannot press out afterward.
Round 11: 2 sc, 1 dec, repeat around. (18)
Checkpoint: the top should be closing back over the stuffing in a smooth dome. If it looks more like a bell, you are under stuffed. Continue stuffing firmly.
Round 12: 1 sc, 1 dec, repeat around. (12)
Final decrease around until closed. Fasten off and weave in the ends neatly.
Checkpoint: the closing point should be a small flat spot you can barely find, not a pucker. Roll the cherry between your palms for a few seconds to even it out.
Peduncle Stem
Attach green yarn at the top center of the cherry.
Ch 8 to 12, depending on desired stem length. Starting in the second chain from the hook, 1 sc in each chain back toward the cherry. Sl st into the top of the cherry to secure.
Checkpoint: the stem should curve into a firm arch rather than flopping flat. If it twists, your chain was too tight going out and the sc row pulled it around. Fasten off and weave in the ends.
Don’t let the stitch counts scare you off! Beginners can follow the video tutorial below and crochet this plushie right along with me.
Optional Leaf
Ch 6. Starting in the second chain from the hook, 1 sc. 1 hdc in the next stitch. 1 dc in the next stitch. 1 hdc in the next stitch. 1 sc in the last stitch.
Checkpoint: a small pointed oval, widest at the middle. Curling at the ends usually means the dc pulled too tight. Sl st to the cherry near the stem. Fasten off.
Assembly
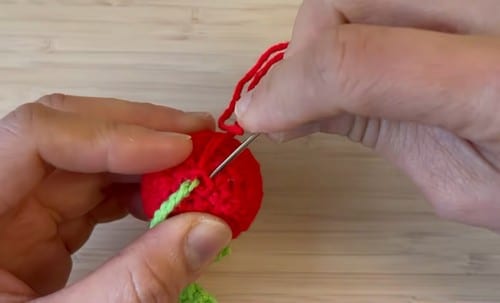
The stem is worked onto the cherry rather than sewn, so the order is fixed: finish and close the cherry first, then attach the green yarn at the top center. Take a moment to find true center before you insert the hook, because an off center stem is the one flaw that reads instantly on a piece this small. Pin the leaf against the cherry beside the stem base and look at it from a few angles before slip stitching. It should sit slightly to one side rather than straight up. Attach the keychain ring last, through the top of the stem, using the jump ring.
Tips
Stuffing Guide
Firm, but not stretched. The fabric should not be pulled far enough apart to show white fiberfill through the red, and on a cotton yarn that line comes sooner than you expect. Stuff from Round 10 onward in small pinches and check the profile against a light as you go. Over stuffing shows first at Rounds 6 to 9, where the straight sides bulge out and the cherry stops reading as round. Under stuffing shows at the top, where the closing point sinks into a dimple. A keychain gets squeezed constantly in a pocket, so aim slightly firmer than you would for a shelf toy.
Yarn Substitution and Size Scaling
Glossy mercerized cotton gives the most convincing fruit surface, since it catches light the way real skin does. Acrylic works and is softer, but it reads more like a soft toy than a cherry. All of these are approximate: DK cotton with a 2.5 mm hook gives roughly the size noted above, sport weight with a 2.0 mm hook drops it closer to 1.5 inches, and worsted with a 3.5 mm hook pushes it near 3 inches. Scaling up does not change any round counts. It only changes how much stuffing you need and how visible the stitches become, so go down a hook size from the label recommendation at every weight.
Stem Support
Tension in that sc row back along the chain is what keeps the stem from drooping. Worked firmly, the stem holds its own arch. If it still flops, run a short length of floral wire inside before securing the slip stitch.
Correcting Lumps
If your cherry looks lumpy, you likely stuffed it in one go. Pull some of it back out through the opening and refill in small pinches, spreading each one against the inside wall before adding the next.
FAQs
Can I make this without the leaf?
Yes, it is marked optional for a reason and the cherry looks complete without it. Plenty of people make a pair of cherries on one longer stem instead, which is closer to how they actually grow.
Why does my cherry look lumpy?
You stuffed it in one go. Pull some of it back out through the opening and refill in small pinches, spreading each one against the inside wall before adding the next.
What keeps the stem from drooping?
Tension in that sc row back along the chain. Worked firmly, the stem holds its own arch. If it still flops, run a short length of floral wire inside before securing the slip stitch.
Is this pattern safe for children?
This pattern uses no safety eyes, so there is no hard part to time around. That also makes it one of the safer small makes to hand to a child, provided you skip the metal keychain ring for anyone under three and sew a yarn loop instead.
Can I scale this pattern up or down?
Yes. Scaling up does not change any round counts. It only changes how much stuffing you need and how visible the stitches become. Just remember to go down a hook size from the label recommendation at every weight.
Pin This Crochet Pattern!