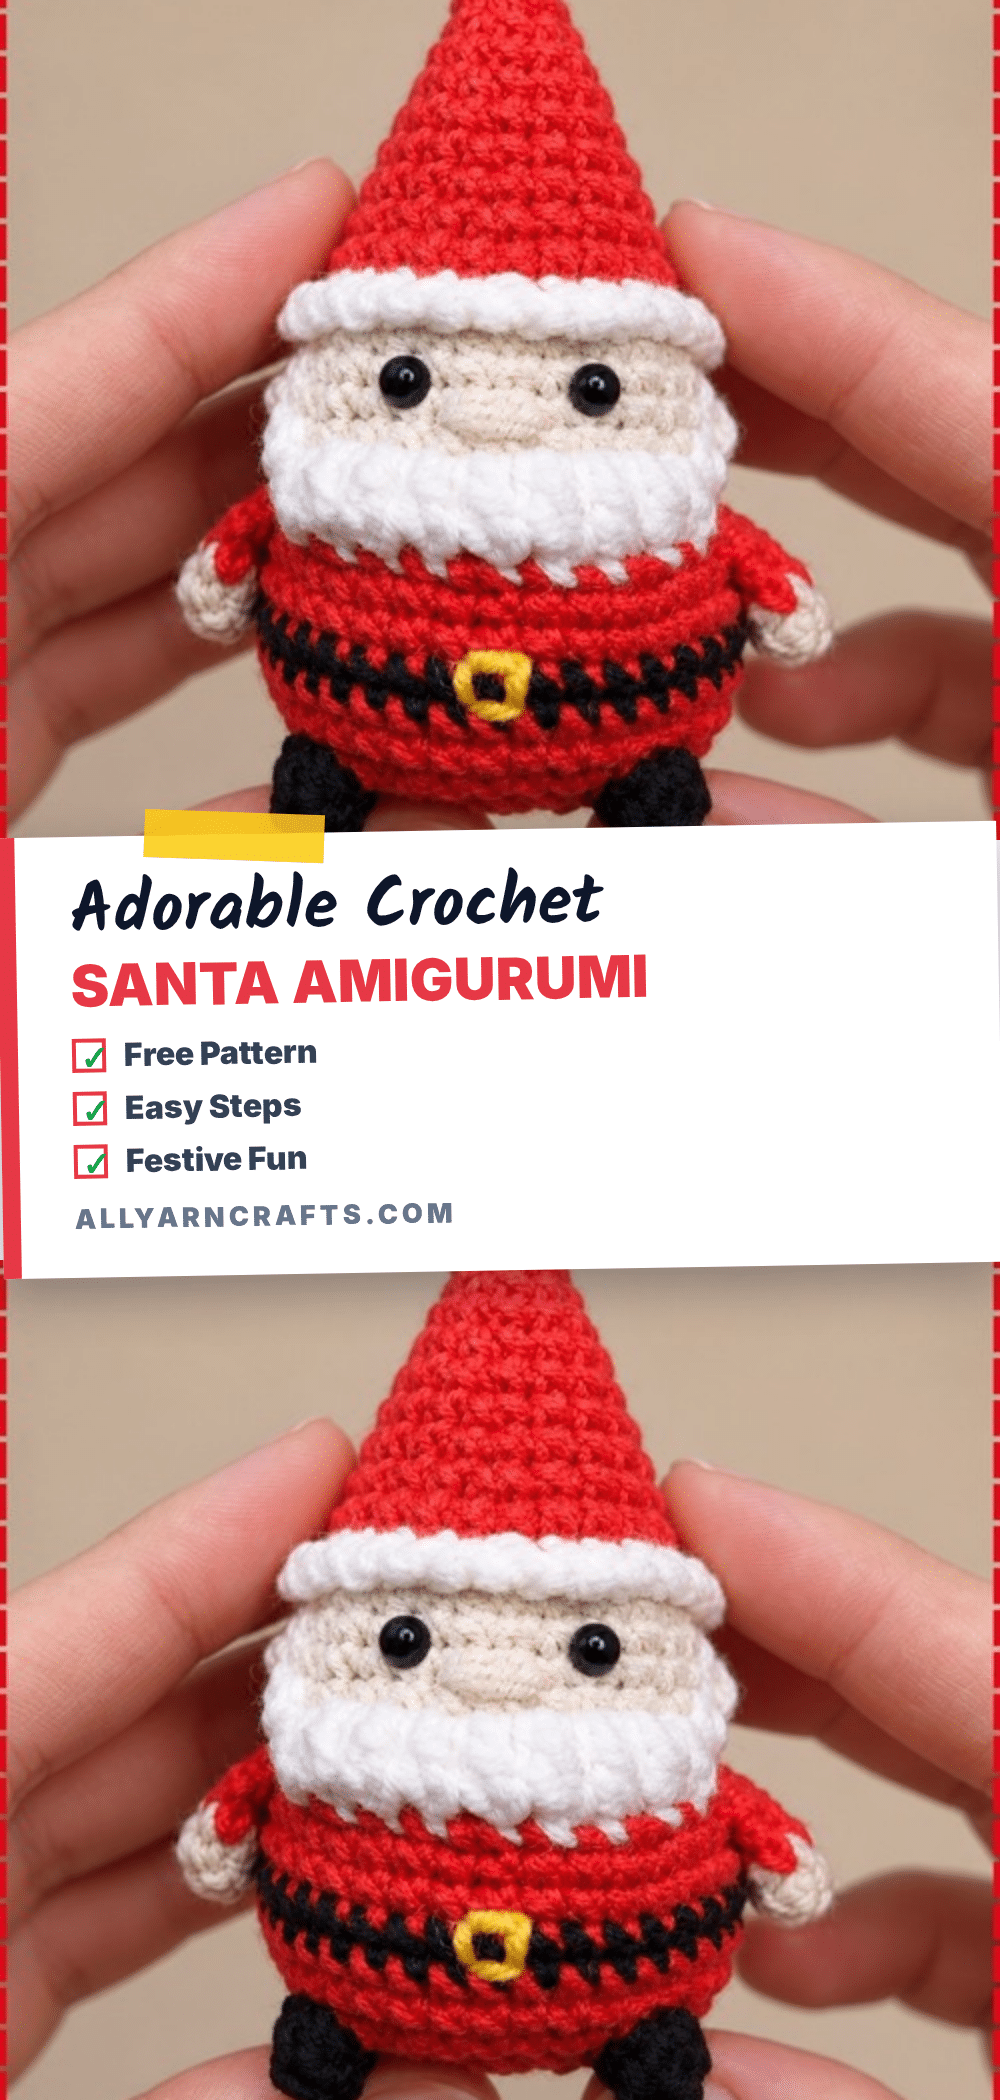
There is something undeniably festive about pulling a skein of bright red yarn from the stash and knowing it will soon become a cheerful holiday companion. This Crochet Santa Amigurumi is that perfect project—small enough to make several, sturdy enough to stand on its own, and charming enough to brighten any mantel or desk. Whether you are looking for a quick gift for a coworker or a cute addition to your Christmas decor, this pattern delivers a classic look with a modern construction method.
Yarn and Color Notes
The visual appeal of this Santa relies heavily on the contrast between the classic red hat and body, the crisp white beard, and the deep black boots. Using a smooth acrylic or wool blend yarn works beautifully here, as it holds the popcorn stitch texture well without fraying. The skin tone yarn should be soft and neutral to keep the focus on the face and beard. When choosing your red, consider a true primary red for a traditional look, or a slightly deeper crimson if you prefer a vintage aesthetic. The white sections—pom pom, hat trim, and beard—benefit from a clean, bright white to ensure the beard pops against the skin tone.
Project Overview
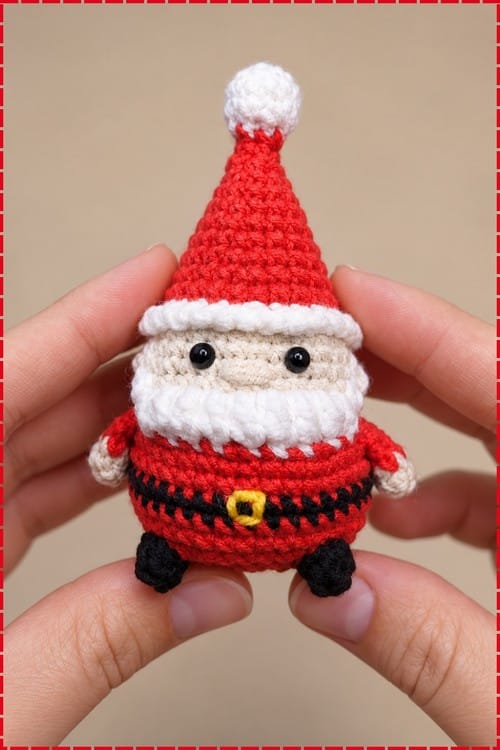
This pattern creates a charming Santa Claus figure standing approximately 8 to 12 inches tall, depending on your yarn weight and hook size. The construction is unique because it works continuously from the top of the head down to the boots, integrating the hat, pom pom, head, beard, body, and legs into one seamless piece. The arms and ears are created separately and attached during the process. The difficulty is rated as intermediate due to the front/back loop split at the hat brim, the progressive popcorn stitch beard, and the live attachment of the arms.
Materials
- White yarn: For pom pom, hat trim, beard, and ear sections.
- Red yarn: For hat body and main body.
- Skin tone yarn: For head and ears.
- Black yarn: For belt and boots.
- Yellow or gold yarn: For the embroidered belt buckle.
- Crochet hook: Suitable for your chosen yarn weight.
- Safety eyes: (Or black yarn for embroidery).
- Polyester fiberfill stuffing.
- Yarn needle.
- Stitch marker.
- Scissors.
Gauge and Finished Size
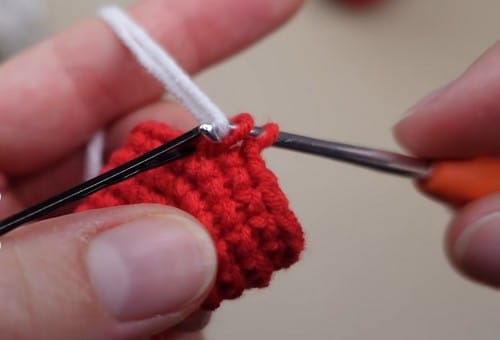
The pattern does not specify a strict gauge, as the finished dimensions are flexible based on materials used. The finished height is approximately 8 to 12 inches. Working time is estimated at 4 to 6 hours.
Abbreviations
- SC: Single crochet
- HDC: Half double crochet
- DC: Double crochet
- SL ST: Slip stitch
- Popcorn stitches: Used for beard and boot texture. See specific instructions for sizes per round.
Pattern Notes
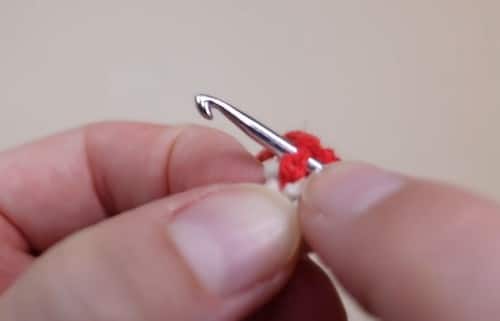
This pattern is written as a high-level construction guide rather than a round-by-round stitch count breakdown. Most sections describe the technique and placement without specifying exact stitch counts per round. The exceptions are round 16 (increases to 30 stitches) and round 17 (front-loop frill). All other rounds are described by technique and color rather than by number. Readers who need precise stitch counts will need to supplement with a reference pattern that matches this construction method, or swatch and count their own rounds.
Pattern Instructions
Pom Pom and Hat
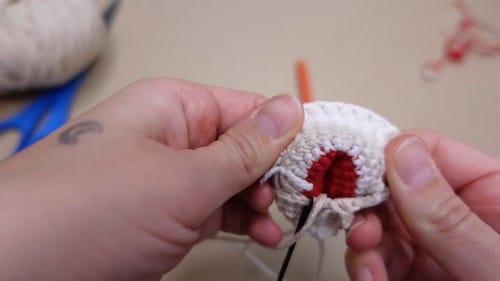
Start with white yarn at the top. Crochet the pom pom section in white. The pom pom should be a small rounded ball, roughly the size of a grape. If it is flat, it needs more stuffing; if it is stretching, it needs less. At round 5, change to red yarn. Continue the hat in red through round 15. Change to white at the end of round 15.
- Round 16: Increase to [30] stitches.
- Round 17: Work the frill in front loops only by repeating
sl st, ch 1around. The front-loop frill should flare outward from the hat, forming a short ruffle. The back loops remain unworked and will be used in the next section. Reserve the back loops of round 17 for the head—do not fasten off yet.
Preparatory Pieces
Arms (Make 2, Red Yarn): Crochet two arm pieces in red yarn. Close each opening by crocheting through both sides with 3 SC. Fasten off and set aside for attachment at round 22.
Ears (Skin Tone): Slip knot, ch 1 to form each ear. Leave long tails for tying to head. Set aside.
Head and Beard
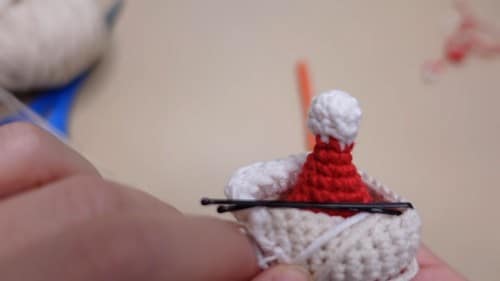
Attach skin tone yarn to the back loops of round 17. Begin head shaping, working upward into the reserved back loops. The skin-tone section should be growing directly beneath the hat frill, visually separated from the red hat by the frill at round 17.
- Round 17 area: Incorporate white sections to begin the beard base.
- Rounds 18 to 19: Use 2 SC popcorn stitches for the upper beard layer. Insert safety eyes between rounds 18 and 19 while the head section is still accessible from inside, positioning them slightly above the beard texture so the beard frames the face from below. Space them evenly on the front. Secure the washers from inside before continuing. For toys going to children under three, embroider the eyes with black yarn at this stage instead of using safety eyes.
- Round 20: Use 3 SC popcorn stitches for the mid beard layer. The beard should be noticeably fuller by round 20 than at round 18. Push each popcorn outward after working it before moving to the next stitch.
- Round 21: Use 3 HDC and 3 DC popcorn stitches for the full beard layer. Embroider the nose between rounds 19 and 20, positioned centered between the eyes and just above the heaviest beard stitches.
Body, Belt, and Boots
- Round 22: Switch to red yarn and attach the arms by crocheting through both arm stitches and body stitches simultaneously, keeping arms aligned on both sides and facing forward. Continue body rounds in red.
- Round 25: Switch to black for the belt round, then switch back to red after. Embroider a small gold or yellow square as the belt buckle on the center front of the black belt round.
- Round 28: Use 5 DC popcorn stitches in black for the boots.
Stuffing
Begin stuffing the pom pom section around round 21, before the body rounds close it off. Add stuffing gradually through the body rounds before the bottom opening becomes too small to reach inside comfortably. Pack the body firmly—this figure needs firm stuffing to stand upright.
Closing
Weave yarn through the front loops of the final 8 stitches. Pull tight to close. Secure and hide the tail inside the body.
Assembly
Most of the figure assembles itself during construction. What remains:
- Ears: Tie the ears to the head using the long tails, positioning them on the sides of the head just above the beard level. Check symmetry from the front before knotting permanently.
- Arms: Confirm the arms are facing forward before the attachment stitches at round 22 are locked. Once those stitches are worked, the arm direction is fixed.
- Belt Buckle: Embroider the belt buckle last, after closing, when the front of the figure is fully visible and you can judge the center line accurately.
Tips
- Hat Brim Flare: The hat brim at round 17 is not flaring if it is lying flat. Round 17 must be worked entirely in front loops. If even one or two stitches were worked through full stitches, the frill will not flare cleanly. The back loops must be fully unused at this point for the head to attach properly beneath.
- Popcorn Texture: If your beard popcorns are sinking inward rather than standing out, push each popcorn outward from inside with a finger or blunt needle immediately after locking it off, before the next stitch is worked. Once the surrounding stitches are complete, sunken popcorns are very difficult to reposition.
- Balancing the Figure: If the figure leans to one side after stuffing, it is usually due to uneven stuffing in the pom pom or the lower body. Roll the figure gently between your palms to redistribute. If it still leans, push additional filling into the lower base on the lighter side using the blunt end of your hook through the yarn gap.
FAQs
Can I use this pattern for children under three?
Yes, but for safety, you should embroider the eyes with black yarn instead of using plastic safety eyes. The source pattern explicitly advises against safety eyes for toys intended for very young children.
Why isn’t my hat brim flaring out?
This is a common issue with the front-loop-only technique. Ensure you are working strictly into the front loops of round 17. If you accidentally work into the back loop or both loops, the ruffle will not form. The back loops must remain completely unworked to attach the head later.
How do I keep the beard looking fluffy?
The key is timing. You must push each popcorn stitch outward from the inside immediately after you finish it, while the surrounding stitches are still live. If you wait until the round is complete, the surrounding tension may pull the popcorn flat.
What if I don’t have a video tutorial?
While the source mentions a video tutorial for continuous rounds, you can manage without it by using a stitch marker to mark the beginning of each round. Work in continuous rounds (spiral) rather than joining with slip stitches, which is standard for amigurumi.
Can I make this Santa larger or smaller?
Yes. The finished size is approximately 8 to 12 inches depending on yarn weight and hook size. Using a heavier yarn and larger hook will result in a taller, chunkier Santa, while lighter yarn and a smaller hook will create a smaller, more delicate figure.
If you enjoyed making this festive Santa, you might also like to check out our Adorable Crochet Santa Wallhanging for a different kind of holiday decor, or try your hand at other characters like our Adorable Crochet Snowman for a complete winter scene.
Pin This Crochet Pattern!