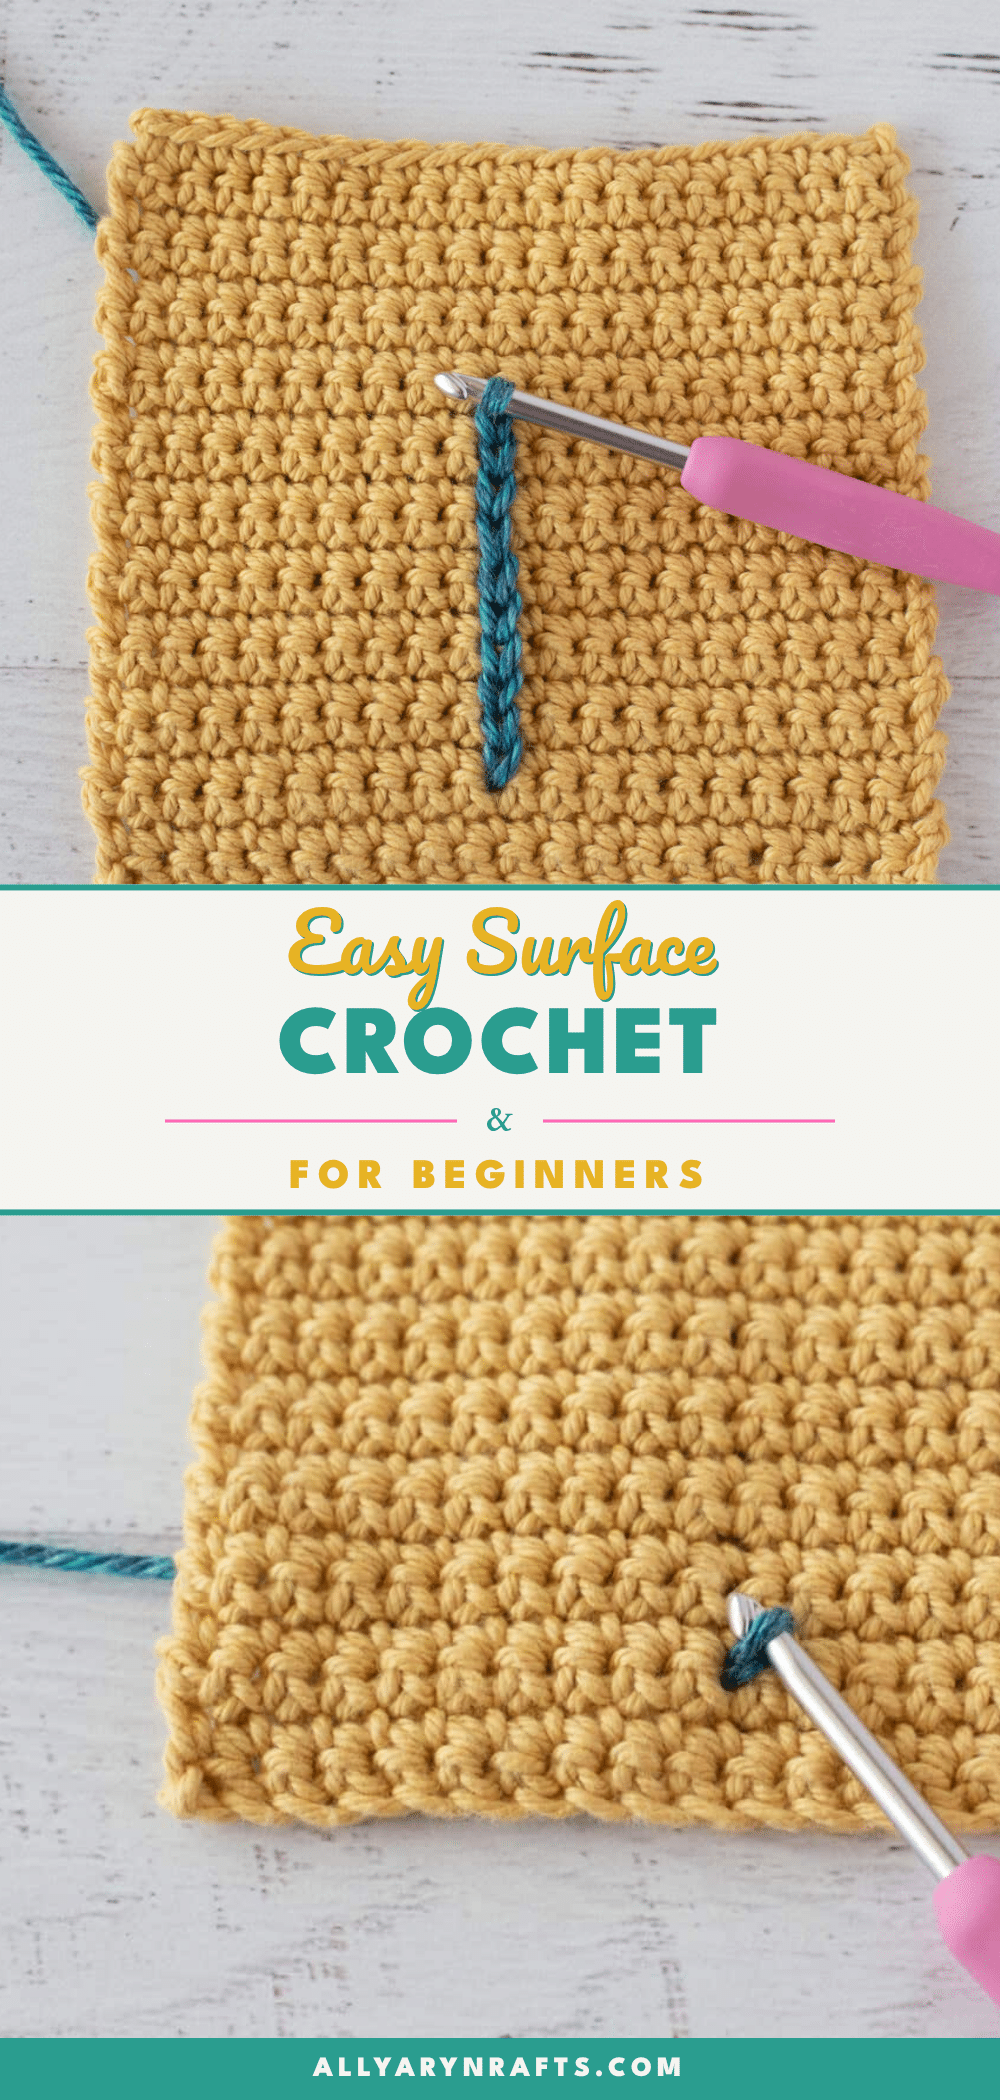
Surface crochet is a versatile technique that transforms flat crochet fabric into textured art. It allows you to create intricate outlines, swirls, and designs that sit neatly on the surface of your work, much like embroidery. If you can slip stitch, you can master this technique. This guide breaks down the mechanics of surface crochet, helping you add professional-looking details to your wearable projects and accessories.
Yarn and Color Notes
Choosing the right yarn for surface crochet is crucial for achieving that clean, embroidered look. Because surface crochet sits on top of your base fabric, the yarn you use for the design should complement the fiber and weight of your main project. A common choice is to use the same yarn as your base piece to create a tonal, subtle texture. However, for high-contrast designs, such as the spider web effect seen in the Spider Lovey pattern, a slightly different color or fiber can make the design pop. Consider using a smooth, non-fuzzy yarn for the surface work to ensure your lines remain crisp and defined, preventing the “fuzz” from obscuring the precision of your stitches.
Project Overview
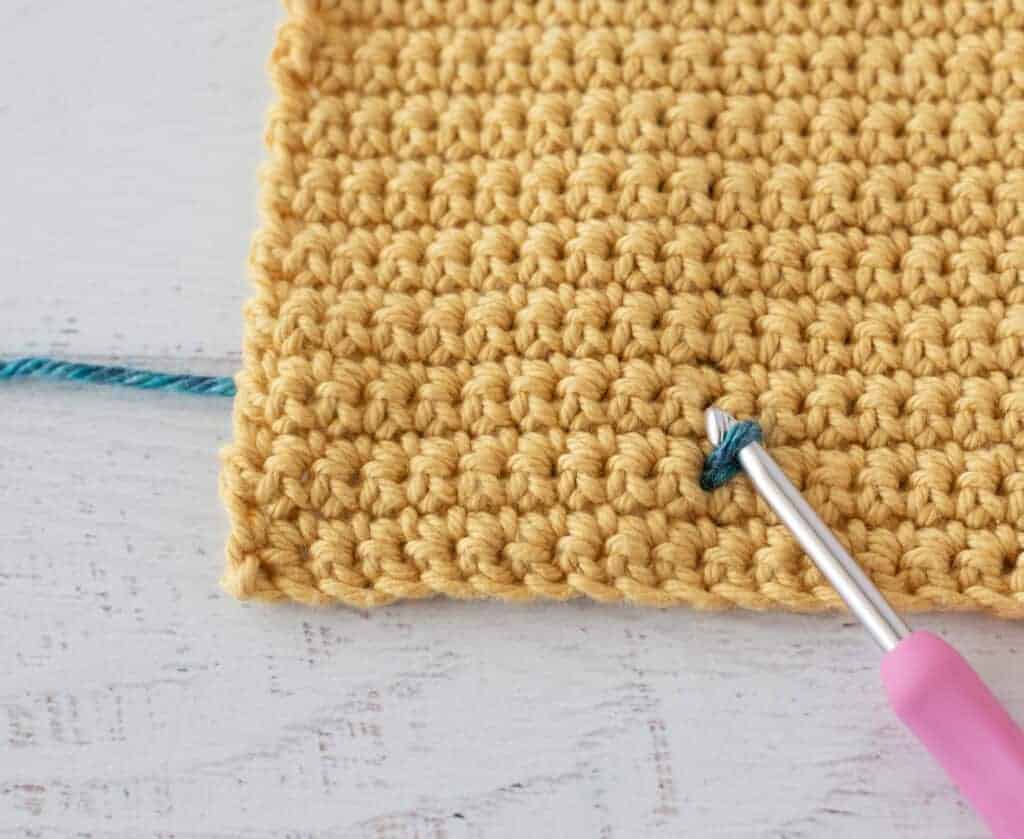
Surface crochet is a decorative stitch that lays flat on top of a crocheted piece. It is constructed similarly to a slip stitch but is worked differently to create a distinct visual element. This technique can be used to add decorative details to a design, similar to embroidery. It is highly flexible; you can work it in a straight line, or it can twist, turn, and curve however you desire. The crochet is done on the top side of the crochet piece, while the working yarn comes from beneath the crochet.
Materials
To begin surface crochet, you will need:
- A finished crochet piece (such as a blanket, top, or accessory)
- Yarn for the surface design (matching or contrasting)
- A crochet hook appropriate for your yarn weight
- A tapestry needle for weaving in ends
Pattern Notes
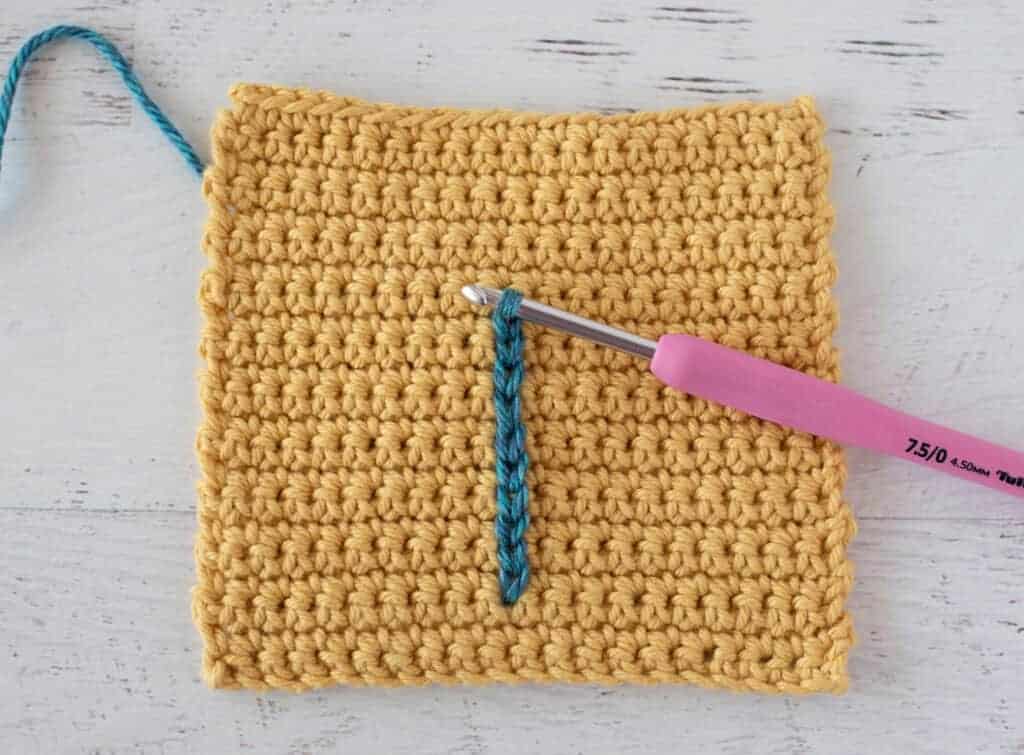
Surface crochet is a decorative stitch that lays flat on top of a crocheted piece. It can be used to add a decorative element, similar to embroidery to a crochet design. It can be worked in a straight line or it can twist, turn and curve however you desire. Construction wise, a surface crochet stitch is simply a slip stitch that is worked a bit differently. The crochet is done on the top side of the crochet piece, while the working yarn comes from beneath the crochet.
Pattern Instructions
Starting Surface Crochet
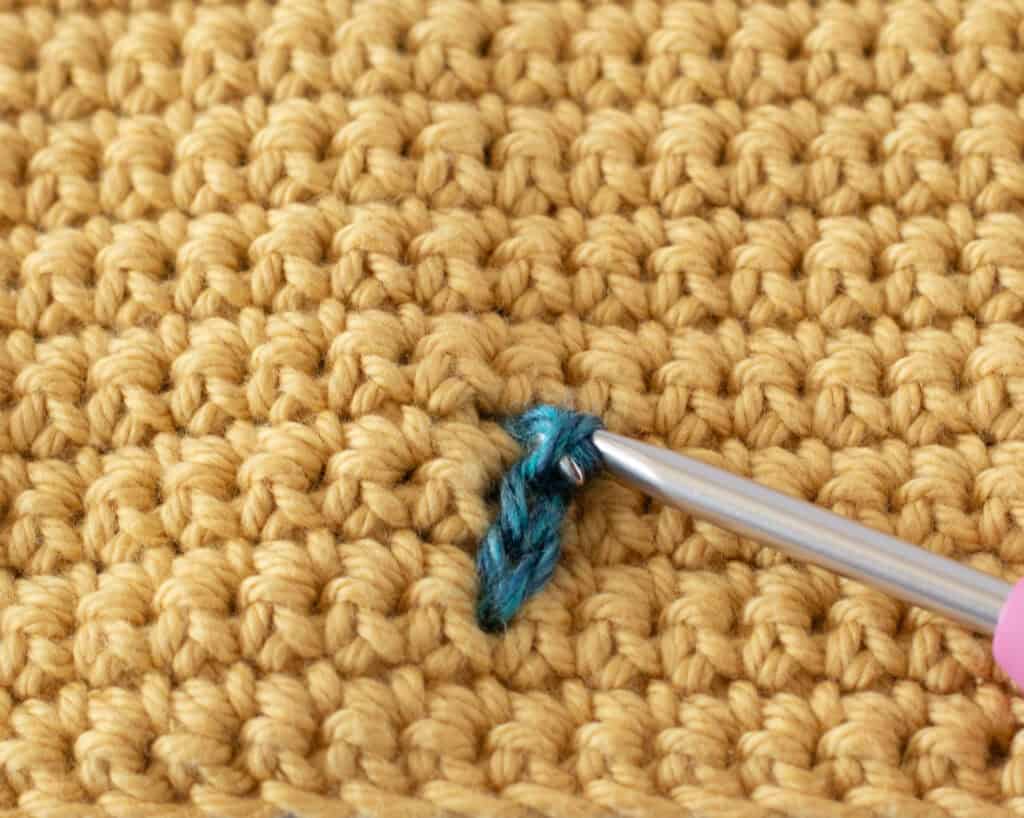
To start, you have two options:
- Option 1: Put a slip stitch on your hook and then reach from the front of the work and pull it forward.
- Option 2: Pull up a loop directly. I prefer this second option, but be aware that this method does make the first stitch loose. You will need to carefully weave in the starting end when you are finished to make it look nice.
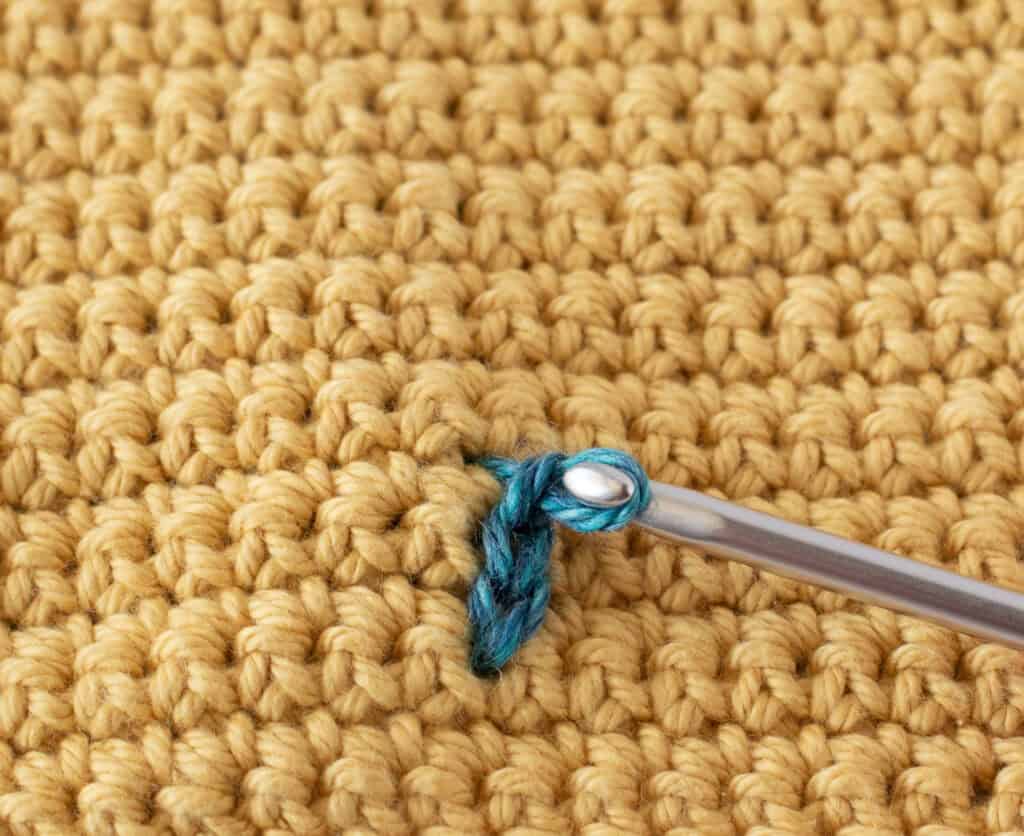
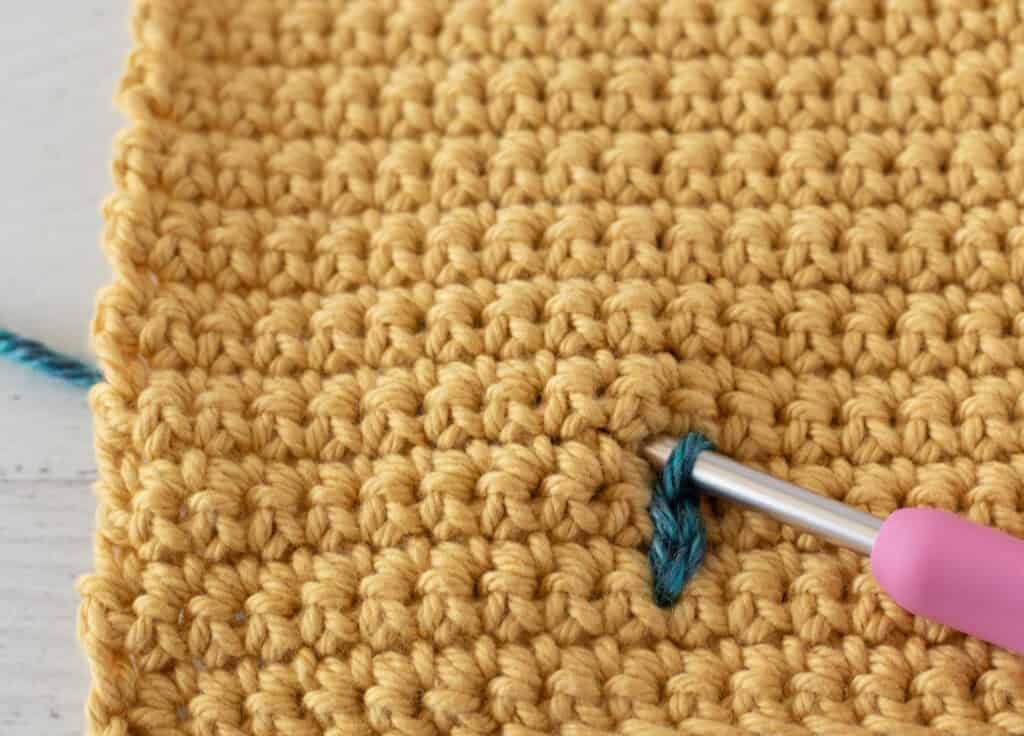
For the rest of the tutorial, I started in a few stitches to make it easier to see. Start with the loop on top of the work like so:
- Start with the loop on top of the work.
- Then push your hook down into the crochet a stitch length away. (I sort of pretend I’m making a regular crochet stitch here to get the correct stitch length.)
- Pull up a loop from the working yarn that is behind the crochet piece and pull this up and through the loop on the front.
- When you’ve pulled the stitch through, adjust it slightly so that it lays flat on the work.
Fastening Off Surface Crochet
To fasten off surface crochet, leave a long strand of yarn at the back of your work and cut it. Then pull up on the loop that is on the surface of your crochet so that the entire strand is now on top of your work. Thread the yarn strand in a tapestry needle and then carefully make one small stitch over that last loop, and push the tapestry needle to the back of the work and secure the yarn strand by weaving in the ends. If you prefer you can use a crochet hook instead of the tapestry needle. Simply insert the crochet hook from the wrong side of the work to the front and grab that loose end, securing the last loop on the work in the same way. Weave in the loose ends.
Tips for Success
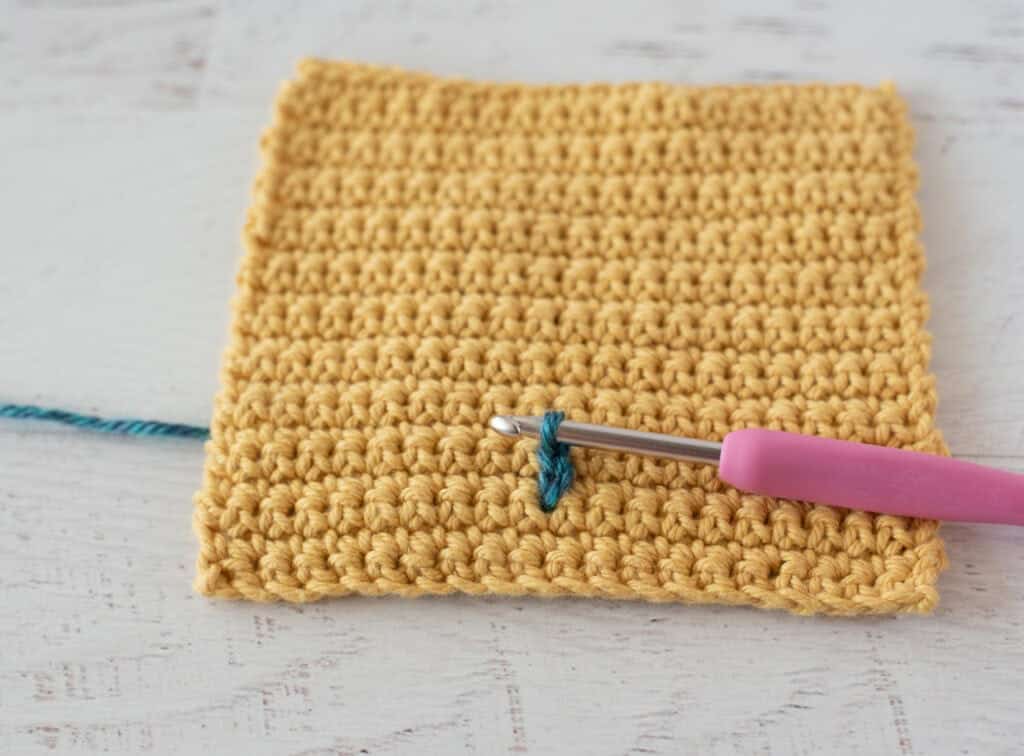
The most important thing to remember is your tension. If your tension is too tight, your work will pull and get distorted. Your garment will not fit properly or your design will look puckered. If your tension is too loose then your surface crochet will look sloppy. The loops might easily get snagged or get caught on things. When your tension is perfect, surface crochet looks like perfectly aligned slip stitches floating on your crochet piece. Don’t be afraid to rip out and try again until you get your tension just right. It gets easier as you go along.
FAQs
Can I use surface crochet on any crochet fabric?
Yes, surface crochet can be applied to most crocheted pieces, provided the base fabric is stable enough to support the additional stitches. It works well on blankets, garments, and accessories.
How do I prevent my surface crochet from looking loose?
Tension is key. If your surface crochet is too loose, it may look sloppy or snag easily. Practice maintaining consistent tension, and remember to weave in your starting and ending ends securely to hide any loose loops.
What is the best way to start surface crochet?
There are two common methods: starting with a slip stitch on the hook or pulling up a loop directly. Pulling up a loop is often preferred for its simplicity, though it may require extra care when weaving in the initial end.
How do I finish surface crochet cleanly?
Leave a long tail at the back, cut the yarn, and pull the loop to the surface. Use a tapestry needle or crochet hook to secure the loop and weave the tail into the back of your work.
Can surface crochet be used for intricate designs?
Absolutely. Surface crochet can twist, turn, and curve in any direction, making it ideal for creating swirls, outlines, and complex patterns like the spider web effect in the Spider Lovey pattern.
Pin This Crochet Pattern!