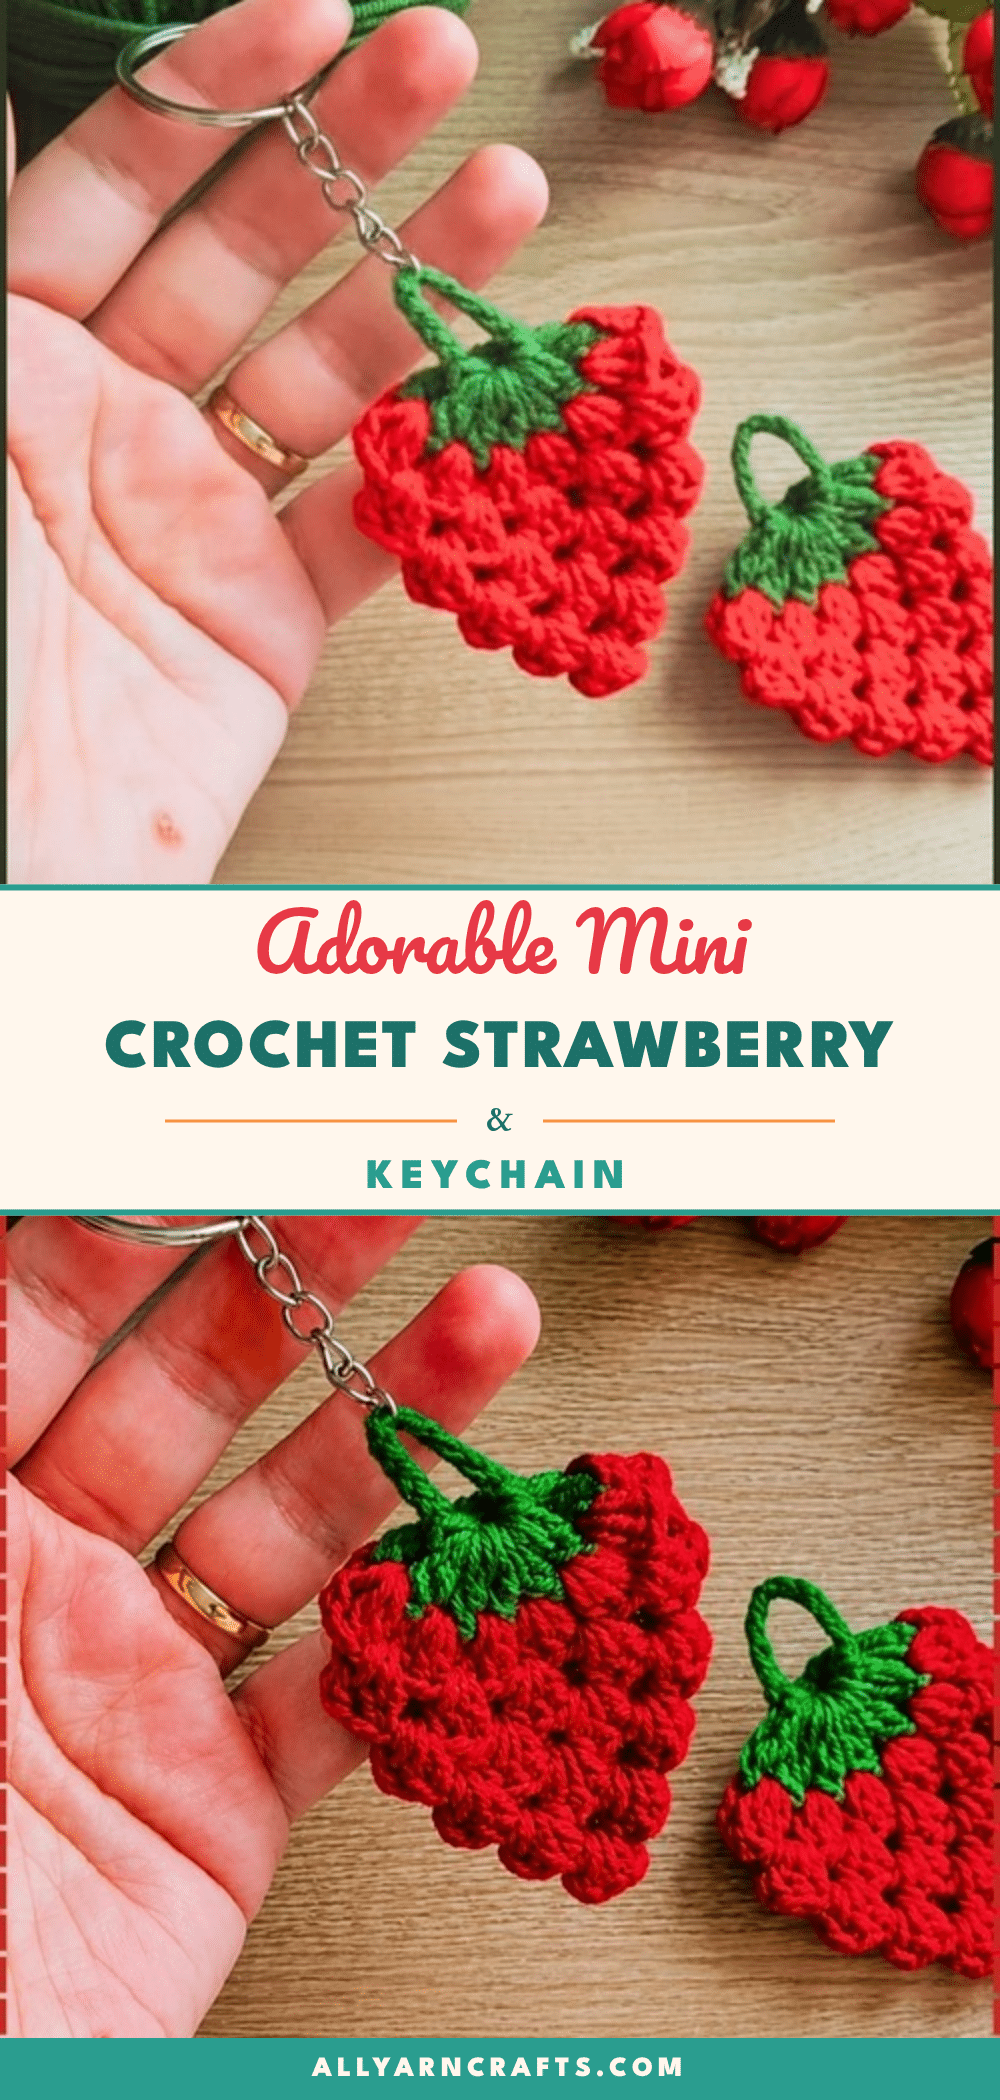
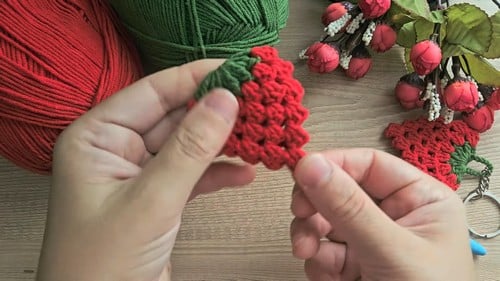
Summer market bags and key sets hold a flat red fruit charm with a built-in stem loop. This adorable mini crochet strawberry keychain pattern combines a tapered red body with a green leaf topper to create a recognizable, portable amigurumi. The strawberry silhouette is achieved through specific shaping in the early rounds, while the final look relies on simple embroidery for the seeds. This project is fast enough to carry between other projects and perfect for handmade gifting.
Seasonal Styling Ideas
While the red and green combination reads immediately as a strawberry, you can customize the yarn to fit different seasons or themes. For a spring garden look, use pastel pink yarn for the body and keep the green leaves. If you are making these for a summer craft fair, bright red with yellow seeds is the classic choice. You can also use this same technique to create other fruit charms by changing the colors, such as yellow for a lemon or purple for a grape, making it a versatile pattern for a fruit basket set.
Project Overview
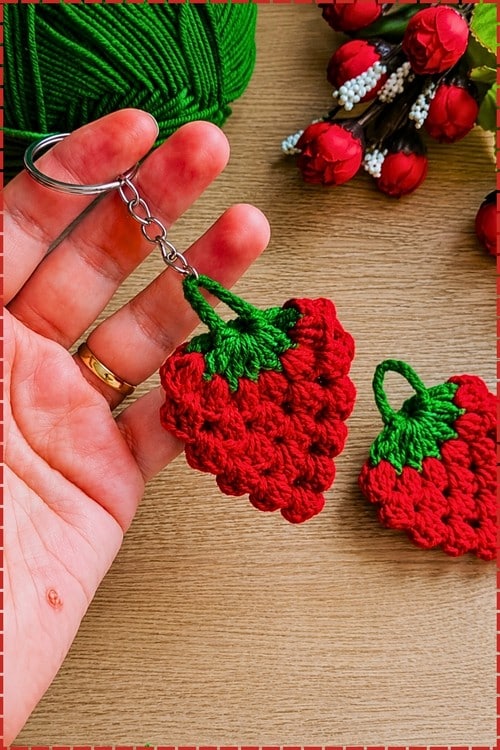
This mini amigurumi project consists of two main pieces: a strawberry body worked in red yarn and a leaf crown worked in green yarn. The construction is simple enough for makers who have basic shaping down and want something fast and portable. The finished piece is small, approximately 5 to 7cm from leaf tip to body base with DK yarn on a 3.0mm hook. This is an estimate from the stitch counts, not a strict pattern measurement. Allow 45 to 60 minutes per keychain once the pattern is familiar.
Materials
- Red yarn for the strawberry body
- Green yarn for the leaf crown
- Yellow or white yarn for the embroidered seeds
- Crochet hook sized to your yarn — the pattern does not specify a size
- Polyester fiberfill stuffing, a small amount
- Sewing and embroidery needle
- Keychain ring
- Scissors
Gauge and Finished Size
Finished size is approximately 5 to 7cm from leaf tip to body base with DK yarn on a 3.0mm hook — an estimate from the stitch counts, not a pattern measurement.
Abbreviations
- sc — single crochet
- inc — increase, 2 sc in one stitch
- dec — decrease
- ch — chain
- sl st — slip stitch
- hdc — half double crochet
- MR — magic ring
- st / sts — stitch / stitches
Pattern Notes
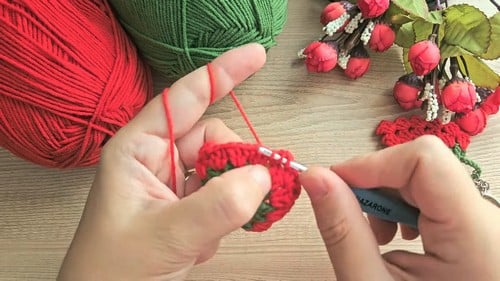
The strawberry body shaping is worth reading carefully before starting. Rounds 2 and 3 use a repeat of 3 (three increase groups), while rounds 4 and 5 shift to a repeat of 6 (six increase groups). This is not a mistake — it creates a slightly pointed base from the early compact shaping, which is what gives the finished body its strawberry silhouette rather than a plain sphere. The arithmetic checks out: 6, 9, 12, 18, 24.
One thing the pattern leaves unspecified is the spacing of the leaves. The magic ring for the leaf crown starts with 5 sc, and each of the 5 leaves is anchored back into the ring with a sl st after the leaf sequence. The instructions do not say to sl st into a specific ring stitch between leaves, so the spacing of the leaves around the ring is left to the maker’s eye. Distribute the anchor sl st of each leaf into a different section of the ring rather than returning to the same spot.
No safety eyes are used in this pattern — embroidered seeds only. There is no stuffing in the leaf crown.
Pattern Instructions
Strawberry Body (Red Yarn)
Round 1: MR, work 6 sc into the ring. [6]
Round 2: [Sc 1, inc] — repeat 3 times. [9] — checkpoint: a small, slightly uneven disc at this point. Nine stitches from a 6-stitch base means only three increases, so the shape is less perfectly round than a standard amigurumi opening. That is correct — the strawberry tapers to a point at the base and the asymmetric early shaping contributes to that.
Round 3: [Sc 2, inc] — repeat 3 times. [12]
Round 4: [Sc 1, inc] — repeat 6 times. [18]
Round 5: [Sc 2, inc] — repeat 6 times. [24] — checkpoint: the piece should now be lying flat and be roughly 5cm across. If it has started cupping into a bowl already, your tension is tight and the body will be smaller than expected. If it is ruffling at the edge, recount round 4 or 5 — an extra increase has likely crept in.
Rounds 6 to 9: Sc in each stitch around, for 4 rounds. [24] — checkpoint: by round 9 the body should be a clear open bowl with straight sides, deep enough that you can see the early pointed base forming at the crown. The sides should be climbing straight upward with no flare outward.
Round 10: [Sc 2, dec] — repeat 6 times. [18]
Stuffing: Fill the strawberry firmly with fiberfill through the opening before it narrows further.
Round 11: [Sc 1, dec] — repeat 6 times. [12]
Round 12: Dec 6 times. [6] Fasten off. Thread the tail through the front loops of the remaining 6 stitches, pull closed, and weave in the end.
Leaf Crown (Green Yarn)
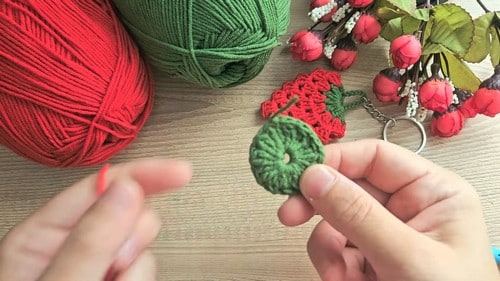
Foundation: MR, work 5 sc into the ring. [5]
Leaf 1: Ch 4. Starting from the 2nd ch from the hook, work: 1 sl st in the next ch, 1 sc in the next ch, 1 hdc in the last ch. Sl st back into the magic ring to anchor the leaf. — checkpoint: the leaf should be a small pointed spike angling away from the ring, with the hdc at the tip sitting noticeably taller than the sl st at the base. If the leaf is flat and even, check that the stitch gradient was applied — sl st shortest, hdc tallest.
Leaves 2 to 5: Repeat the leaf sequence 4 more times from the same ring, anchoring each with a sl st back into the ring. — checkpoint: all five leaves should fan outward evenly from the centre ring, like a small star. If they are crowding together on one side, the sl st anchors are not spacing around all 5 ring stitches. Adjust the anchor point for each leaf so they distribute evenly.
Fasten off. Leave a long tail for sewing.
Assembly
Embroider the seeds before sewing on the leaf crown, because the crown covers the top of the body and once it is in place the needle has less room to work around it. Scatter small straight stitches or V shapes across the body in yellow or white yarn — five to eight seeds is enough at this scale. There is no placement instruction in the pattern, so distribute them across the front face roughly where seeds sit on a real strawberry, which is more concentrated near the centre and sparser near the base tip.
Position the leaf crown on the top of the closed body and pin it before sewing. The crown should sit centred on the closing point, with the five leaves fanning out symmetrically rather than all pointing in the same direction. Sew through the ring base of the crown into the top stitches of the body using the long tail, working in several directions so the crown cannot rotate.
Thread the keychain ring through the centre of the leaf crown — through the magic ring itself or through the sl st anchor points — before weaving in the green tail, since the ring is easier to thread while the tail is still accessible.
Tips
- Why I love this one: the seed embroidery at the end is the thing that makes it read as a strawberry rather than just a red teardrop. Two minutes of stitching, total difference.
- Tension: That tension is the main thing to manage. Cotton yarn is the best choice for a piece that will see daily handling — it pills less than acrylic under friction, and the stitch definition on the seed embroidery stays crisp rather than sinking into the pile.
- Stuffing: Firm but not hard. The strawberry body is a small piece that lives in a pocket or clips onto a bag, and loose stuffing flattens under compression within a few weeks. Pack fiberfill in small amounts through the round 10 opening before it closes further — add a little, squeeze the body from outside to check evenness, add more if needed. The base of the strawberry (the pointed tip that was the magic ring) should feel dense and hold its shape under light pressure. Overstuffing shows as stitches at round 5 pulling open into small ladders, which lets the colour of the fiberfill peek through the red yarn. If that happens, take some out before round 11.
- Finishing: Check that all yarn tails are woven at least two centimetres into the body before trimming — the seed embroidery tails in particular, since short tails on the surface can pull free. Thread the keychain ring through at least two anchor points on the leaf crown rather than one single loop of yarn, since a single thread under the weight of keys will eventually cut through. For children under three, embroider the seeds with tails buried inside and skip plastic hardware entirely.
- Leaf Arrangement: Before fastening off, hold the crown flat in your hand and use your fingers to arrange the leaves evenly. The green yarn is still slightly malleable after working and you can shift the leaves into position. A very light mist of water and letting it dry flat will hold the arrangement. If one leaf is significantly misaligned, it may be anchored at the wrong point on the ring — the sl st returns should be evenly spaced across all five ring stitches.
- Recognisability: Technically no, but practically yes. Without the seeds the finished body is a small red teardrop that takes a moment to read as a strawberry. The seeds are what communicate it immediately. Ten minutes of embroidery on a piece this small is what the whole recognisability is riding on.
- Hardware: Thread the ring through at least two points on the crown base rather than through the centre of the magic ring alone. The magic ring is a single strand of yarn and a heavy keyring will stretch or snap it over time. Two anchor points spread the load and the crown sits level.
FAQs
Do I need to use a specific hook size?
The pattern does not specify a hook size, but the finished size estimate is based on DK yarn on a 3.0mm hook. Use a hook size appropriate for your yarn weight to achieve the correct gauge.
Can I make this larger?
You can scale the size by using heavier yarn and a larger hook, but you will need to adjust the stitch counts and rounds accordingly. The current pattern is designed for a mini keychain size.
Is this pattern suitable for beginners?
Yes, the construction is simple enough for makers who have basic shaping down. Beginners can follow the video tutorial often provided with such patterns to crochet along step-by-step.
Why are the seeds embroidered instead of crocheted?
Embroidery allows for precise placement and a cleaner look on the small surface area of the mini strawberry. It also avoids adding bulk to the body.
How do I attach the keychain ring securely?
Thread the ring through at least two anchor points on the leaf crown base, such as the sl st anchor points or the magic ring itself, to distribute the weight and prevent the yarn from snapping.
Pin This Crochet Pattern!