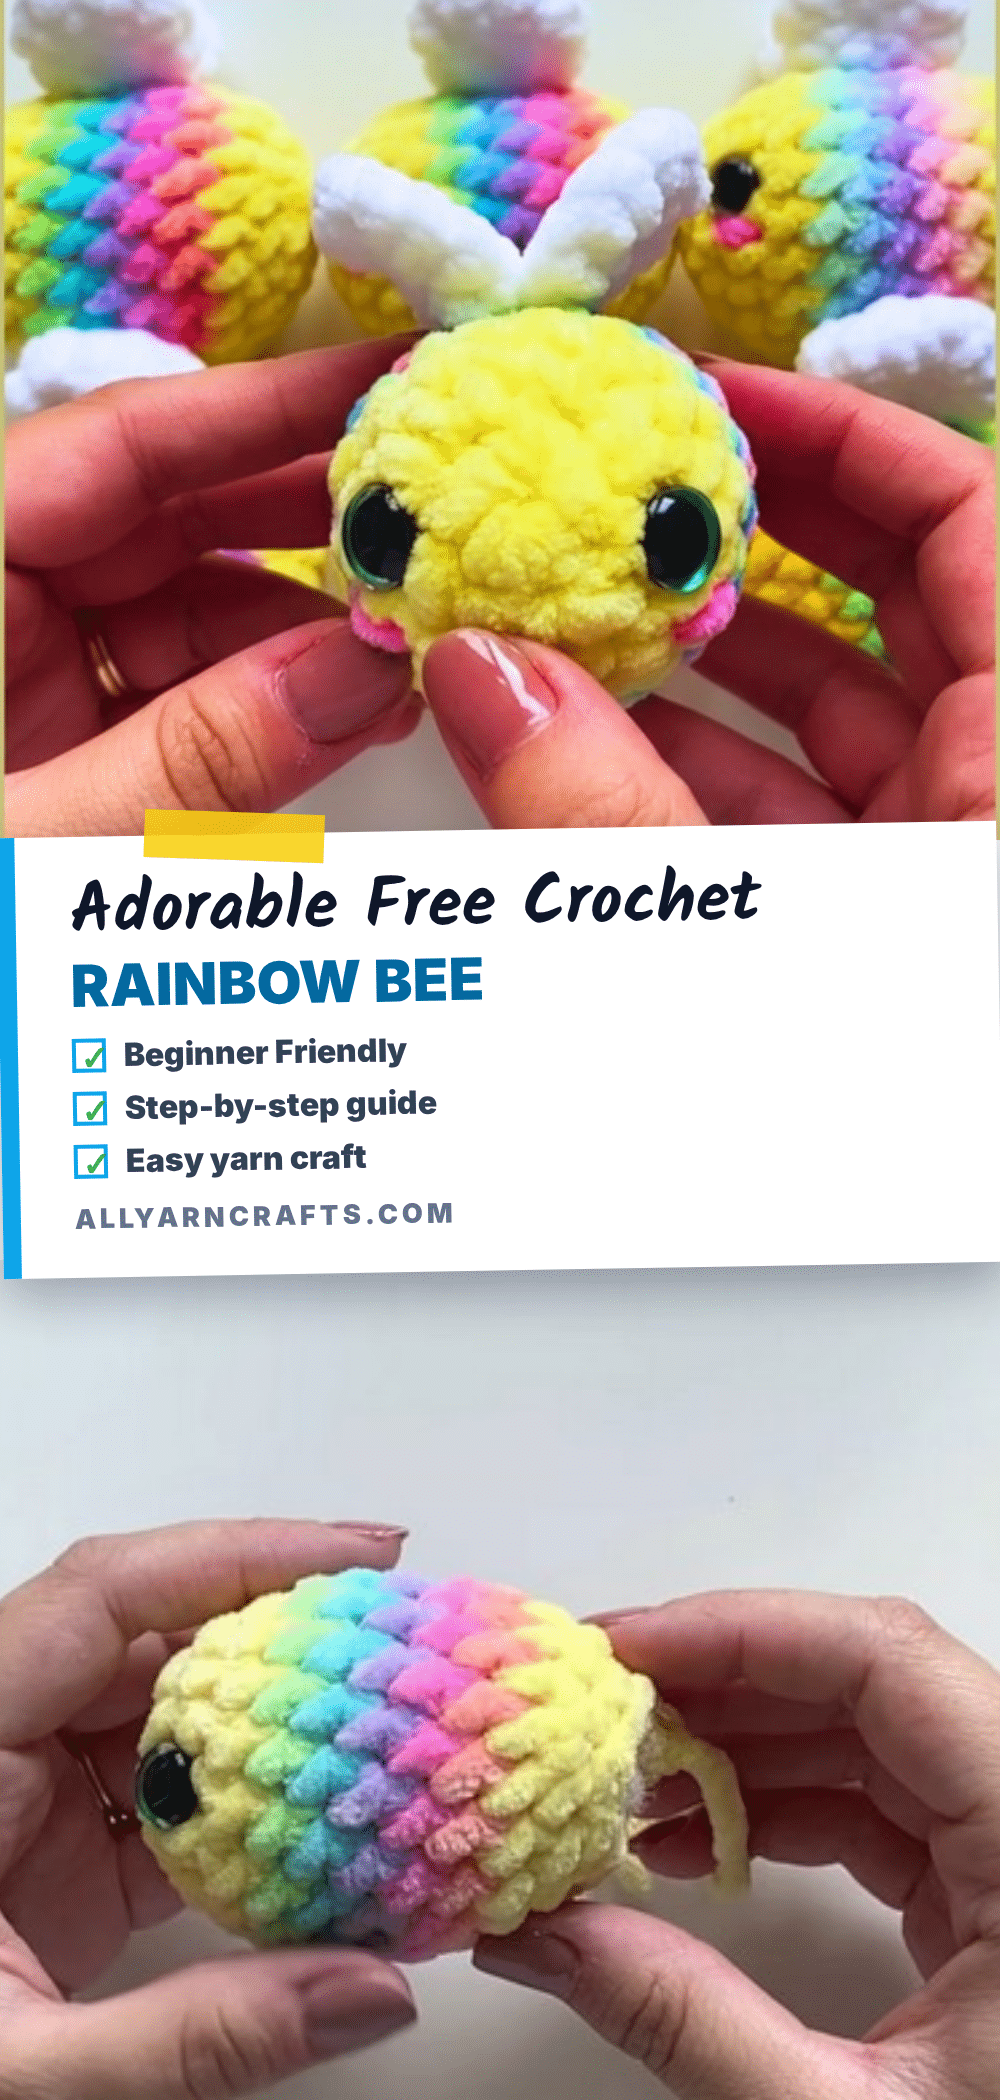
There is something undeniably cheerful about a rainbow bee, a tiny burst of color that feels like a pocket-sized celebration. I found myself drawn to this project not just for the whimsical design, but for the specific texture of the yarn I had waiting in my stash. I chose a chunky velvet super bulky weight, the kind that feels like a soft cloud against your fingertips. The decision to use a plush, slightly stiff velvet was intentional; it gives the wings a natural structure that helps them stand upright without needing wire or heavy stiffeners. As I worked through the yellow head and the vibrant stripe sequence, the tactile experience of the yarn made the frequent color changes feel less like a chore and more like a rhythmic, meditative part of the process.
Yarn and Color Notes
The visual appeal of this amigurumi relies heavily on the contrast between the soft, plush body and the crisp lines of the rainbow stripes. The original pattern utilizes a specific sequence—green, blue, purple, pink, and orange/peach—that creates a warm-to-cool-to-warm arc rather than a strict spectrum. This works beautifully because the yellow head anchors the warm end of the palette.
If you are looking to customize the character of your bee, the structure remains the same regardless of the yarn choice. You can opt for pastel versions of these colors for a softer, nursery-friendly aesthetic. Alternatively, swapping the rainbow sequence for alternating black and yellow (or brown and cream) transforms the piece into a classic bee. For those who want to skip the color changes entirely, using a single variegated rainbow yarn for the body allows the stripes to emerge naturally from the fiber itself, simplifying the construction for a true beginner project.
Project Overview
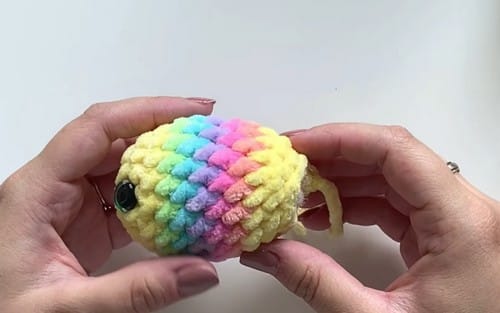
This mini striped bee amigurumi is designed to brighten a windowsill or serve as a charming gift. It is an easy intermediate project that focuses on color changes and invisible decreases rather than complex shaping. The finished toy is firm, compact, and light enough that the wings do not require internal support to stay upright.
Quick Facts
- Finished Size: Approximately 6–7 cm long (oval-shaped body) at super bulky weight.
- Difficulty: Easy intermediate (requires color changes and invisible decreases).
- Estimated Time: 2–3 hours, including wings and assembly.
- Piece Count: 2 pieces (Bee body and Wings).
Materials and Tools
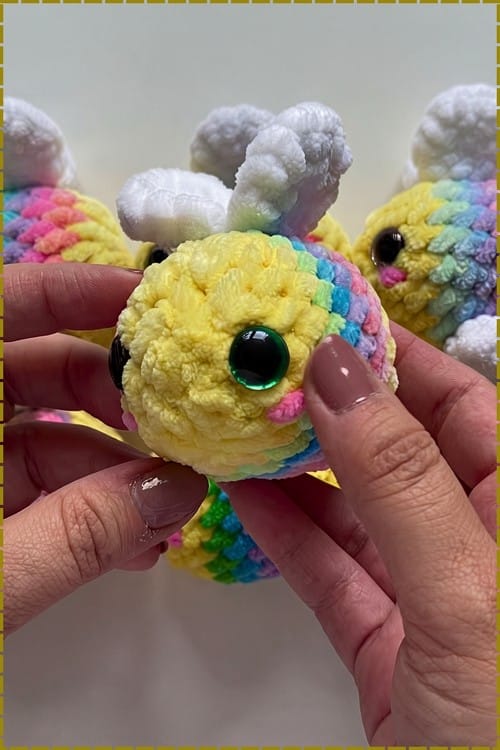
- Super Bulky Weight Yarn (Size 6): Approximately 30–40 g in yellow for the body.
- Stripe Yarns: Small scraps of green, blue, purple, pink, and orange/peach (under 5 g each).
- Wing Yarn: White yarn in the same weight as the body (pale gold, pale pink, or iridescent also work well).
- Optional: Pink yarn for cheek stitches.
- Crochet Hook: 4.5 mm hook, or sized to your yarn.
- Safety Eyes: Two 12 mm eyes.
- Stuffing: Polyester fiberfill.
- Notions: Stitch marker, yarn needle, and scissors.
Pattern Notes
The body is worked in continuous rounds starting from a chain-2 space rather than a magic ring. While both methods create a center ring, the chain-2 start provides a clean, tight finish at this yarn weight. The wings are worked as two small flat circles, sewn together, and then attached to the back of the body as a single unit.
Because the stripe order is what makes this read as a rainbow, the sequence matters more than the individual colors. Ensure you change colors at the same point on every round so the stripes line up down the back instead of spiraling off. The back-loop slip stitch at the start of each stripe round is crucial; it creates the visible ridge line that defines each band of color.
Pattern Instructions
Bee Body
Work in continuous rounds with a stitch marker. Move the marker at the start of every round.
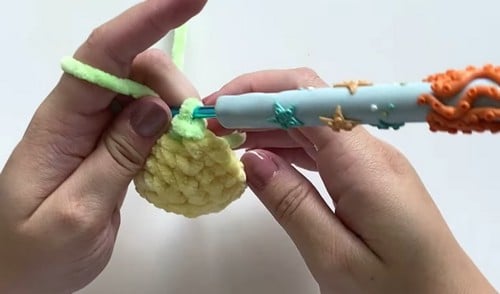
Rnd 1: Make a slip knot, ch 2, work 8 sc into the 2nd ch from the hook [8]
Rnd 2: Inc in each st around [16] — Checkpoint: A flat circle of 16 stitches. Should lie completely flat with no curling at the edge. This is the widest the bee’s head section will get.
Rnd 3: (7 sc, inc) twice around [18] — Checkpoint: Still nearly flat but the edge has started to tilt very slightly upward. At 18 stitches you’re now at the body’s working circumference for the next several rounds.
Rnd 4: Sc in each st around, changing to green on the final stitch of this round [18]
Eye Placement
Insert safety eyes now, between rounds 2 and 3 of the yellow section. Place them in the yellow fabric just above where round 3 sits, spacing them roughly 5–6 stitches apart and centering them on the face. Seat the washers firmly on the inside before continuing. The opening is still wide enough to reach in easily at this stage; do not wait until the color change rounds are complete, as the washer will be much harder to seat cleanly later.
Note: For toys going to children under three, skip the safety eyes entirely and embroider them instead using black yarn or floss, with two or three vertical stitches per eye worked through to the inside before stuffing.
Rainbow Stripes
Each stripe round begins with a slip stitch into the back loop of the first stitch of the round, then continues with regular sc in both loops for the remainder of the round. This back-loop slip stitch at the color transition is what creates the visible ridge line between each stripe.
Green: 1 round, sl st in BLO of first st, then sc in both loops to end [18]
Blue: 1 round, sl st in BLO of first st, then sc in both loops to end [18]
Purple: 1 round, sl st in BLO of first st, then sc in both loops to end [18]
Pink: 1 round, sl st in BLO of first st, then sc in both loops to end [18]
Orange/Peach: 1 round, sl st in BLO of first st, then sc in both loops to end [18]
Yellow: 1 round, sl st in BLO of first st, then sc in both loops to end [18]
Checkpoint: Six clear stripe bands sitting below the yellow head section. Each stripe ridge should be visible as a defined line. If the ridges are blurring into each other, the back-loop slip stitch at the start of each stripe wasn’t worked.
As you work through the stripe rounds, tie the tail ends of each color together inside the body as you go rather than leaving them all to weave in at the end. At size 6 weight, the tails are thick, and leaving them all loose makes closing the body difficult.
Decreasing and Closing
Rnd 11: Sc in each st around [18]
Rnd 12: (1 sc, invisible dec) around [12] — Checkpoint: The body is closing in. Stuff now if you haven’t already, before the opening narrows further. The bee should look like a stuffed oval from the side at this point, with the yellow head rounding out at the top.
Rnd 13: (1 sc, invisible dec) 4 times [8]
Stuffing: If not already done, fill the body firmly now through the remaining opening.
Closing: Thread yarn needle through the front loops of the remaining 8 stitches, pull tight to close, fasten off, and weave in the end.
Wings
The wings are two small flat circles worked separately, then sewn together and attached as a single unit.
Rnd 1: 7 sc in magic ring or chain-2 space [7]
Rnd 2: Inc in each st around [14]
Sl st to fasten off. For the first wing, leave a short tail; for the second, leave a long tail of approximately 30 cm for sewing.
Checkpoint: Two flat ovals, roughly 3–4 cm across at this yarn weight. They should match in size before you join them.
Assembly
Order of assembly matters here because the wings cover their own attachment point.
- Join Wings: Hold both wings together with wrong sides facing and sew around the outer edge to join them into one layered piece, using the long tail. Do not stuff. The double-layer gives the wings body and keeps them from curling.
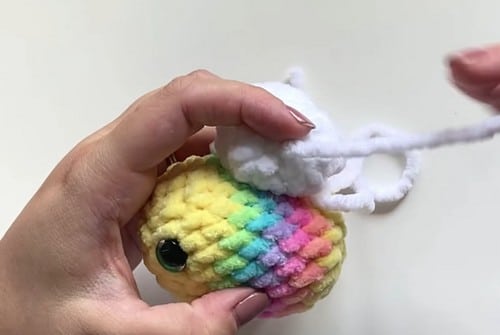
- Pin Wings: Pin the joined wings onto the top of the bee body, centered over the stripe section rather than the yellow head. The wings should angle slightly outward and upward; flat wings lying parallel to the body surface look deflated. Pin from the front and check the angle before sewing.
- Sew Wings: Sew the wings to the body through the center join point, anchoring into the body fabric with several passes so the wings don’t rotate with handling.
- Add Cheeks (Optional): Thread pink yarn onto a needle and work two or three small horizontal stitches under each eye, directly on the yellow head surface. The position relative to the eyes matters more than the absolute location—start just below and slightly outward from each eye and adjust before committing more than one stitch.
Tips
- Stripe Ridges: The back-loop slip stitch at the start of each stripe round is easy to forget after the first two colors because the rhythm of plain sc takes over. Put a second stitch marker on the first stitch of each new round as a reminder to switch to BLO for the opening stitch only.
- Managing Tails: Tying color tails together inside the body as you go is faster and neater than weaving them in at the end. At size 6 weight, these ends are bulky enough to affect the stuffing if left loose.
- Wing Join: For a cleaner wing join, hold the two wing pieces together and whip stitch around the outside edge rather than trying to sew through both layers at once from the center. Working from the outside in keeps the edges aligned.
FAQs
Can I use a different yarn weight for this pattern?
While this pattern is designed for super bulky weight (size 6) to create a 6–7 cm bee, you can use any weight yarn. However, you will need to adjust your hook size and potentially the stitch counts to achieve a similar finished size and fabric density.
How do I keep the stripes from spiraling?
To keep stripes straight, change colors at the exact same stitch position in every round. The pattern instructs you to work a slip stitch in the back loop of the first stitch of the new color round; this anchors the color change and prevents the spiral effect common in amigurumi.
Can I make this bee safe for toddlers?
Yes. To make the bee safe for children under three, omit the plastic safety eyes. Instead, embroider the eyes using black yarn or floss, working the stitches through to the inside of the head and knotting securely. This eliminates any small detachable parts.
Why are the wings made of two separate circles?
The wings are worked as two separate flat circles and then sewn together to create a double-layered effect. This adds body and stiffness to the wings, helping them stand upright without needing wire or additional stiffening materials.
What if I don’t like the rainbow colors?
The structure of the pattern allows for easy customization. You can replace the rainbow sequence with classic black and yellow stripes, use pastel colors for a softer look, or use a single variegated yarn for the entire body to create automatic stripes without any color changes.
Pin This Crochet Pattern!