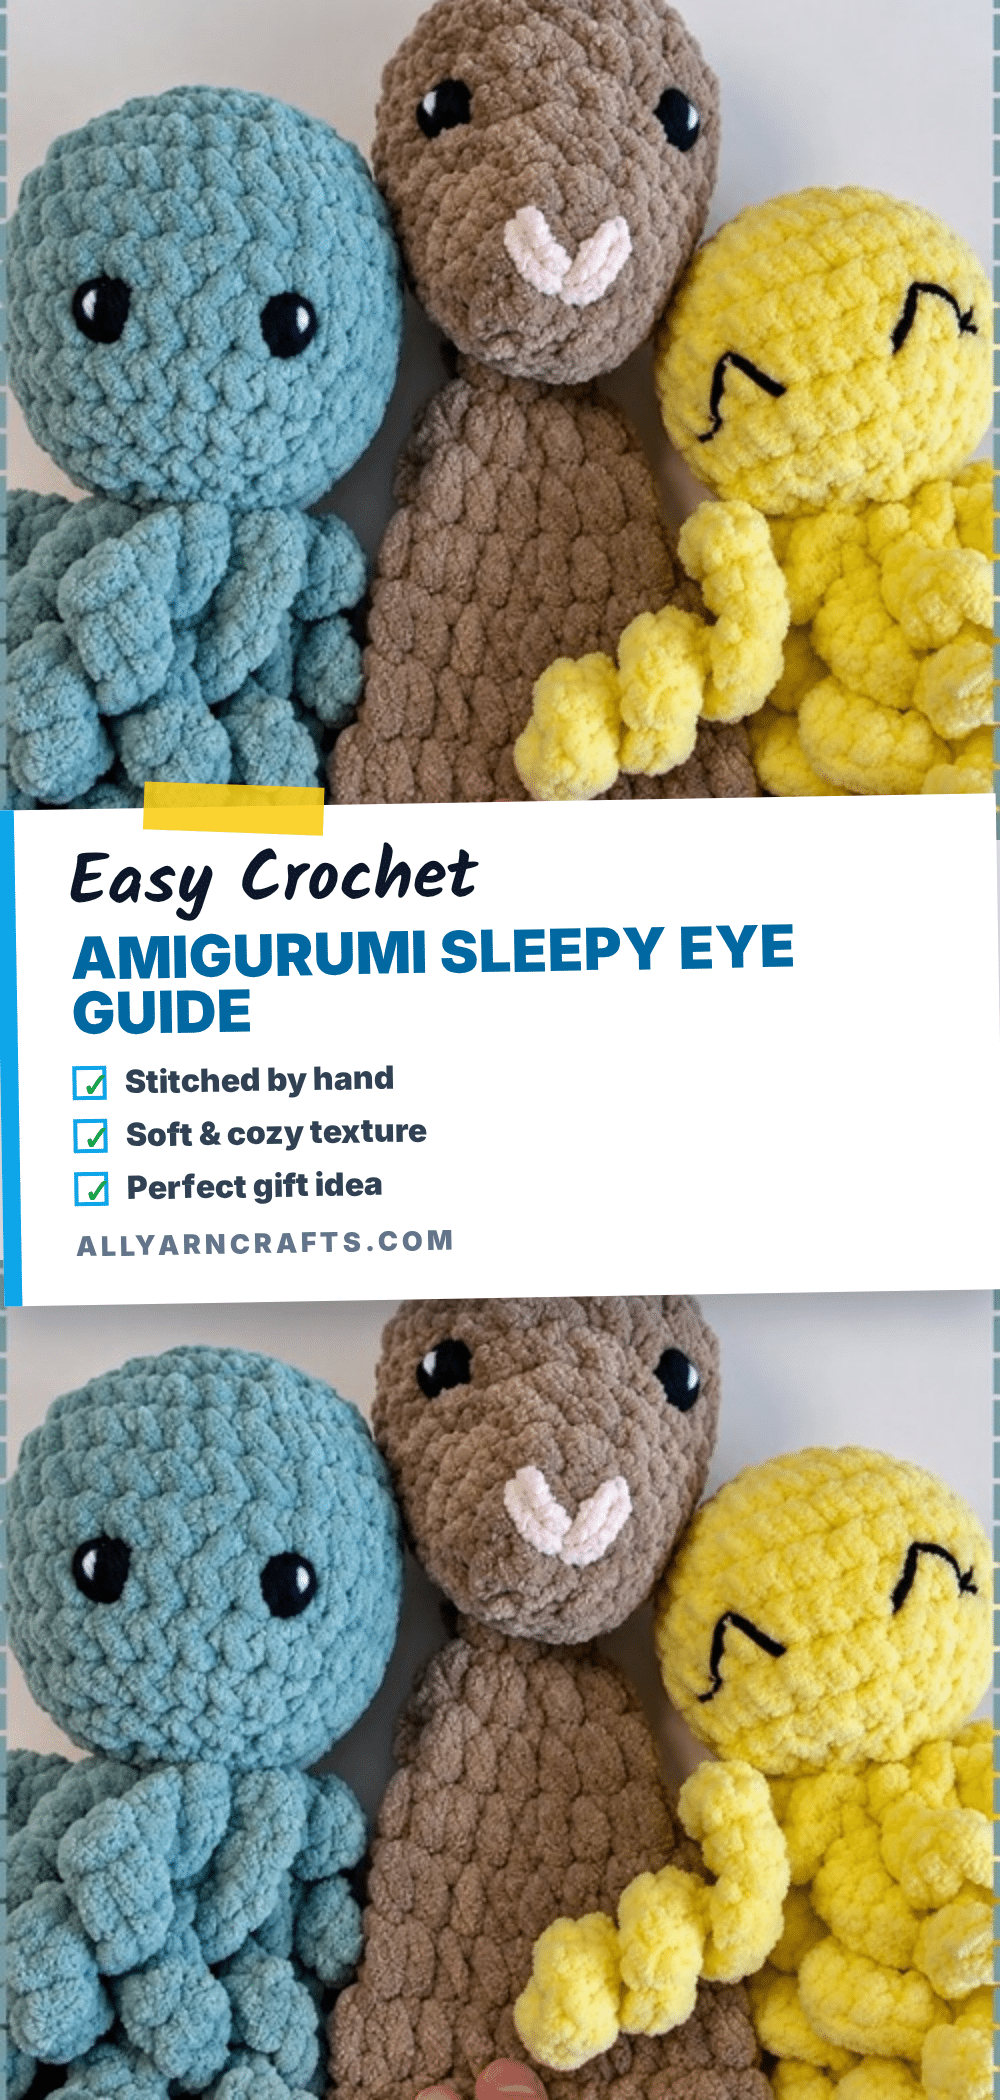
Have you ever finished a cute amigurumi head, only to realize you don’t have the right-sized safety eyes, or you want a softer, more traditional look for a baby gift? It is a common worry for makers, but switching to embroidered eyes is easier than it looks. This guide breaks down three distinct styles—sleepy curves, open ovals, and wagon wheels—so you can give your plushies the perfect expression without needing special hardware.
Our Touch: Maker Notes
Choosing embroidered eyes is often about more than just running out of safety eyes; it is about the soul of the character. When you stitch the face by hand, you control the exact mood. A slightly drooped curve can turn a generic bear into a sleepy, comforting companion for a nursery basket. The texture of chenille or cotton yarn adds a tactile softness that plastic eyes simply cannot match. I love using these techniques on small faces where safety eyes might look too large or aggressive. The “twinkle” highlight is the secret weapon here—it brings life to the fabric, making the character feel alert and friendly rather than flat. Whether you are making a holiday ornament or a winter market plushie, these hand-stitched details elevate the project from a simple craft to a keepsake.
Project Overview
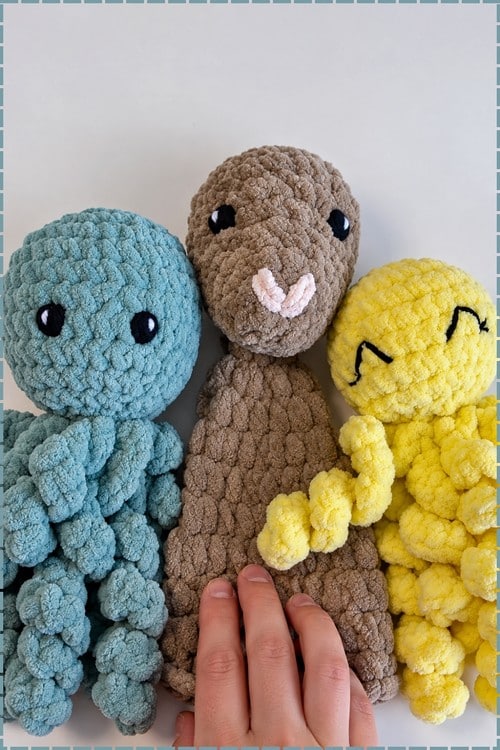
This is an embroidery technique reference, not a standard crochet pattern. There are no rounds, no stitch counts, and no pieces to construct. The goal is to replace safety eyes with embroidered ones that are safer for young children and more expressive on small faces. These methods work on any finished amigurumi head, provided the head is fully stuffed and closed before you begin.
Materials
- Black yarn in 4 weight acrylic or cotton for all three eye methods
- White yarn for the twinkle highlight in methods 2 and 3
- Metal tapestry needle with a blunt tip
- Safety pins for marking eye placement
- Scissors
Difficulty
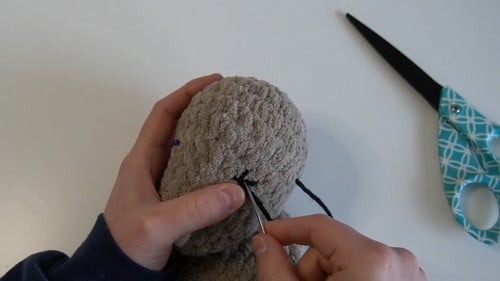
Intermediate — requires patience, spatial awareness, and comfort working with a needle through stuffed fabric.
Before You Start
Firm stuffing is essential. Loose or underfilled heads cause embroidery stitches to sink into the surface and lose their shape. If the head feels at all soft, add more filling through any accessible seam before starting. Mark both eye positions with safety pins before stitching anything. This is the step that prevents the most common failure—asymmetric placement. Step back from the head and look at it from arm’s length after pinning to ensure the spacing feels right.
The Methods
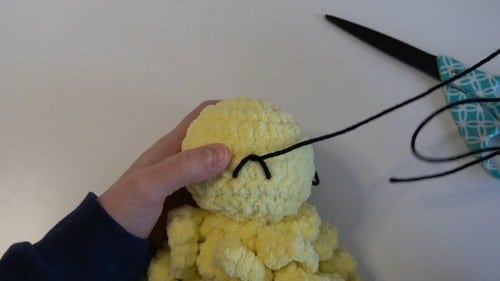
Method 1 — Closed Sleepy Eye
This method suits small round characters like cats, bears, or bunnies, where a closed or half-closed eye reads as relaxed.
- Use safety pins to mark four points: the outer corner and inner corner of the first eye, and the inner and outer corner of the second eye, leaving 2 to 3 stitches for each eye width.
- Insert the needle from the back of the head and bring it out at the first pin of one eye, leaving a tail at the back for tying off later.
- Checkpoint: The needle exit point is where the eye corner will sit. Step back and look at this position from the front before continuing. Adjust the pin if it does not look right.
- Insert the needle into the second pin of the same eye (the other corner).
- Before pulling the yarn tight, bring the needle out one row directly above the centre of the two base points. This third point creates the top of the triangular curve.
- Loop the yarn over the needle and pull through to create the curved eye shape.
- Insert the needle back into the same top hole, going over the yarn to lock the stitch.
- Optional eyelashes: Bring the needle out at the starting corner and work two small diagonal stitches, approximately one stitch apart.
- Move to the second eye and repeat the same steps in reverse to mirror the first eye.
- Checkpoint: Hold the head at arm’s length and compare both eyes. The curve of each arc should be the same depth. If one looks flatter than the other, the anchor point was placed differently—adjust before tying off.
Method 2 — Simple Open Whip Stitch Eye
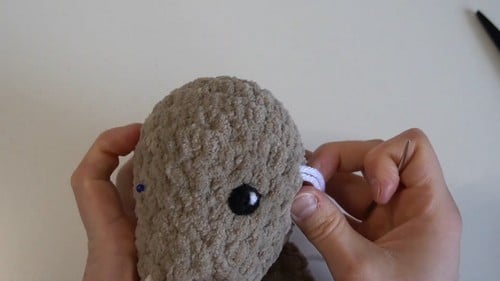
This is the most versatile method, creating a classic wide-awake oval expression suitable for everything from tiny keychains to large stuffed toys.
- Mark the centre of each eye position using safety pins, choosing a natural gap between crochet stitches.
- Insert the needle from the back of the head and bring it out at the bottom of the selected stitch position.
- Checkpoint: This first exit point is the base of the eye. It should sit slightly above the horizontal midline of the face, not at the centre.
- Insert the needle back into the top of the same stitch to create one whip stitch.
- Repeat this whip stitch 6 to 9 times through the same two holes to build thickness.
- As stitches accumulate, gently spread them outward to create an oval shape rather than letting them stack into a round blob.
- Thread white yarn onto the needle and bring it out on the upper portion of the black oval.
- Create a small vertical stitch approximately three-quarters of the way down the eye to form the twinkle highlight.
- When tying off, pass the needle through the white highlight stitch before knotting at the back. This keeps the highlight visible and prevents it from sinking.
- Repeat for the second eye.
- Checkpoint: The two ovals should be the same height and the same width. A slight difference in stitch count creates a visible size difference at this scale. Count your whip stitches on the first eye and match that count on the second.
Method 3 — Circular Wagon Wheel Eye
This method produces the most defined result, suitable for characters where large round eyes are central to the design.
- Mark the centre point of each eye position with a safety pin.
- Insert the needle from the back of the head and bring it out at the exact centre of the first eye position.
- Create a five-point star with black yarn, similar to an asterisk. The size of this star determines the final size of the eye.
- Checkpoint: The star spokes should be evenly spaced. Hold the head at arm’s length—if one spoke is noticeably longer than the others, the eye will look lopsided. Adjust before weaving.
- Bring the needle out near the centre of the star.
- Begin weaving the yarn over and under the star spokes in a circular motion, working outward from the centre without piercing the crochet fabric.
- Continue weaving until the spokes are completely covered and a solid circle has formed.
- Insert the needle through the edge of the circle and bring it out through the back of the head.
- Add a small white stitch on the upper corner of the circle for the twinkle highlight.
- Repeat for the second eye.
- Checkpoint: Lay the two completed wagon wheel eyes side by side with the head facing you. They should be the same diameter. If one is larger, that spoke was longer—accept it or unpick and rebuild the star with shorter spokes.
Assembly and Finishing
Complete one eye fully before starting the second, including tying off and burying the tails. Then recreate the second eye while comparing both sides constantly. Use pins again when positioning the second eye if the spacing felt unclear on the first. The order matters: finish, evaluate, then replicate. Trying to work both eyes simultaneously produces neither well.
After completing both eyes, exit the needle at the same hole where the yarn originally entered. Tie two firm knots at the back of the head. Use the needle tip or the blunt end of a crochet hook to push the knot and yarn tails deep into the stuffing until they are completely hidden. Check the eye from the front after burying the tail, as the act of pushing the knot inward can shift the outermost stitch slightly.
Three Tips for Success
- Pinning is Key: The most important step in all three methods is placing both pins before you pick up the needle. Asymmetric eyes are the most common dissatisfaction with embroidered faces, and it is almost always caused by pinning one eye at a time.
- Consistent Holes: For Method 2, use the same two holes every time. Every pass of the whip stitch goes through the bottom hole and the top hole only. Using slightly different holes on each pass creates ragged, uneven edges.
- Manage Tension: For Method 3, keep the weaving yarn slightly looser than feels right. Tension tightens as the circle fills in. Starting too tight collapses the circle into an oval by the time you finish.
Toy Safety
The point of this guide is to replace safety eyes with embroidered ones that are safer for young children. Ensure all knots are buried deep in the stuffing and cannot be pulled out. This makes the toy suitable for baby showers and young children who might otherwise pull off plastic safety eyes.
Frequently Asked Questions
Can I use this guide on a head that isn’t fully stuffed?
No. Loose or underfilled heads cause embroidery stitches to sink into the surface and distort the shape. Ensure the head is firm before starting.
What yarn weight should I use for the eyes?
Use black yarn in 4 weight acrylic or cotton for all three methods. For the highlight, use white yarn.
How do I keep the eyes symmetrical?
Always mark both eye positions with safety pins before you start stitching. Step back and view the head from arm’s length to check alignment before committing to the stitches.
Can I add eyelashes to the open whip stitch eye?
The guide specifically suggests eyelashes for the Closed Sleepy Eye (Method 1). For the open eyes, the focus is on the oval shape and the twinkle highlight.
Why does my wagon wheel eye look lopsided?
This usually happens if the spokes of the initial star are not evenly spaced. Check the length of each spoke before you begin weaving the circle.
For more inspiration on bringing your characters to life, check out our adorable crochet unicorn doll or learn how to create a cute crochet amigurumi bunny with these face techniques.
Pin This Crochet Pattern!