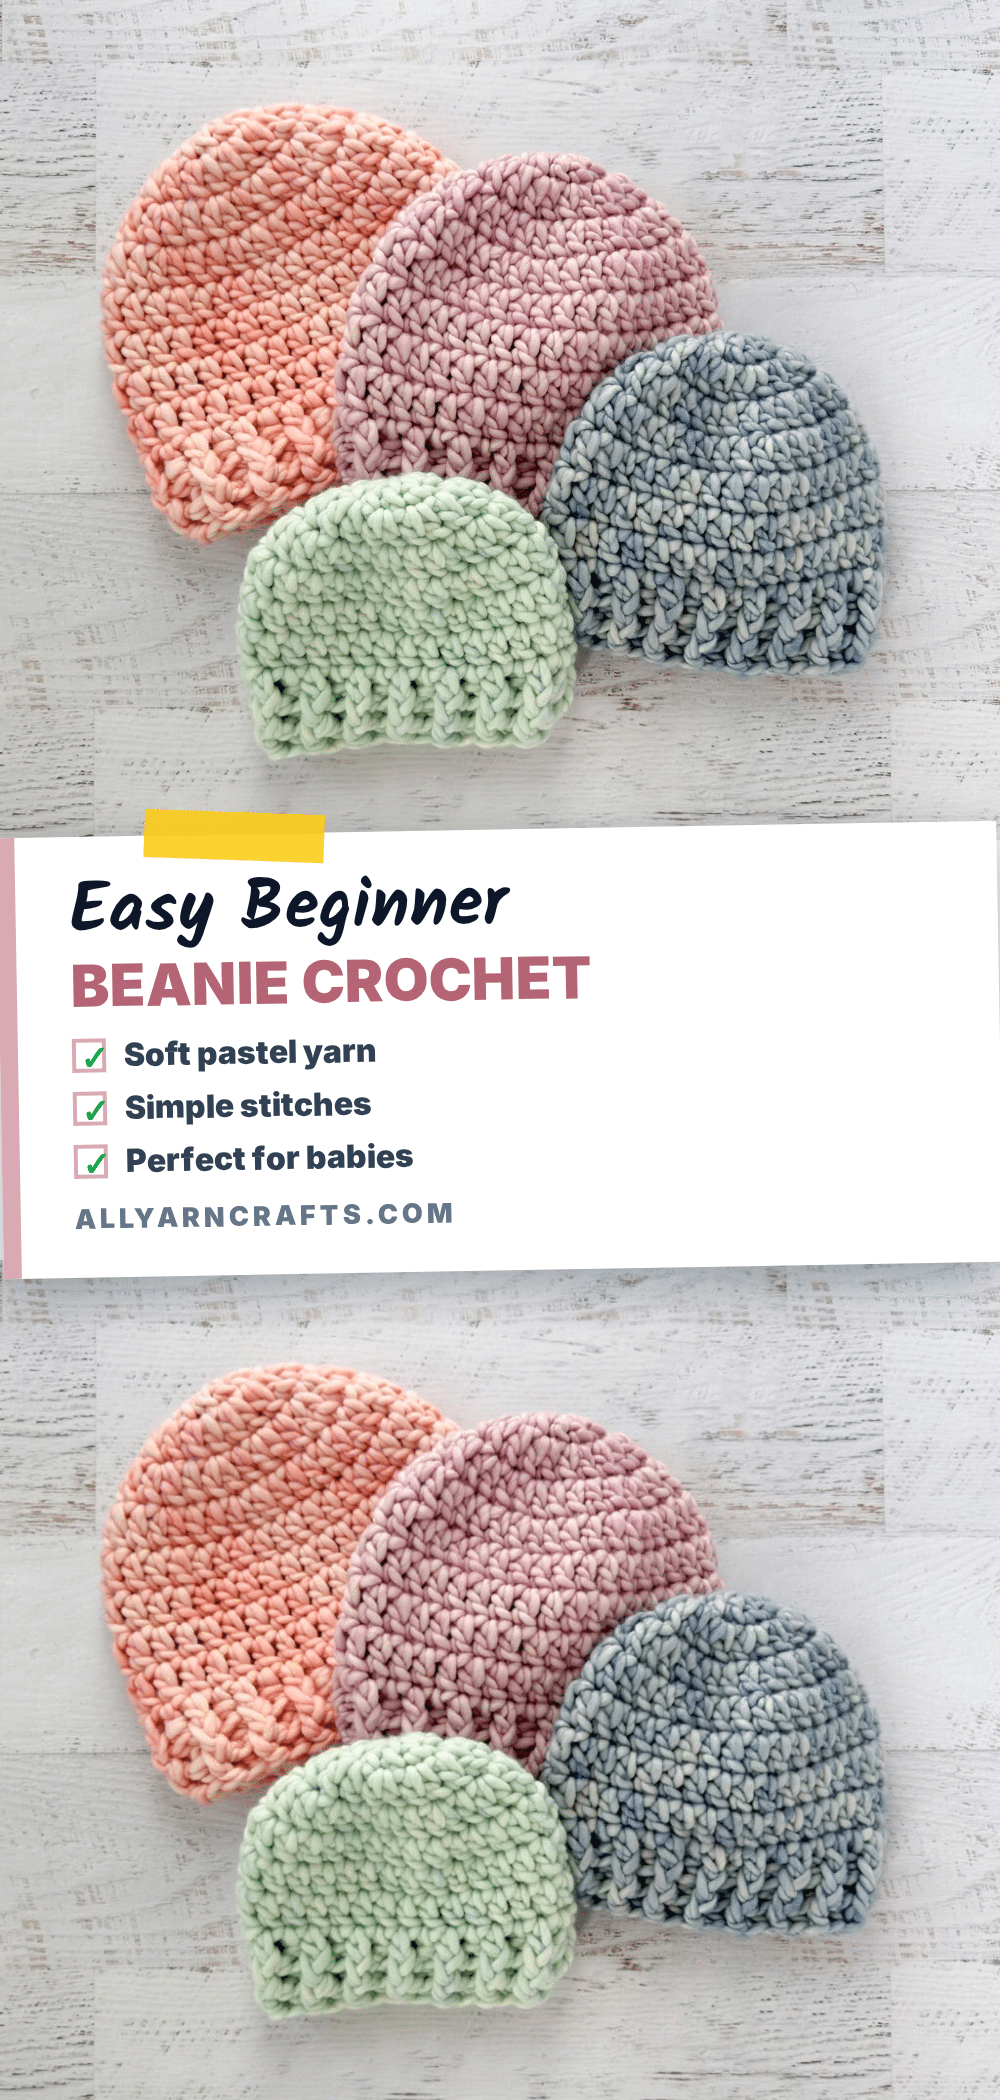
There is something incredibly satisfying about holding a finished crochet hat that looks like it came straight off a boutique shelf. This beanie is tidy, squishy, and undeniably useful, offering a cozy warmth that feels like a warm hug on a chilly day. It is the kind of project that proves you don’t need complex techniques to create high-quality results. The texture is plush, the shape is structured, and the final product is a giftable treasure that beginners can craft with confidence and pride.
Why the Finished Piece Stands Out
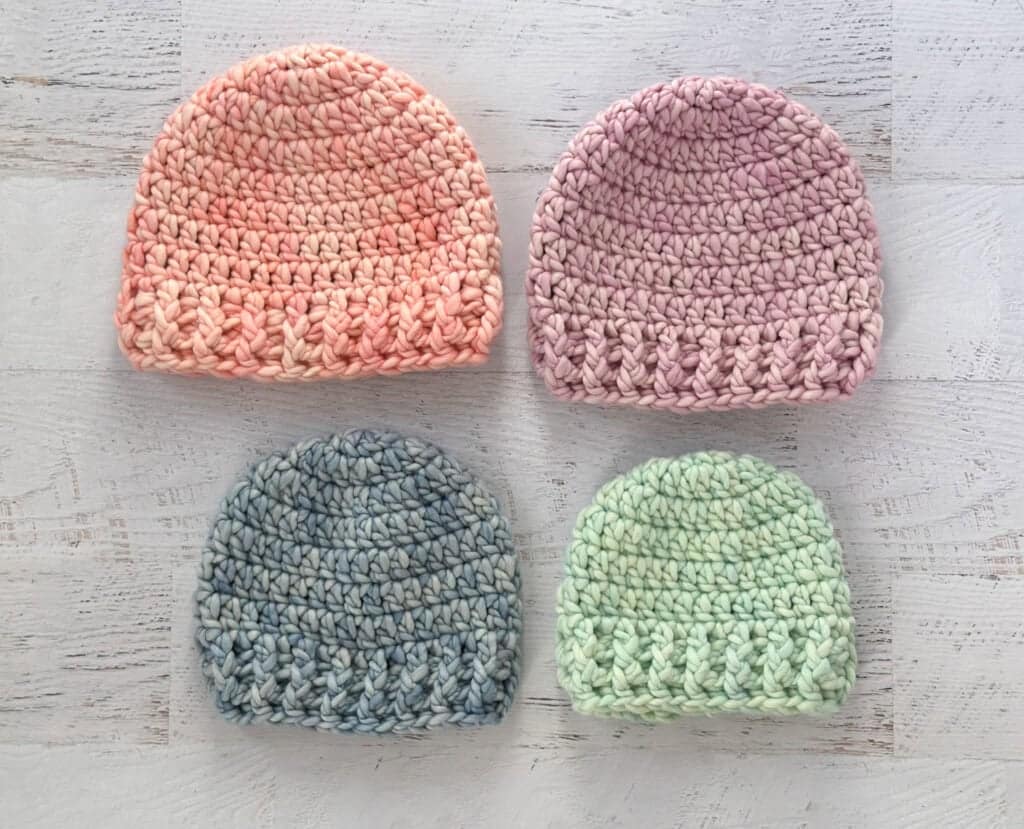
What makes this beanie truly special is the interplay between the luxurious yarn and the clever stitch work. The super bulky weight of the merino wool creates a dense, warm fabric that blocks out the wind while remaining soft against the skin. The semi-solid colorways of the recommended yarn add a depth of color that shifts subtly as you wear it, giving the hat a handcrafted, artisanal feel. The ribbed brim provides a snug, stretchy fit that stays in place without being tight, while the main body of the hat maintains a beautiful, rounded silhouette. It is a perfect balance of comfort and style, making it a wardrobe staple that pairs effortlessly with scarves, coats, or casual everyday wear.
Project Overview
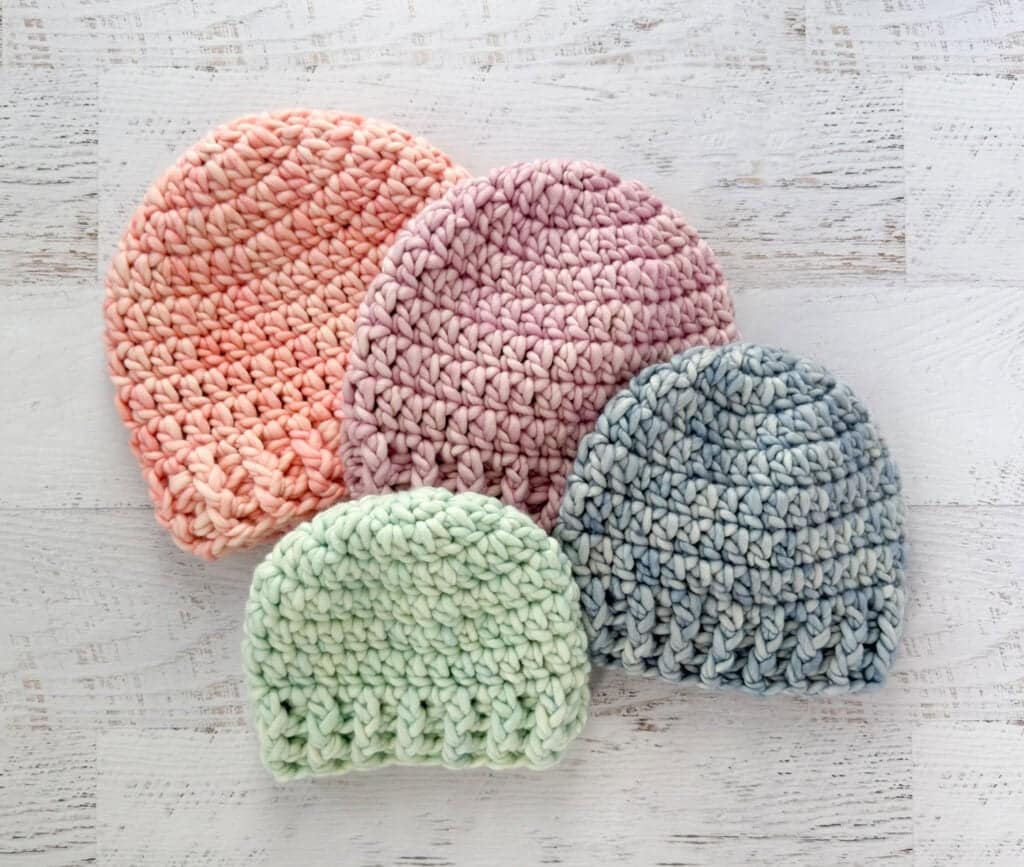
The Basically Brilliant Beginner Beanie is a top-down crochet hat worked in continuous rounds. It features a classic double crochet body and a ribbed brim created with front and back post stitches. The pattern is designed for beginners, utilizing simple increases to shape the crown and a unique “stacked single crochet” technique to create a clean, professional edge at the start of each round. The super bulky yarn ensures this project works up quickly, making it an ideal weekend craft.
Materials
- Yarn: Malabrigo Rasta, size 6 super bulky weight, 100% merino wool (90yds/82m per 5.29oz/150g skein). 1 skein needed for each hat; 3 – 5 oz used per hat.
- 703 Almond Blossom (pink)
- 689 Valentina (purple)
- 706 Cosmos (blue)
- 708 Cucumber (green)
- Crochet Hook: US L11/8 mm
- Notions: Stitch markers (helpful but not required), tapestry needle, and scissors.
Gauge and Finished Size
Gauge: Approximately 8 stitches and 5 rows to 4 inches in double crochet.
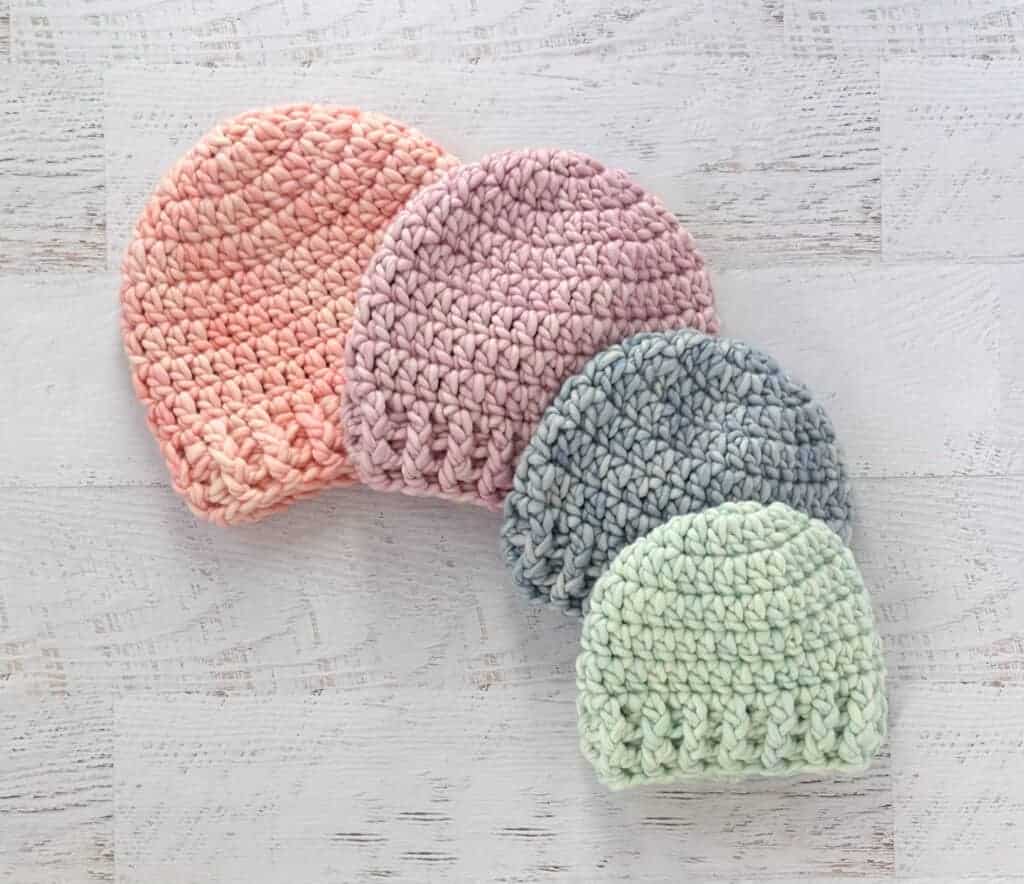
Finished Size: Sizes listed as Adult (toddler, child, teen).
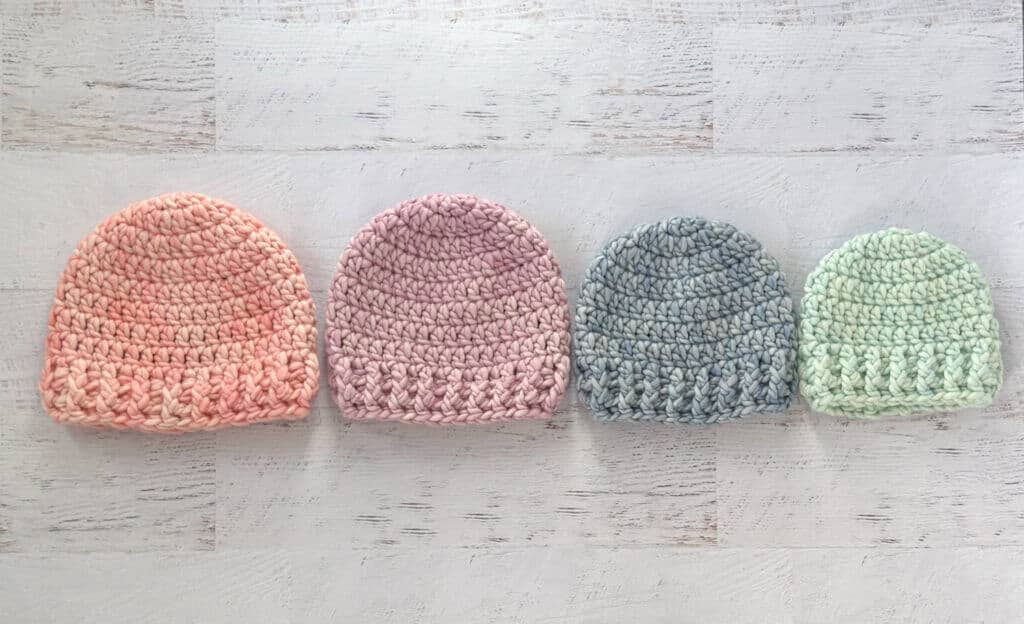
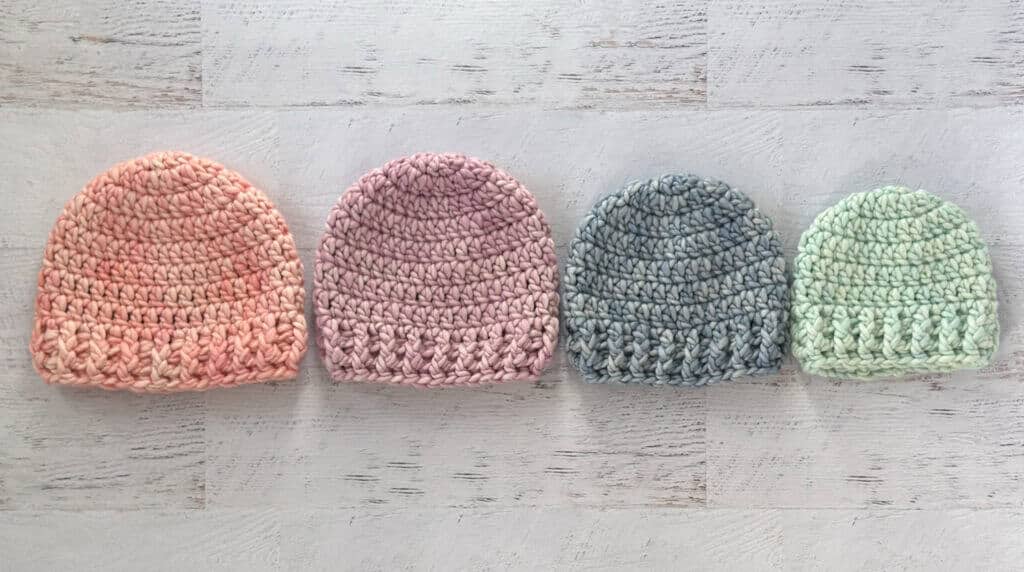
- Circumference: 20 (14.5, 17, 18.5) inches around.
- Height: 8.5 (7, 7.5, 8.5) inches tall.
Abbreviations
ch(s) = chain(s)
dc = double crochet
BPDC = back post double crochet
FPDC = front post double crochet
sl st = slip stitch
st = stitch(es)
STSC = stacked single crochet
Pattern Notes
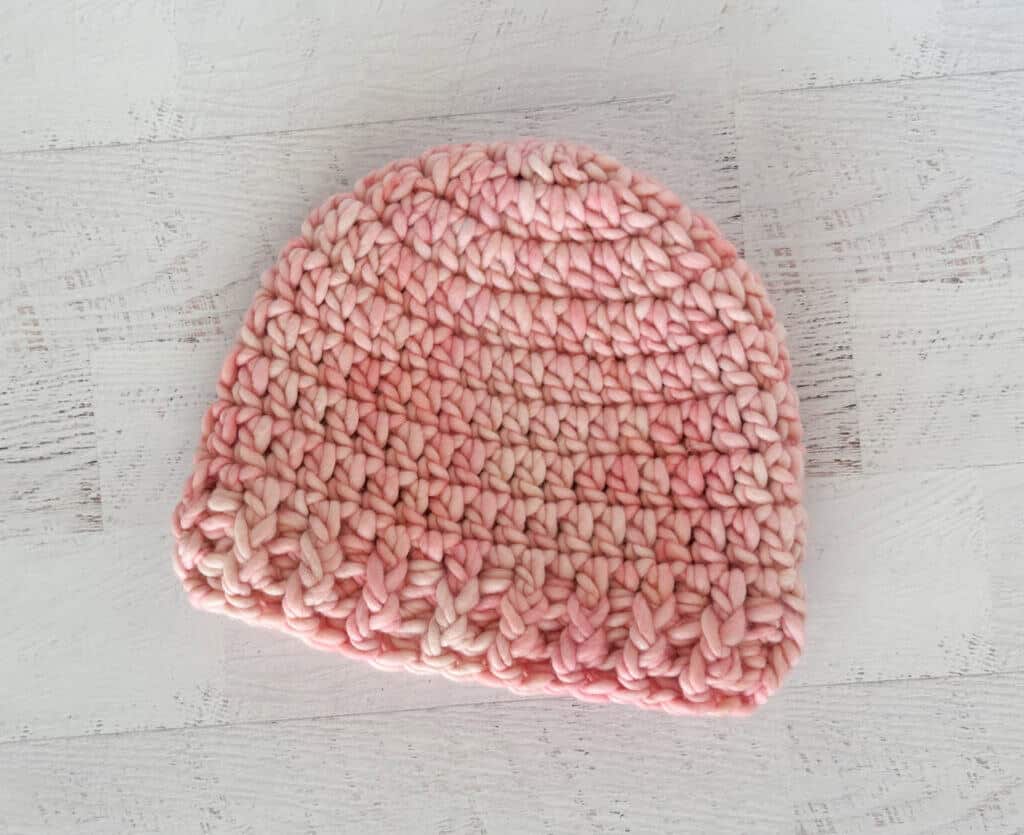
The hat is worked top down. It starts with a magic ring and is worked in double crochet stitches. The ribbing is a few rows of post stitches. The super bulky weight yarn means this is a very quick pattern to make with few stitches. Perfect for beginners who wish to learn basic techniques with a hat that is high boutique ready.
Note: Pattern uses a STSC (stacked single crochet) as an alternative to a turning chain. If you prefer, you can work a ch-3 in place of the STSC. (See Special Stitch section)
Special Stitch: STSC
STSC = stacked single crochet. I used a stacked single crochet as an alternative to a turning chain in this hat pattern. You can absolutely work a chain 3 instead, but if you’d like to give the stacked single crochet a try, here are the steps:
- Do NOT chain at the beginning of the row. Instead, insert hook into the first stitch, yarn over and pull up a loop.
- Yarn over and pull through both loops on the hook. (Looks like a single crochet stitch at this point).
- Looking at the front of the stitch completed in step 2, insert hook into the left leg (or vertical bar) of the single crochet just worked. Yarn over and pull through both loops on hook.
This results in 2 single crochet stitches on top of each other (equal to the height of a double crochet stitch) and replaces a ch-3 turning chain.
Pattern Instructions
Hat (Adult)
Make a magic ring
R1: Ch 3 (counts as dc) and work 9 dc in the ring. At end of round, join to top of starting stitch. (10 st)
Note: Pattern uses a STSC (stacked single crochet) as an alternative to a turning chain. If you prefer, you can work a ch-3 in place of the STSC. (See Special Stitch section)
R2: STSC in 1st st (counts as dc here and throughout), dc in same st, 2 dc in ea st around. At end of round, join to top of starting stitch. (20 st)
R3: STSC in 1st st, 2 dc in next st, *dc in next st, 2 dc in next st, repeat from * around. At end of round, join to top of starting stitch. (30 st)
R4: STSC in 1st st, dc in next st, 2 dc in next st, (dc in next 2 st, 2 dc in next st) 3 times, dc in next 5 st, 2 dc in next st, (dc in next 2 st, 2 dc in next st) 3 times, dc in next 3 st. At end of round, join to top of starting stitch. (38 st)
R5-9: STSC in 1 st st, dc in ea st around. At end of round, join to top of starting stitch. (38 st). Proceed to Ribbing
Hat (Toddler)
Make a magic ring
R1: Ch 3 (counts as dc) and work 9 dc in the ring. At end of round, join to top of starting stitch. (10 st)
Note: Pattern uses a STSC (stacked single crochet) as an alternative to a turning chain. If you prefer, you can work a ch-3 in place of the STSC. (See Special Stitch section)
R2: STSC in 1st st (counts as dc here and throughout), dc in same st, 2 dc in ea st around. At end of round, join to top of starting stitch. (20 st)
R3: STSC in 1st st, 2 dc in next st, *dc in next st, 2 dc in next st, repeat from * around. At end of round, join to top of starting stitch. (30 st)
R4-7: STSC in 1st st, dc in ea st around. At end of round, join to top of starting stitch. (30 st). Proceed to Ribbing
Hat (Child)
Make a magic ring
R1: Ch 3 (counts as dc) and work 9 dc in the ring. At end of round, join to top of starting stitch. (10 st)
Note: Pattern uses a STSC (stacked single crochet) as an alternative to a turning chain. If you prefer, you can work a ch-3 in place of the STSC. (See Special Stitch section)
R2: STSC in 1st st (counts as dc here and throughout), dc in same st, 2 dc in ea st around. At end of round, join to top of starting stitch. (20 st)
R3: STSC in 1st st, 2 dc in next st, *dc in next st, 2 dc in next st, repeat from * around. At end of round, join to top of starting stitch. (30 st)
R4: STSC in 1st st, dc in next 5 st, 2 dc in next st, dc in next 7 st, 2 dc in next st, dc in next 6 st, 2 dc in next st, dc in next 7 st, 2 dc in next st. At end of round, join to top of starting stitch. (34 st)
R5-8: STSC in 1st st, dc in ea st around. At end of round, join to top of starting stitch. (34 st). Proceed to Ribbing
Hat (Teen)
Make a magic ring
R1: Ch 3 (counts as dc) and work 9 dc in the ring. At end of round, join to top of starting stitch. (10 st)
Note: Pattern uses a STSC (stacked single crochet) as an alternative to a turning chain. If you prefer, you can work a ch-3 in place of the STSC. (See Special Stitch section)
R2: STSC in 1st st (counts as dc here and throughout), dc in same st, 2 dc in ea st around. At end of round, join to top of starting stitch. (20 st)
R3: STSC in 1st st, 2 dc in next st, *dc in next st, 2 dc in next st, repeat from * around. At end of round, join to top of starting stitch. (30 st)
R4: STSC in 1st st, dc in next 3 st, 2dc in next st, *dc in next 4 st, 2 dc in next st. Repeat from * around. At end of round, join to top of starting stitch. (36 st)
R5-9: STSC in 1st st, dc in ea st around. At end of round, join to top of starting stitch. (36 st). Proceed to Ribbing
Ribbing (All Sizes)
R1-2: Ch 3 (counts as dc), *FPDC in next st, BPDC in next st* repeat * to * around. Fasten off and weave in ends.
Assembly
Fasten off and weave in ends.
Tips
If this yarn is not in your budget or you simply want an alternative, you can simply substitute any other Super Bulky #6 yarn that matches gauge. I’m also using a stacked double crochet stitch instead of a turning chain. This is a thing of brilliance, in my opinion. If you’ve been crocheting awhile, you know that the normal chain 3 at the start of a double crochet row can sometimes be problematic. It’s not quite the thickness of a regular double crochet. So it looks different and is a little narrower and for some of us, that’s an annoyance. The stacked single crochet is a great solution because it creates a stitch that looks almost exactly like a double crochet. Of course if that is not your cup of tea or you simply want to stick with something easy, a chain 3 turning chain instead will work just fine.
FAQs
Can I use a different yarn weight?
While the pattern is designed for super bulky #6 yarn, you can substitute any yarn that matches the gauge. Keep in mind that using a lighter weight yarn will result in a smaller hat and require more time to complete.
How do I adjust the size if my gauge is different?
Gauge is important for the fit. If you are getting more stitches per 4 inches than the pattern, try a larger hook. If you are getting fewer stitches, try a smaller hook. You can also adjust the number of rounds in the body section to make the hat taller or shorter.
What is a “magic ring”?
A magic ring (or magic circle) is a technique used to start crocheting in the round with no hole in the center. It allows you to tighten the starting circle securely. You can find tutorials for this on the “Tutorial” menu of the source website.
Do I have to use the stacked single crochet?
No. The STSC is an optional technique to create a seamless edge. If you prefer, you can simply chain 3 at the beginning of each round to act as the turning chain.
How do I know which size to make?
Refer to the finished size measurements. Adult is 20″ circumference, Toddler is 14.5″, Child is 17″, and Teen is 18.5″. Measure the head circumference of the recipient to choose the best fit.
Pin This Crochet Pattern!