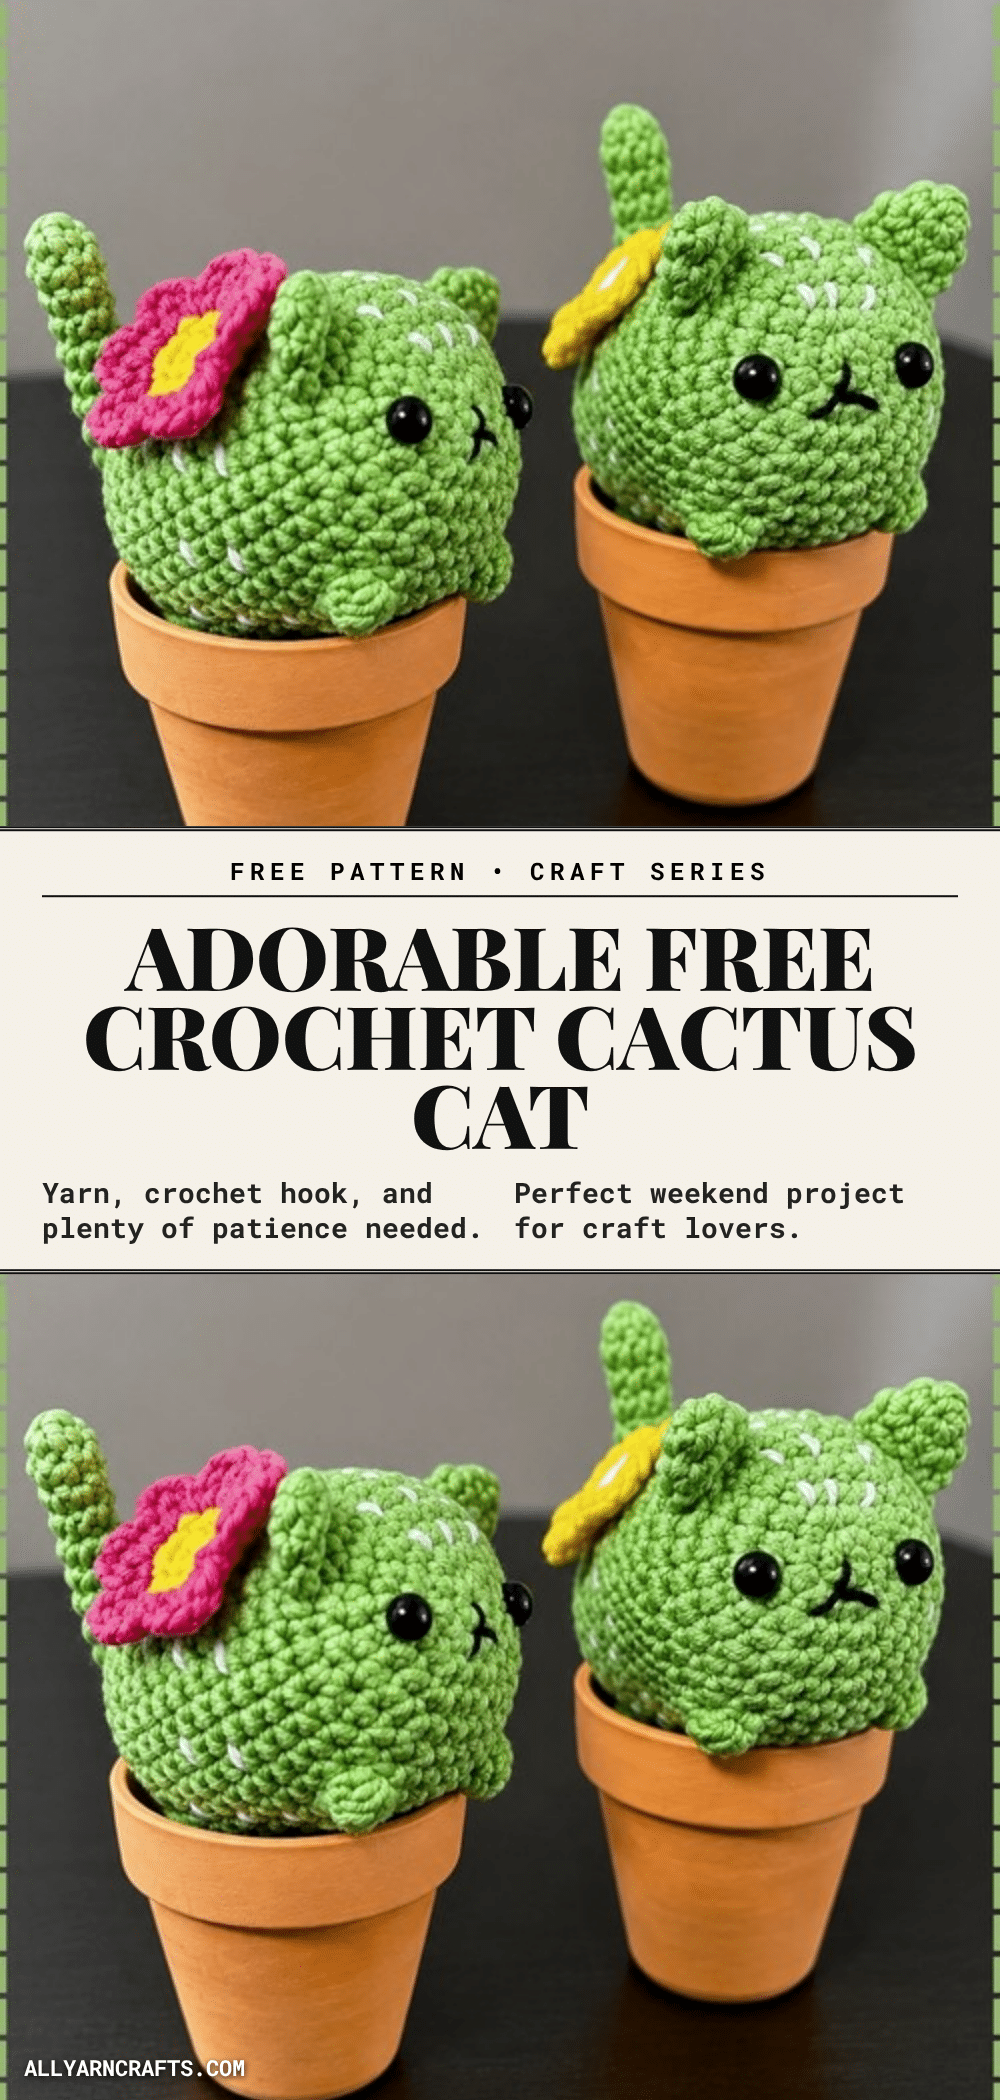
There is a specific kind of magic that happens when you reach into your yarn stash and find a small, forgotten skein of white that perfectly matches a green you’ve been saving for months. It’s that accidental harmony—the color choice that feels less like a decision and more like a discovery. For this Cactus Cat, the white yarn for the head and ears pulls double duty, mimicking the texture of cactus spines while defining the feline features. It’s a project that rewards the maker who pays attention to these small, textural details, turning a simple amigurumi into a character with a distinct personality.
Yarn and Color Notes
The visual appeal of this pattern relies heavily on the contrast between the green cactus body and the white cat features. The white surface stitches across the green body mimic cactus spines without any wire or stiff material, keeping the piece completely soft and handleable. While the source pattern suggests pink or red for the flower, the interplay of white and green creates a striking “costume toy” aesthetic. The terracotta pot base grounds the figure as a plant, while the ears, tail, and embroidered face make the cat unmistakable. This combination works beautifully as a desk companion, offering a low-maintenance plant alternative for those who might kill real ones.
Project Overview
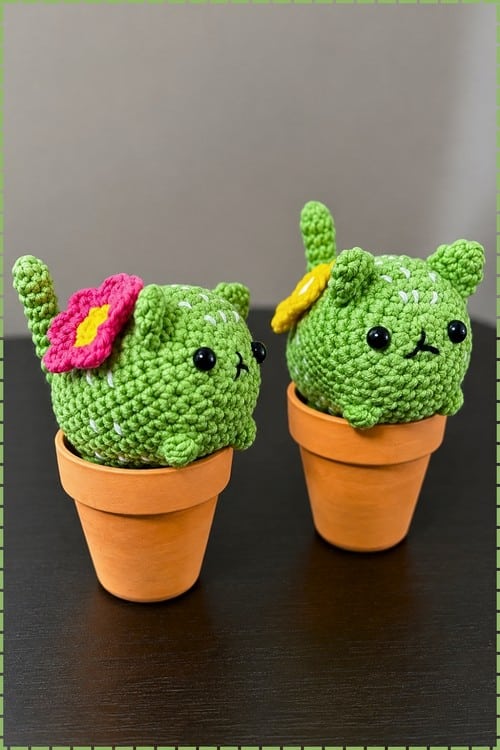
The Crochet Cactus Cat Plushie combines a cactus and a cat into one amigurumi figure. It works better than it has any right to, mostly because both shapes share the same squat round body. The terracotta pot base grounds the figure as a plant, while the ears, tail, and embroidered face make the cat unmistakable. This plushie sits independently in the pot without any glue, as the body is sized to rest snugly inside the opening. The pot itself is crocheted in terracotta orange as a separate base piece, which means the cat can be lifted out and replaced if the flower color needs to change for a different order.
Materials
- Yarn in green for the cactus body and arms
- Yarn in white for the cat head and ears
- Yarn in pink or red for the flower
- Crochet hook suitable for your yarn weight
- Safety eyes
- Fiberfill stuffing
- Embroidery thread for nose and whiskers
- Yarn needle
Gauge and Finished Size
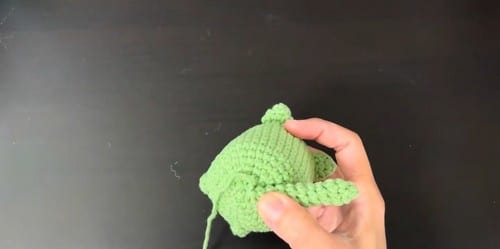
Hook size and yarn weight are not specified in the original pattern, but the following guidelines apply:
- Plushie Size: For a comfortable display size, use a 3.5mm to 4.5mm hook with worsted or DK weight yarn. The finished toy will be approximately 12 to 15 cm tall (estimate).
- Smaller Version: For a tighter, smaller version, go down to a 2.5mm hook with sport weight cotton.
- Keychain Scale: Using sport weight and a 2.5mm hook results in a version around 6 to 8 cm (estimate).
Pattern Notes
- Construction: The cat head sews into the top opening of the cactus body during construction. It is not simply placed on top, but anchored mid-construction before the body is closed. Read through the full cactus body section before starting it.
- Continuous Rounds: Work in continuous rounds. Use a stitch marker at every round start and move it up without fail. Chenille or plush yarn makes this particularly important, and even smooth yarn becomes hard to read at the turning point after several rounds.
- Spines: Work the white surface stitches (spines) before stuffing, as the stitches pull cleanly through a flat body and drag once it is filled.
- Pieces: This pattern consists of five piece types and seven individual pieces total (1 Head, 2 Ears, 1 Body, 2 Arms, 1 Flower).
Pattern Instructions
Flower (Pink or Red)
Make 1.
- R1: Magic ring with 5 single crochet (5)
- R2: In each stitch — chain 2, 2 double crochet, chain 2, slip stitch — to form 5 petals. Fasten off leaving a long tail for sewing to the head.
Shape Checkpoint: After round 2, you should have five small petal loops radiating from the centre. Each petal is a chain-2 arch with 2 double crochet rising from the same base stitch, and the chain-2 close dropping back into the stitch before moving on. The petals should stand up slightly from the centre rather than lying completely flat. If they are flat, the chain arches are too short—try loosening the chain tension.
Cat Head (White)
Make 1.
- R1: Magic ring with 6 single crochet (6)
- R2: Increase in each stitch around (12)
- R3: 1 single crochet, 1 increase, repeat around (18)
- R4: 2 single crochet, 1 increase, repeat around (24)
- R5: Single crochet in each stitch around (24)
- R6: Single crochet in each stitch around (24)
- R7: Single crochet in each stitch around (24). Insert safety eyes now, between rounds 6 and 7, spaced 4 to 5 stitches apart.
- R8: 2 single crochet, 1 decrease, repeat around (18)
- R9: 1 single crochet, 1 decrease, repeat around (12). Stuff the head firmly with fiberfill at this point.
- R10: Decrease around — 6 decreases (6). Fasten off and weave in the end.
Shape Checkpoints:
- Round 4: A flat disc at 24 stitches. Still lying completely flat; the sides have not yet begun to rise.
- Round 7: A round, full sphere at 24 stitches. This is where the eyes go in. The opening is still wide at 24 stitches—accessible from the inside to fit washers. Do not continue to round 8 without placing the eyes.
- Round 9: Narrowing fast at 12 stitches. Stuff the head firmly before working round 10. After the final 6 decreases, the opening is too small for fiberfill. The head should feel firm and hold its round shape when you press the centre.
Cat Ears (White)
Make 2.
- R1: Magic ring with 4 single crochet (4)
- R2: 1 single crochet, 1 increase, repeat twice (6)
- R3: 2 single crochet, 1 increase, repeat twice (8). Fasten off leaving a long tail for sewing to the head.
Shape Checkpoint: After round 3, you have a small flat triangle-ish disc at 8 stitches. Both ears must be the same size—at only 3 rounds, a difference in tension between the two is easily visible once they are sewn to the head. Make both in the same sitting.
Cactus Body (Green)
Make 1.
- R1: Magic ring with 6 single crochet (6)
- R2: Increase in each stitch around (12)
- R3: 1 single crochet, 1 increase, repeat around (18)
- R4: 2 single crochet, 1 increase, repeat around (24)
- R5: Single crochet in each stitch around (24)
- R6: Single crochet in each stitch around (24)
- R7: Single crochet in each stitch around (24)
- R8: Single crochet in each stitch around (24)
- R9: Single crochet in each stitch around (24)
- R10: Single crochet in each stitch around (24). Pause here. Sew the cat head into the top opening of the cactus body now, while the body is still open. Position the head so the face looks forward through the opening and the head sits level. Pin it in place and sew it securely around the opening edge before continuing.
- R11: 2 single crochet, 1 decrease, repeat around (18)
- R12: 1 single crochet, 1 decrease, repeat around — stuff the body at this point (12)
- R13: Decrease around — 6 decreases (6). Fasten off and weave in the end.
Shape Checkpoints:
- Round 4: A flat disc at 24 stitches.
- Round 10: A straight-sided cylinder at 24 stitches, with 7 even rounds of the body complete. The top opening is the same diameter as the widest point of the head—this is when the head goes in. A cat head that fits evenly into a 24-stitch opening at this point should sit flush with the rim without gapping.
- Round 12: The body is narrowing beneath the head, the bottom beginning to close. Stuff the body between rounds 12 and 13—firmly enough to hold the cylinder shape against the weight of the head sitting above.
Arms (Green)
Make 2.
- R1: Magic ring with 5 single crochet (5)
- R2: Single crochet in each stitch around (5)
- R3: Single crochet in each stitch around (5)
- R4: Single crochet in each stitch around (5). Fasten off leaving a long tail for sewing to the sides of the cactus body.
Shape Checkpoint: After round 4, you have a short narrow tube at 5 stitches, 4 rounds long. It should look like a small stubby green arm. No stuffing is needed—the arms are narrow enough to read without it.
Assembly
Assembly happens in stages, some mid-construction.
- Ears: Sew the ears onto the head first, while the head is still a separate finished piece before being sewn into the body. Pin both ears to the top of the head simultaneously, symmetrically on either side of the crown. Check from the front that they are even before sewing. Sew each ear down through several stitches around the base.
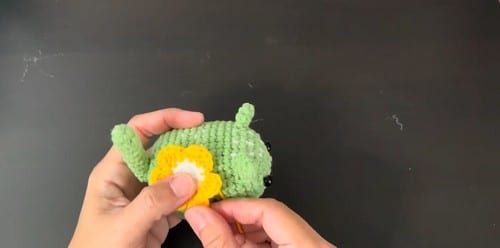
- Flower: Attach the flower to the cat head next—to the top of the head between the ears, using the long tail left on the flower. Tack it down at the centre and at a couple of petal bases so it stays upright rather than flopping.
- Head to Body: The cat head with ears and flower now sews into the top opening of the cactus body at round 10. Position the face before sewing—the head can rotate freely in the opening, so choose the face direction relative to where the arms will sit and mark it with a pin. Sew around the full circumference of the opening, catching stitches from the head and the body edge alternately.
- Arms: Sew the arms to the sides of the cactus body after the body is fully closed and stuffed. Position both with pins before sewing either—mid-body height, one on each side, pointing slightly forward and downward. Check from the front that both arms are at the same height before committing.
- Face Details: Embroider the nose and whiskers last, after all assembly is complete, so the face direction is confirmed. The nose sits below and between the eyes, the whiskers radiating outward from either side.
Tips
- First Amigurumi? Take it slow, watch the video tutorial below, and use the written pattern below as your cheat sheet!
- Safety Eyes: Eyes go in after round 6 (or between rounds 6 and 7)—when the head is still open at 24 stitches and your fingers can reach inside to fit the washers. Space them 4 to 5 stitches apart. Push the posts through from outside, check spacing from the front, press washers firmly from inside before any further rounds. For any toy going to a child under three, skip safety eyes. Embroider two small solid dots in black embroidery thread at the same position and spacing. Embroidered features on a stuffed surface are completely secure.
- Head Size Mismatch: If the head looks too small inside the opening, sew it in anyway and the surrounding green body will frame it—it often reads better from the front than it looks from above during assembly.
- Flower Optional: The flower is a decorative accent, not a structural element. Without it, the cat head emerging from the green body reads clearly as a costume toy. Add a small bow from ribbon or embroidery thread as a substitute if you want something at the crown.
- Arm Length: The pattern specifies rounds 2 to 4 as even rounds on a 5-stitch tube—giving 4 rounds total including round 1. That length reads well as a stubby arm at most yarn weights. If you want longer arms, add one or two extra even rounds. Make both the same length before sewing.
FAQs
Can I make this without the safety eyes?
Yes, and on a small plush toy the embroidered version often looks better. Use black embroidery thread, satin stitch two small ovals or circles between rounds 6 and 7, and the face reads just as clearly. The key is keeping both eyes the same size and spacing—mark both positions with pins before stitching either one.
Do the arms need to match the exact length in the pattern?
The pattern specifies rounds 2 to 4 as even rounds on a 5-stitch tube—giving 4 rounds total including round 1. That length reads well as a stubby arm at most yarn weights. If you want longer arms, add one or two extra even rounds. Make both the same length before sewing.
Can I skip the flower and still have it look finished?
Yes. The flower is a decorative accent, not a structural element. Without it the cat head emerging from the green body reads clearly as a costume toy. Add a small bow from ribbon or embroidery thread as a substitute if you want something at the crown.
The head fits into the body opening but looks too small. What should I do?
Both pieces are worked to 24 stitches at their widest point, so they should match in diameter. A small mismatch is usually a tension difference between the two pieces. If the head looks too small inside the opening, sew it in anyway and the surrounding green body will frame it—it often reads better from the front than it looks from above during assembly.
Why do my flower petals lie flat?
If the petals are flat, the chain arches are too short—try loosening the chain tension. The petals should stand up slightly from the centre rather than lying completely flat.
Pin This Crochet Pattern!