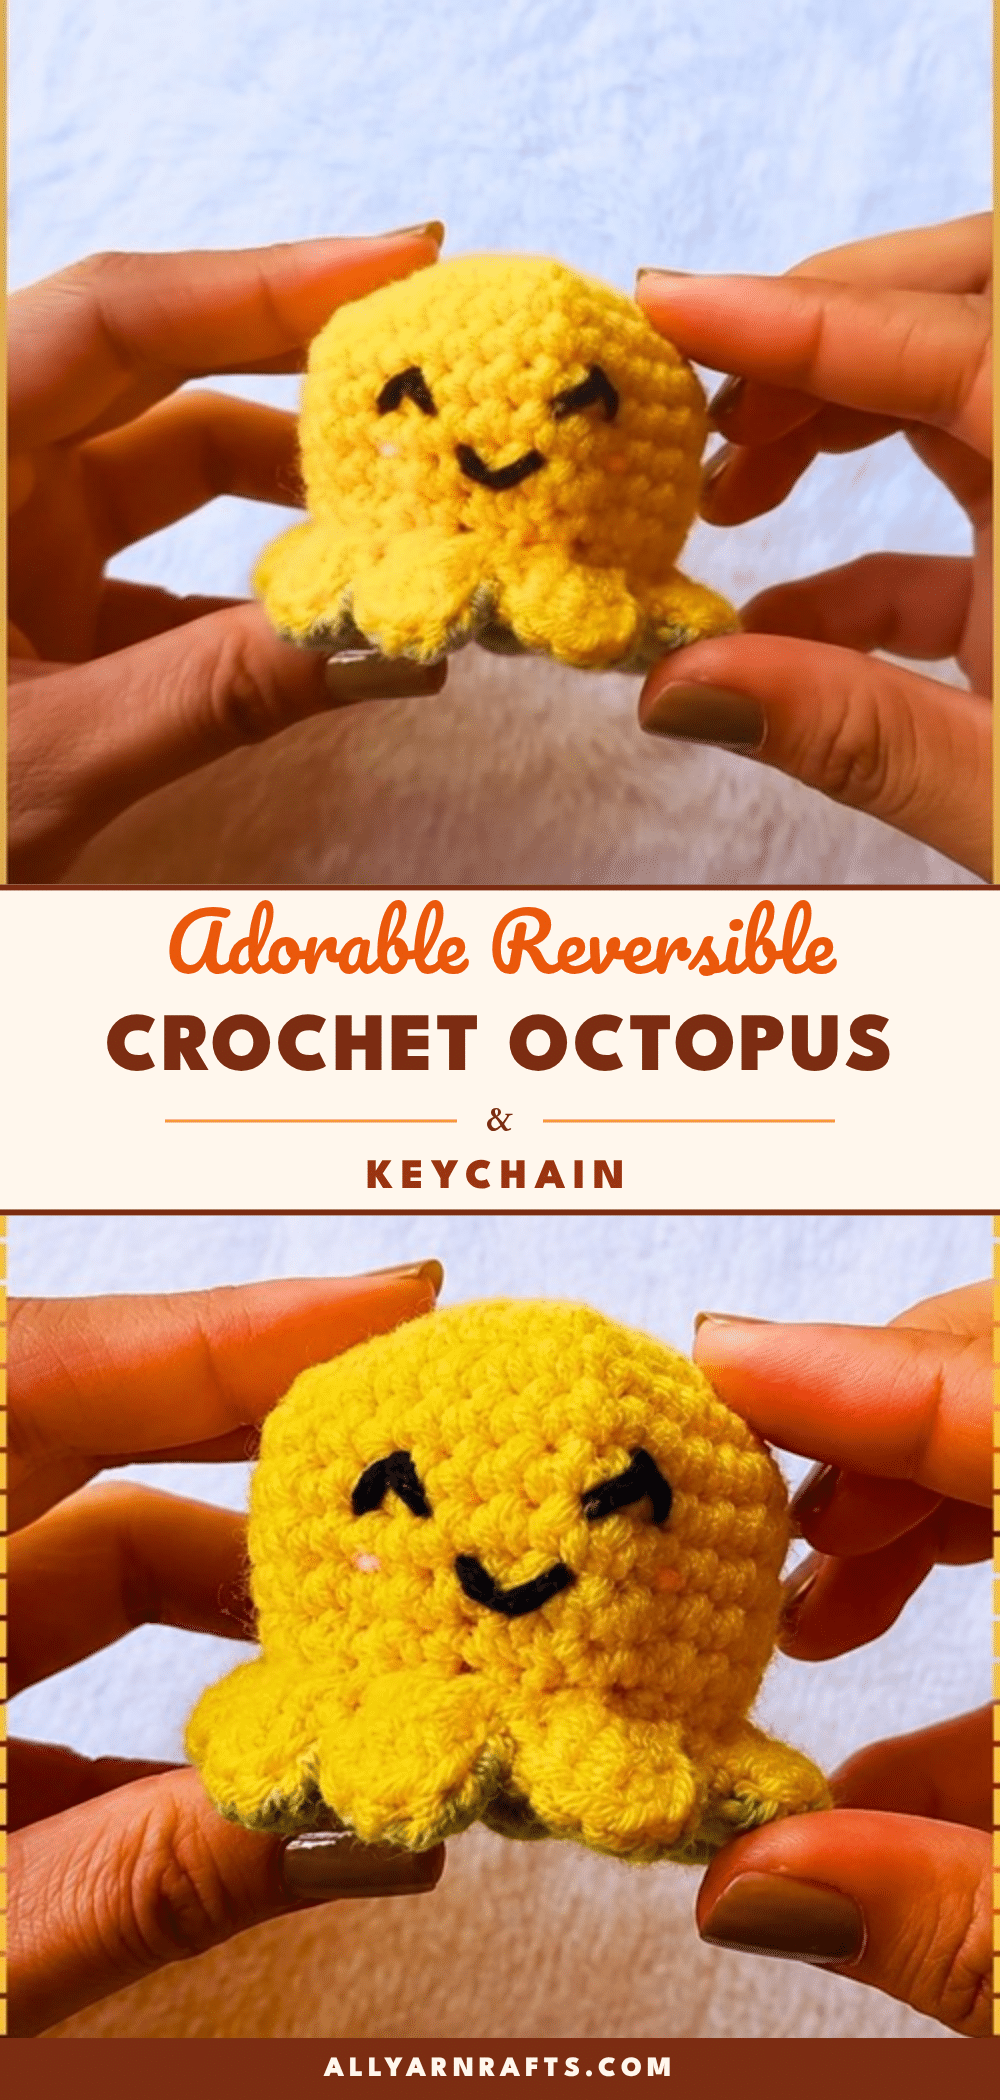
Turn a simple mood into a wearable statement with this adorable reversible crochet octopus keychain. This mini amigurumi project is perfect for desk workers who want to signal their availability with a bright yellow smiling face or hide a grumpy green underside when they need some quiet time. Because the construction flips inside out, it serves as a dual-faced mood plushie that pops effortlessly, making it a charming gift for coworkers, a unique market-table item, or a delightful everyday handmade object for your own bag.
Our Touch: Gift and Use Ideas
The reversible nature of this octopus makes it a versatile accessory. Beyond the classic “mood ring” function, it works beautifully as a zipper pull for a backpack or a decorative charm on a tote bag. The clean definition of the tentacles and the firm body hold up well to daily wear, provided you choose the right yarn. Consider making a matching set of three or four in different colors on a single split ring to create a colorful cluster on your keys. It is also a fantastic, low-stress project for beginners looking to practice consistent tension and assembly techniques.
Project Overview
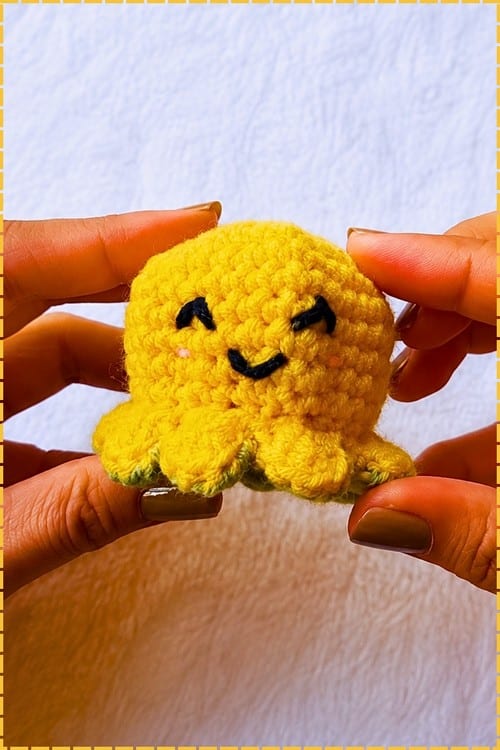
This pattern builds two nesting domes joined along a scalloped tentacle edge. By working two identical cup-shaped body halves that nest inside each other, you create a dual-faced plushie that flips inside out. Single crochet rounds form each dome in opposing colors, while small scallop stitches form the outer tentacles around the base rim. The double face is structural, not just decorative, so the inside must finish as cleanly as the outside.
Materials
- Yarn: DK or sport weight yarn in your chosen color. Use two different colors if you want the sides to contrast, or one color for a simpler look.
- Crochet Hook: 2.5mm or 3.0mm hook (size depends on your desired finished scale).
- Face Details: Black embroidery thread or floss for the faces.
- Eyes (Optional): Two pairs of safety eyes if using them, one pair per side. 6mm works well at this scale.
- Stuffing: Polyester fiberfill, a small amount if stuffing.
- Tools: Yarn needle, scissors, keychain ring, and jump ring.
Gauge and Finished Size
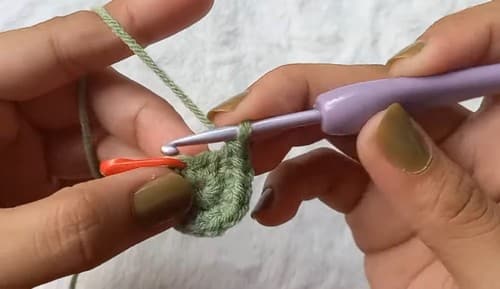
The finished size sits at roughly 5 to 7cm from the top of the dome to the tips of the tentacles with DK yarn on a 2.5mm hook. Please note this is an estimate based on stitch counts rather than a strict pattern measurement.
Abbreviations
- MR: Magic ring
- sc: Single crochet
- inc: Increase, 2 sc in one stitch
- dec: Decrease, sc2tog
- sl st: Slip stitch
- dc: Double crochet
- ch: Chain
- st / sts: Stitch / stitches
- FLO: Front loops only
Pattern Notes
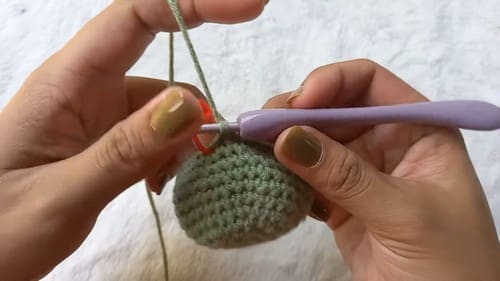
Yarn Substitution and Size Scaling: Every stitch count stays as written regardless of yarn. Size scales directly with weight. Cotton sport on a 2.0mm hook gives a very firm, small octopus around 4cm—good for a zipper pull. DK acrylic on a 3.0mm hook lands closer to 6 to 7cm. For this specific project, cotton is a better fiber choice than acrylic because the faces need to hold their expression over time, and cotton resists the slow stretching that acrylic is prone to under keychain stress. Avoid fuzzy or hairy yarns; the tentacles need clean definition, and a fluffy yarn blurs each chain into the next so they stop reading as legs.
Parts List: You will make 2 body domes, each worked identically in continuous rounds through round 8, with tentacles added at round 9. You will also create 2 faces, one per dome, added before joining. The tentacles are not separate pieces—they grow from the final round of each dome and stay attached.
Pattern Instructions
Body Dome (Make 2)
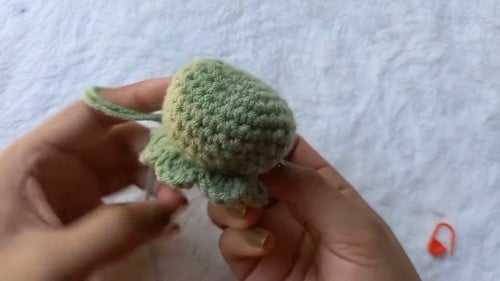
Round 1: MR, work 6 sc into the ring. [6] — Checkpoint: a small tight disc. Pull the ring closed fully before round 2—on a keychain scale, a hole at the crown is immediately visible from across a room.
Round 2: Work 2 sc in every stitch around. [12]
Round 3: [Sc 1, inc] — repeat around. [18] — Checkpoint: the disc should still be lying flat with no cupping. If it is already lifting into a shallow bowl your tension is tight, which is fine for this project, but both domes must match so keep the same tension for the second one.
Round 4: [Sc 2, inc] — repeat around. [24]
Rounds 5 to 8: Sc in each stitch around, for 4 rounds. [24] — Checkpoint: by round 8 the dome should be sitting as a clear rounded cap, roughly 4 to 5cm across, with clean even stitches visible all the way to the crown. This is the face of the octopus, so any misplaced stitches or irregular tension will show on the finished keychain.
Adding the Face: Add the face before working round 9. Once the tentacles are in place, access to the dome surface is more awkward. If you are using safety eyes, insert them now—positioned roughly between rounds 5 and 6, spaced 4 to 5 stitches apart on what will be the front. Attach washers from the inside while the dome is still open. The dome has no closing round and no stuffing process, so “before joining” is the practical timing. For toys going to children under three, use embroidered eyes in black thread only, with tails woven inside the dome before joining. If you are embroidering the face, stitch it now before round 9 makes the needle work more crowded. Happy face on one dome, sad or grumpy expression on the other. Two small arcs for closed eyes, a curve for a smile. Or simple oval pupils and a frown. Either way, keep it minimal—at 5 to 7cm the detail reads better with fewer stitches, not more.
Round 9 (Tentacles, FLO): Working in front loops only around the entire base edge, work the following in each stitch: ch 6 or 7, then work back down the chain with sc or sl st in each chain stitch, then sl st into the next body stitch to anchor. Repeat from the ch for every stitch around to form 8 tentacles. — If the tentacles curl or spiral instead of lying loosely, the return stitches down the chain are too tight. Loosen your tension specifically on the chain-back pass. The curl looks fine on the finished piece but does not read as cleanly as straight tentacles if you want a neater look. Fasten off. Leave a long tail of about 30cm for joining. Do not weave it in.
Assembly
Embroider the faces on both domes before joining. Once they are joined you cannot reach the inside without pulling the seam apart. Faces done, tails woven inside the dome, everything complete—then join.
- Place the two domes wrong-sides together so both right sides face outward.
- Align the stitches along the base edge as closely as you can. Pin in three or four places with stitch markers or safety pins before picking up the joining yarn, since two small curved pieces shift against each other easily.
- Join with sc or sl st through the corresponding stitch of each dome simultaneously, working all the way around the perimeter and leaving a gap of about four stitches for stuffing if you are adding fill.
- Close the gap after stuffing, fasten off, and weave the tail between the two layers where it will not show on either face.
- Thread the keychain ring through two stitches at the very top of the crown rather than through a single loop of yarn—one strand under tension from a set of keys will eventually cut through.
Stuffing Guide
Stuffing is optional, and the choice affects the finished feel significantly. An unstuffed version is flat and floppy, which is fine for a bag charm but makes the dome look deflated rather than rounded on a keychain that sits alone. A lightly stuffed version holds its shape and photographs better. If stuffing, add just one small pinch through the joining gap before closing—enough to give the dome a slight roundness without making either face bulge. Over-stuffing a joined flat construction pushes the two domes apart at the seam and the join stitches show as a visible ridge around the equator. Understuffing is much easier to recover from than overstuffing here.
Tips
- Tentacle Tension: If the tentacles curl or spiral instead of lying loosely, the return stitches down the chain are too tight. Loosen your tension specifically on the chain-back pass.
- Preventing Tangling: How do I keep the tentacles from tangling during joining? Hold them out of the way with one hand or loop a rubber band loosely around them while you work the join seam. They have a tendency to flip over the edge of the dome during seaming and get caught in the joining stitches, which shortens them or pulls them at odd angles.
- Hiding the Seam: The join seam is visible and I don’t like how it looks. Can I hide it? Work the join in sl st rather than sc—sl st sits flatter and reads as a cleaner line. You can also match the joining yarn to whichever dome color is more prominent. Alternatively, embrace it: a very neat sc join in a contrasting color looks intentional and clean.
FAQ
Can I make this octopus for a small child?
Yes, but for toys going to children under three, use embroidered eyes in black thread only. Do not use safety eyes. Weave the tails inside the dome before joining to ensure they are secure.
Why does my octopus look deflated?
If you want a keychain that sits alone and holds its shape, add a small pinch of stuffing through the joining gap. An unstuffed version is flat and floppy, which is better suited for a bag charm than a standalone keychain.
What is the best yarn to use?
Cotton is a better fiber choice than acrylic for this project because the faces need to hold their expression over time, and cotton resists the slow stretching that acrylic is prone to under keychain stress. Avoid fuzzy or hairy yarns as they blur the tentacle definition.
How do I keep the tentacles from curling?
If your tentacles curl or spiral, your return stitches down the chain are too tight. Loosen your tension specifically on the chain-back pass to get straighter, cleaner-looking legs.
Can I use this pattern for other small projects?
Absolutely. By using cotton sport on a 2.0mm hook, you can create a very firm, small octopus around 4cm, which is perfect for a zipper pull. For a larger keychain, DK acrylic on a 3.0mm hook lands closer to 6 to 7cm.
Pin This Crochet Pattern!