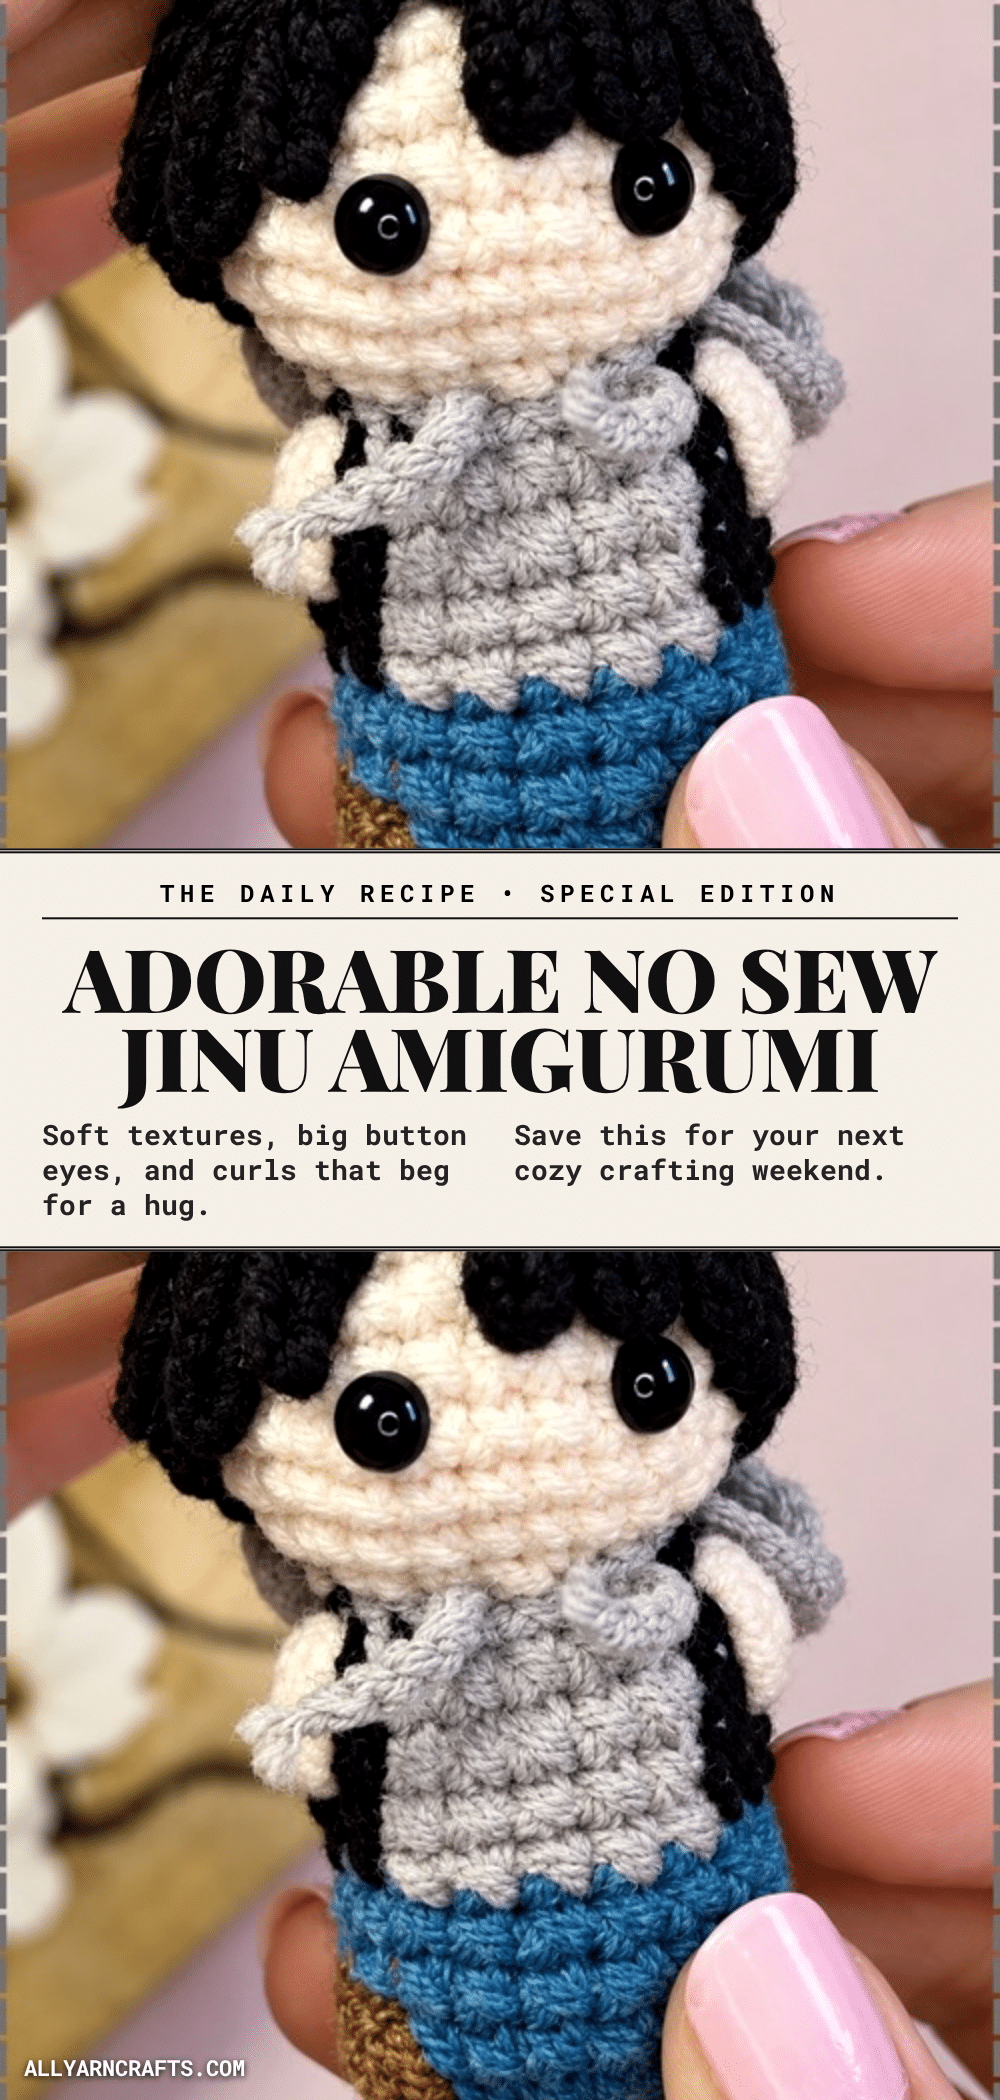
It is a common worry for beginners that amigurumi requires perfect tension and flawless assembly to look good. You might fear that a single loose stitch or a misaligned eye will ruin the character. The good news is that this Jinu amigurumi pattern is designed to be forgiving. Because the character wears a hoodie and has a distinct style, minor imperfections are hidden by the clothing and the character’s expression. The “no sew” body construction means you are working in one continuous piece, which eliminates the frustration of sewing limbs onto a torso. This project is approachable, charming, and perfect for makers who want a character doll without the complexity of separate parts.
Maker Notes
What makes this pattern special is how it uses the hoodie to define the character’s silhouette. Since the head is worked directly onto the body, there is no neck, which gives the doll a cute, compact look. The hoodie isn’t just a hat; it is a structural element that creates the illusion of a neck and shoulders. I love how the spike bobble stitches allow the arms and shoes to be worked directly into the body rounds. This keeps the profile clean and avoids the bulk of sewn-on limbs. When you choose your yarn, cotton is the best choice here because it holds the back-loop ridge at the waistline crisply, giving the pants and hoodie a sharp, defined separation that acrylic might blur.
Project Overview
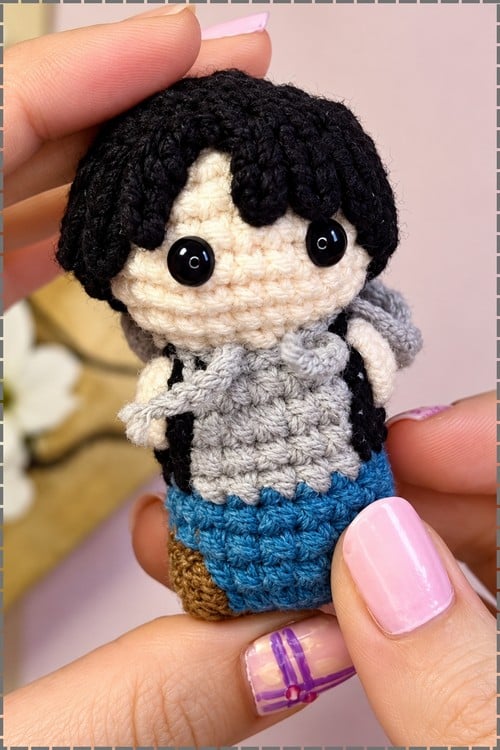
This crochet Jinu amigurumi pattern creates a small, detailed character doll inspired by the K-pop Demon Hunters film. The doll features a grey drawstring hoodie, blue trousers, and a mop of dark hair. The construction is unique because the body, legs, shoes, and arms are all worked in one continuous spiral, with the shoes and arms created using spike bobble stitches. The hood and hair are the only separate pieces, making assembly quick and straightforward. This is a great project for makers who enjoy following colour changes and want a character figure rather than a traditional animal amigurumi.
Materials
- Yarn:
- 4 ply cotton yarn in light gray (hoodie sections)
- Brown yarn, dark or light (shoes)
- Denim blue yarn (pants)
- Black yarn (hoodie sections and hair)
- Flesh pink yarn (face and hands)
- Hook: 1.9 mm hook, or anywhere from 1.75 mm to 3 mm depending on your yarn
- Eyes: 6 mm or 7 mm black safety eyes
- Stuffing: Fiber filling
- Tools: Leather needle or sewing needle, scissors, pins (optional but genuinely useful here)
Note: Scrap amounts of each colour will cover it. At 1.9 mm with 4 ply cotton, the finished doll is very small, likely somewhere around 8 to 10 cm tall.
Gauge and Finished Size
There is no specific gauge required for this pattern as the size is determined by the stitch counts and hook size. The finished size is estimated to be around 8 to 10 cm tall when using a 1.9 mm hook with 4 ply cotton. The stitch counts hold at any weight, though the character of the doll changes with different yarns.
Abbreviations
Standard crochet abbreviations are used. Please refer to your local crochet terminology if needed, but the pattern uses standard US terms.
- SC: Single Crochet
- INC: Increase (2 SC in the same stitch)
- BL: Back Loop
- RS: Right Side
Pattern Notes
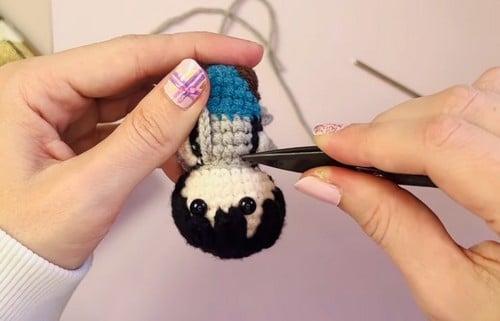
- Working in Rounds: Work in a continuous spiral unless a section says otherwise. Place a marker in the first stitch of every round.
- Colour Changes: Change colour on the final yarn over of the stitch before the switch. Doing it at the start of the new stitch leaves a smear of the old colour that you will see on a doll this size.
- Spike Bobble Stitches: These are worked one round below the round you are on. They stand out from the surface, which is how the shoes and arms exist without being sewn.
- Eye Placement: Something you notice fast at this scale: 6 mm eyes on a head that is 24 stitches around take up an enormous share of the face. That is why the spacing is so tight. Give them room to breathe and the doll stops looking like a doll.
Pattern Instructions
Body and Legs
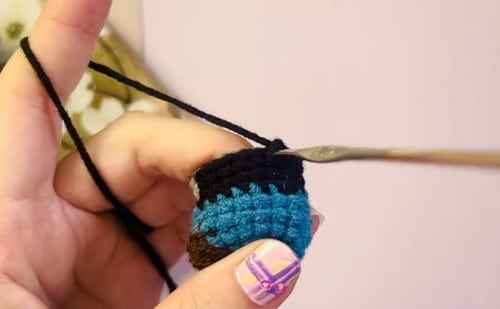
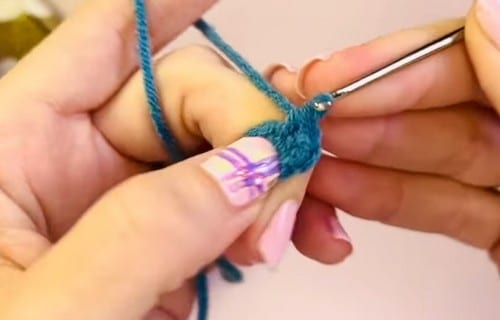
R1: Using denim blue, make a magic ring, 6 SC [6]
R2: INC in each stitch [12]
R3: 1 SC, 1 INC, repeat 6 times [18] — this should still be a flat disc that will become the underside of the shoes, not a cup
R4, shoes: 5 SC in blue, change to brown. Work spike bobble stitch one round below. Change back to blue. 5 SC in blue. Repeat spike bobble stitch in brown for the second foot. End with 6 SC in blue — the two brown bobbles should sit opposite each other and stand clearly proud of the surface; if they sink in flat, they were worked too tightly.
R5 to R6: 18 SC in blue. Change to black on the last stitch of R6 — by the end of R6 the piece should be a short straight tube standing on two visible feet.
R7, pants: 6 SC in black. Change to gray. In back loops only, 5 SC. Change back to black, 7 SC.
R8 to R9: Repeat the R7 colour pattern. Work through both loops — the gray back loop ridge from R7 should now read as a clean line between the pants and the hoodie front.
R10, arms: 4 SC in black. Change to flesh pink. Work spike bobble stitch for the first arm. Change to black, 1 SC. Change to gray, 5 SC. Change to black, 1 SC. Change to flesh pink. Work the second spike bobble stitch. Finish in black — both pink bobbles should sit level with each other, one on each side; check from directly above before moving on, because this is not fixable later.
R11: 1 SC, 1 invisible decrease, repeat around, maintaining the black and gray sections. Change to flesh pink at the end — the body should now pinch in at the top into a small neck opening.
Head
R12: In flesh pink, back loops only, 1 SC, 1 INC, repeat around [18]
R13: 2 SC, 1 INC, repeat 6 times [24] — the head should sit on the body like a ball on a stump, with a distinct ridge where the back loop round created the neckline.
R14 to R17: 24 SC around [24] — four straight rounds; the head should look slightly too tall and unfinished at this stage, which is correct.
R18: 2 SC, 1 invisible decrease, repeat 6 times [18]. Insert safety eyes between R15 and R16, about 2.5 stitches apart. Stuff the body and head firmly with fiber filling.
R19: 1 SC, 1 invisible decrease, repeat 6 times [12] — the head should now be a firm ball with the eyes sitting slightly below its centre.
R20: 6 invisible decreases [6]. Fasten off and weave the tail through the front loops to close.
Hood
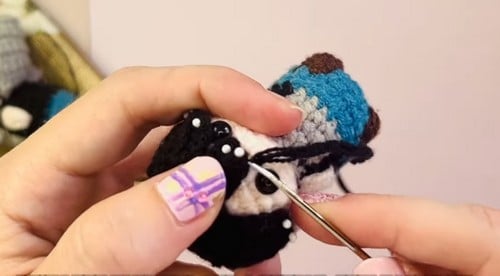
Chain 13
Row 1: Starting in the second chain from the hook, 12 SC [12]. Chain 1, turn.
Rows 2 to 11: 12 SC across [12]. Chain 1, turn each row — at row 11 you should have a rectangle noticeably taller than it is wide, roughly the proportions of a folded napkin.
Fold the rectangle in half. Slip stitch the top edge together to form the hood shape — folded and seamed, it should slip over the doll’s head with a little room to spare, not stretch tight.
Hair
Base: Magic ring, 6 SC [6]. R2: 6 INC [12]. R3: 1 SC, 1 INC, repeat 6 times [18] — a flat circle roughly the size of the top of the head; if it domes, the hair will not sit down.
Strand 1: Chain 5. Slip stitch in the second chain. 3 SC back down.
Strands 2 to 4: Chain 5. 4 slip stitch back.
Side and back strands: Vary chains from 6 to 9 for a layered look. Work slip stitches or SC back down depending on the texture you want.
Pin the hair base to the top of the head. Sew each strand down individually.
Assembly
Order matters here more than usual, because the body is already finished and closed before anything gets attached.
- Close and stuff the body and head first. Everything else sits on top of a completed doll.
- Pin the hair base to the crown before sewing a single stitch. The front edge should sit slightly above the eyes. Sew the base down all the way around, then sew each strand individually so they lie in layers rather than sticking out.
- Slide the hood over the head and line the seam up along the back of the doll. Sew the hood around the neck edge behind the head so it hangs like a real hood rather than sitting like a hat.
- Sew the two drawstrings to the front of the body just below the neck.
- Optional: add a touch of pink blush to the cheeks, and attach a keychain loop at the top.
Tip: Pin the hair and the hood before committing. On a doll this small, two millimetres of misplacement reads as a completely different expression, and you will only see it once the hair is on. Look at it from across the table before you thread the needle.
Tips
- Safety Eye Timing: The eyes go in between rounds 15 and 16, inserted after round 18 is worked and before you start round 19. This matters because the head is crocheted straight onto the body, so there is only one opening in the whole toy. Once round 19 is done you cannot get a finger inside to seat the washers, and once round 20 closes it the doll is sealed for good. Push the posts through from the outside, look at the face straight on to check the spacing and height, then snap the washers on from inside. Stuff after the eyes are secured, not before.
- Safety Warning: Making this for a child under three? Leave the safety eyes out entirely. Embroider two small black satin stitch ovals in the same position instead, and work the yarn ends deep into the stuffing. A keychain doll gets pulled at, and a safety eye is a hard small part on a very small toy.
- Stuffing Guide: Add stuffing gradually through the neck opening, in small pinches rather than one lump. Push filling forward into the cheek area before closing, so the face stays round rather than flattening back. Stuff firmly. This doll needs to hold an upright posture and a round head, and a soft one will slump on a keyring. The legs and lower body take less than you expect; most of the volume belongs in the head. Over-stuffing shows first at rounds 14 to 17, where the gaps between stitches widen and the pink starts to look thin.
- Yarn Substitution and Size Scaling: The stitch counts hold at any weight. Only the hook and yarn change, though the character of the doll changes with them. DK on a 2.5 mm hook gives a noticeably larger doll, perhaps 13 to 15 cm, and the colour changes get much easier to work cleanly. Worsted on a 3.5 mm hook makes a chunky version, but the spike bobble arms get thick enough to look like mittens. Anything finer than 4 ply and the spike bobbles start disappearing into the fabric. Cotton is the right call for this one. It holds the back loop ridge at the waistline crisply, and acrylic tends to blur that line into the surrounding rounds.
- Colour and Customization Ideas: Swap the gray hoodie for cream, olive, or a soft mustard. Work the hair in brown, sandy blonde, or a bright unnatural colour for a stylised look. Change the pants from denim blue to black for a plainer outfit. Add a small embroidered logo or letter on the hoodie front once the doll is assembled. Make the hood in a contrasting colour from the body for a two tone sweatshirt. Skip the keychain loop and add a longer chain to hang it from a bag or a rear view mirror.
- Common Issues: If spike bobbles are new to you, practice two on a swatch before starting the doll. They usually fail because the switch happened at the start of the new stitch rather than on the last yarn over of the previous one. Pull the old colour firm before dropping it and carry the unused strand loosely inside rather than cutting at every change. On an 18 stitch round the carried yarn will not show. If the head is lopsided, that usually comes from uneven stuffing at the neck rather than anything in the rounds. Push a little more filling into the low side through the opening before you close round 20. Once it is fastened off there is no fixing it. Sew each hair strand down at its tip as well as at the base rather than only anchoring it at the crown. Slip stitch strands lie flatter than single crochet strands, so use those for the front and save the SC ones for the back where you want more volume.
FAQs
Can I make this doll larger?
Yes. You can use DK weight yarn with a 2.5 mm hook to create a doll that is approximately 13 to 15 cm tall. This size makes colour changes easier to manage. However, avoid using yarn finer than 4 ply, as the spike bobble stitches for the arms and shoes may disappear into the fabric.
Why are my spike bobble stitches flat?
Spike bobble stitches are worked one round below the current round. If they are sinking flat, they were likely worked too tightly. Ensure you are pulling the yarn through firmly but not constricting the stitch. Also, double-check that you are changing colours on the final yarn over of the previous stitch to avoid smears.
Is this pattern safe for toddlers?
If you are making this for a child under three years old, it is recommended to leave out the safety eyes entirely. Instead, embroider two small black satin stitch ovals for eyes. This eliminates the risk of small hard parts being a choking hazard, which is important for keychain dolls that may be pulled or handled roughly.
Do I need to sew the arms and shoes on?
No, this is a “no sew” body pattern. The shoes and arms are created using spike bobble stitches directly into the body rounds. This keeps the doll’s profile clean and avoids the bulk of sewn-on limbs. You only need to sew the hair base and the hood onto the finished body.
Why does my head look too tall?
This is correct. Rounds 14 to 17 are worked straight without increases or decreases, so the head will look slightly tall and unfinished at this stage. This is intentional to create the ball shape. The shaping begins again in round 18 with decreases.
Pin This Crochet Pattern!