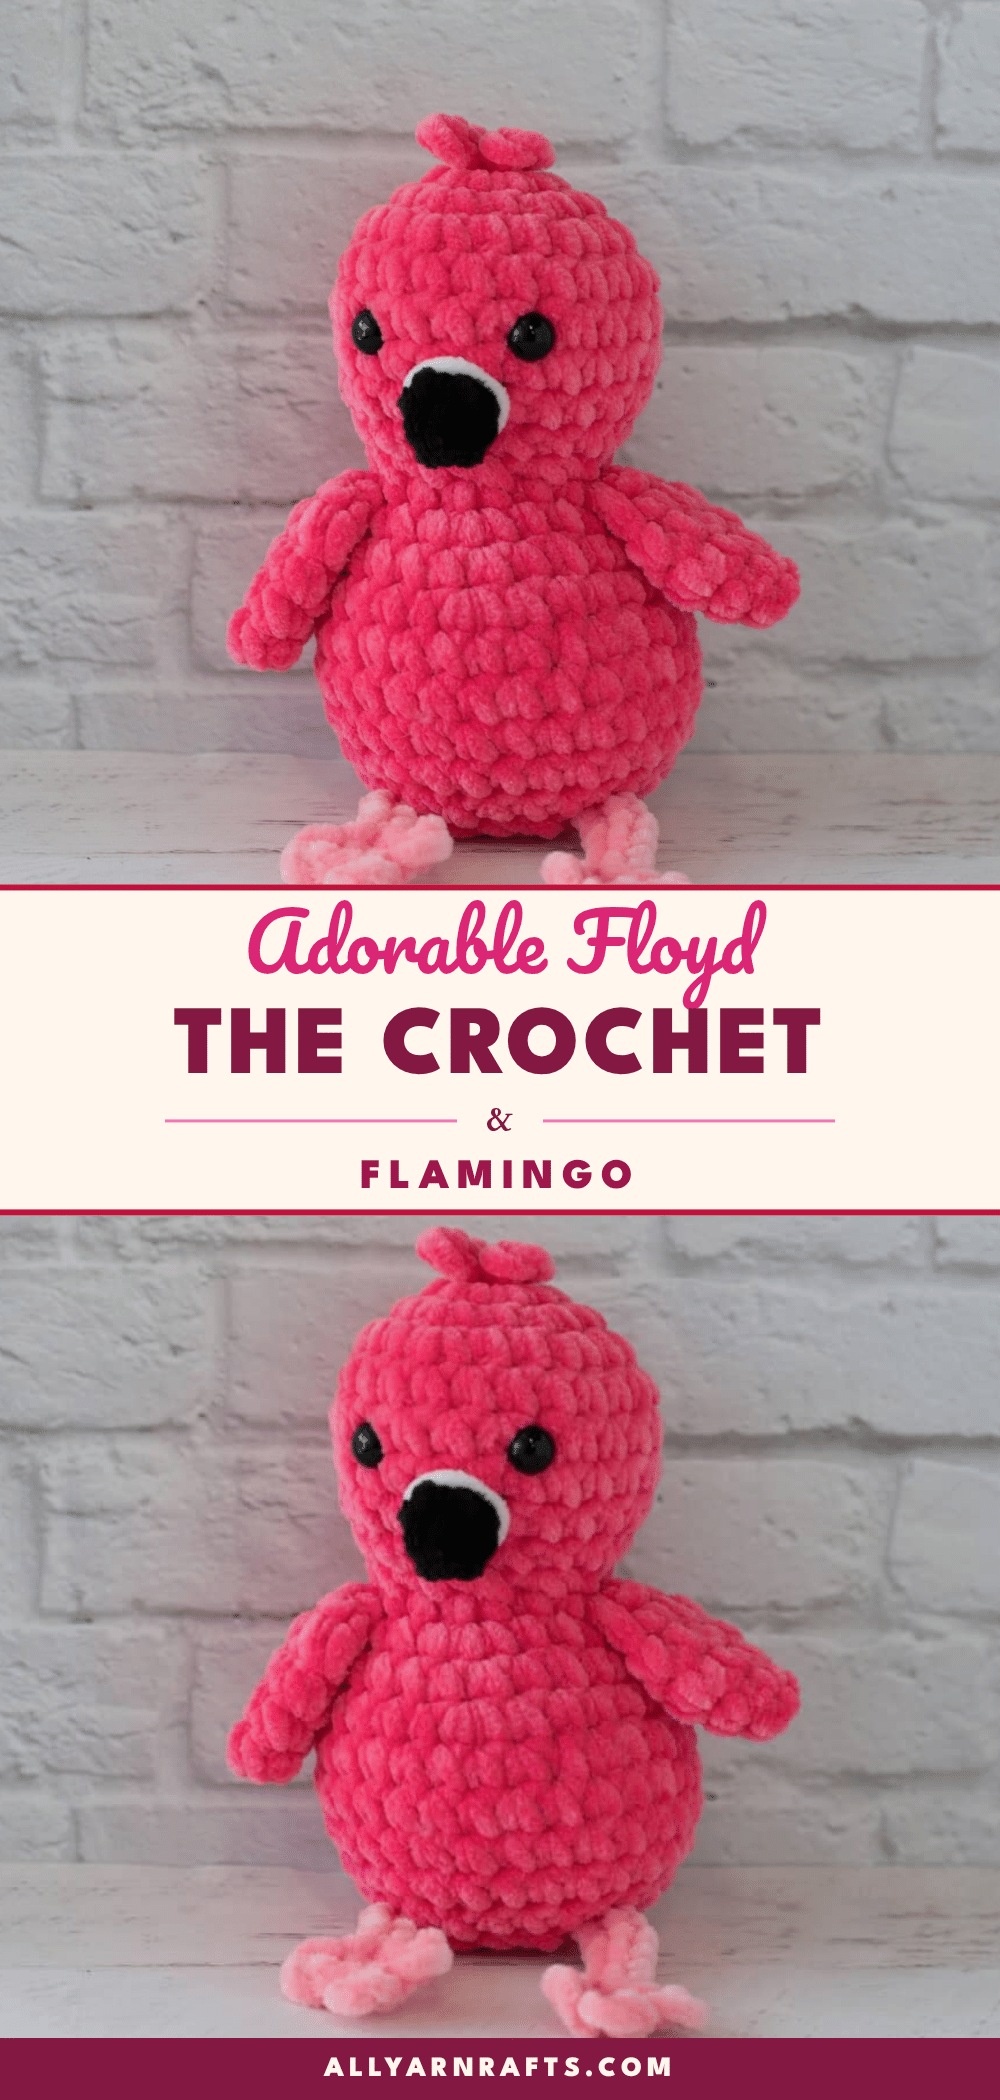
Have you ever started an amigurumi project, only to panic when your stitches looked too loose or your shape felt slightly off? It is a very common worry for beginners, especially when working with bulky yarn. But here is the secret: with Floyd the Flamingo, those fears melt away. This pattern is designed to be forgiving and fun, using super bulky yarn that works up incredibly fast. You do not need to stress over perfect gauge or tension; the chunky texture hides minor inconsistencies, and the playful design ensures that even if your stitches aren’t mathematically perfect, your flamingo will still look adorable. This project is less about technical precision and more about enjoying the process of creating a cheerful companion.
Maker Notes
Floyd is more than just a pink bird; he is a personality-packed addition to any shelf or nursery. I love that he has that squishy, pudgy vibe that makes him irresistible to hug. The design uses a super bulky weight yarn, which gives the finished piece a nice stiffness and structure without feeling heavy. This yarn choice also makes Floyd a fantastic stash buster, as you only need small amounts of black, white, and light pink for the details. Whether you are gifting him to a child or keeping him as a cheerful desk buddy, his little legs and expressive face are sure to bring a smile. He works up in just one evening, making him the perfect quick win for your crochet queue.
Project Overview
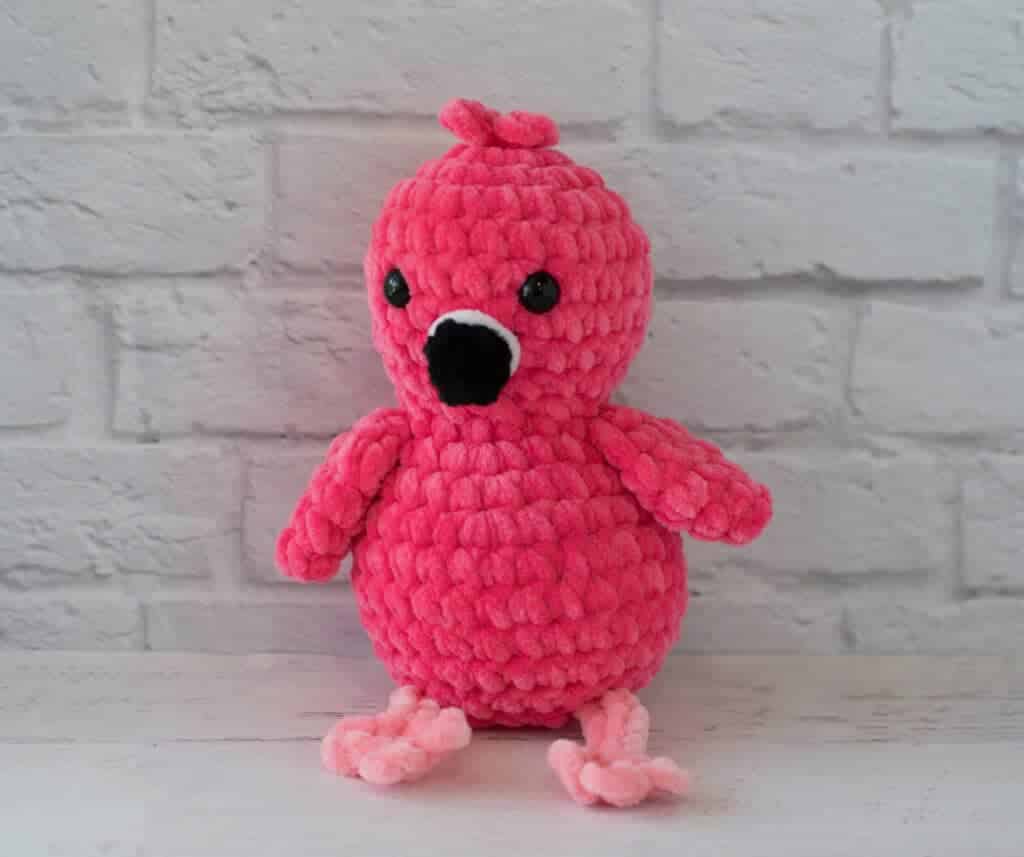
This pattern creates Floyd, a charming crochet flamingo amigurumi. The head and body are worked in one continuous piece, featuring a slightly puffed tummy for a cute, round silhouette. Floyd features distinct details including a black beak with a white accent stripe, top feathers, wings, tail loops, and long legs with webbed feet. The pattern is suitable for beginners who want a quick, satisfying project that yields a high-impact result.
Materials
- Yarn: Premier Parfait Chunky (Size 6 Super Bulky, 100% Polyester, 131 yds/120m per 3.5 oz skein).
- Hibiscus (Bright Pink): 35 yards
- Pink Lemonade (Light Pink): 3 yards
- Black: 1.5 yards
- White: Scraps for beak detail
- Crochet Hook: US H8/5.00 mm (Recommended for proper stiffness with bulky yarn)
- Eyes: 10 mm safety eyes (Note: For babies or young children, embroider eyes instead)
- Notions: Stitch markers, fiberfill, tapestry needle, scissors
Gauge and Finished Size
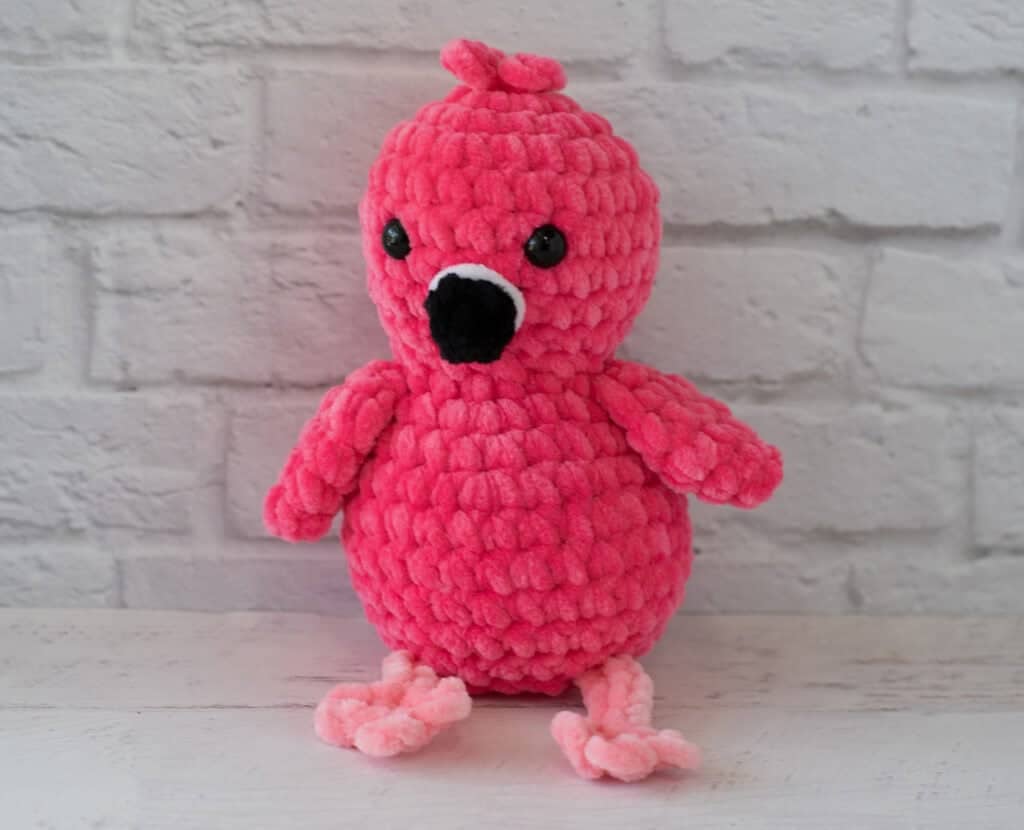
Finished Size: The flamingo is approximately 6” tall x 4.5” wide (excluding legs).
Gauge: The author’s gauge is 6 sc to 2 inches. However, gauge is not critical for this pattern. You may use other weights of yarn if desired, adjusting your hook size to fit your needs.
Abbreviations
- ch = chain
- sc = single crochet
- sl st = slip stitch
- st = stitch(es)
- sc2tog = single crochet two stitches together
Pattern Notes
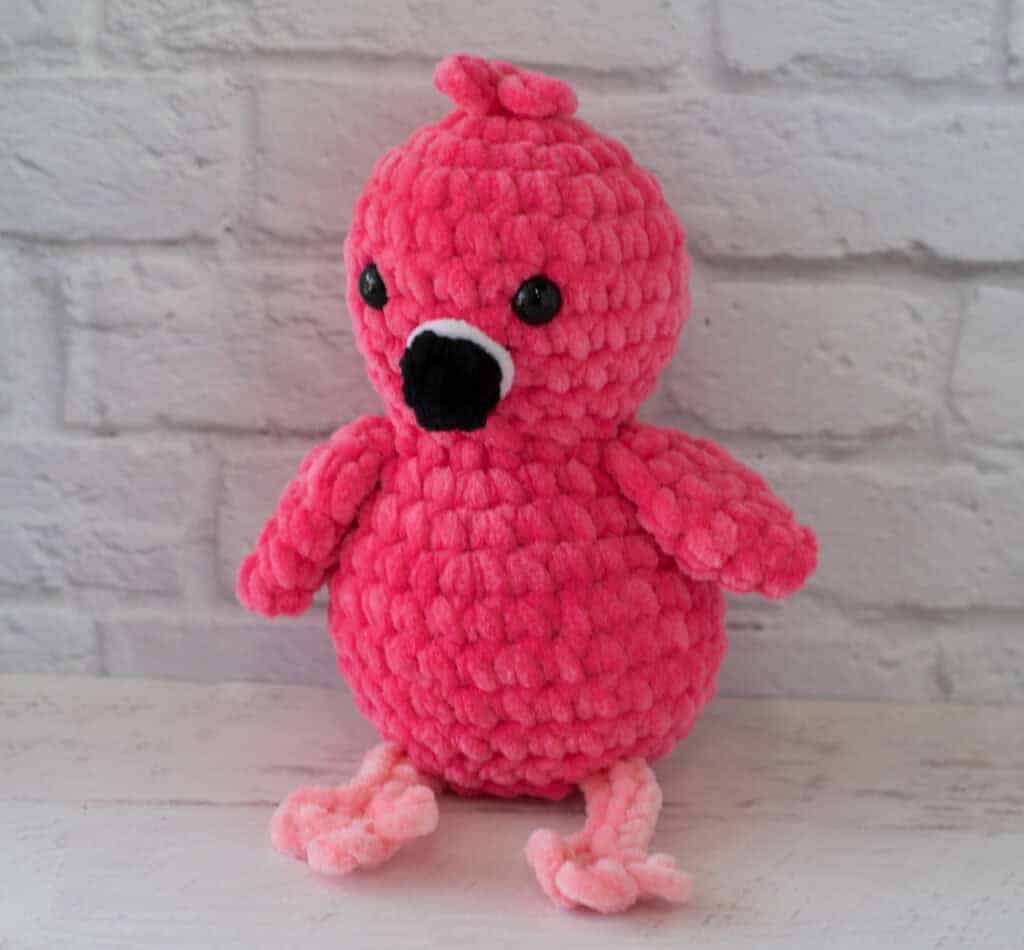
The head and body are worked in one piece. The tummy is shaped with extra stitches to create an adorable pudgy look. Because bulky weight yarn can make small details challenging, the beak, feet, and feathers use very few stitches with intentional placement. This design choice makes the small elements fun and quick to crochet.
Pattern Instructions
Flamingo Head and Body
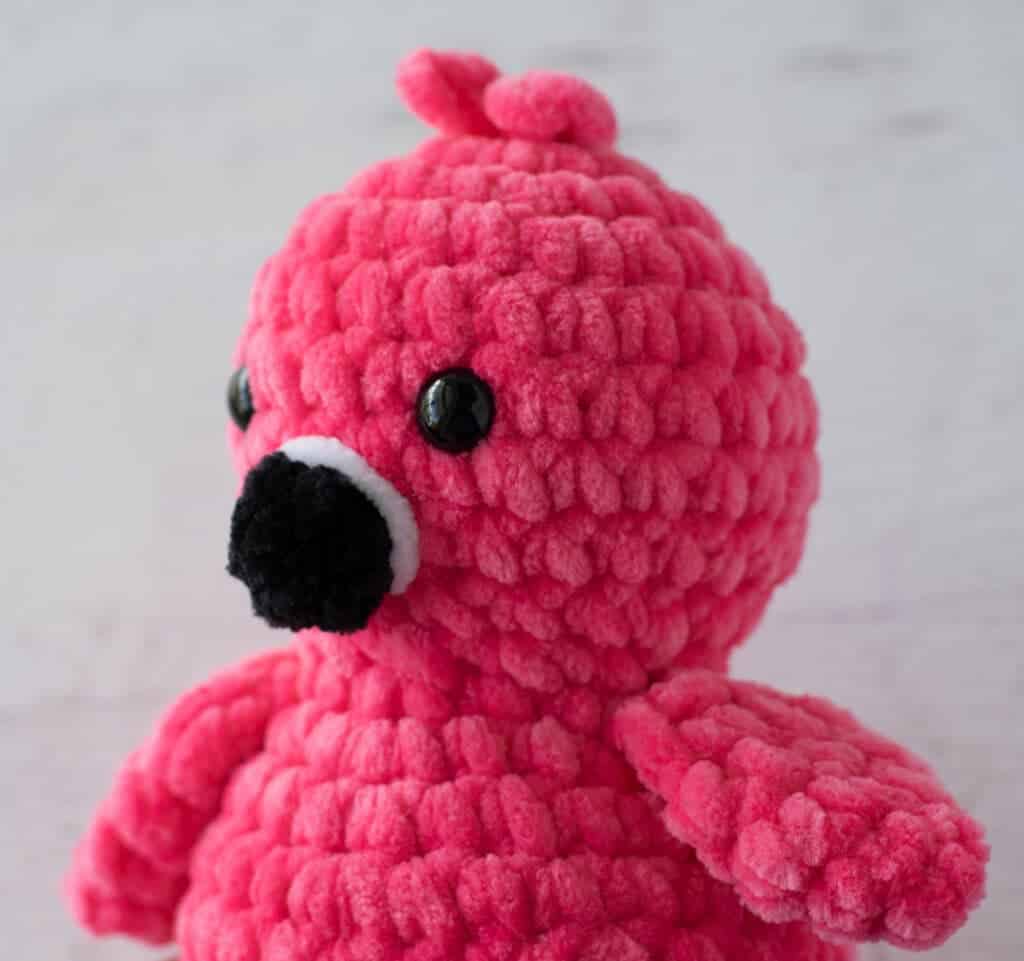
Using bright pink yarn, make a magic ring.
- R1: 6 sc into ring. Place stitch marker and work in continuous rounds. (6 st)
- R2: 2 sc in ea st. (12 st)
- R3: *Sc in next st, 2 sc in next. Repeat from * around. (18 st)
- R4: *Sc in next 2 st, 2 sc in next. Repeat from * around. (24 st)
- R5-8: Sc around. (24 st)
- R9: *Sc in next 2 st, sc2tog. Repeat from * around. (18 st)
- R10: *Sc in next st, sc2tog. Repeat from * around. (12 st)
- Insert safety eyes: Insert safety eyes between rows 6 & 7, leaving 4 stitches in between them. Stuff head and continue to stuff body as you work.
- R11: *sc in next st, 2 sc in next. Repeat from * around. (18 st)
- R12: *Sc in next 2 st, 2 sc in next. Repeat from * around. (24 st)
- R13: Sc around (24 st)
- R14: *Sc in next 5 st, 2 sc in next. Repeat from * around. (28 st)
- R15-18: Sc around. (28 st)
- R19: *Sc in next 5 st, sc2tog. Repeat from * around. (24 st)
- R20: *Sc in next st, sc2tog. Repeat from * around (16 st). Firmly stuff body the rest of the way.
- R21: *Sc2tog. Repeat from * around. (8 st). Fasten off, weave end through last stitches and pull tight.
Beak
With Black yarn, make a magic ring.
- R1: 4 sc into ring (4 sts). Work in rounds.
- R2: (Sc in next st, 2sc in next st) twice (6 st). Fasten off, using an invisible join if you prefer.
White Accent Stripe Around Beak
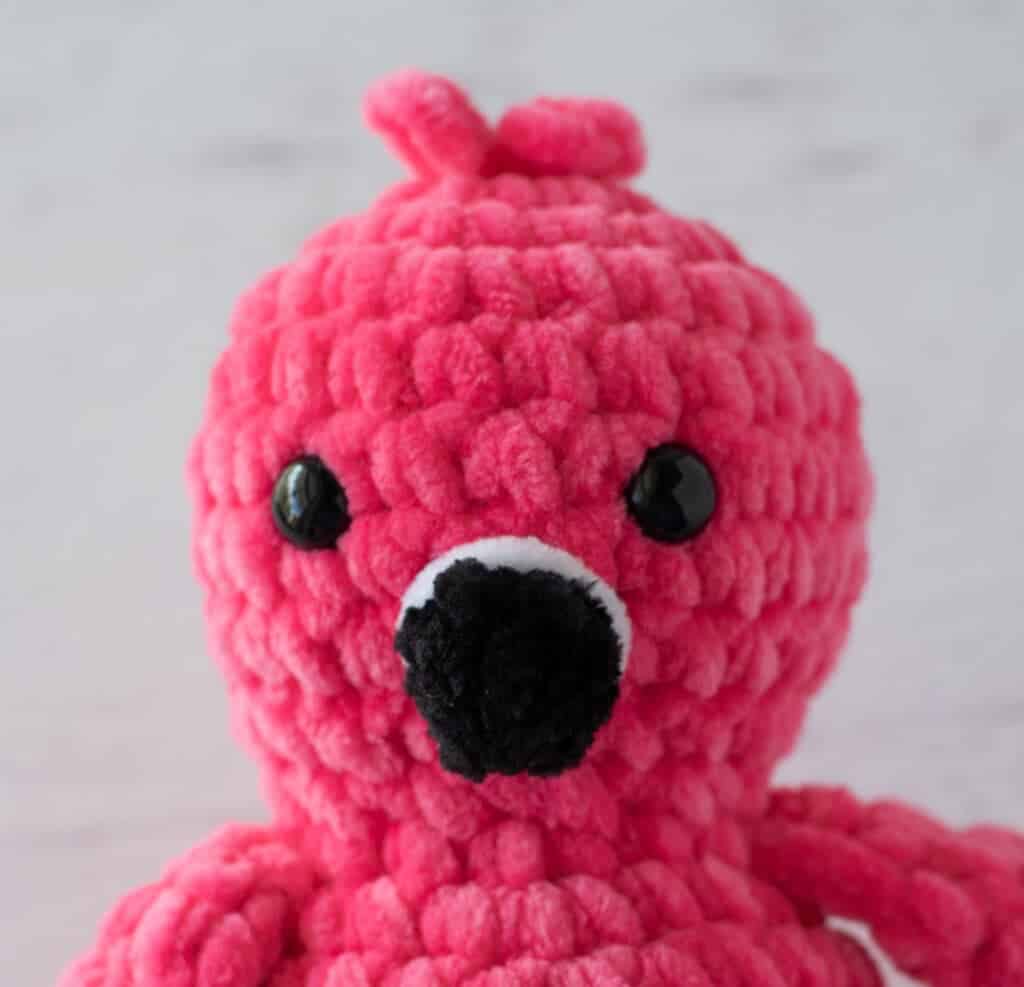
The white stripe is made with a single stitch looped over the beak.
- Thread a yarn needle with a long strand of white yarn.
- Tie a knot at the end of the yarn.
- Use the needle to come up through the body and stuffing, pushing the needle out through the middle of the underside of the beak where it meets the body.
- Tug on the yarn so that the knot pops into the stuffing and hides the end.
- Carefully take the strand of yarn and wrap it around the outside of the beak to form a circle around the bottom edge of the beak where it meets the face.
- When you come back to the bottom, insert the needle back into the same spot, so that the yarn makes a complete circle around the beak.
- Pull the needle out the back of the body of the flamingo and pull tight, making sure that the white stripe is lying neatly around the beak.
- To secure the yarn, knot it, then bury the knotted end inside of the stuffing on the body. Cut the yarn close to the work.
Top Feathers (Hair)
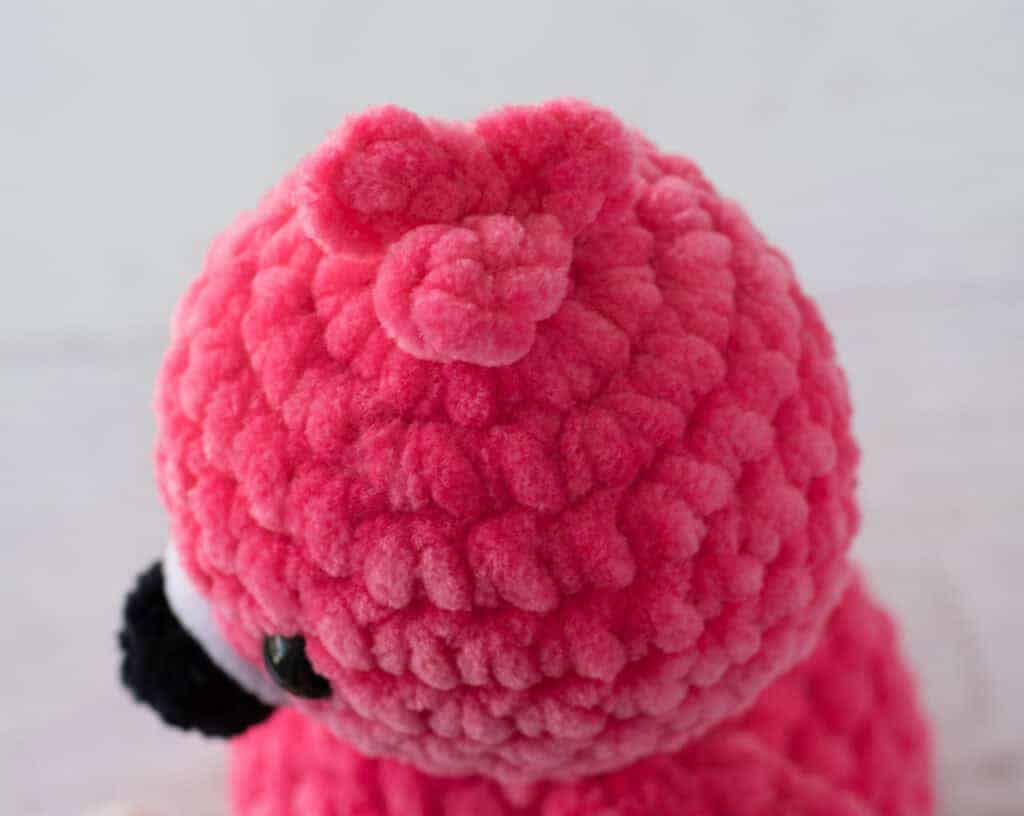
With bright pink yarn, *ch 3, sl st in next 2 st, repeat from * 2 more times. Fasten off and sew to top of head.
Wings (Make 2)
With bright pink yarn, make a magic ring.
- R1: 4 sc into ring (4 sts). Work in rounds.
- R2: (Sc in next st, 2sc in next st) twice (6 st).
- R3: (Sc in next 2 st, 2sc in next st) twice (8 st).
- R4: Sc around (8 st).
- R5: Fold piece in half, then carefully sc across the double thickness (4 st).
- R6: Ch 1, (sc2tog) twice. (2 st). Fasten off leaving a long strand for joining.
Tail Feathers
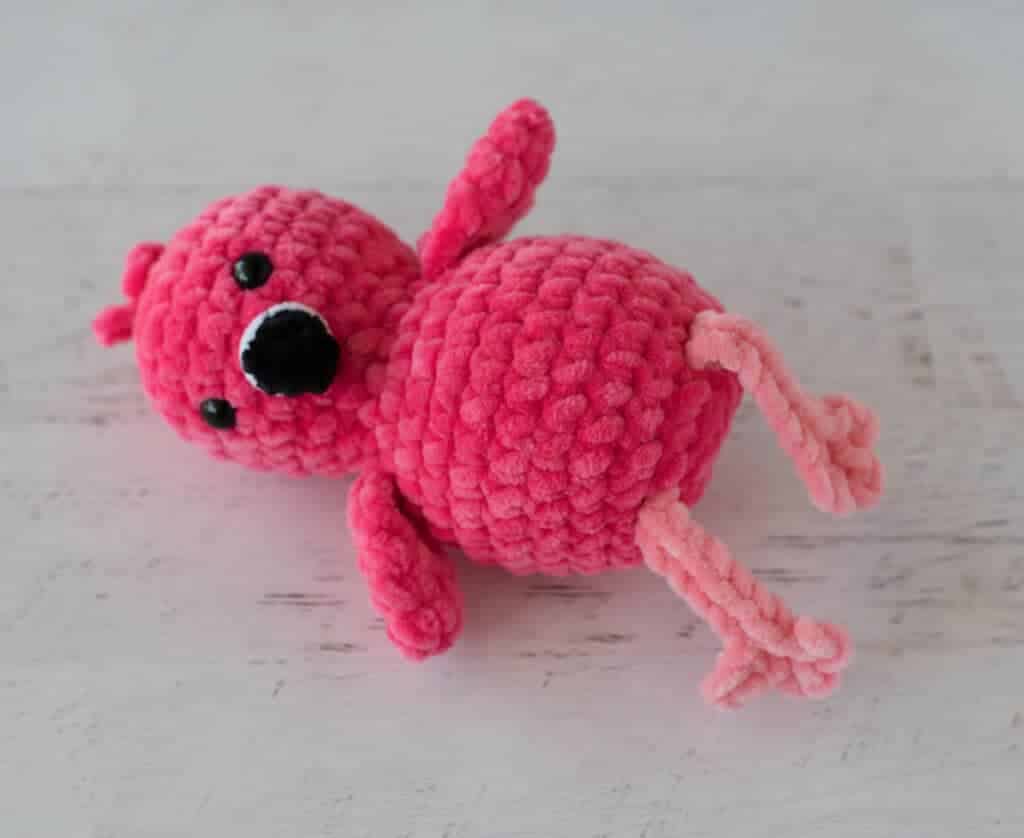
With bright pink yarn, *ch 7, sl st in next 7 th ch from hook to form a loop, repeat from * 2 more times (3 loops). Fasten off and sew to the lower back of bird.
Legs and Feet (Make 2)
With light pink yarn, ch 9.
- R1: Sl st in 2 nd ch from hook (1 st toe made), *ch 2, sl st in 2 nd ch from hook. Repeat from * once (3 toes made). Then, skip next chain and sl st to next chain to connect the toes back to the starting chain. (Note: this is the 6th ch from the very start.) Slip stitch on remaining 5 chains to return to starting point. Fasten off leaving a long strand for joining.
Assembly
- Sew Beak: Sew beak between and below eyes. Beak covers all of row 8 and parts of rows 7 & 9 (or as desired).
- Add White Stripe: Follow the instructions in the Pattern Instructions section above to add the white accent stripe.
- Sew Wings: Sew a wing on either side of the body near the neck.
- Sew Legs: Sew legs between rows 19 and 20 of body, or as desired.
- Finish: Weave in any loose ends.
Tips
- Speed: This pattern works up very quickly. You can finish Floyd in a short evening, making it perfect for gift giving.
- Stiffness: The pattern is designed to be worked with a Super Bulky Weight yarn using a smaller than normal hook (5.00 mm) to give the piece the right amount of stiffness and structure.
- Stash Busting: Because Floyd is mostly bright pink with tiny details, this is an excellent project for using up small scraps of black, white, and light pink yarn.
FAQs
Can I make Floyd for a baby?
Yes, but for safety, you should embroider the eyes instead of using safety eyes if the toy is intended for a baby or young child.
What if I don’t have Premier Parfait Chunky yarn?
You can use other Super Bulky (Size 6) yarns. Just be aware that the finished size and stiffness may vary slightly. Adjust your hook size if your gauge is too loose or tight.
How do I attach the white stripe on the beak?
The white stripe is created by threading a needle with white yarn, coming up from under the beak, wrapping it around the bottom edge of the beak, and securing it on the back of the head. This creates a clean, stitched look without sewing a separate piece of fabric.
Why are my wings floppy?
Ensure you are using the recommended hook size (5.00 mm) with the bulky yarn. This combination creates the necessary tension and stiffness for the wings to hold their shape when sewn on.
Can I use this pattern to make a blanket?
This specific pattern is for amigurumi (stuffed toys). If you are looking for blanket patterns, you might enjoy checking out our easy crochet blanket ideas for other cozy projects.
Pin This Crochet Pattern!