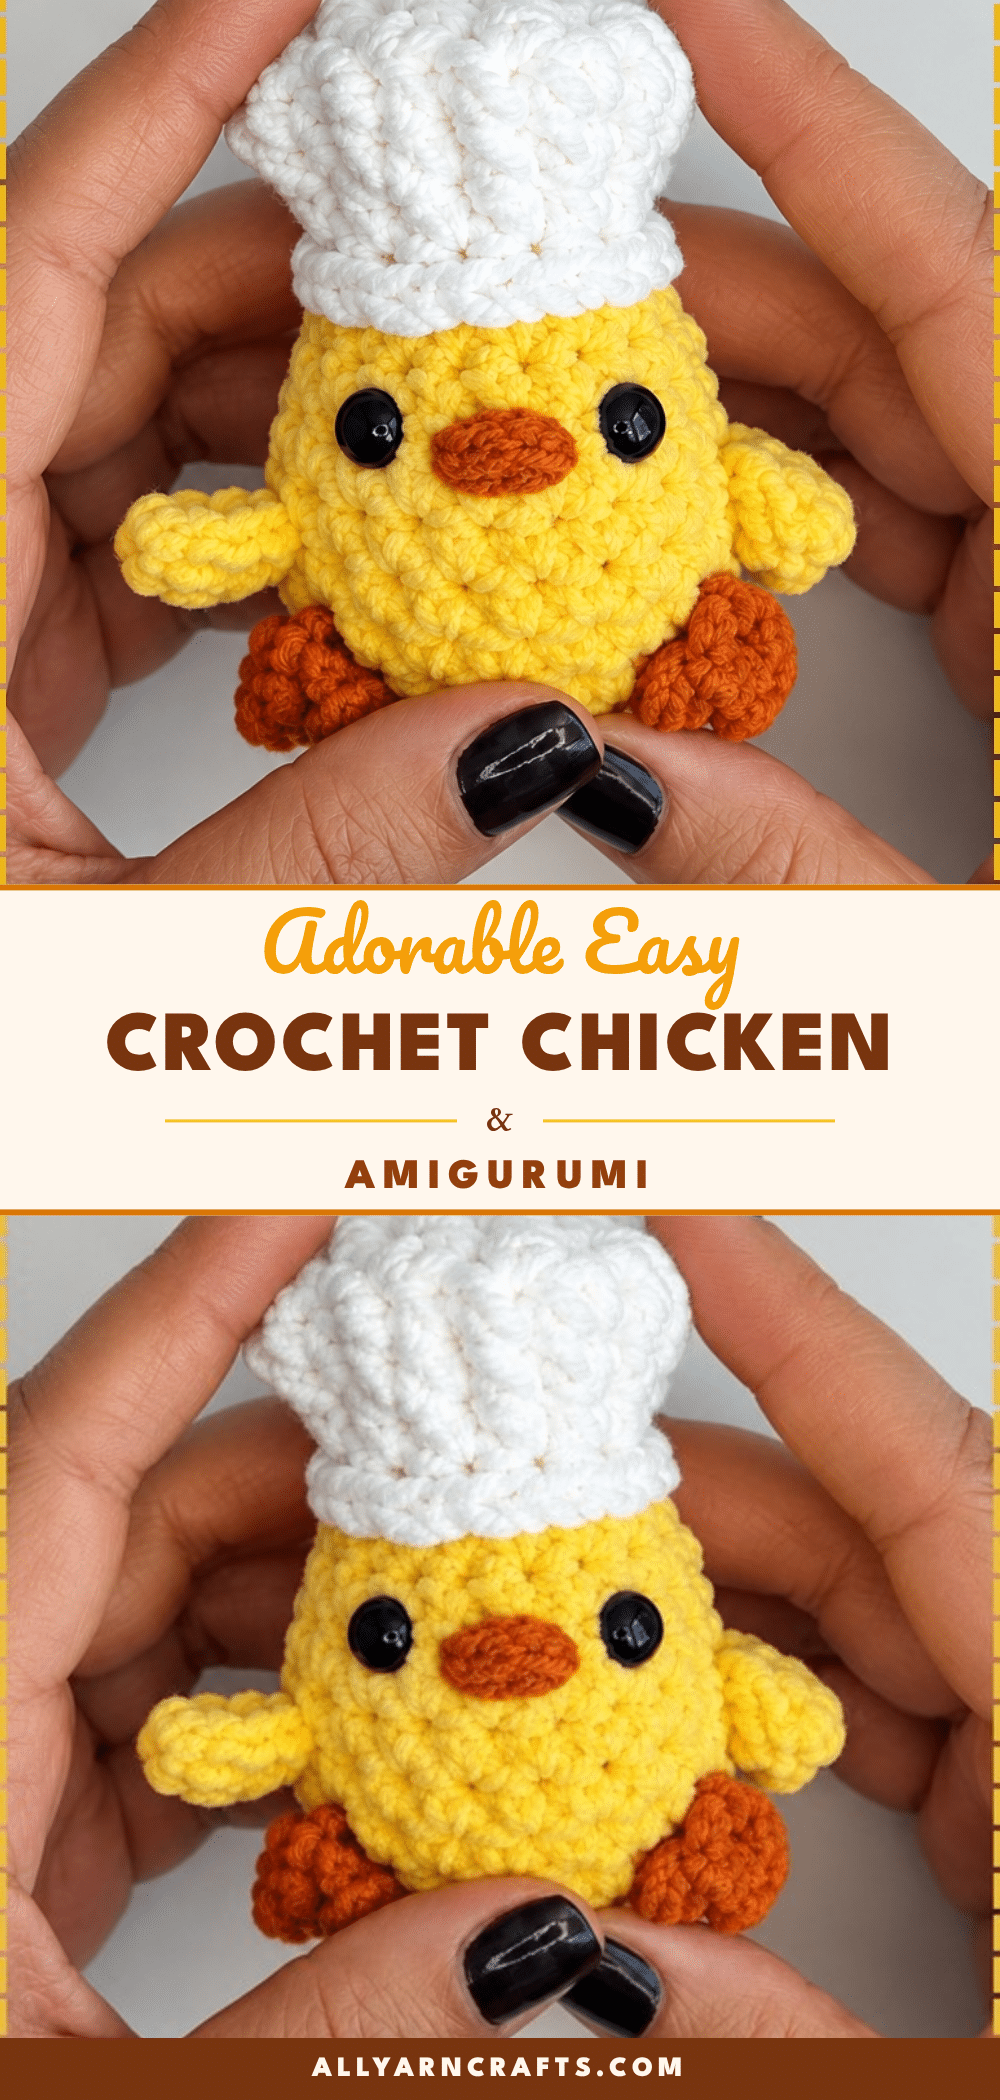
There is something deeply satisfying about the quiet ritual of a crochet project that rewards you quickly. It is a small batch of yarn, a familiar hook, and the gentle rhythm of counting stitches in a continuous round. This crochet chicken amigurumi fits that mood perfectly. It is a compact, kitchen-themed character that comes together in about two hours, making it an ideal companion for a relaxing evening. The pattern relies on simple repeats and built-in details, allowing you to focus on the texture of the plush yarn and the satisfaction of watching a shape emerge without the stress of complex assembly.
Small Details That Make It Better
While this chicken is adorable on its own, the specific choice of materials and small finishing touches elevate the final look. The plush or dolphin yarn is not just a texture choice; it hides minor tension inconsistencies, which is a huge help for beginners. However, that same softness means you must count stitches by feel rather than sight, as the fibers can obscure the stitch definition. The “puffy” look of the chef hat is entirely dependent on how you stuff it. If you pack the body too firmly, the hat loses its dome. If you leave the hat crown too loose, it collapses. Finding that balance—firm body, soft crown—is the secret to the chicken’s charming, slightly dazed expression. Additionally, the orange legs are not separate pieces but built-in popcorn stitches. Giving these a gentle tug during assembly helps them stand proud, looking like little beads rather than flat bumps.
Project Overview
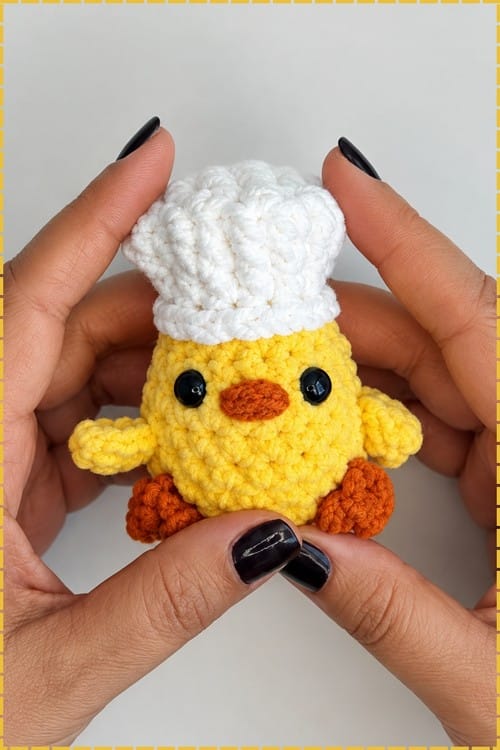
This project is a tiny, plump chicken with a puffy white chef hat. It is designed as a single continuous piece with details worked directly into the rounds, meaning there is very little sewing required. The body is yellow, with orange feet and a beak, and black safety eyes set wide apart. It is a kitchen-themed amigurumi that reads as food-inspired without needing props. The construction is continuous rounds, making it a low-stress project for those who dislike seaming multiple pieces together.
Quick Facts
- Finished Size: Approximately 8 cm (about 3.14 inches).
- Difficulty: Easy to moderate. It involves a few unusual stitches worked mid-round.
- Time: Roughly 2 hours.
- Pieces: 1 continuous piece (body, head, and hat).
- Construction: Continuous rounds, no seaming required.
Pieces List
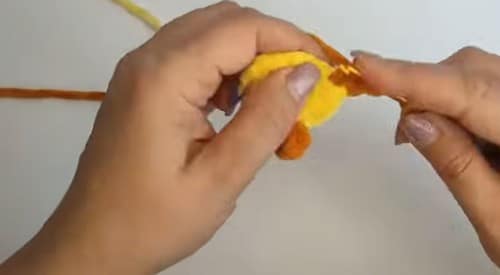
- Body and head with chef hat: 1 continuous piece.
- Legs: Worked into Round 4 as popcorn stitches.
- Tail: Worked into Round 4 in front loops only.
- Wings: Worked into Round 6.
- Hat border: Worked into the hat edge in front loops only.
Materials and Tools
- Yarn: Plush or dolphin yarn (100 g and 120 m) in yellow, white, and orange or red.
- Crochet Hook: 4.5 mm.
- Safety Eyes: 8 to 9 mm.
- Stuffing: Polyester fiberfill.
- Glue: Hot glue (for eyes).
- Tools: Scissors, blunt sewing needle.
Abbreviations
- ch: chain
- sc: single crochet
- hdc: half double crochet
- dc: double crochet
- sl st: slip stitch
- inc: increase
- dec: decrease
- dc2tog: double crochet 2 together
- FLO: front loops only
- BLO: back loops only
Gauge and Finished Size
All sizing here is approximate and depends heavily on your own tension. The finished size is approximately 8 cm, about 3.14 inches. If you substitute yarn types, the size will change accordingly.
Pattern Notes
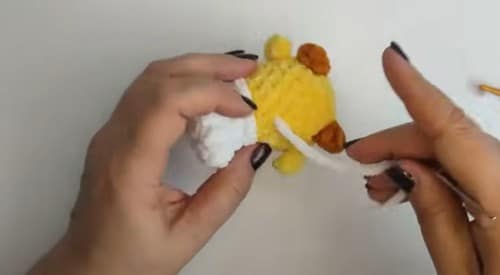
Yarn Substitution and Size Scaling: Plush or dolphin yarn is what gives this pattern its signature texture. A straight swap to worsted cotton with a 3.5 mm hook will produce a much smaller, crisper chicken, roughly 5 to 6 cm, approximate. Every count stays the same. The popcorn leg behaves quite differently in smooth yarn, coming out tighter and more defined. Velvet yarn splits easily, so use a hook with a blunt tip if you can.
Color Ideas: A white body with a red comb color on the legs gives a classic farmyard hen look. Brown or caramel yarn reads as a speckled hen and hides marks better on a kitchen shelf. You can swap the white chef hat for a red one to create a tiny gardener, or make the hat in pale grey for a softer, less costume look. Work the tail loops in a contrast colour so they read clearly against the body. You can also skip the hat entirely and close the body at Round 10 for a plain chick.
Pattern Instructions
Body and Head
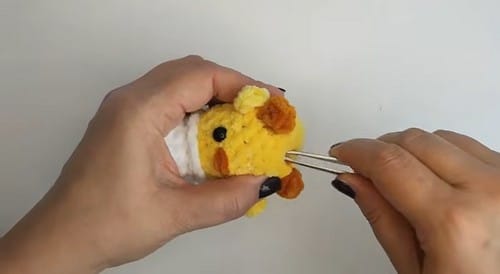
Round 1: 2 ch, in the 2nd loop from the hook work 6 sc. (6)
Round 2: 6 inc. (12)
Round 3: 1 sc, 1 inc, repeat 6 times. (18)
Checkpoint: A shallow disc that has just started to cup at the edge. Plush yarn makes stitches hard to see, so count by feel along the rim rather than by eye.
Round 4, legs and tail: 5 sc, switch to orange yarn and make a 5 dc popcorn stitch for the first leg, switch back to yellow and 1 ch, 5 sc, tail in FLO: 1 sl st, 4 ch and 1 sl st repeated 3 times, 1 sl st.
Checkpoint: The popcorn leg should sit proud of the fabric like a small bead, and the three chain loops should fan out at the back rather than lying flat.
Round 5: 17 sc, 1 sc in BLO. (18)
Round 6, wings: 4 sc, wing: 5 ch, starting from the 4th loop from the hook make 1 dc and 1 hdc, 8 sc, repeat the second wing, 5 sc. (18)
Checkpoint: Both wings should point in the same direction and sit level with each other. Check before moving on, because this is not fixable later without unpicking the round.
Rounds 7 to 9: 18 sc each round. (18)
Round 10: 1 sc, 1 dec, repeat 6 times. (12)
Checkpoint: The body should now read as a rounded egg, narrowing at the top where the hat will begin.
Chef Hat
Round 11: Measure about 60 cm of yellow yarn for the border later and cut it, then join white yarn. Work 12 sc in BLO. (12)
Round 12: 2 sc, 1 inc, repeat 4 times. (16)
Checkpoint: The white section should flare outward from the yellow body, creating the brim ledge the border sits on.
Stuff the body with filler before proceeding.
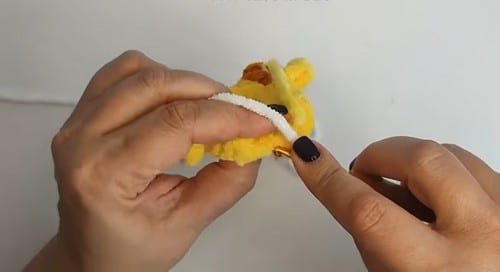
Border: Using the reserved yellow yarn from Round 11, work 12 sl st in FLO around the hat edge.
Round 13, hat fluff: 1 sc, dc2tog, repeat 8 times. (16)
Round 14: 8 sc. (8)
Stuff the top portion of the hat.
Checkpoint: The crown should be puffed and slightly domed, not collapsed against the body.
Round 15: 4 dec. (4)
Cut the thread, fasten off, and pull the hole tight using a sewing needle.
Details
Eyes: Insert 8 to 9 mm eyes between Rounds 8 and 9, securing them with hot glue.
Beak: Embroider a small beak using plush red or orange yarn and a needle.
Assembly
There is nothing to sew on, which is the appeal of this one. Legs, tail, and wings are all built into the rounds as you go, so assembly is really just finishing. Draw the final 4 stitches closed with the blunt needle and bury the tail inside the hat. Pin the beak position before embroidering it, centred just below the eyes, and step back to look at the face from a distance of about a metre before committing. Adjust the tail loops with your fingers so they sit in a fan rather than a clump. Give the popcorn legs a gentle tug to settle them into place.
Tips
- Counting Stitches: Count the popcorn stitch as one stitch in the round total, not five, or Round 5 will come out short.
- Managing Yarn: Cut and set aside the 60 cm of yellow yarn at Round 11 before joining the white. Reaching back for it later means splicing in a new length and the border join will show.
- Tracking Rounds: Use a stitch marker religiously. Plush yarn is almost impossible to read back, and finding a lost round means unravelling to the last count you trust.
- Safety Eye Timing: As the pattern is written, the eyes go in between Rounds 8 and 9, but that step appears at the very end, after the body has already been stuffed at Round 12 and the hat closed at Round 15. By then you cannot reach inside to fit washers, which is why the pattern calls for glue instead. A better route is to place the eyes between Rounds 8 and 9 while the body is still open, fit the washers properly, and only then carry on to Round 10. Same placement, same look, far more secure. For any toy going to a child under three, skip the safety eyes altogether and embroider them in dark yarn once the body is closed. Glued eyes on plush yarn come free with handling, and plush fibre gives the washer very little to grip even when it is fitted correctly.
- Stuffing Guide: Two separate stuffing moments, both easy to miss. The first comes after Round 12, filling the body itself. The second comes after Round 14, filling only the crown of the hat. Keep the body firm enough to hold its egg shape under a light squeeze. The hat crown stays softer, since over stuffing there flattens the brim ledge you built in Round 12 and the hat stops reading as a hat. Plush yarn is forgiving about visible fill, so you can push a little harder than you would with cotton, but the give in the fibre also means an over stuffed body slowly goes lopsided over a few weeks.
FAQ
Do I have to use plush yarn?
No, but it changes the look considerably. Plush hides uneven stitches, which is half the reason this pattern is beginner friendly, so a smooth cotton version will expose any tension drift you have.
What is a popcorn stitch doing in the middle of a round?
It is standing in for a leg. You work five double crochets into one stitch and close them into a bump, which gives you a raised orange nub without crocheting a separate piece.
Can I make it without the chef hat?
Yes. Close the body off after Round 10 with a few decrease rounds and you have a plain chick, which is a good option if you want a set.
Why glue the eyes instead of using washers?
Because of the order the pattern puts them in. If you fit the eyes between Rounds 8 and 9 as you pass that point, you can use the washers properly and skip the glue entirely.
Is this pattern suitable for beginners?
Yes, the difficulty is easy to moderate. It involves continuous rounds and simple stitches, though you will need to be careful with stitch counts due to the texture of the recommended yarn.
Pin This Crochet Pattern!