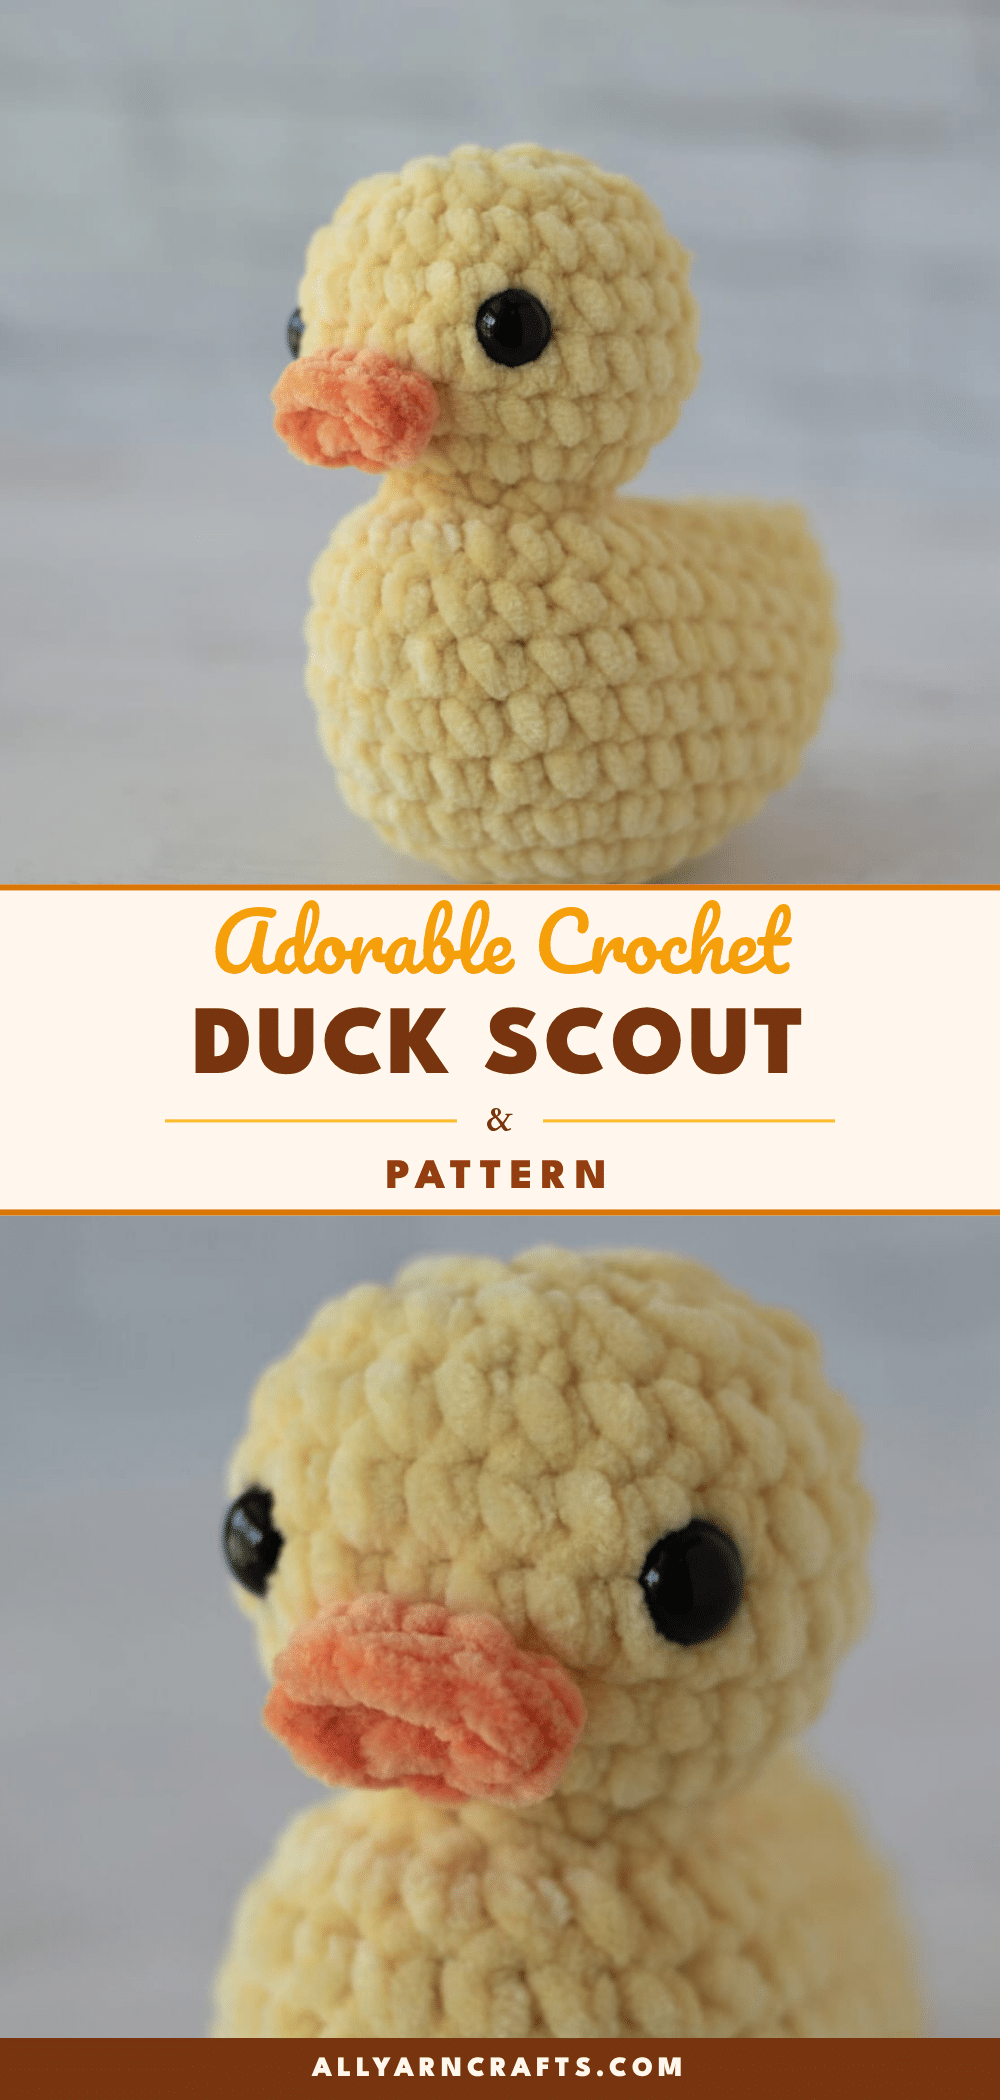
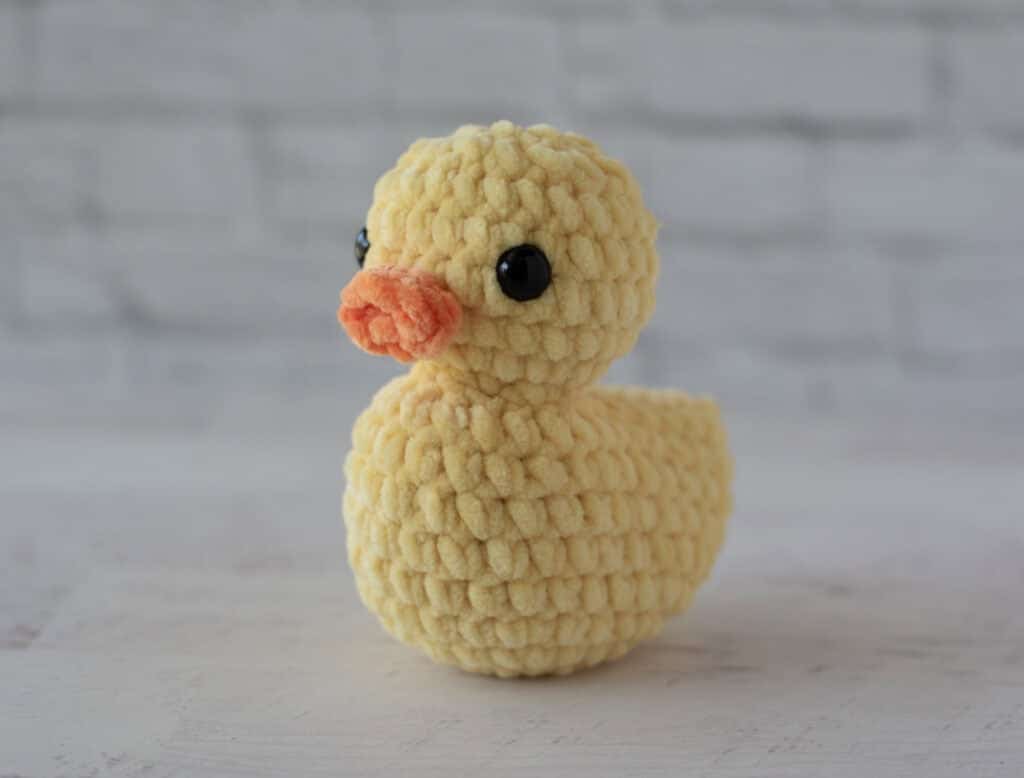
Have you ever finished a cute little amigurumi project only to watch it tip over immediately? It’s a rite of passage for many crocheters. You spend hours stuffing the head, only to realize the center of gravity is all wrong. With this Scout the Crochet Duck pattern, that worry vanishes. The secret lies in a clever weighted pouch hidden inside the body, ensuring your duck sits upright and proud. It is an approachable project that solves a common amigurumi problem before it even starts.
Maker Notes
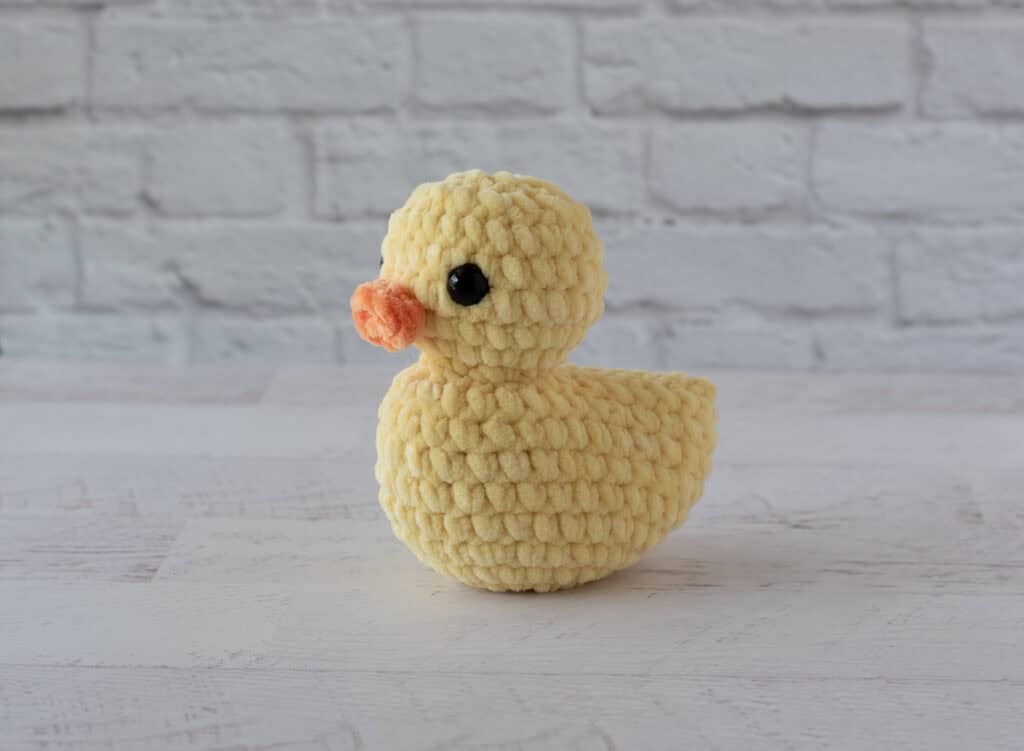
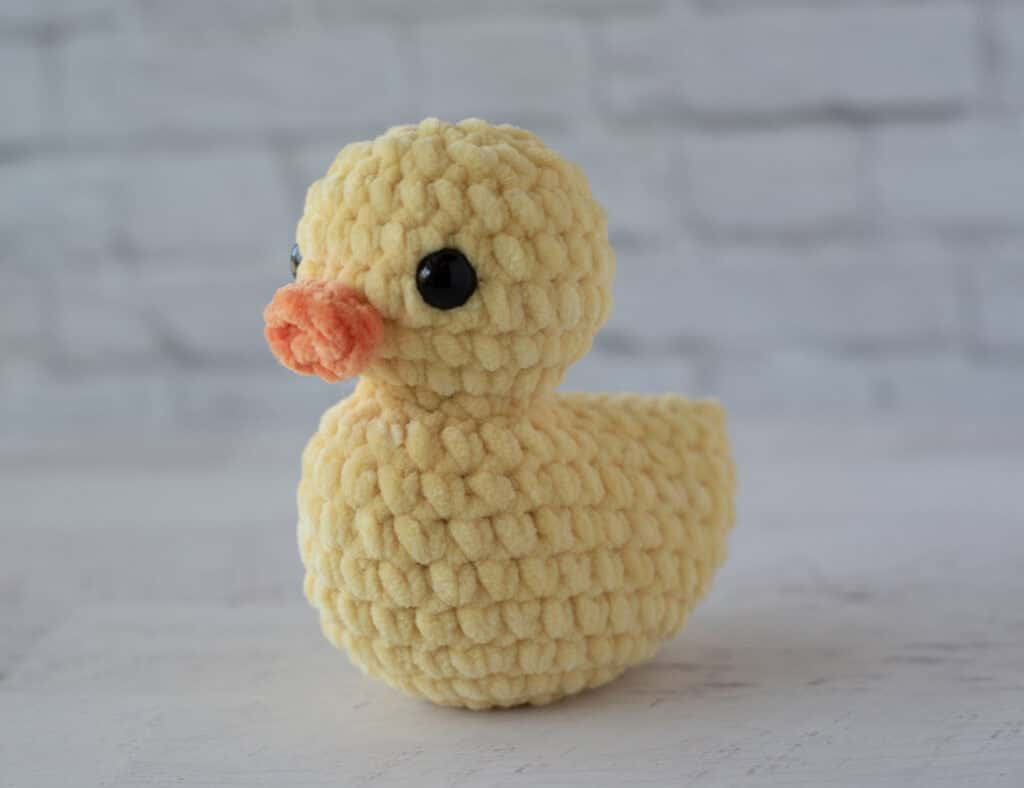
There is something undeniably charming about a chubby yellow duck. Scout brings that classic rubber duck aesthetic into the world of plush amigurumi. The choice of #6 super bulky chenille yarn is not just for speed; it gives the finished piece a wonderfully soft, squishy texture that begs to be held. While the pattern is straightforward, the construction is where the magic happens. By balancing the head with a weighted tail, Scout achieves a stable, lifelike posture. This makes him perfect for the “ducking” tradition—leaving handmade ducks on cars or in parks—or simply as a sweet addition to a nursery shelf. The plush yarn hides minor tension inconsistencies beautifully, making this a forgiving project for those looking to build confidence.
Project Overview
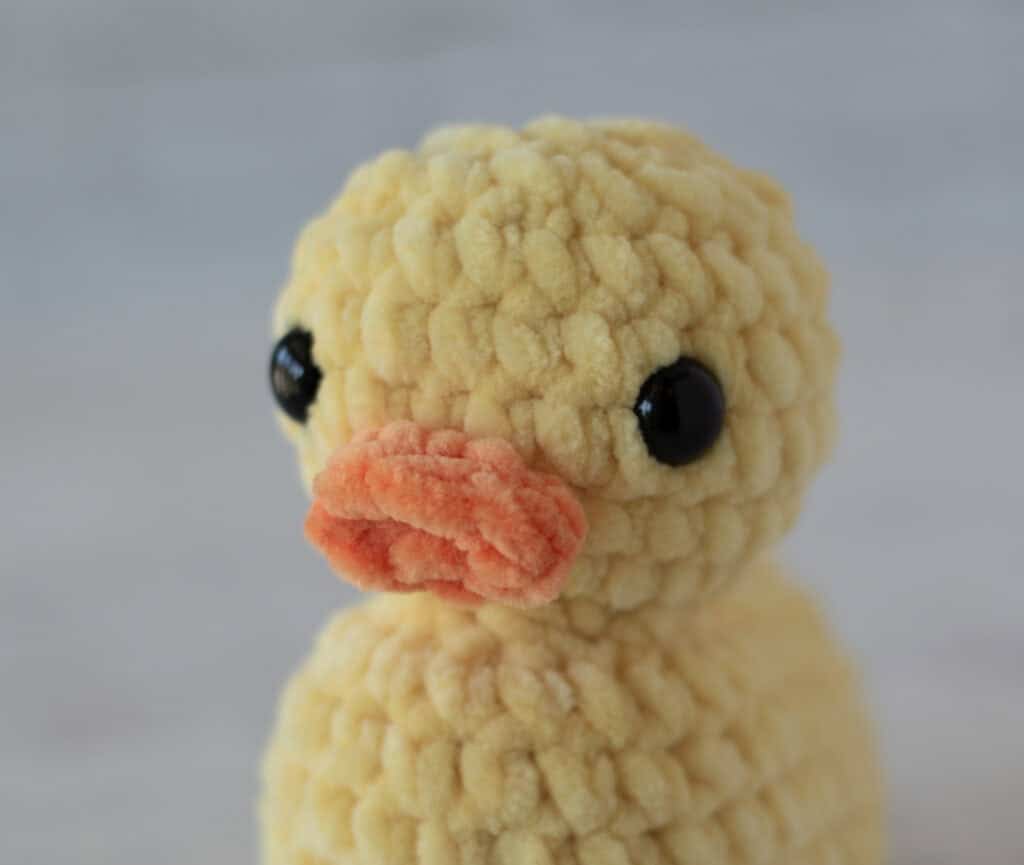
Scout is a plump, round-bodied duck designed to sit upright without tipping forward. The pattern utilizes a continuous spiral construction method, which is standard for amigurumi, and features a unique internal weighting system to balance the head. The project works up quickly due to the super bulky yarn weight and requires only basic amigurumi techniques.
Materials
- Yarn: Premier Basix Chenille Brights (or similar #6 super bulky chenille-style yarn). 100% polyester, 112 yds/103m per 5.3 oz skein.
- Yellow Yarn: Approximately 35 yards.
- Tangerine (Orange) Yarn: Approximately 2 yards for the beak.
- Crochet Hook: US H8/5.0mm.
- Eyes: 12 mm Safety Eyes.
- Notions: Stitch marker, tapestry needle, scissors.
- Stuffing: Fiberfill and 1/4 cup Poly Pellets.
- Weighting Material: A nylon sock or small plastic bag to hold the poly pellets.
Gauge and Finished Size
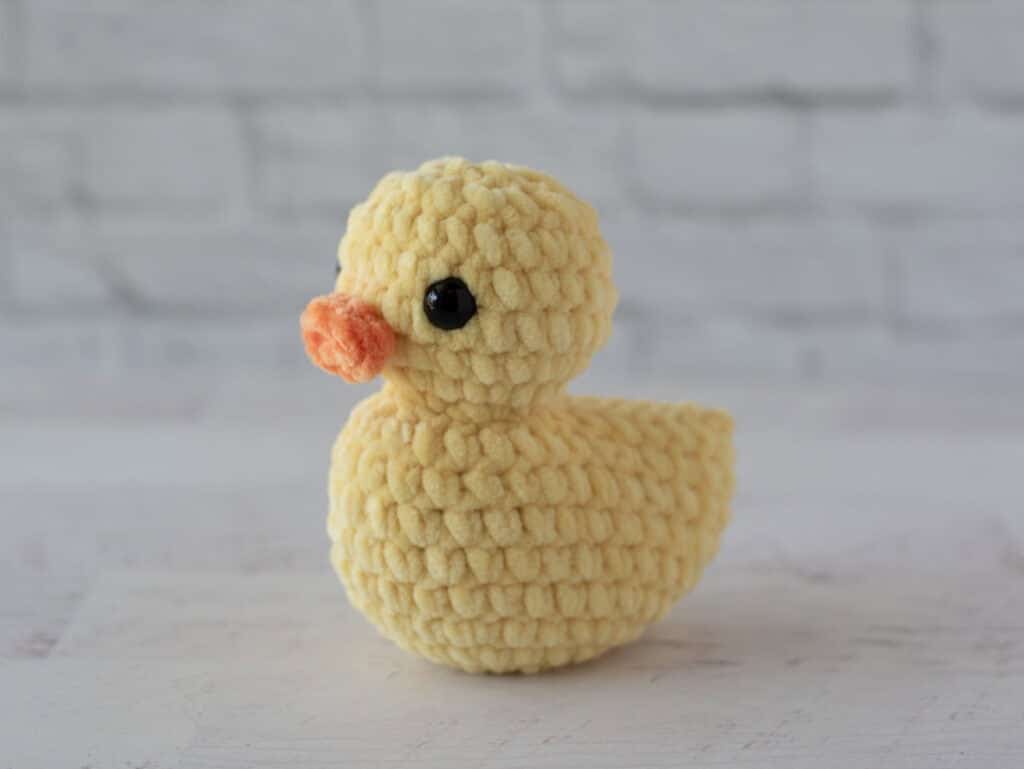
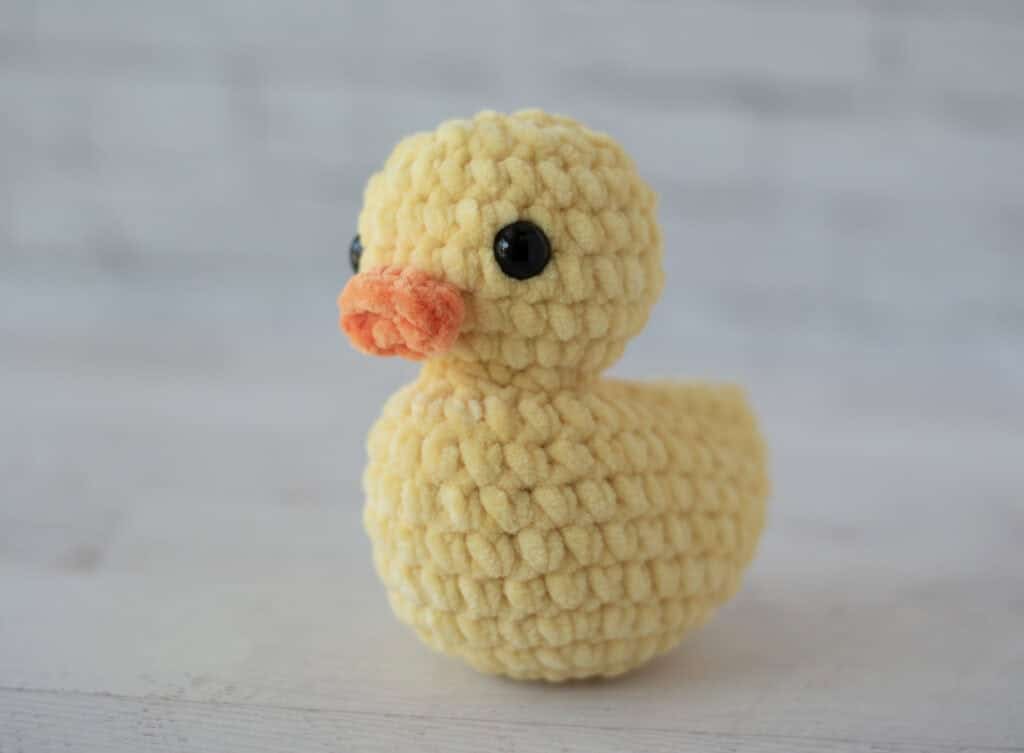
Finished Size: The duck is approximately 5.25” tall x 5” wide.
Gauge: The author’s gauge is 6 sc to 2 inches. However, gauge is not critical for this pattern due to the nature of amigurumi and the plush yarn used.
Abbreviations
- ch(s): chain(s)
- sc: single crochet
- hdc: half double crochet
- sc2tog: single crochet 2 together (see special note below)
- sl st: slip stitch
- st (sts): stitch(es)
Special Note
When working a sc2tog decrease, use the invisible decrease method.
Pattern Notes
Scout is worked in continuous rounds. This means you will not join at the end of each round with a slip stitch; instead, you will work in a continuous spiral fashion. Always use a stitch marker in the last stitch of each round to keep track of your progress. Stitch markers are also used to separate the stitches that form the head from those that form the back of the body.
Pattern Instructions
Duck Body
Using yellow yarn, make a magic ring.
R1: 6 sc into ring. Place stitch marker and work in continuous rounds. (6 st)
R2: 2 sc in ea st. (12 st)
R3: *Sc in next st, 2 sc in next. Repeat from * around. (18 st)
R4: *Sc in next 2 st, 2 sc in next. Repeat from * around. (24 st)
R5: *Sc in next 3 st, 2 sc in next. Repeat from * around. (30 st)
R6-10: Sc around. (30 st)
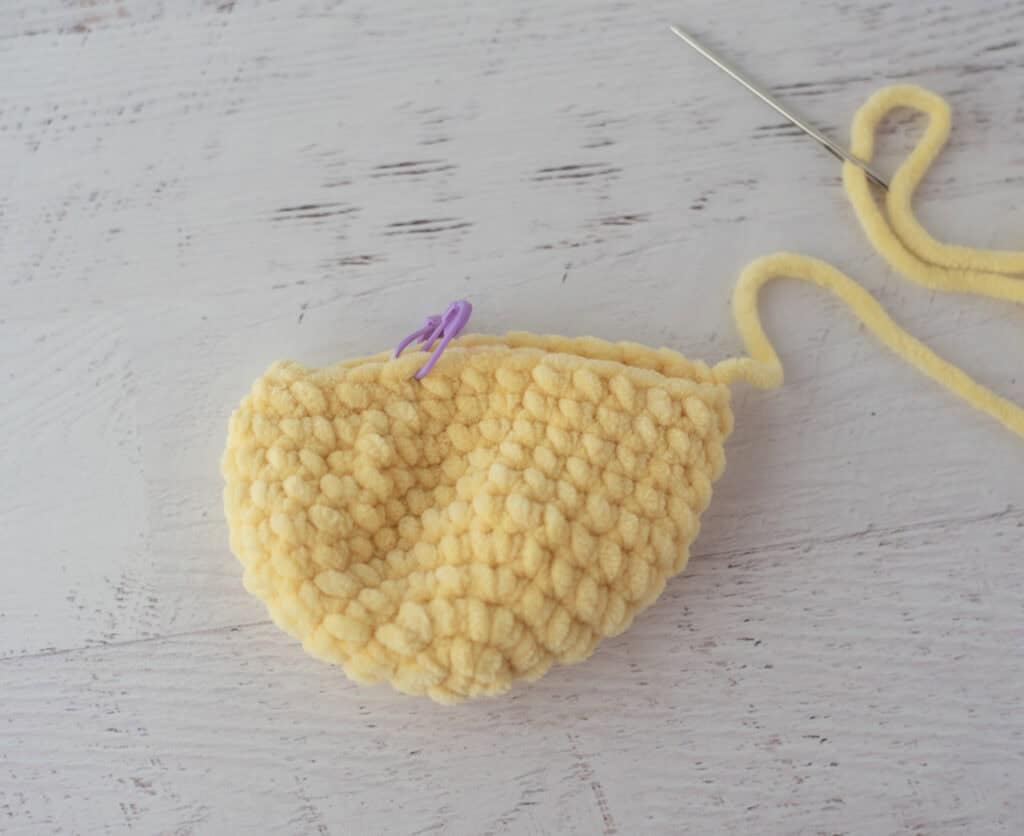
R11: Sc in next 9 st, place a stitch marker in the last stitch worked, (sc2tog) 6 times, sc in the next stitch and mark this stitch with another stitch marker, sc in next 7 st, sl st in last st. Leave the stitch markers in place. Fasten off, leaving a long strand. (24 st)
Assembly and Weighting
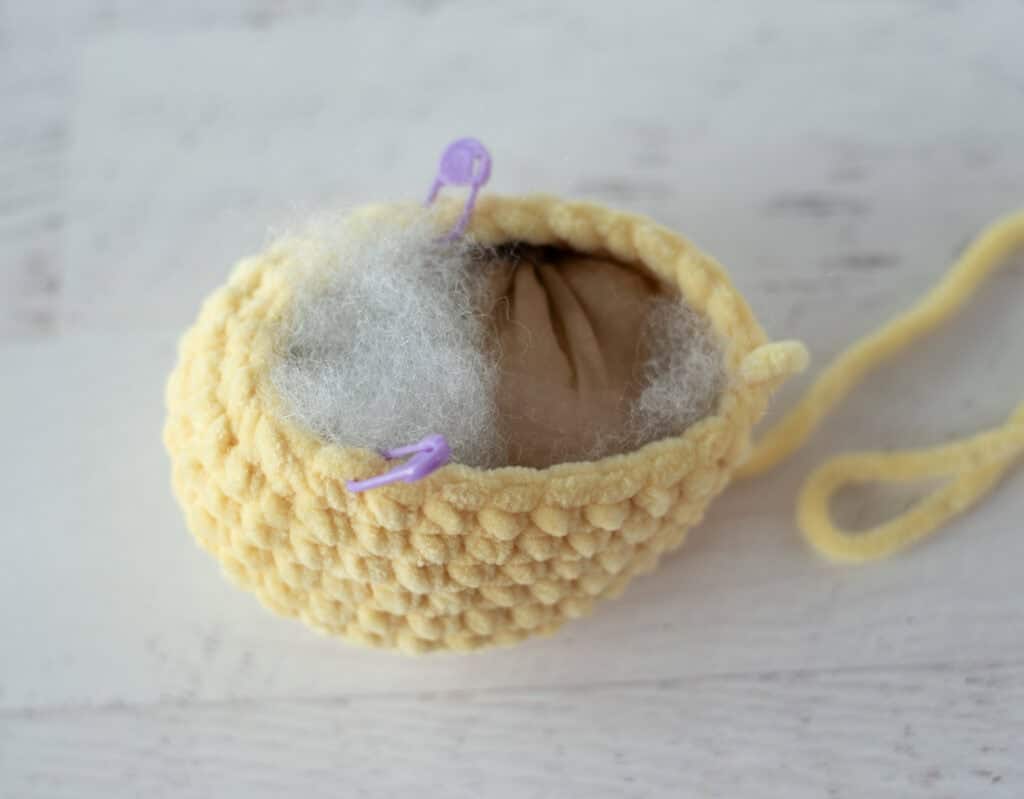
To allow the duck to stand up without tipping over, we will place a small weighted bag in the back half of the duck while stuffing. First, place ¼ cup of poly pellets into the toe of a nylon sock (or into a small plastic bag) and knot off the bag. You may wish to use less than ¼ cup of poly pellets if you’d like more stuffing in the duck.
Fold the duck body in half, orienting the duck’s body so that the decreases from the last round are on the left and the end of the row just worked is at the tail. The 2 stitch markers placed in the last round mark the end of the back stitches. The stitches to the left of the stitch markers will become the head. The stitches from the stitch markers to the tail will be sewn together to form the back.
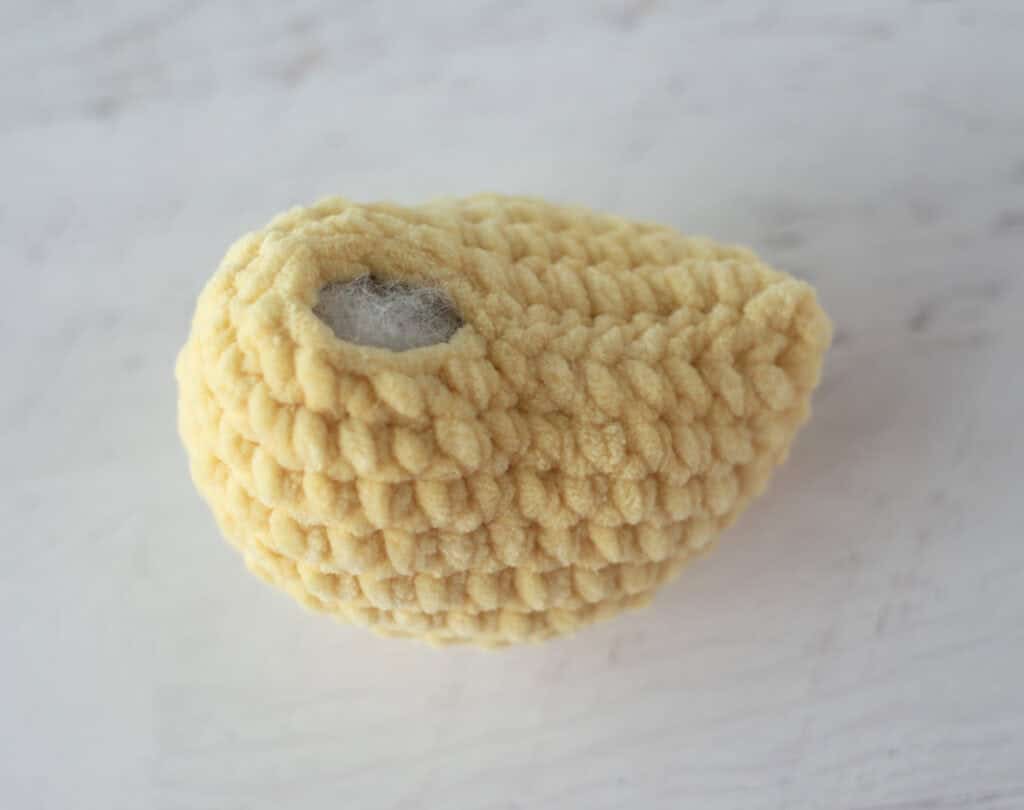
Lightly stuff the duck body, placing the weighted bag under the back (on the right side only) and stuffing the rest of the duck’s body with fiberfill stuffing. Then fold the body in half. Using the strand from the end of the round and starting at the tail (far right) end, whip stitch 9 stitches closed. This will leave a total of 6 stitches unworked on the body. Remove stitch markers and secure the yarn end to make sure the whip stitched seam does not unravel.
Duck Head
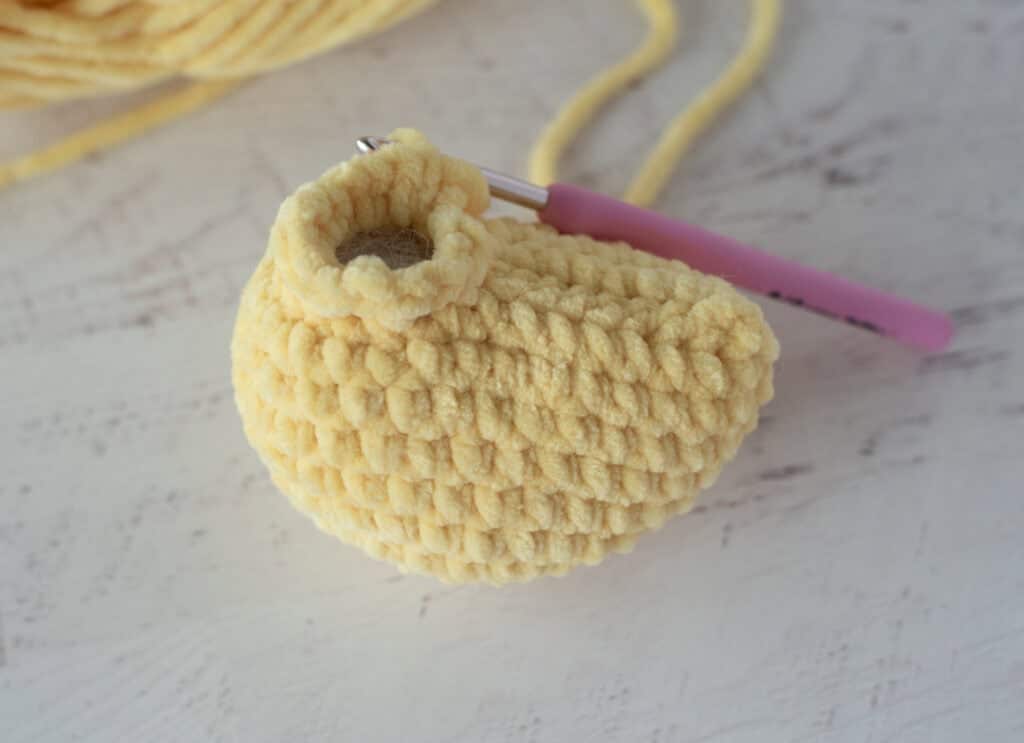
The head is worked over the remaining unworked stitches on the body as well as on the seam.
R1: Attach yellow yarn on the back seam and ch 1. Work 2 sc on the back seam (where each of the stitch markers were located), then work 2 sc in ea of the remaining sts on the body. Place stitch marker and work in continuous rounds. (14 st)
R2: *Sc in next st, 2 sc in next. Repeat from * around. (21 st)
R3: *Sc in next 6 st, 2 sc in next. Repeat from * around. (24 st)
R4-6: Sc around. (24 st)
R7: *Sc in next st, sc2tog. Repeat from * around. (16 st)
Insert safety eyes between rows 4 & 5, leaving 6 stitches in between them. Stuff head and continue to stuff head as you work.
R8: *Sc2tog. Repeat from * around. (8 st) Fasten off, weave end through last stitches and pull tight.
Duck Beak
With tangerine yarn, ch 5.
R1: Hdc in 3rd ch from hook, hdc in next 2 ch, rotate work, then hdc on opposite side of ch in next 3 st. Join with an invisible join and fasten off.
Sew beak between rows 3 & 4 of duck’s head, centering between the eyes. Weave in any loose ends.
Tips
- Stitch Markers: Always use a stitch marker in the last stitch of each round so you always know where one round ends and the next begins.
- Weighting: You may wish to use less than ¼ cup of poly pellets if you’d like more stuffing in the duck, depending on how firm you want the finish.
FAQs
Why does my crochet duck tip over?
Amigurumi ducks often have a heavy head that pulls the body forward. This pattern includes a weighted pouch in the tail section to counterbalance the head, ensuring the duck sits upright.
Can I use a different yarn weight?
While this pattern is designed for #6 super bulky chenille yarn, you can use other yarns. Keep in mind that changing the yarn weight will alter the finished size and the texture of the duck.
How do I make an invisible decrease?
For the sc2tog decreases, use the invisible decrease method to keep the fabric tight and hide the hole. This involves picking up only the front loops of the next two stitches before completing the decrease.
Is this pattern good for beginners?
Yes. Scout uses simple stitches and straightforward shaping. It is a great project for building amigurumi skills, provided you are comfortable with basic single crochet increases and decreases.
What is the “ducking” tradition?
Ducking is the practice of leaving small rubber ducks on vehicles or in public places as a surprise for the owner. This handmade Scout is a perfect size for joining in that fun tradition.
Pin This Crochet Pattern!