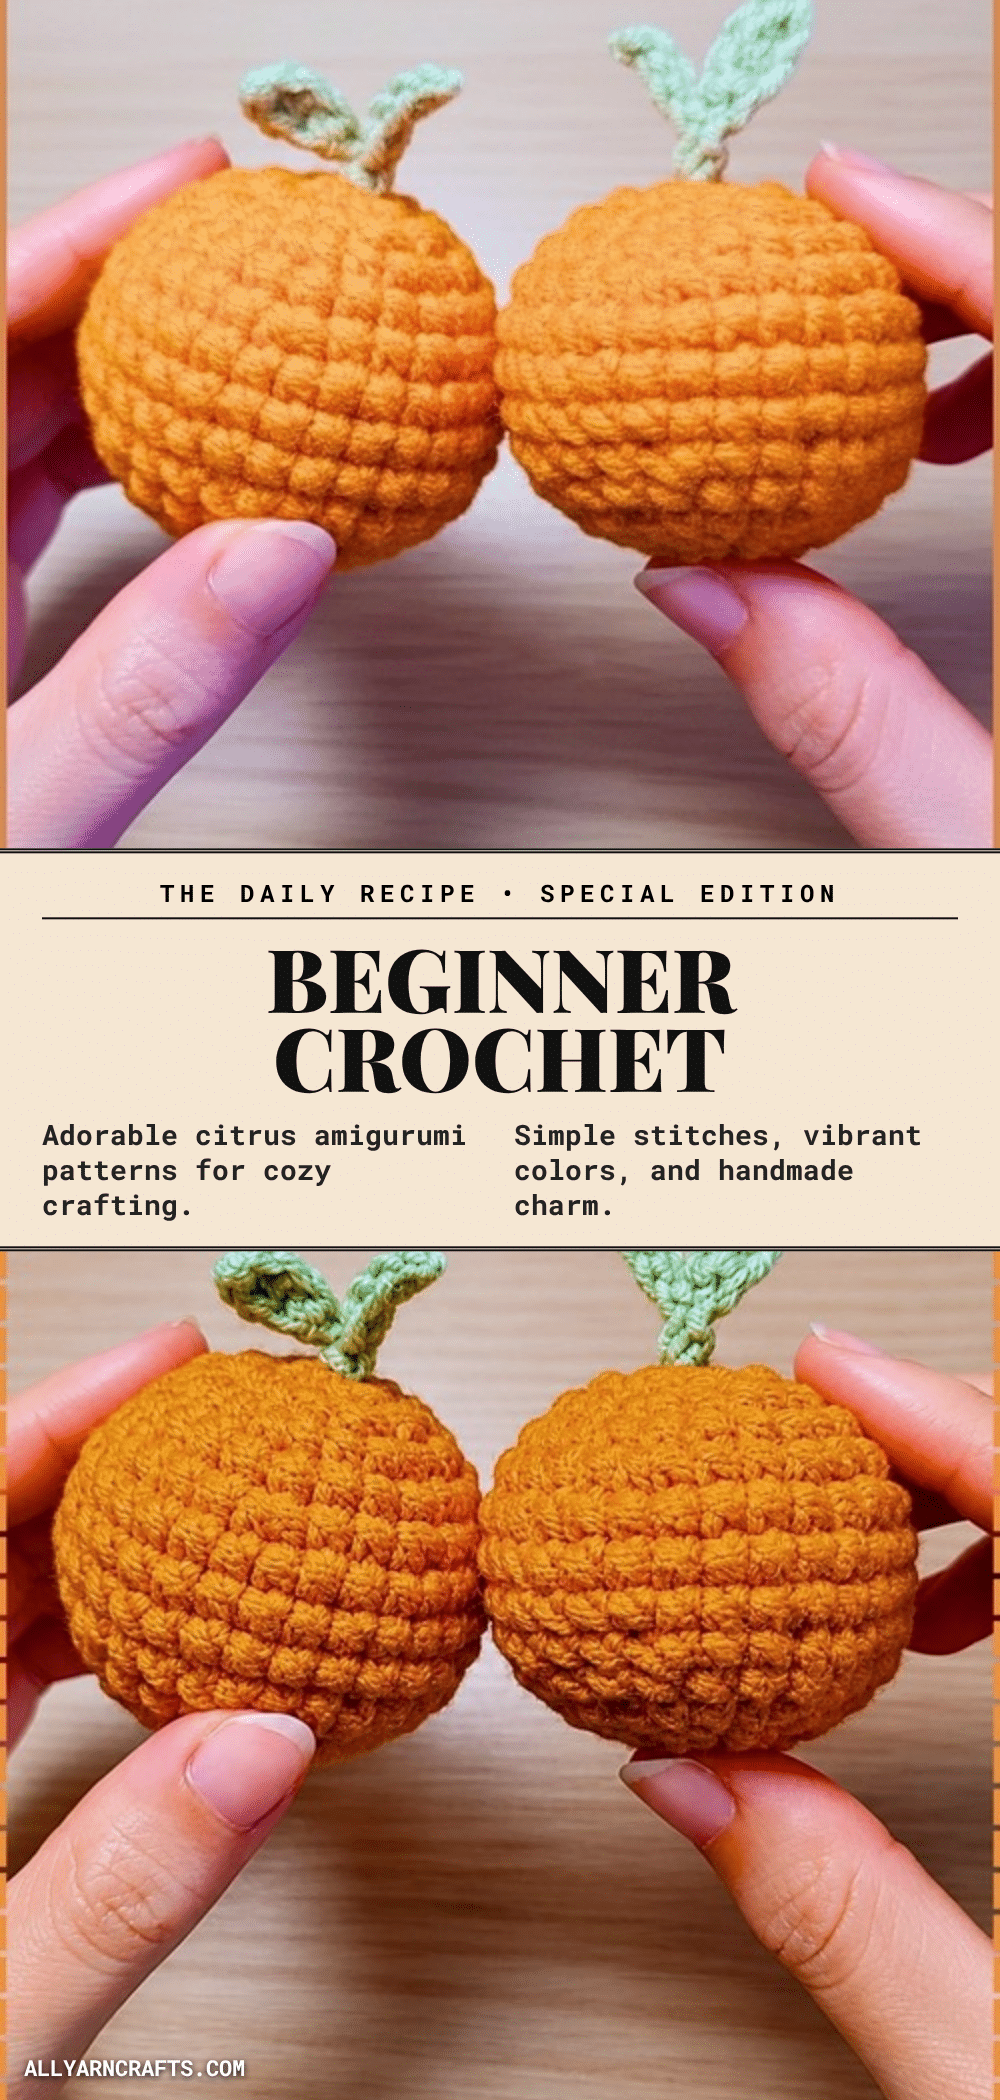
There is something deeply satisfying about the rhythm of amigurumi. It is a quiet evening ritual: a small skein of yarn, a hook that fits comfortably in your hand, and the steady counting of stitches that slowly builds a three-dimensional shape from a single thread. This citrus amigurumi pattern is perfect for that kind of mindful crafting. It requires no complex shaping tricks, just simple rounds that form a perfect sphere, making it an ideal project for beginners looking to build confidence while creating something bright and cheerful.
Small Details That Make It Better
What truly elevates this citrus fruit from a simple ball of yarn to a recognizable piece of decor is the attention to surface detail. While the body is worked in continuous rounds, the texture of the “peel” comes from the way the stitches sit against the firm stuffing. The real magic happens during the assembly phase. By embroidering segment lines with white yarn or floss, you instantly transform the orange sphere into a cross-section of a citrus fruit, mimicking the juicy wedges found inside a real slice. The addition of a tiny, pointed leaf and a short stem adds a touch of botanical realism, making these fruits look fresh enough to sit in a bowl year-round. You can easily swap the orange yarn for yellow to create lemons or green for limes using the exact same technique.
Project Overview
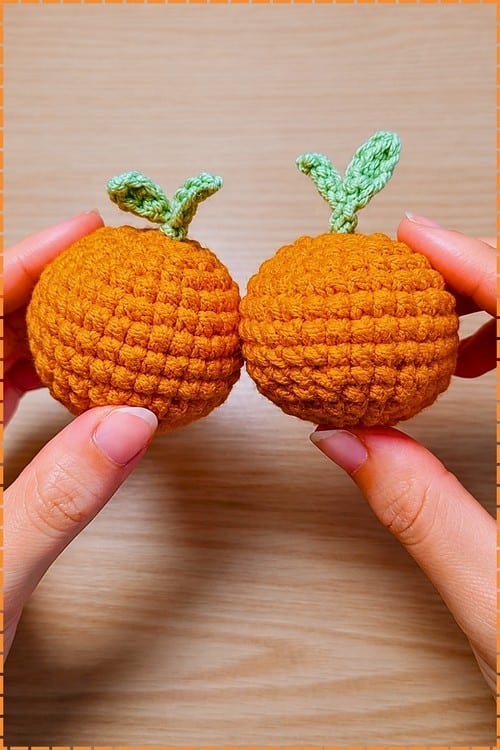
This beginner-friendly amigurumi pattern creates a small citrus fruit, approximately the size of a clementine. The project is worked in continuous rounds from the top down, requiring only basic crochet stitches. The final piece features a textured body, an embroidered interior segment pattern, and a small stem with a leaf attached at the top. It is a quick make that uses very little yarn, making it perfect for using up scraps or creating a colorful set.
Materials
- Yarn: Medium weight yarn in orange or yellow (roughly 20–30 g for the body). A small amount of green yarn for the leaf (under 5 g).
- Embroidery Thread: Small amount of white yarn or embroidery floss for the segment lines.
- Crochet Hook: 3.5 mm hook. (Note: Using a 4.5 mm hook with the same yarn will result in a larger fruit, closer to the size of a full orange).
- Stuffing: Polyester fiberfill.
- Tools: Yarn needle, scissors, and a stitch marker.
Gauge and Finished Size
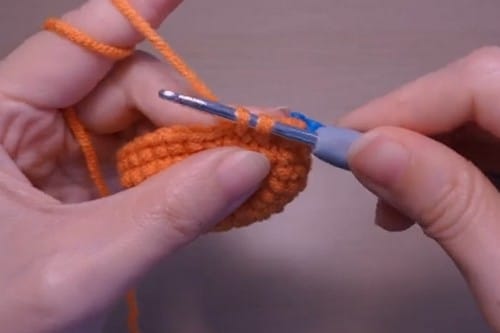
The finished fruit is approximately 6–7 cm across at this gauge, which is roughly the size of a clementine. If you prefer a larger fruit, you can switch to a 4.5 mm hook with the same yarn weight.
Abbreviations
The pattern uses standard US crochet terms:
- ch: chain
- sc: single crochet
- inc: increase (2 sc in the same stitch)
- dec: decrease (invisible decrease recommended)
- sl st: slip stitch
- hdc: half double crochet
Pattern Notes
Before you begin, it is helpful to understand the four key techniques this pattern relies on:
Magic Ring
Instead of chaining and joining, loop the yarn around your fingers, work stitches into the loop, and then pull the tail to close the center hole completely. This gives a tighter, cleaner start than a chain. If it feels awkward, practice twice on scrap yarn first.
Continuous Rounds
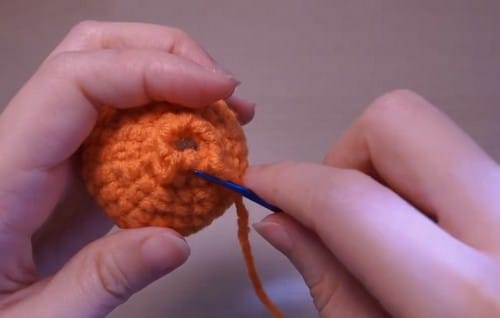
This pattern is worked in a spiral, not in joined rounds. Do not chain at the start or slip stitch to join at the end. Use a stitch marker in the first stitch of each new round and move it up as you go.
Invisible Decrease
When the pattern says decrease, insert your hook through the front loop only of the next stitch, then through the front loop only of the stitch after that, and complete a single crochet through both loops together. This prevents a visible gap.
Marking Your Round
Place the stitch marker in the first stitch of a new round immediately after you work it. The marker lives in the stitch, not on the hook.
Pattern Instructions
Fruit Body
Work in continuous rounds. Use a stitch marker at the start of every round and move it up as you go.
- Rnd 1: 6 sc in magic ring, pull ring closed [6]
- Rnd 2: 2 sc in each st around [12]
- Rnd 3: (1 sc, inc) around [18]
- Rnd 4: (2 sc, inc) around [24] — Checkpoint: The piece should lie almost flat, like a small coaster. If it is curving into a bowl shape, your tension is tight, which is fine.
- Rnd 5–9: sc in each st around [24] — Checkpoint: After round 9, you should have a wide, shallow cup with sides starting to turn upward.
- Rnd 10: (2 sc, dec) around [18]
- Rnd 11: (1 sc, dec) around [12] — Checkpoint: The opening is narrowing fast. Stop here and stuff the body.
- Stuffing: Fill the body firmly with fiberfill through the remaining opening before working round 12. Push filling in gradually in small handfuls.
- Rnd 12: dec 6 times around [6], fasten off leaving a short tail, and close the remaining hole by weaving the needle through the 6 remaining stitches and pulling tight. — Checkpoint: A neat closed sphere with no gap.
Leaf
The leaf is worked along a foundation chain and back. Five stitches out, five stitches back.
- Ch 6
- Starting in the 2nd ch from the hook: sl st, sc, hdc, sc, sl st — working one stitch per chain across [5 stitches worked]
- Fasten off, leaving a long tail for sewing. — Checkpoint: A small pointed oval, slightly narrower at one end.
Stem
The stem is a tiny chain cord with slip stitches worked back along it.
- Ch 3
- Sl st in the 2nd ch from the hook
- Sl st in the next ch [2 sl st worked]
- Fasten off, leaving a tail for sewing.
Assembly
Work in this order so each piece covers the attachment point of the one before it.
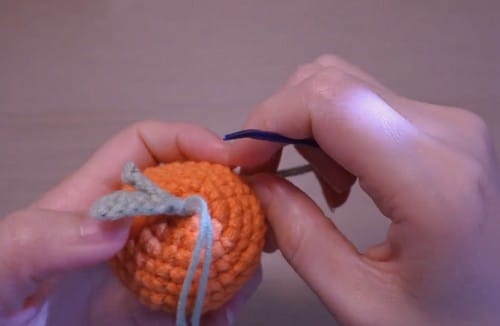
- Sew the Stem: Attach the stem to the exact center of the top of the fruit first, using the sewing tail and a few anchor stitches around the base. Pin it in place if unsure, as it shifts easily.
- Attach the Leaf: Sew the leaf at the base of the stem, with the pointed tip angling away from the fruit at a slight upward tilt. Catch just the base of the leaf so the tip sits free; sewing it flat loses the shape.
- Embroider Segments: Using white yarn or floss and a running stitch, embroider lines from the top center down toward the base. Space them evenly. Four to six lines are typical for this size.
- Finish: Weave in all remaining ends securely.
Tips for Success
- Stuff Firmly: The sphere shape depends on internal pressure. A loosely stuffed body will go flat on the resting side, causing the embroidered lines to droop. Push filling in at round 11 in small handfuls.
- Fixing Lopsided Shapes: If one side is flatter than the other, it is usually a stuffing issue. Open the closing by a few stitches, add more filling to the flat side, and re-close.
- Magic Ring Anchor: After closing the ring, work your round 1 stitches over both the loop and the tail together for the first few stitches to anchor the tail securely.
- No Stuffing for Accessories: The stem and leaf have no stuffing.
- Counting Rounds: Use your stitch marker to count rounds 5 through 9. Each time the marker comes around to the beginning, one complete round is done.
FAQs
Why does my magic ring keep loosening?
After you pull the tail to close the ring, work your round 1 stitches over both the loop and the tail together for the first few stitches. This anchors the tail so it cannot pull back through. Then continue working over the loop only.
My sphere came out lopsided — one side is flatter than the other. Why?
This is almost always a stuffing issue rather than a stitch problem. The flat side formed where the filling settled unevenly. Open the closing by a few stitches, add more filling to the flat side specifically, and re-close.
Can I skip the stem and leaf?
Yes. The body reads as a fruit on its own. If you skip them, simply weave in the top closing tail on the inside, and the fruit is finished.
How many segment lines should I embroider?
The pattern does not specify an exact number, but five or six is typical for a citrus cross-section reference. However, four lines read clearly on a piece this size.
What hook size should I use for a larger fruit?
Going up to a 4.5 mm hook with the same yarn will bring the finished size closer to a full-sized orange.
Pin This Crochet Pattern!