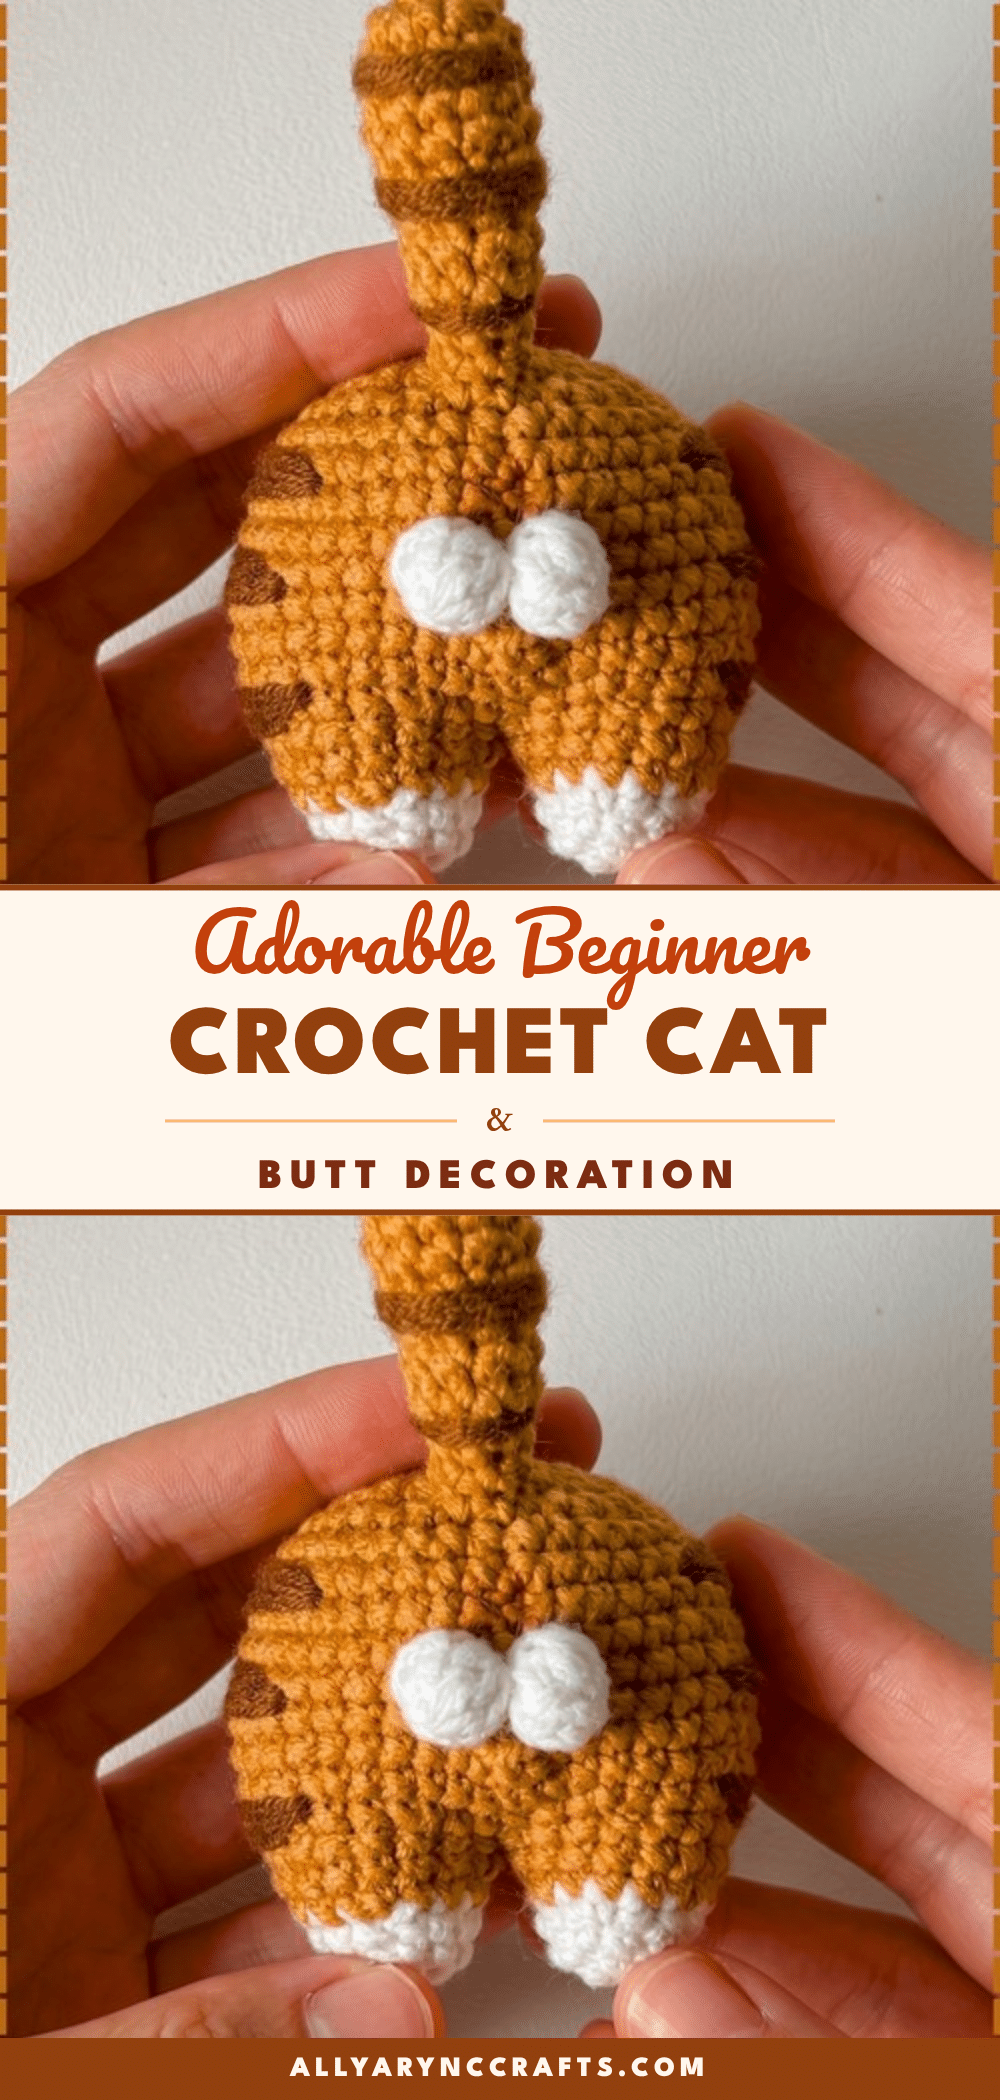
There is nothing quite as delightful as a finished amigurumi that makes you smile every time you look at it. This adorable crochet cat butt decoration is the perfect mix of cheeky, useful, and display-worthy. Whether it is perched on a monitor, hanging from a bag, or sitting on a bookshelf, this flat circular piece captures the exact attitude of a cat that has decided you are done talking. It is a quick, satisfying project that results in a squishy, giftable charm that brings a little humor to any space.
Why the Finished Piece Stands Out
What makes this pattern truly special is its simplicity and the immediate visual impact of the design. By focusing on just the rear half of a cat mid-walk, the pattern relies on clean lines and minimal components to tell a funny story. The flat silhouette is incredibly tidy, making it easy to store or display without taking up much room. The addition of the small pink accent circle in the center is a brilliant finishing touch that makes the piece immediately readable as a cat, rather than just a generic circle. It is a project that proves you do not need complex shaping to create character.
Project Overview
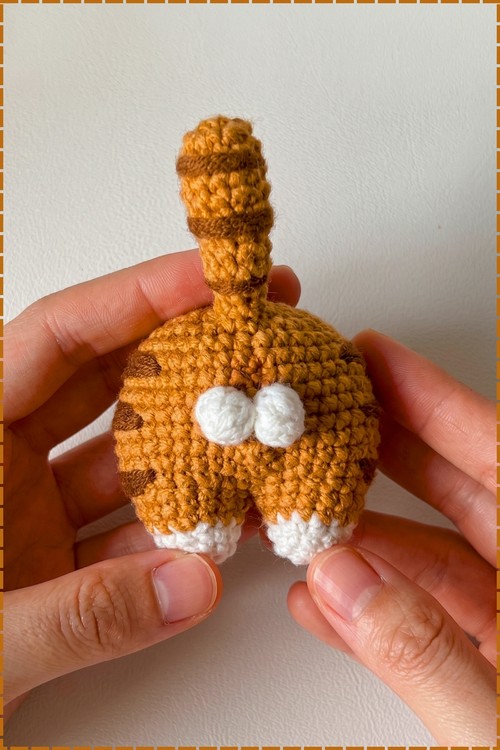
This beginner-friendly amigurumi pattern creates a flat, circular cat butt decoration. It is worked in continuous rounds to form the main body, with the paws and tail attached directly to the edge. The piece is designed to be lightweight and quick to make, taking under 30 minutes to complete. It is perfect for beginners who want to practice magic rings, increases, and working into existing edges.
Materials
- Main body colour yarn in any weight (Note: Finished size depends on your yarn weight and hook size)
- Pink yarn for the small accent circle sewn to the centre
- Crochet hook suitable for your yarn weight
- Fiberfill stuffing, optional (if you want a slightly padded rather than completely flat piece)
- Tapestry needle
- Scissors
- Optional keychain ring if using as a charm
Gauge and Finished Size
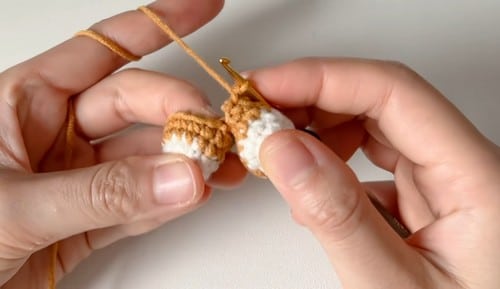
Approximate finished size is around 3 to 4 inches across at a worsted weight on a 4.0 mm hook. This is an estimate based on similar flat circular makes, not a strict measurement from the pattern.
Abbreviations
- MR: magic ring
- sc: single crochet
- inc: increase, two sc into one stitch
- sl st: slip stitch
Stitch counts in brackets at the end of each round.
Pattern Notes
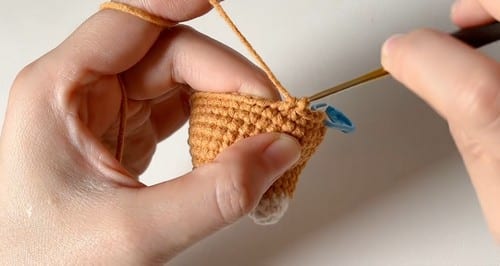
The Magic Ring
A magic ring is the way this pattern starts every piece. It gives you a round with no hole in the centre. To make one, wrap the yarn around two fingers, slide the hook through the ring from front to back, pull up a working loop, chain one to secure it, and work your stitches into the ring. Once all the stitches are done, pull the tail firmly to close the ring. Practice twice on a scrap piece of yarn. It becomes automatic very quickly.
The Increase
An increase means working two single crochet into the same stitch. When the pattern says increase in every stitch around it means you put two stitches into each stitch you pass. When it says 1 sc, 1 increase, repeat it means one plain stitch followed by two into the next, all the way around.
Continuous Rounds Versus Joined Rounds
The main body is worked in a continuous spiral, which means you never slip stitch at the end of a round or chain up to begin the next one. You just keep going. A stitch marker tells you where one round ends and the next begins. Place it in the first stitch of each new round and move it up as you go. Without a marker you will lose your place.
Slip Stitch
A slip stitch is the shortest possible crochet stitch. Insert the hook, yarn over, and pull through in one motion. It adds no height and is used here to finish the main body and to work back along the tail chain.
Working Into an Existing Edge
The paws are created by attaching yarn to the finished body edge and working stitches directly into those existing stitches. It sounds fiddlier than it is. Thread the hook through the stitch on the edge, make a slip knot on the hook, and pull through to start. Then work your sc stitches into the same spot the pattern describes.
Reading Stitch Counts
Every round in this pattern ends with a number in brackets. That is how many stitches you should have. Count at the end of every round. One missed increase now is much faster to fix than discovering it two rounds later.
Pattern Instructions
Main Body
Work in a continuous spiral. Place a stitch marker in the first stitch of each new round.
R1: MR 6 sc [6]
R2: increase in every stitch around [12]
R3: 1 sc, 1 inc, repeat 6 times [18]
R4: 2 sc, 1 inc, repeat 6 times [24]
R5: 3 sc, 1 inc, repeat 6 times [30]. Checkpoint: a flat disc about the size of a large cookie cutter. At 30 stitches the piece should still lie flat with no cupping at the edge. If the edges are lifting, your tension is tight.
R6: 30 sc [30]. Checkpoint: the main body is complete. If you want a slightly thicker, lightly padded piece, work one more plain round before finishing.
If making slightly thicker, work one more round of 30 sc [30].
Slip stitch to finish and fasten off.
Accent Centre
Using pink yarn:
R1: MR 6 sc [6]
R2: increase in each stitch around [12]. Checkpoint: a small pink disc, considerably smaller than the main body. It will sit at the centre of the finished piece.
Fasten off leaving a long tail for sewing.
Sew neatly to the centre of the body. This is the detail that makes the piece immediately readable.
Paws
Attach main colour yarn to the lower edge of the body circle at your chosen paw position.
Work 3 to 4 sc into the same stitch to create a raised bump for the first paw [3 to 4]. Checkpoint: a small raised bump sitting on the edge of the flat circle.
Skip 1 stitch.
Repeat for the second paw: work 3 to 4 sc in the same stitch [3 to 4].
Fasten off and weave in ends.
Tail
Attach yarn at the upper side edge of the body.
Chain 6 to 8 depending on your preferred tail length [6 to 8].
Starting in the second chain from the hook, work slip stitches back along the full chain. Checkpoint: a short stiff cord that curves naturally from the body, reading as a cat tail when the piece is viewed from the front.
Slip stitch into the base stitch to secure.
Fasten off and hide the yarn tail through the body with the tapestry needle.
Assembly
The accent circle, paws and tail are all worked directly into or onto the main body rather than being made separately and joined. The only true assembly step is sewing the pink accent circle to the centre.
- Pin the pink circle to the centre of the main body before sewing. Centring it by eye works, but a pin takes three seconds and saves repositioning.
- Sew around the full perimeter using the long tail.
- Attach the optional keychain ring to the top edge by looping it through two or three stitches and securing with a few tight passes of yarn.
Tips
Stuffing Guide
Stuffing is optional here. Left flat, the piece reads well as a coaster, wall decoration or badge. A very small pinch of stuffing pushed through the sl st join before fastening off adds slight dimension without making it bulky. Do not overstuff: a puffy cat butt loses the flat round silhouette that makes the shape readable at a glance.
FAQ
What stitch marker should I use if I do not have a proper one?
A small piece of scrap yarn in a contrasting colour looped through the stitch works perfectly. Anything you can see easily and move up each round is fine. You do not need specialised equipment.
My magic ring keeps pulling open.
Pull the tail firmly after round 2 rather than right after round 1, which gives the stitches something to grip. Then thread the tail through two or three stitches on the inside before continuing. A second tug once the piece is finished helps too.
The paw bumps are not standing up.
The 3 to 4 sc worked into one stitch create the bump, but if your tension is loose the stitches spread flat rather than piling up. Try pulling each of those stitches slightly tighter than your normal working tension. You are working against the existing stitch rather than into empty air so a firmer pull makes a visible difference.
The tail is floppy rather than holding a curve.
Slip stitches along a chain create a naturally stiffer cord than sc, but very loosely worked slip stitches can still go limp. Keep the slip stitches snug on the return pass. If it still flops, add one extra chain at the start so the tail is slightly longer, which gives it more structure to hold a curve.
Can I make this in a larger size?
Yes. Continue adding increase rounds in the same pattern before round 6 and scale the accent circle up by adding one more increase round. All the proportions will adjust naturally. A larger hook and heavier yarn gives the fastest size increase without changing the round count.
Pin This Crochet Pattern!