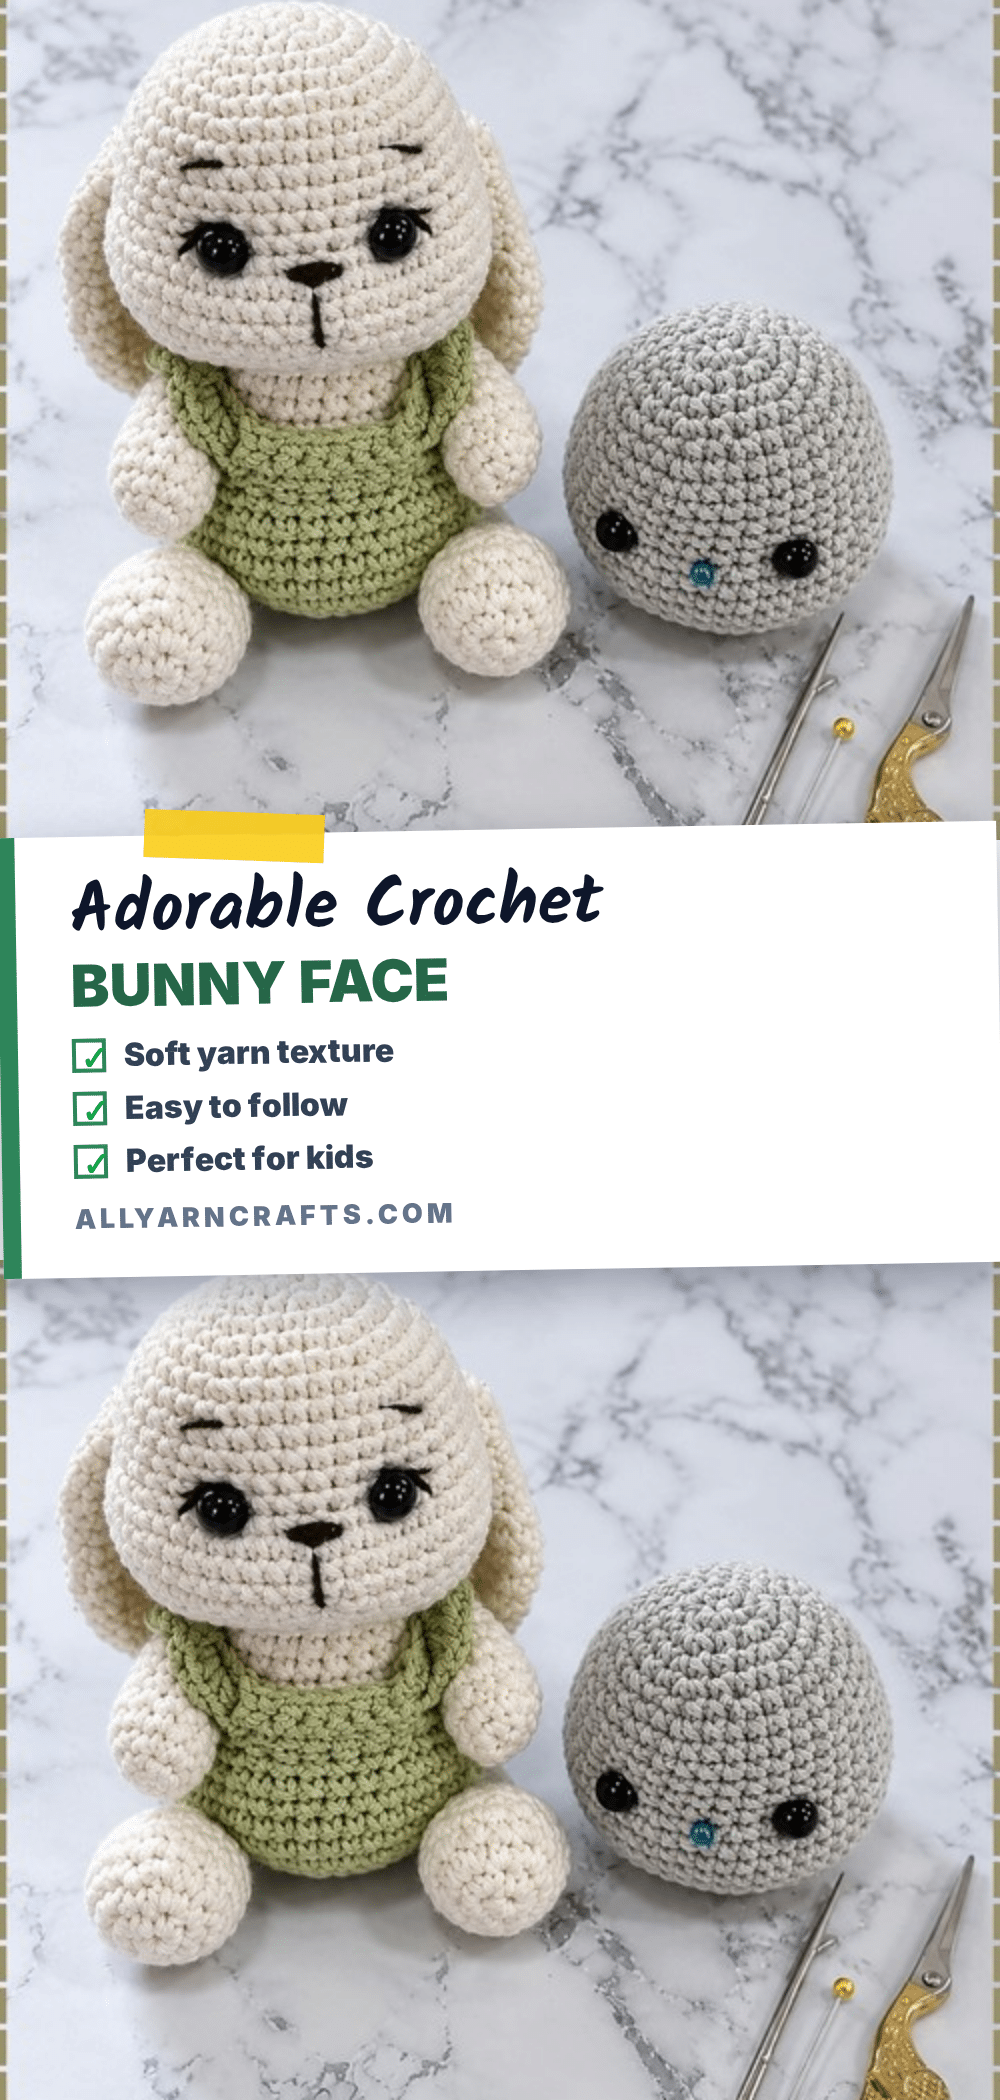
It is a universal truth among amigurumi makers that the face is the most stressful part of the build. We spend hours perfecting the body, only to freeze when it comes time to place the eyes, terrified that a millimeter of drift will turn a sweet bunny into a worried, cross-eyed character. This project is designed to alleviate that anxiety by focusing entirely on the finishing stage. This is not a pattern for crocheting the bunny from scratch; it is a specialized guide to the face finishing stage, which most makers find harder and more high-stakes than the crochet itself. The head is already made. These steps make it a face.
Our Touch
There is something deeply satisfying about transforming a plain, stuffed sphere into a character with personality. This technique relies on subtle sculpting rather than complex stitches, allowing you to control the exact mood of your bunny. By using a sculpting thread to create a slight indentation between the eyes, you instantly give the face depth and realism. The choice of thread color also dictates the vibe: black thread creates a classic, graphic look, while a warm grey or slate blue offers a more realistic, less toy-like appearance. Whether you are aiming for a sleepy, unimpressed expression with heavy brows or a soft, neutral look, the power lies in your hands and the tension of your thread.
Project Overview
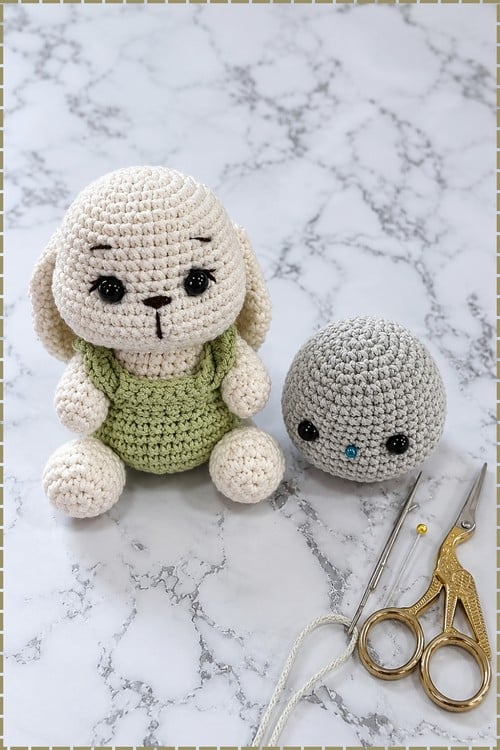
This guide covers face embroidery and head sculpting techniques for a finished stuffed amigurumi bunny head. It is designed for makers who have already completed the crochet portion and are ready to add the finishing touches. The difficulty is rated as intermediate, primarily because the sculpting thread tension takes a little practice, but all stitches used are basic. The entire process takes approximately 20 to 40 minutes depending on your desired detail level.
Materials
- Cotton embroidery thread in the colors you have chosen for eyes, nose, and any detail work.
- 4 ply yarn separated into 2 strands as an alternative to embroidery thread.
- Yarn needle with an eye wide enough for your thread.
- Pins for marking eye and nose positions before committing.
- One finished, stuffed, and closed bunny head.
Gauge and Finished Size
Gauge and finished size are not applicable for this finishing guide, as the technique is worked directly onto an existing stuffed piece.
Abbreviations
No specific crochet abbreviations are used in this guide, as there are no crochet rounds. The work is done entirely with a yarn needle and embroidery thread.
Pattern Notes
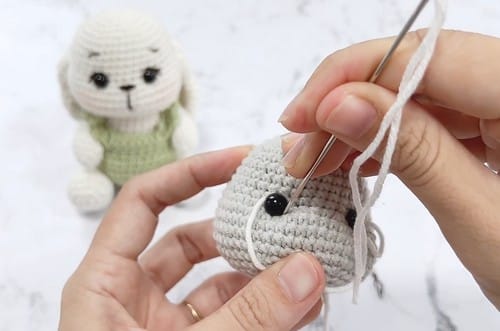
This guide uses embroidered eyes rather than safety eyes, which makes the finished bunny safe for children of all ages, including those under three. If you plan to use safety eyes instead, they must be inserted before the head is closed and stuffed, not at this stage. The embroidery method described here is the only option once the head is complete. All steps are worked on the finished stuffed head using a yarn needle and embroidery thread or separated yarn strands. Work in good light and check symmetry from the front after each step before moving to the next.
Pattern Instructions
Head Sculpting
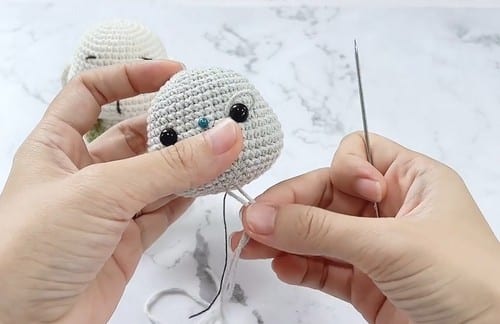
Thread a long strand of matching yarn onto the needle. Insert the needle from the base of the head, pushing it up through the stuffing to the face area. Bring the needle up between the two eye placement points. Pull gently to create a slight indentation in the face surface. A very subtle center indent at this point is ideal, less than you think you want, as the effect deepens as you work. Reinsert and pull the thread toward the opposite side of the face to balance the shaping. Adjust tension slowly, pulling a little more on each pass rather than pulling hard once. Secure the thread at the base of the head once the shaping reads as balanced from the front. Hide the knot inside the stuffing by pulling it through with the needle tip before cutting.
Eye Placement
Mark both eye positions with pins before any thread is placed. Both pins should be at the same height when viewed straight-on from the front, and the distance between them should feel slightly wider than your instinct suggests. Eyes placed closer together than expected tend to read as worried. Keep eyes evenly spaced across the face and position them between the middle rounds of the head rather than too high or too low. Confirm symmetry from directly in front before moving to embroidery.
Embroidering Eyes
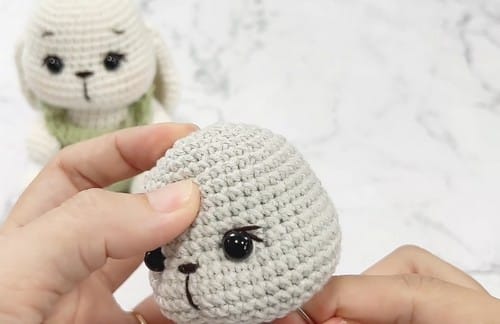
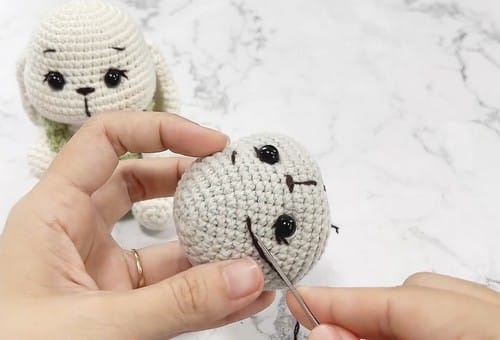
Insert the needle at the back of the head and bring it up at the first eye position marked by the pin. Stitch vertical satin stitches to build the eye, keeping each stitch compact and immediately adjacent to the last. Four to six tight vertical stitches read as a clear eye at amigurumi scale; more than eight starts to look blocky rather than round. Keep all stitches even in length and aligned vertically. Repeat for the second eye in the same manner. Check symmetry from directly in front before tightening any loose thread ends.
Eyelashes
Bring the needle out at the top outer corner of the first eye. Create two or three short angled stitches radiating outward and slightly upward from the corner. Keep lashes fine and short; lashes that are too long or too thick compete with the eye itself and read as spidery rather than expressive. Repeat on the opposite eye at a matching angle.
Eyebrows
Thread a thin strand, either a single thread of embroidery cotton or one strand of 4 ply. Stitch a slight curved line above each eye, following the curve of the head surface. The curve should arc gently upward at the center rather than angling sharply, which reads as angry rather than soft. Keep the expression soft and neutral. Check that both eyebrows mirror each other from the front before knotting off.
Nose Embroidery
Mark a small triangle shape between and slightly below the eyes with a pin to establish position. Begin stitching at the bottom point of the triangle. Work horizontal satin stitches across the triangle from the base upward, building toward the wider top edge. Each stitch sits directly against the last with no fabric showing through. A solid filled nose reads cleanly at any distance; a sparse one disappears. Layer stitches closely to achieve a solid filled look. Outline the triangle lightly with a single stitch around the perimeter if the edges need definition.
Assembly
Gently massage the stuffing from the outside to smooth any surface irregularities left from the sculpting thread. Adjust sculpting tension through the base of the head if the shaping is uneven, adding one or two more pull passes before knotting fully. Hide all knots and thread tails inside the head by pulling them through with the needle and trimming close to the surface. Trim any excess thread and check the whole face from arm’s length before completing.
Tips
- Order of Operations: Do the sculpting step before placing any embroidery. The sculpting thread moves the stuffing inside and can shift the surface slightly, which means eye and nose positions marked before sculpting will be off after it. Mark, sculpt, then pin the eyes again.
- Lighting: Use a single light source held at an angle to the head when checking symmetry. Overhead light flattens the face and hides asymmetry. A desk lamp held slightly to one side picks up every imbalance immediately.
- Parallel Work: Work both eyes in parallel rather than finishing one completely before starting the other. Work two stitches on the left, two on the right, check from the front, and continue. This catches drift early and is faster than correcting a finished eye.
FAQs
Can I use safety eyes instead of embroidered eyes?
No, not for this specific guide. Safety eyes must be inserted before the head is closed and stuffed. This guide is for finishing a completed head, where embroidery is the only option.
What thread should I use for the eyes?
Cotton embroidery thread is recommended. Black thread reads as classic, while very dark brown gives a softer look. For a realistic appearance on a white bunny, try warm grey or slate blue.
How wide should I space the eyes?
Space them slightly wider than your instinct suggests. Eyes placed closer together tend to read as worried. Ensure both pins are at the same height when viewed straight-on from the front.
Why is sculpting the face important?
Sculpting creates a subtle indentation between the eyes, giving the face depth and structure. It prevents the eyes from looking flat against the head and helps define the expression.
How do I fix an uneven nose?
If the nose looks sparse, layer your stitches more closely so no fabric shows through. If it looks uneven, gently massage the stuffing from the outside to smooth the surface before adding more stitches.
For more inspiration on bringing your amigurumi creations to life, check out our easy crochet bunny pattern or explore our crochet cardinal pattern for more bird-themed projects.
Pin This Crochet Pattern!