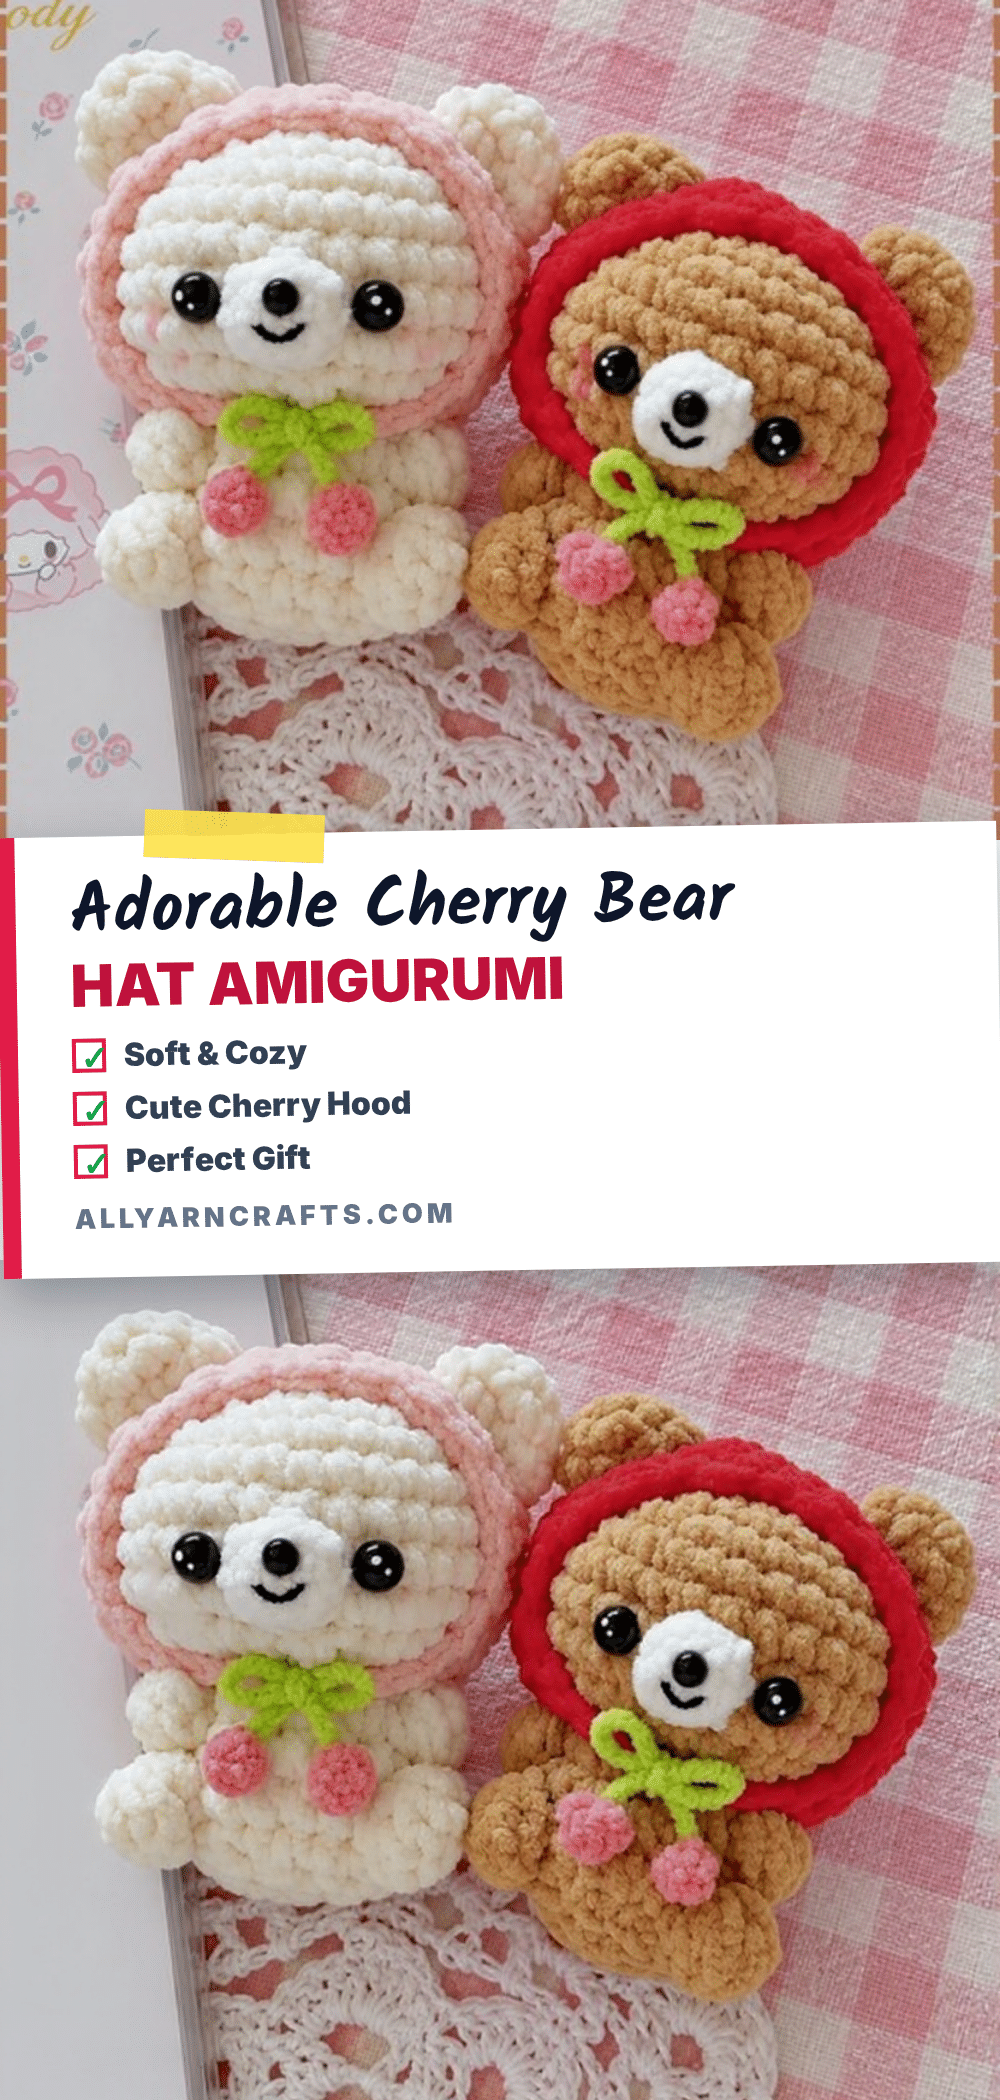
There is a specific kind of magic that happens when you pull a skein of chenille yarn from the stash and realize it is the perfect weight for a tiny project. This Cherry Bear Hat Amigurumi feels like that decision. The plush, velvety texture of chenille hides the individual stitches, giving the little bear a soft, puffy appearance that begs to be held. It is a project that balances cute aesthetics with a unique structural twist, resulting in a toy that is as charming to make as it is to gift.
Yarn and Color Notes
The choice of chenille yarn is the secret ingredient here. Unlike standard acrylics or cottons, chenille has a slight halo that blurs the stitch definition, creating a seamless, cloud-like finish. For the bear body, a warm cream or soft caramel works beautifully, providing a neutral canvas for the bright red hat. The hat itself should be a vibrant cherry red to pop against the fur, while the stem loop benefits from a crisp green to anchor the design. This combination creates a high-contrast, nursery-friendly palette that feels intentional and cozy.
Project Overview
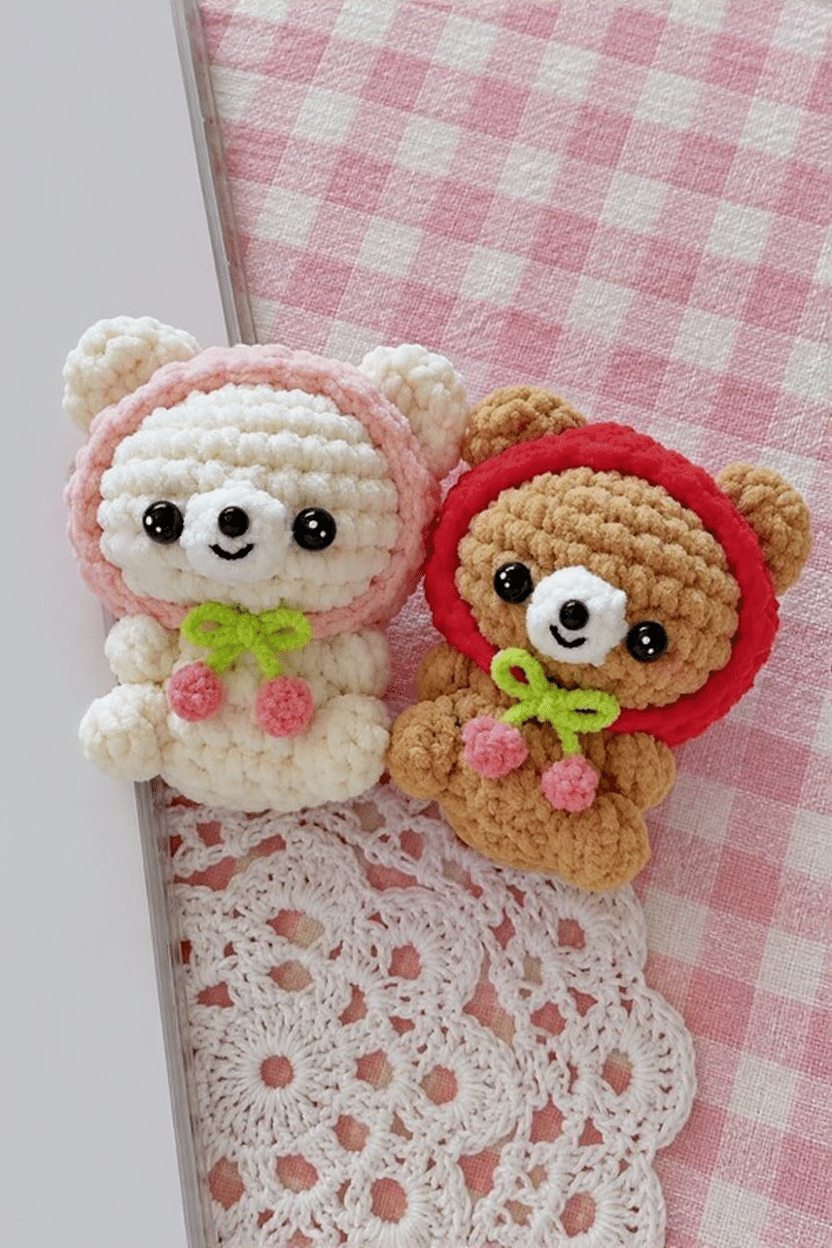
This pattern creates a tiny bear, standing approximately 9 to 11 cm tall, featuring a removable cherry-themed beanie. The construction is unique: the bear has no separate arms. Instead, the hands are formed directly onto the body as small round bumps at the shoulder line using a cluster stitch. The hat features two chain-stitch openings that allow the bear’s ears to poke through, giving it a playful, peek-a-boo look. The entire piece is worked in continuous rounds, making it a smooth, flowing project for intermediate crocheters.
Materials
- Yarn: Worsted weight yarn in your bear color (approx. 30–40 g). Red yarn for the cherry hat (approx. 10–15 g). Green yarn for the stem loop (short length).
- Hook: 3 mm crochet hook. (Note: A 2.5 mm hook may be needed if you see gaps).
- Stuffing: Poly-fill stuffing, approx. 20–25 g.
- Notions: Stitch marker, yarn needle, safety eyes (or black embroidery thread), pins.
Gauge and Finished Size
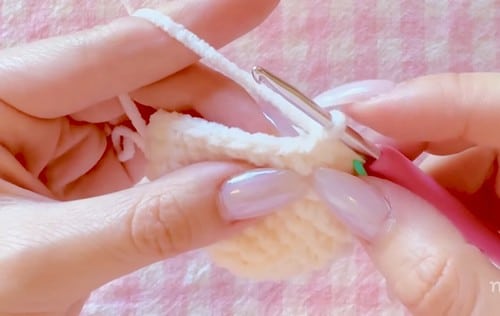
Finished Size: Approximately 9 to 11 cm in height.
Gauge Note: Using worsted weight yarn with a 3 mm hook creates a very tight, dense fabric. This is intentional to prevent stuffing from showing, but it requires more tension than usual. If your hands tire easily, consider using a lighter worsted or DK weight yarn, which will yield a similar look with less hand strain.
Abbreviations
- sc: single crochet
- dc: double crochet
- increase: work two stitches in the same stitch
- decrease: crochet two stitches together
- dc6tog: double crochet six stitches together, worked as a cluster
- magic ring: adjustable starting ring
Stitch counts appear in brackets [ ].
Pattern Notes
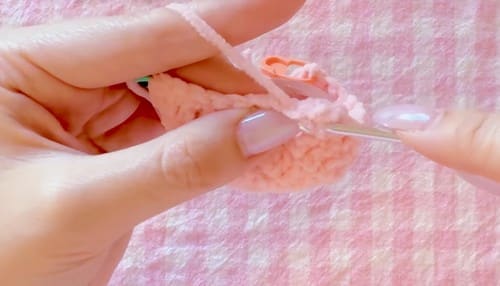
- Continuous Rounds: Work in continuous rounds unless stated otherwise. Always mark the first stitch of every round.
- Density: Tight stitches are crucial. If you see gaps where stuffing might show, switch to a 2.5 mm hook.
- Stuffing: Stuff in small pieces as you go. Large clumps create hard cores and soft edges.
- The dc6tog: This stitch creates the hands and feet. It involves working six double crochets into a single stitch and pulling through all loops at once. Because it enters and exits one stitch, the stitch count does not change.
- No Arms: The bear has no separate arms. The hands attach directly to the body as bumps. This is a deliberate design choice that reads as paws on a small scale.
Pattern Instructions
Head and Body (One Piece)
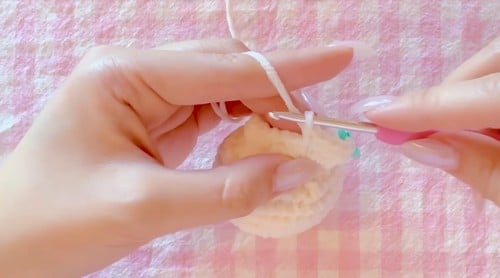
Worked in continuous rounds. Shape checkpoints are noted at the end of the relevant round.
Round 1: Magic ring, 6 sc [6]
Round 2: Increase in each stitch around [12]
Round 3: 1 sc, 1 increase, repeat 6 times [18]
Round 4: 1 sc, 1 increase, 1 sc, repeat 6 times [24]
Checkpoint: A flat disc lying down without cupping. On a 3 mm hook, it should feel stiff and dense.
Round 5: 3 sc, 1 increase, repeat 6 times [30]
Round 6: 1 sc in each stitch around [30]
Round 7: 1 sc in each stitch around [30]
Round 8: 1 sc in each stitch around [30]
Round 9: 1 sc in each stitch around [30]
Checkpoint: Four straight rounds create a deep rounded cup. Mark eye positions with pins now while you can still see inside.
Round 10: 3 sc, 1 decrease, repeat around [24]
Round 11: Decrease in each stitch around [12]
Checkpoint: A sharp pull-in to the neck. This is the narrowest point. Insert safety eyes and stuff the head here if you haven’t already.
Round 12 (Arms/Hands): 1 sc, 1 increase, 1 sc, then in the next stitch work dc6tog for hand 1, then 1 increase, 2 sc, 1 increase, then in the next stitch work dc6tog for hand 2, then 1 sc, 1 increase, 1 sc [16]
Checkpoint: Two round bumps on opposite sides at the shoulder line. Push clusters outward immediately after closing.
Round 13: 3 sc, 1 increase, repeat around [20]
Checkpoint: The body widens below the shoulders. Stuff the head firmly now if not done previously.
Round 14 (Feet): 6 sc, then work dc6tog in one stitch for foot 1, then 6 sc, then work dc6tog in one stitch for foot 2, then 6 sc [20]
Checkpoint: Two bumps at the base. Sit the bear on a table to ensure it does not rock.
Round 15: 10 decreases [10]
Round 16: 5 decreases [5]
Checkpoint: A small opening at the base. Stuff the body firmly before closing. Fasten off and sew the opening closed.
Ears (Make 2)
Round 1: Magic ring, 6 sc [6]
Round 2: 1 sc, 1 increase, repeat 3 times [9]
Round 3: 1 sc in each stitch around [9]
Checkpoint: A tiny shallow cup. Do not stuff. Fasten off leaving a long tail. Flatten slightly and sew to the head.
Cherry Hat
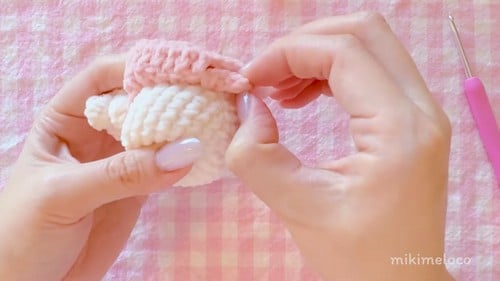
Round 1: Magic ring, 12 dc [12]
Round 2: Increase in each stitch around [24]
Round 3: 1 dc, 1 increase, repeat around [36]
Checkpoint: A flat red disc. It should be slightly wider than the head at its widest.
Round 4 (Ear Holes): 7 dc, chain 4 and skip 4 stitches, 5 dc, chain 4 and skip 4 stitches, 7 dc
Checkpoint: Two chain openings on opposite sides for the ears.
Round 5: 1 sc, 1 decrease, repeat 9 times
Checkpoint: The brim pulls in to grip the head. Try it on the bear before fastening off.
Stem Loop
Attach green yarn at the center top of the hat. Chain 6. Slip stitch to the opposite side to form a loop. Fasten off and weave in ends. The loop should stand up rather than flop.
Assembly
1. Ears: Pin both ears to the top of the head, flattened. Look at the bear from the front to ensure symmetry before sewing. Sew around the full flattened base to prevent rotation.
2. Hat: Place the hat over the ears, feeding each ear through one of the chain openings. The hat is removable, so do not sew it down. If it slides off, your decreases in Round 5 were too loose. If it won’t go on, the chain openings need to be looser.
3. Face: Embroider the nose slightly below the eye line and add a small mouth. Keep features tiny to avoid swallowing the face.
4. Finishing: Weave every end into the inside of the pieces. Pin before you sew; on a toy this small, two stitches of misplacement are visible.
Tips for Success
- Eye Timing: Mark eye positions with pins at Round 9. Insert them at the end of Round 11, after the head is stuffed but before the body is closed.
- Safety Eyes: Push the post from the outside, look straight at the face for symmetry, then seat the washer from inside. Washers are permanent once on.
- Toddler Safety: For children under three, embroider the eyes with black thread instead of using safety eyes.
- dc6tog Technique: Practice this stitch on a scrap first. It requires a firm but not tight pull through all six loops, followed by pushing the cluster outward from behind.
- Stuffing: Use the blunt end of your hook to push stuffing down toward the feet for even density.
FAQs
Why does the bear have no arms?
This is a specific design choice for this pattern. The hands are formed as cluster stitches (dc6tog) directly onto the body at the shoulder line. On a toy under 11 cm, the eye reads these clusters as paws, creating a cute, simplified silhouette.
Can I use a different hook size?
The pattern is designed for a 3 mm hook with worsted weight yarn to ensure a dense, gap-free fabric. If you use a larger hook, the stuffing may show through. If you find the 3 mm hook too tight on your hands, you can use a lighter weight yarn (like DK) with the 3 mm hook.
How do I make the hat fit better?
The hat fits via the brim created in Round 5. If the hat is loose, ensure your decreases in Round 5 are tight. If the hat is too tight to go over the ears, you may need to make the chain-4 spaces in Round 4 slightly larger (e.g., chain 5) next time.
Is this pattern suitable for beginners?
This pattern is best for crocheters who are comfortable with continuous rounds, magic rings, and basic shaping. The unique construction (no separate arms) and the specific dc6tog stitch make it slightly more advanced than a basic amigurumi.
How do I keep the hat from flopping?
The stem loop is made with a chain 6. If it flops, your chain tension is too loose. Try chaining tighter or using a slightly smaller hook just for the green stem loop to give it more structure.
Pin This Crochet Pattern!