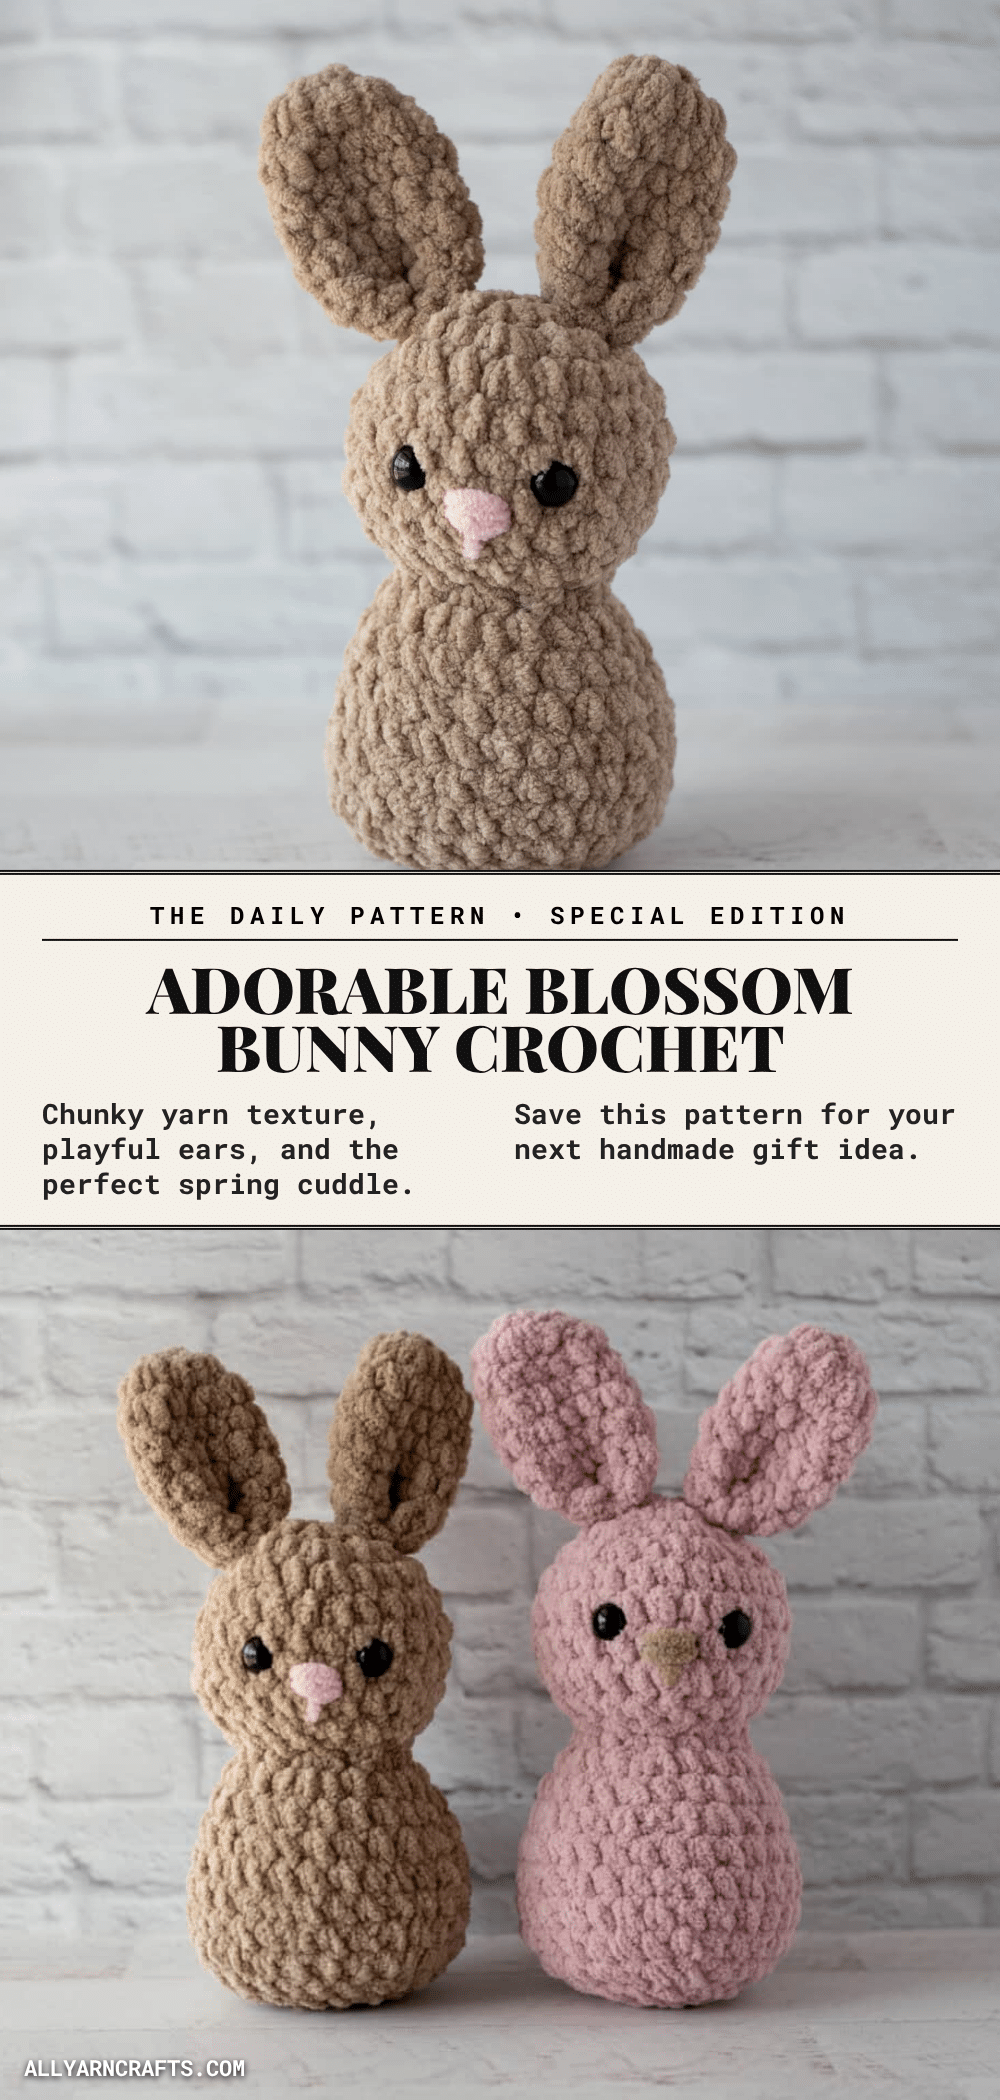
The texture of plush yarn transforms the simple act of crocheting into a tactile delight. With Blossom Bunny, every round builds upon the last, shaping a form that feels as good as it looks. The interplay of increases and decreases creates a seamless silhouette, while the upright ears and fluffy tail add character to the finished piece. This pattern is designed for makers who appreciate the satisfaction of watching a project come together stitch by stitch, resulting in a cuddly companion that is perfect for spring decor or a thoughtful handmade gift.
Texture and Stitch Notes
Working with super bulky chenille-style yarn offers a unique experience for the crocheter. The stitches are soft and squishy, and as the bunny takes shape, it almost feels like it comes to life in your hands. Because of the thickness of the yarn, the ears stand up on their own, giving Blossom Bunny her sweet, perky personality. The construction flows from the hook, starting at the top of the head and working down to the body, which eliminates the need for complicated assembly. This continuous shaping creates a smooth, plush body that is extra cuddly to hold.
Project Overview
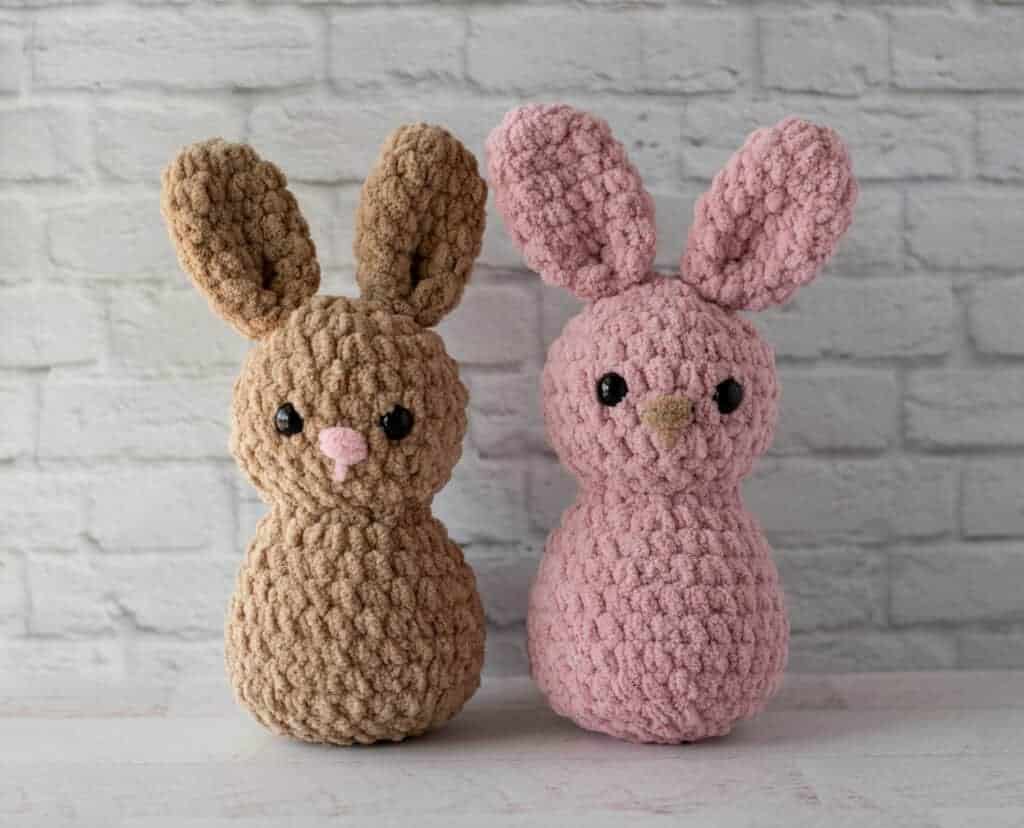
Blossom Bunny is a beginner-friendly amigurumi pattern designed to be soft, plush, and quick to make. The head and body are worked in one continuous piece, starting at the top of the head, decreasing to form the neck, and then increasing to shape the body. The ears and tail are crocheted separately and sewn on at the end, allowing for easy positioning. This seamless construction keeps things simple and avoids a lot of complicated sewing.
Materials
- Main Color (Steel Cut Oats or Blush): Premier Basix Chenille Brights, size 6 super bulky weight, 100% polyester, 112 yds/103m per 5.3 oz skein. Amount: 65 yards.
- Contrast Color for Nose (Cotton Candy or Steel Cut Oats): Premier Basix Chenille Brights. Amount: 1 yard.
- White: Bernat Pipsqueak, size 5 bulky weight, 100% polyester, 101 yds/92m per 3.5 oz skein. Amount: 7 yards.
- Hooks: US K10.5/6.5mm crochet hook and H8/5.0mm crochet hook.
- Notions: 14 mm Safety Eyes, Stitch Marker, Fiberfill, Tapestry needle, and scissors.
Gauge and Finished Size
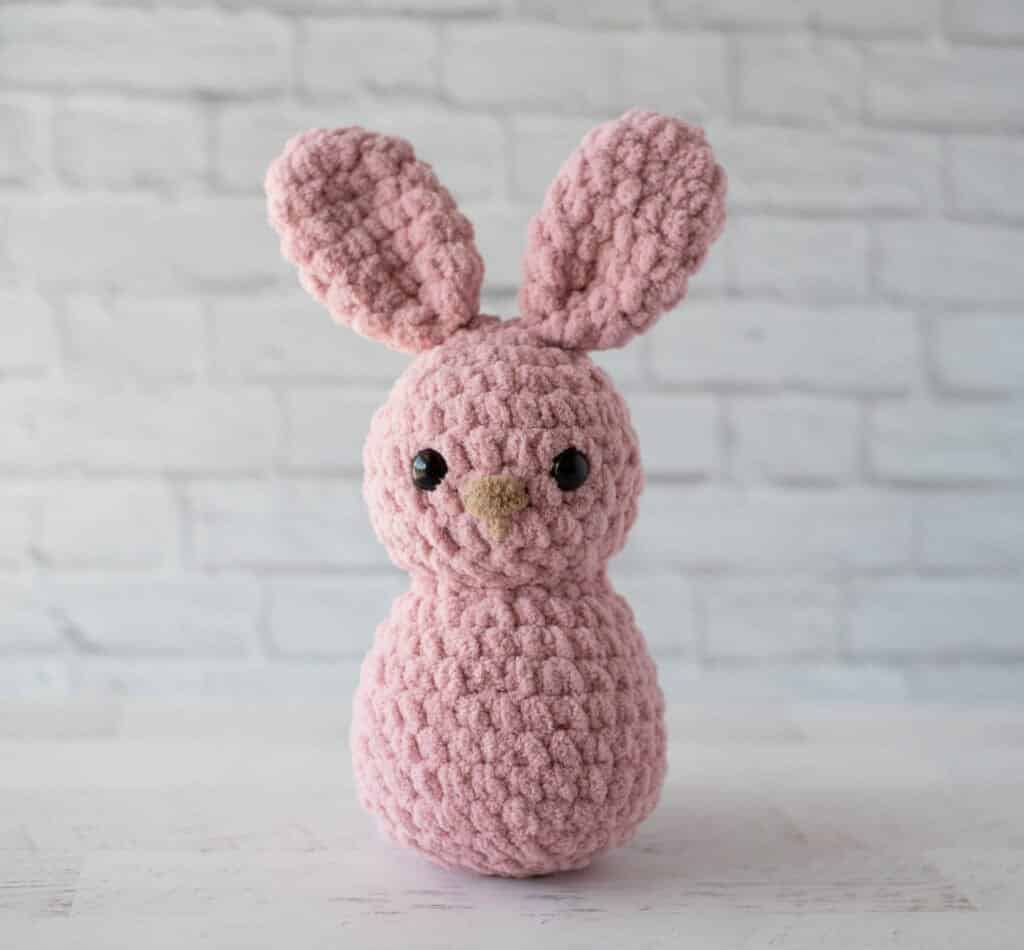
The finished bunny is approximately 10.5” tall (including ears) x 6” wide. The designer’s gauge is 5 sc to 2 inches, but gauge is not important in this pattern. The beauty of amigurumi is that your bunny will stay in proportion, even if it turns out a bit larger or smaller.
Abbreviations
- ch(s) = chain(s)
- sc = single crochet
- sc2tog = single crochet 2 together
- sl st = slip stitch
- st = stitch(es)
Pattern Notes
This pattern is worked in continuous rounds. It is important to keep track of your rows. Use a stitch marker on the last stitch in a row; some crocheters prefer placing the marker in the first stitch or using a scrap piece of yarn—just pick a method and stay consistent. When working with super bulky plush yarn, it is important to use a hook that creates a tight fabric so the stuffing doesn’t show through. Depending on your tension, you may need to adjust your hook size slightly. If your stitches are too loose, try going down a hook size. If they feel too tight, try sizing up slightly.
Pattern Instructions
Bunny Head and Body
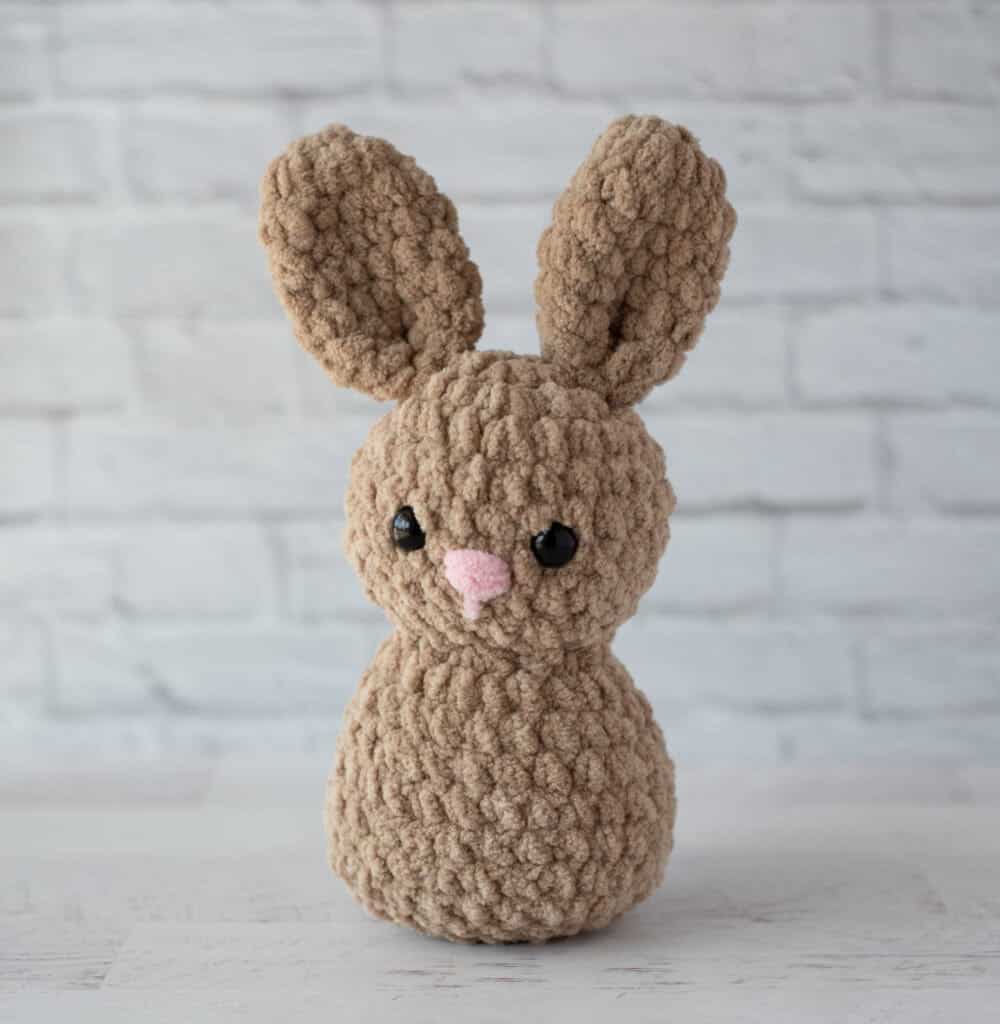
Using main color yarn and larger hook (6.5mm), make a magic ring.
R1: 6 sc into ring. Place stitch marker and work in continuous rounds. (6 st)
R2: 2 sc in ea st. (12 st)
R3: *Sc in next st, 2 sc in next. Repeat from * around. (18 st)
R4: *Sc in next 2 st, 2 sc in next. Repeat from * around. (24 st)
R5-8: Sc around. (24 st)
R9: *Sc in next 2 st, sc2tog. Repeat from * around (18 st)
R10: *Sc in next st, sc2tog. (12 st)
Insert safety eyes between rows 6 & 7, leaving 4 stitches in between them. Stuff head and continue to stuff body as you work.
R11: *sc in next st, 2 sc in next. Repeat from * around. (18 st)
R12: *Sc in next 2 st, 2 sc in next. Repeat from * around. (24 st)
R13: Sc around (24 st)
R14: *Sc in next 5 st, 2 sc in next. Repeat from * around. (28 st)
R15-18: Sc around. (28 st)
R19: *Sc in next 5 st, sc2tog. Repeat from * around. (24 st)
R20: *Sc in next st, sc2tog. Repeat from * around (16 st) Firmly stuff body the rest of the way.
R21: *Sc2tog. Repeat from * around. (8 st) Fasten off, weave end through last stitches and pull tight.
Bunny Ears (Make 2)
Using main color yarn and larger hook, make a magic ring.
R1: 6 sc into ring. Place stitch marker and work in continuous rounds. (6 st)
R2: 2 sc in ea st. (12 st)
R3-7: Sc around. (12 st)
R8: *Sc in next 4 st, sc2tog. Repeat from * once. (10 st). Do NOT stuff ears. Fasten off leaving a long strand.
Fold open end of ear in half and then in half again. Thread a tapestry needle and whip stitch closed. Then sew each ear on row 2 of the head.
Bunny Tail
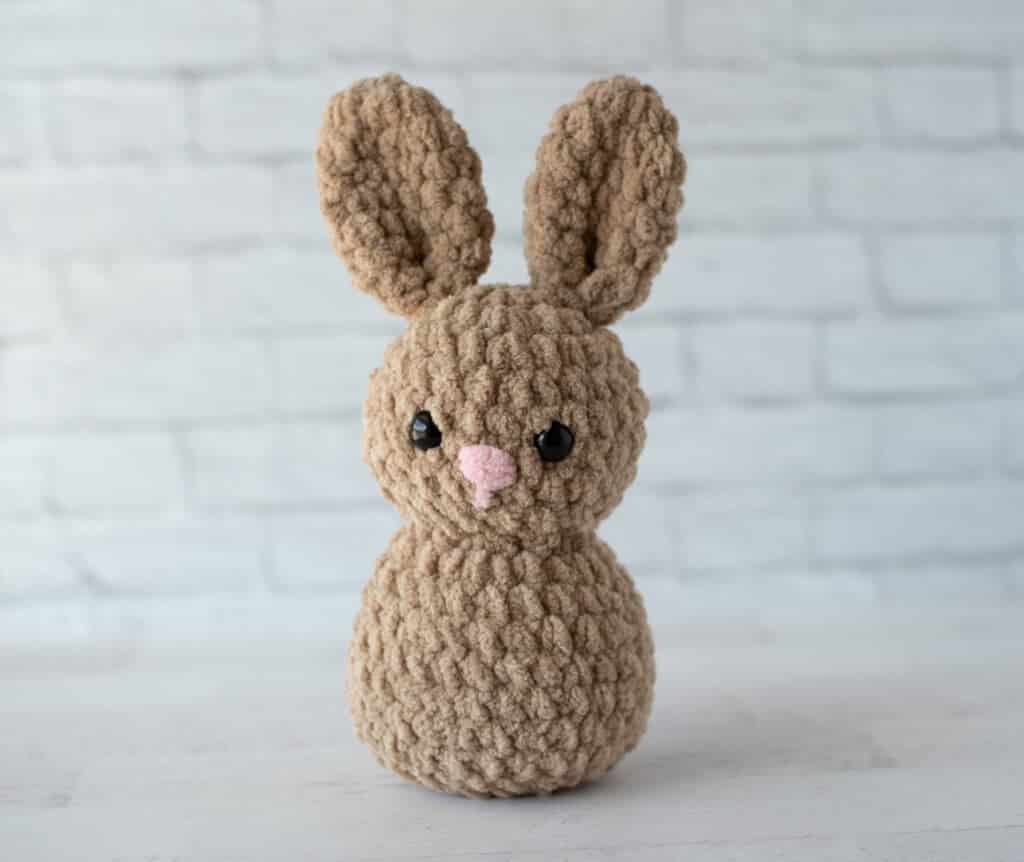
Using Pipsqueak yarn and smaller hook (5.0mm), make a magic ring.
R1: 8 sc into ring. Place stitch marker and work in continuous rounds. (8 st)
R2: 2 sc in ea st. (16 st)
R3-5: Sc around. (16 st)
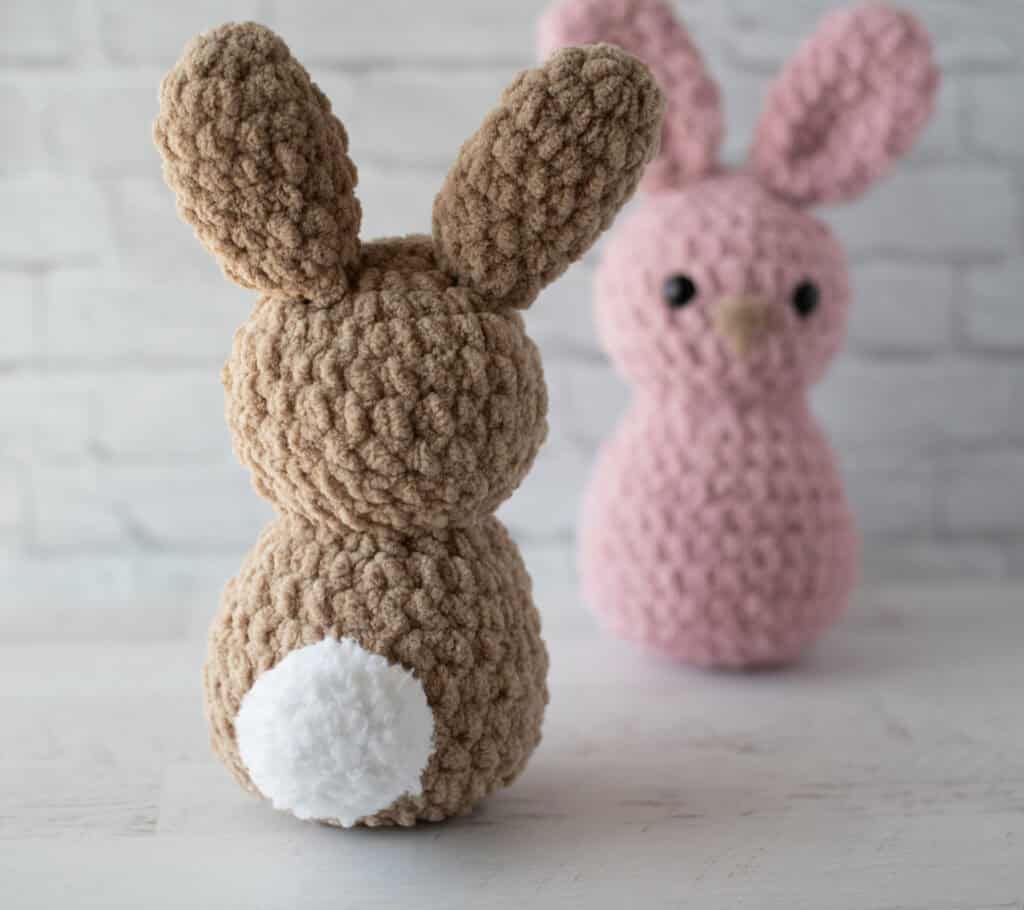
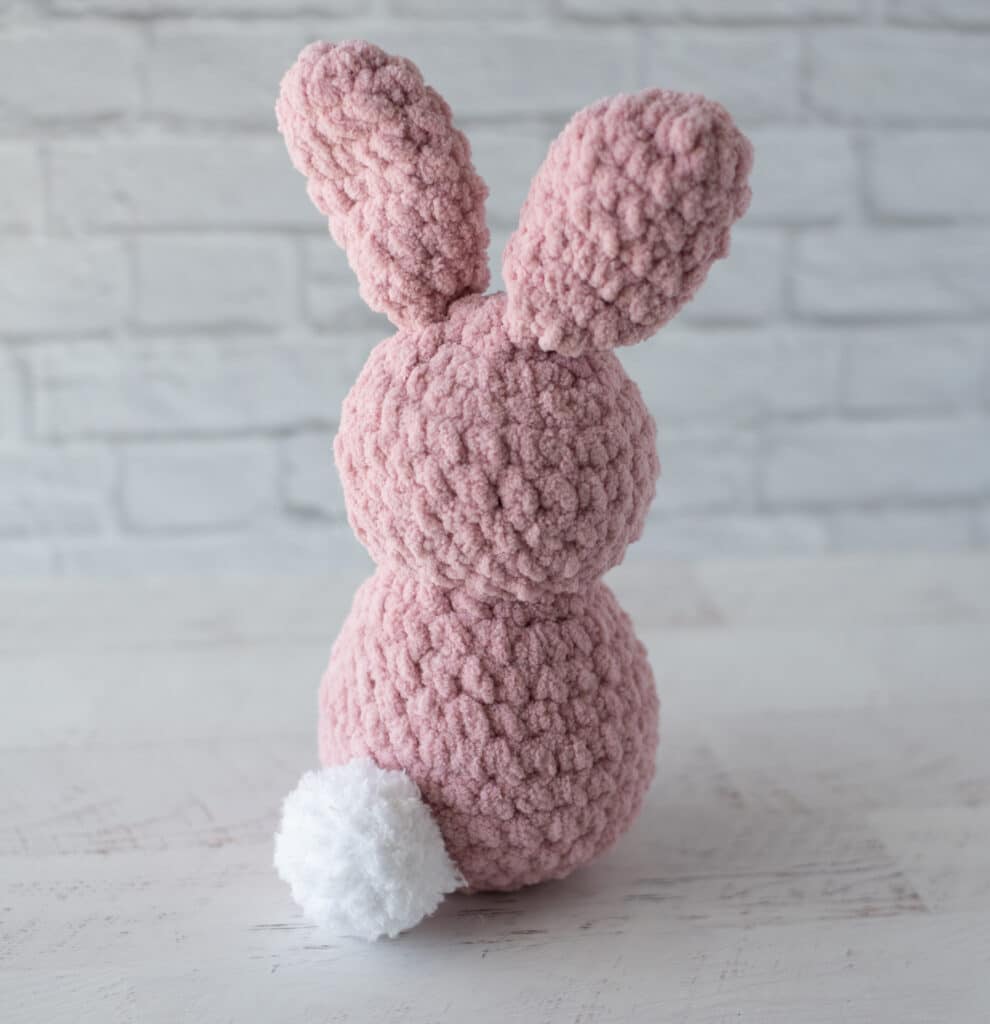
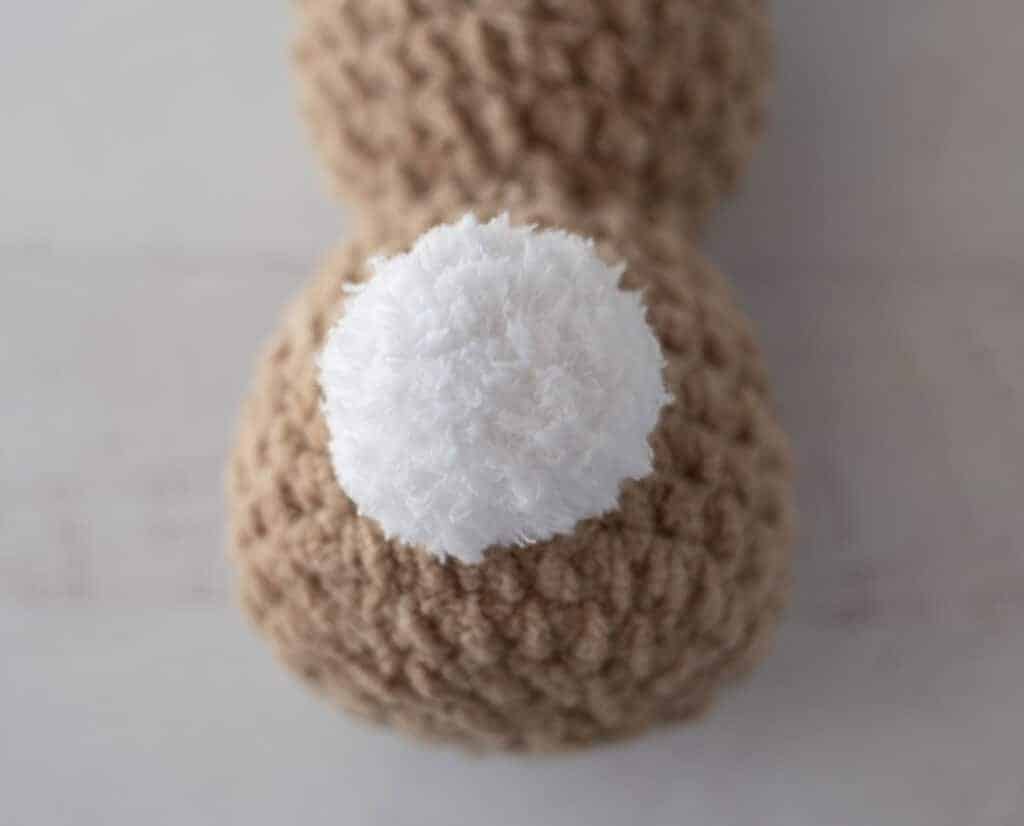
R6: Sc2tog around. Fasten off, leaving a long strand. Then flip inside out (as the inside is fluffier than the outside) and stuff the tail lightly. Weave end through last stitches and pull tight. Sew tail to lower back of bunny.
Assembly
Using contrast yarn, sew 3 horizontal stitches between eyes to form nose. The stitches cover the lower 3/4 of round 7. Then sew one vertical stitch under the horizontal stitches to finish the facial embroidery.
Tips
- Use a stitch marker to keep track of rounds.
- Stuff gradually as you go for a smooth, even shape.
- Take your time with stitch placement, as plush yarn can make stitches tricky to see!
- Position the ears evenly before sewing them in place.
- Start with a magic ring to make your starting stitches nice and tight.
FAQs
What is a bunny crochet pattern?
A bunny crochet pattern is an amigurumi-style pattern used to create a stuffed bunny using basic crochet stitches like single crochet, increases, and decreases.
Is this bunny crochet pattern beginner-friendly?
Yes! This pattern is great for beginners with basic crochet experience who are ready to try amigurumi. It uses basic stitches and features a simple construction.
How is this bunny constructed?
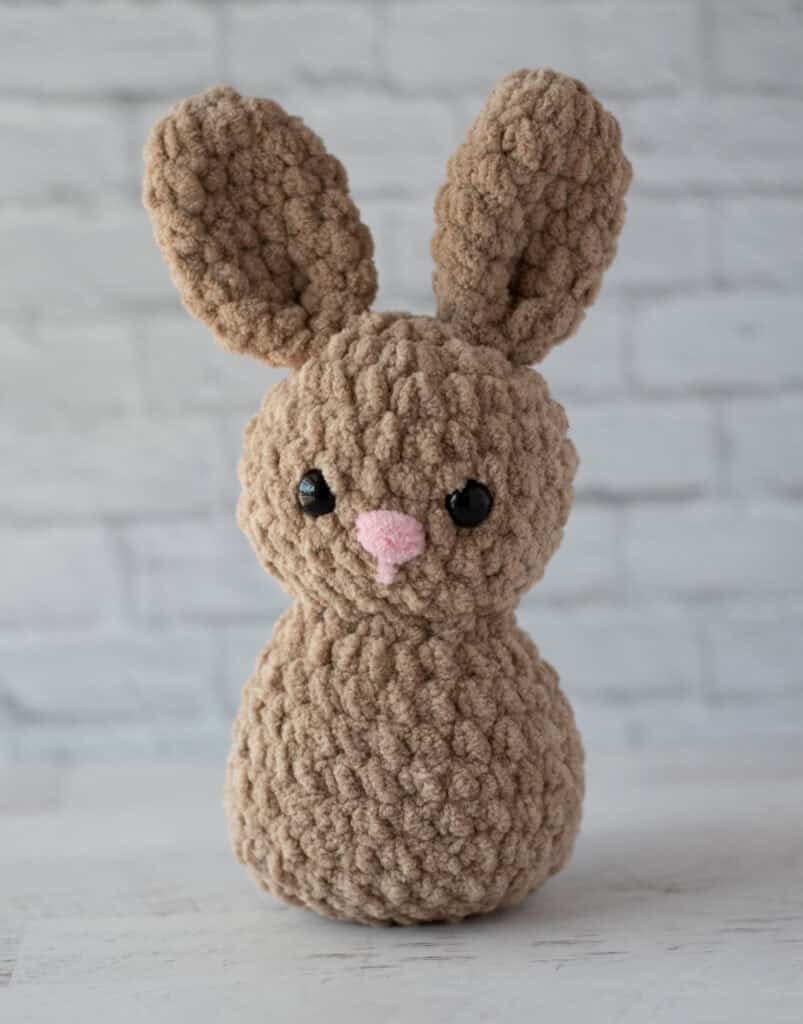
The head and body are worked in one continuous piece, starting at the top of the head, shaping the neck, and then forming the body. The ears are sewn on at the end.
What yarn works best for this crochet bunny pattern?
Super bulky chenille yarn works best for a soft, plush finish, but other yarns can be used with adjustments. Lighter yarn will result in a smaller bunny, while bulkier yarn will result in a larger one.
Can I embroider the face instead of using safety eyes?
Absolutely. Embroidered features are a great option—especially for babies and young children. For Blossom Bunny, a simple embroidered nose keeps the look soft and sweet.
Pin This Crochet Pattern!