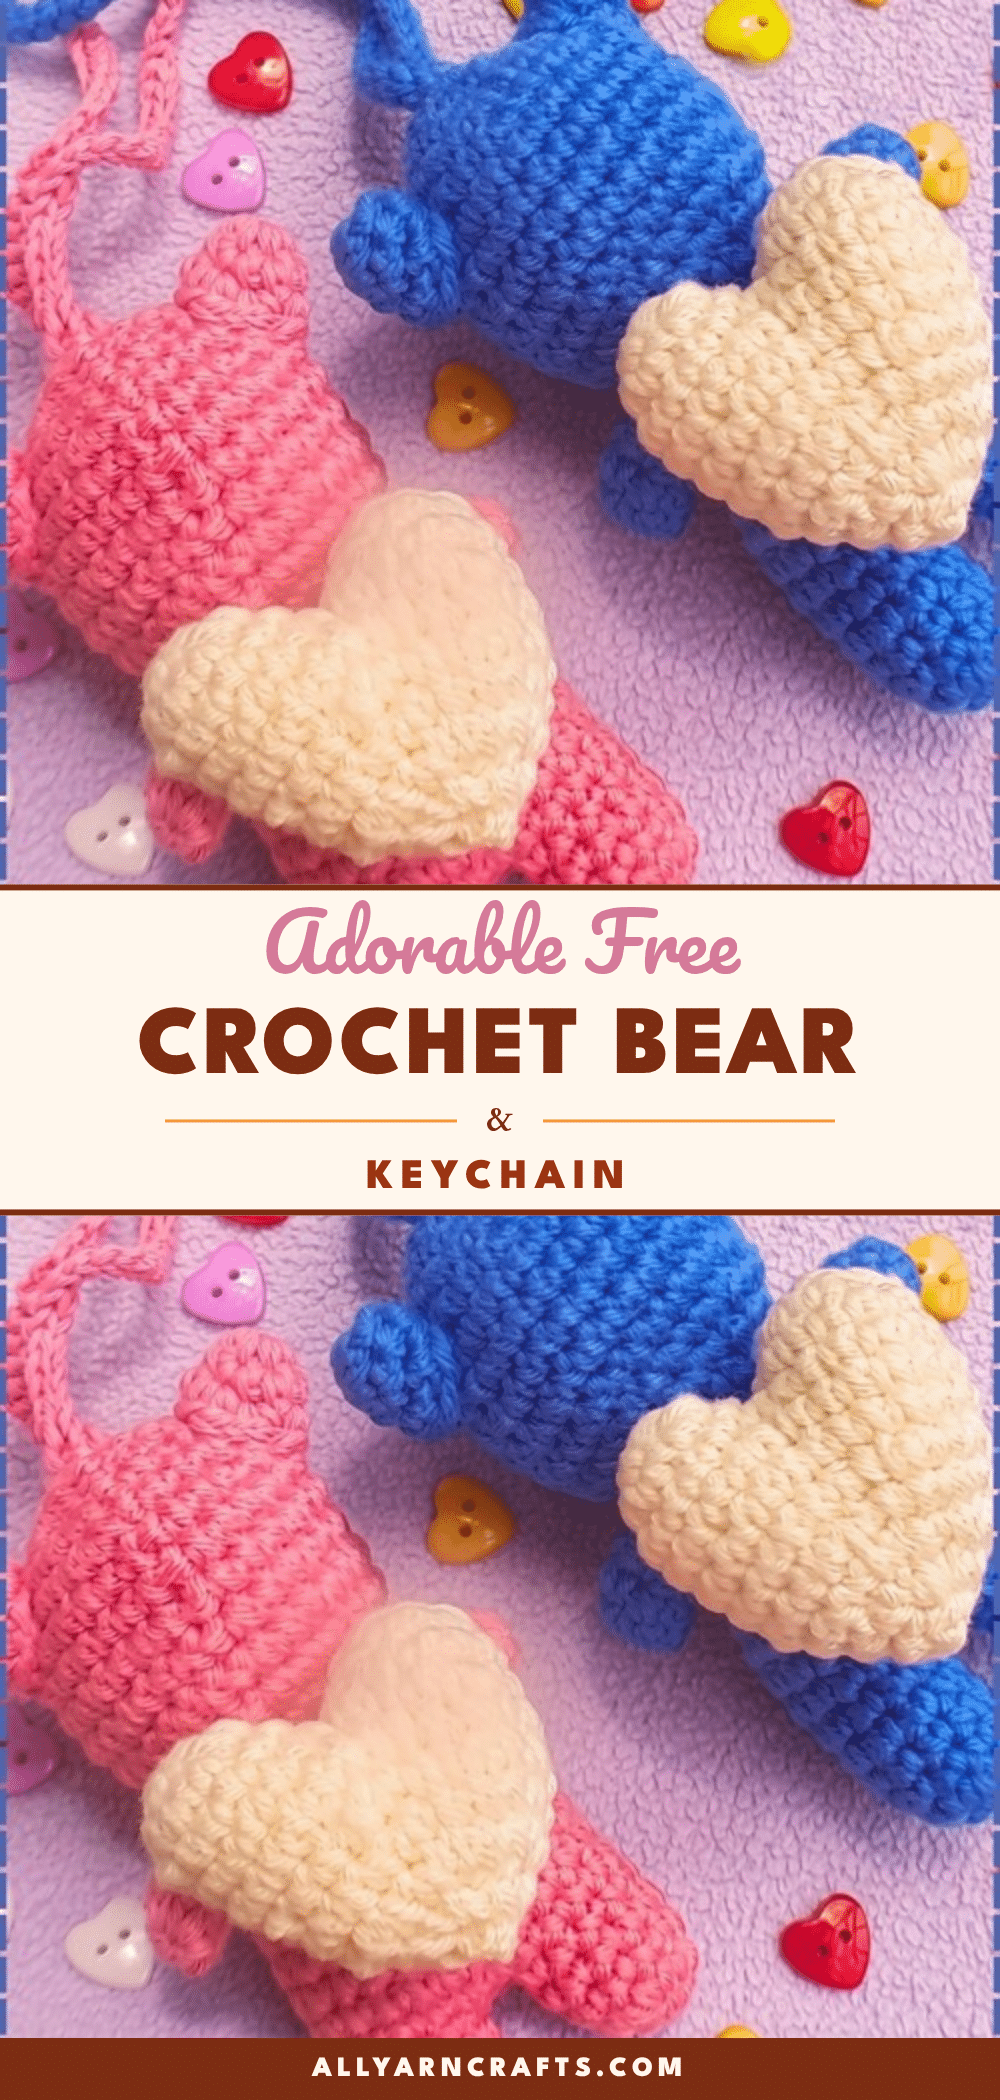
This adorable free crochet bear keychain pattern is the perfect way to turn leftover yarn into a functional keepsake. Designed as a faceless amigurumi, this mini plush relies on a cream heart held across its chest to carry the entire design, making it a sweet addition to any bag, zipper, or set of keys. Whether you are making a pair for a Valentine’s Day swap or a quick stocking stuffer for Christmas, this project is simple enough for beginners but charming enough for seasoned makers.
Our Touch: Gift and Use Ideas
One of the best features of this bear is its versatility as a gift. The pattern suggests splitting a pair between two key rings so each partner carries one—perhaps a pink bear on one set of keys and a blue bear on the other. Because the bear is small enough to clip onto a bag or a zipper, it serves as a delightful everyday handmade object. The faceless design keeps the aesthetic clean and modern, allowing the cream heart to stand out as the focal point. You can also use this pattern to create a unique market-table item or a cozy decor piece that brings a touch of softness to your daily routine.
Project Overview
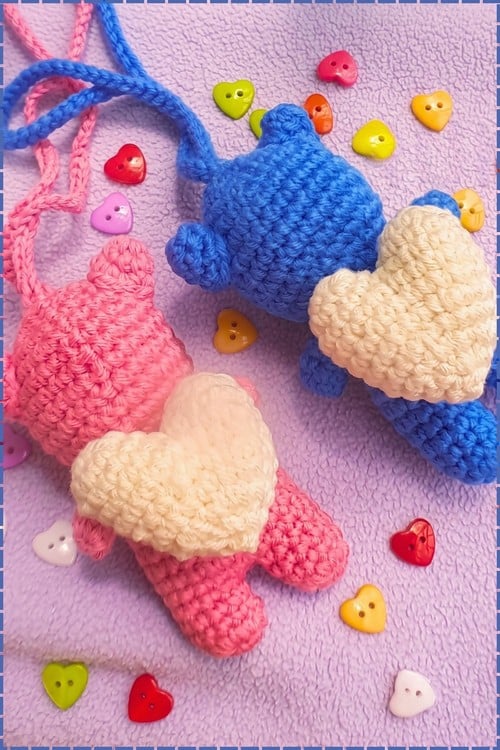
This project is an amigurumi keychain featuring a plush bear with small round ears and stubby limbs. The bear holds a cream heart across its front, which covers most of the body. The construction is worked in continuous rounds, making it straightforward for crocheters of various skill levels. While the pieces are small, requiring some fiddly sewing, the build does not ask for advanced skills. The entire project takes roughly 1 to 1.5 hours to complete.
Materials
- Plush or chenille yarn in brown and white or cream (or pink/blue for the body)
- Crochet hook sized for your yarn, typically 3.5 mm to 4.5 mm
- Safety eyes
- Black embroidery thread for the nose
- Fiberfill stuffing
- Keychain ring
- Tapestry needle
Gauge and Finished Size
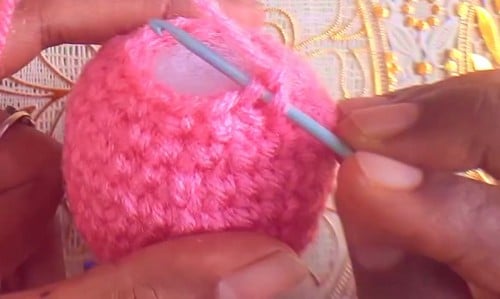
The pattern does not provide a specific gauge. On a 4.0 mm hook with standard chenille weight, expect the head to come out approximately 5 to 7 cm across. The finished size is small enough to function as a keychain or bag charm.
Abbreviations
- sc: single crochet
- inc: increase (2 sc in the same stitch)
- dec: decrease (invisible decrease recommended)
Pattern Notes
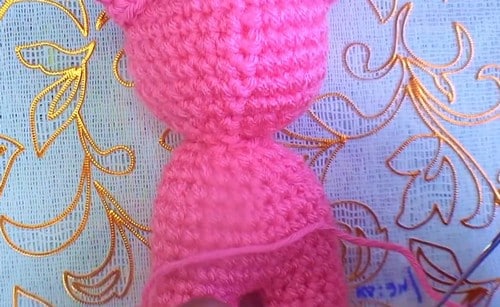
- Working in the Round: Work in continuous rounds. Use a stitch marker.
- Plush Yarn Tips: Plush yarn hides stitch tops, so feel for placement with your hook tip rather than looking for the V.
- Parts List: The pattern breaks down into a body (head), muzzle, ears (make 2), and a heart. Chain straps run from the head for hanging.
- Assembly Order: Working in the round keeps it simple, and the heart attaches last across the front.
Pattern Instructions
Head and Body
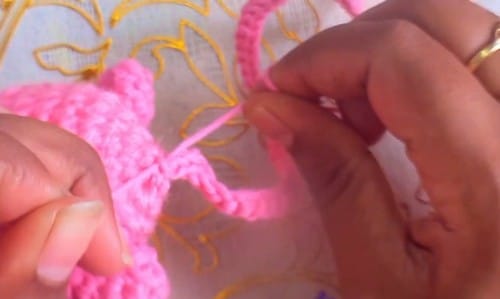
Work in continuous rounds. Use a stitch marker. Plush yarn hides stitch tops, so feel for placement with your hook tip rather than looking for the V.
- Round 1: MR, 6 sc (6). Checkpoint: a tight closed circle. Pull the ring fully shut.
- Round 2: 2 sc in each stitch around (12)
- Round 3: (1 sc, 1 inc) repeat 6 times (18)
- Round 4: (2 sc, 1 inc) repeat 6 times (24). Checkpoint: a flat disc about the size of a large coin, lying completely flat. With plush yarn it will look fuzzy at the edges — run your finger around the perimeter to feel the shape rather than judge by sight.
- Round 5: Sc in each stitch around (24)
- Round 6: Sc in each stitch around (24)
- Round 7: Sc in each stitch around (24)
- Round 8: Sc in each stitch around (24). Checkpoint: a clear rounded dome at this stage, sides rising evenly into a sphere. Insert safety eyes now, between rounds 6 and 7, about 4 to 5 stitches apart. Count back two rounds from your current position to find round 6 and insert there. Snap the backs on firmly before continuing. This must happen before the decreases close the piece.
- Round 9: (2 sc, 1 dec) repeat 6 times (18). Checkpoint: the sphere is narrowing clearly. Start stuffing here while the opening is still wide enough to shape with your hand. Stuff the head firmly with fiberfill.
- Round 10: (1 sc, 1 dec) repeat 6 times (12)
- Round 11: 6 dec (6). Checkpoint: a small puckered hole remaining, head fully rounded and firm. Fasten off and weave in ends.
For children under three: skip the safety eyes and embroider both eyes with black yarn in the same position between rounds 6 and 7, hiding tails inside before closing.
Muzzle
- Round 1: MR, 6 sc (6)
- Round 2: 2 sc in each stitch around (12). Checkpoint: a small flat disc, about the size of a shirt button. Should lie completely flat. Fasten off, leaving a long tail for sewing. Embroider a small V shape or triangle for the nose using black embroidery thread, centred on the disc.
Ears — Make 2
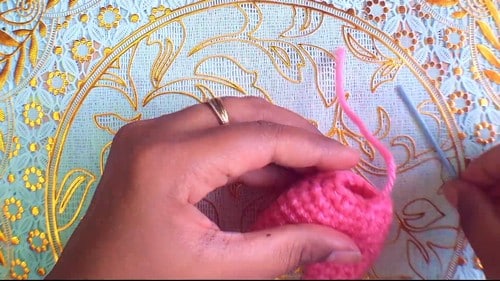
- Round 1: MR, 6 sc (6). Checkpoint: a small tight circle, no gap at the centre.
- Round 2: Sc in each stitch around (6). Checkpoint: a short open tube, barely taller than its width. Fasten off, leaving a tail for sewing.
Assembly
- Muzzle: Sew the muzzle to the centre of the face slightly below the eyes, stitching evenly around the edge. Pin it first and check from the front. Lightly stuff the muzzle before closing the seam if you want a more raised look.
- Ears: Pin both ears to the top of the head between rounds 3 and 5, angled slightly outward. Check symmetry from the front before sewing either one.
- Keychain: Attach the keychain ring at the very top centre of the head, threading yarn through multiple stitches to distribute the load. Pull firmly and check that the bear hangs straight before knotting off.
- Heart: Sew the cream heart on last across the front of the bear.
Tips
- Stuffing: Start adding fiberfill at round 9, when the opening is still wide enough to work your hand inside. Add small amounts at a time and press each pinch outward toward the sides before adding more. The upper head section needs to feel firmly rounded. Avoid packing stuffing near the final two rounds or the stitches spread and the closing rows look ragged. With plush yarn this shows as a slightly distorted texture rather than a visible gap, but it still affects the shape. The muzzle gets light stuffing at most — just enough to lift it off the face surface slightly.
- Safety: Safety eyes are not suitable for children under three. Use the embroidered swap described in the head section. Also check that the keychain ring is securely attached before the bear goes into daily use. Pass the yarn through the crown stitches at least three times and test with a firm tug.
- Visibility: If you can’t see your stitches in the plush yarn, this is normal. Work slowly and use your hook tip to feel under the yarn pile for the stitch loop, rather than trying to see it. Every maker who starts on chenille goes through this. After one piece it becomes instinctive.
- Yarn Substitution: Can I use regular acrylic instead of plush yarn? Yes. The construction stays identical. The bear will look more structured and less soft, and the stitches will be easier to see and count. A tighter, smoother result with the same hook size.
- Centering: If the muzzle looks off-centre after sewing, unpick the side that has drifted and resew. Before you do, mark the centre bottom of the head with a pin and the centre of the muzzle with a small piece of contrasting yarn, and align those two points before taking your first stitch. One reference point on each piece is all it takes.
FAQ
Can I use regular acrylic yarn instead of plush yarn?
Yes. The construction stays identical. The bear will look more structured and less soft, and the stitches will be easier to see and count. You will get a tighter, smoother result with the same hook size.
How do I center the muzzle if it looks off?
Unpick the side that has drifted and resew. Before you do, mark the centre bottom of the head with a pin and the centre of the muzzle with a small piece of contrasting yarn, and align those two points before taking your first stitch.
Is this pattern safe for small children?
Safety eyes are not suitable for children under three. For younger children, skip the safety eyes and embroider both eyes with black yarn in the same position between rounds 6 and 7, hiding tails inside before closing.
How long does this project take?
Expect roughly 1 to 1.5 hours total to complete the bear and assemble the keychain.
What is the finished size of the bear?
The pattern does not give a finished size, but on a 4.0 mm hook with standard chenille weight, expect the head to come out approximately 5 to 7 cm across.
If you enjoy making mini amigurumi, you might also like these adorable crochet Bambolina doll keychain ideas or this cute crochet pig amigurumi pattern for couples.
Pin This Crochet Pattern!