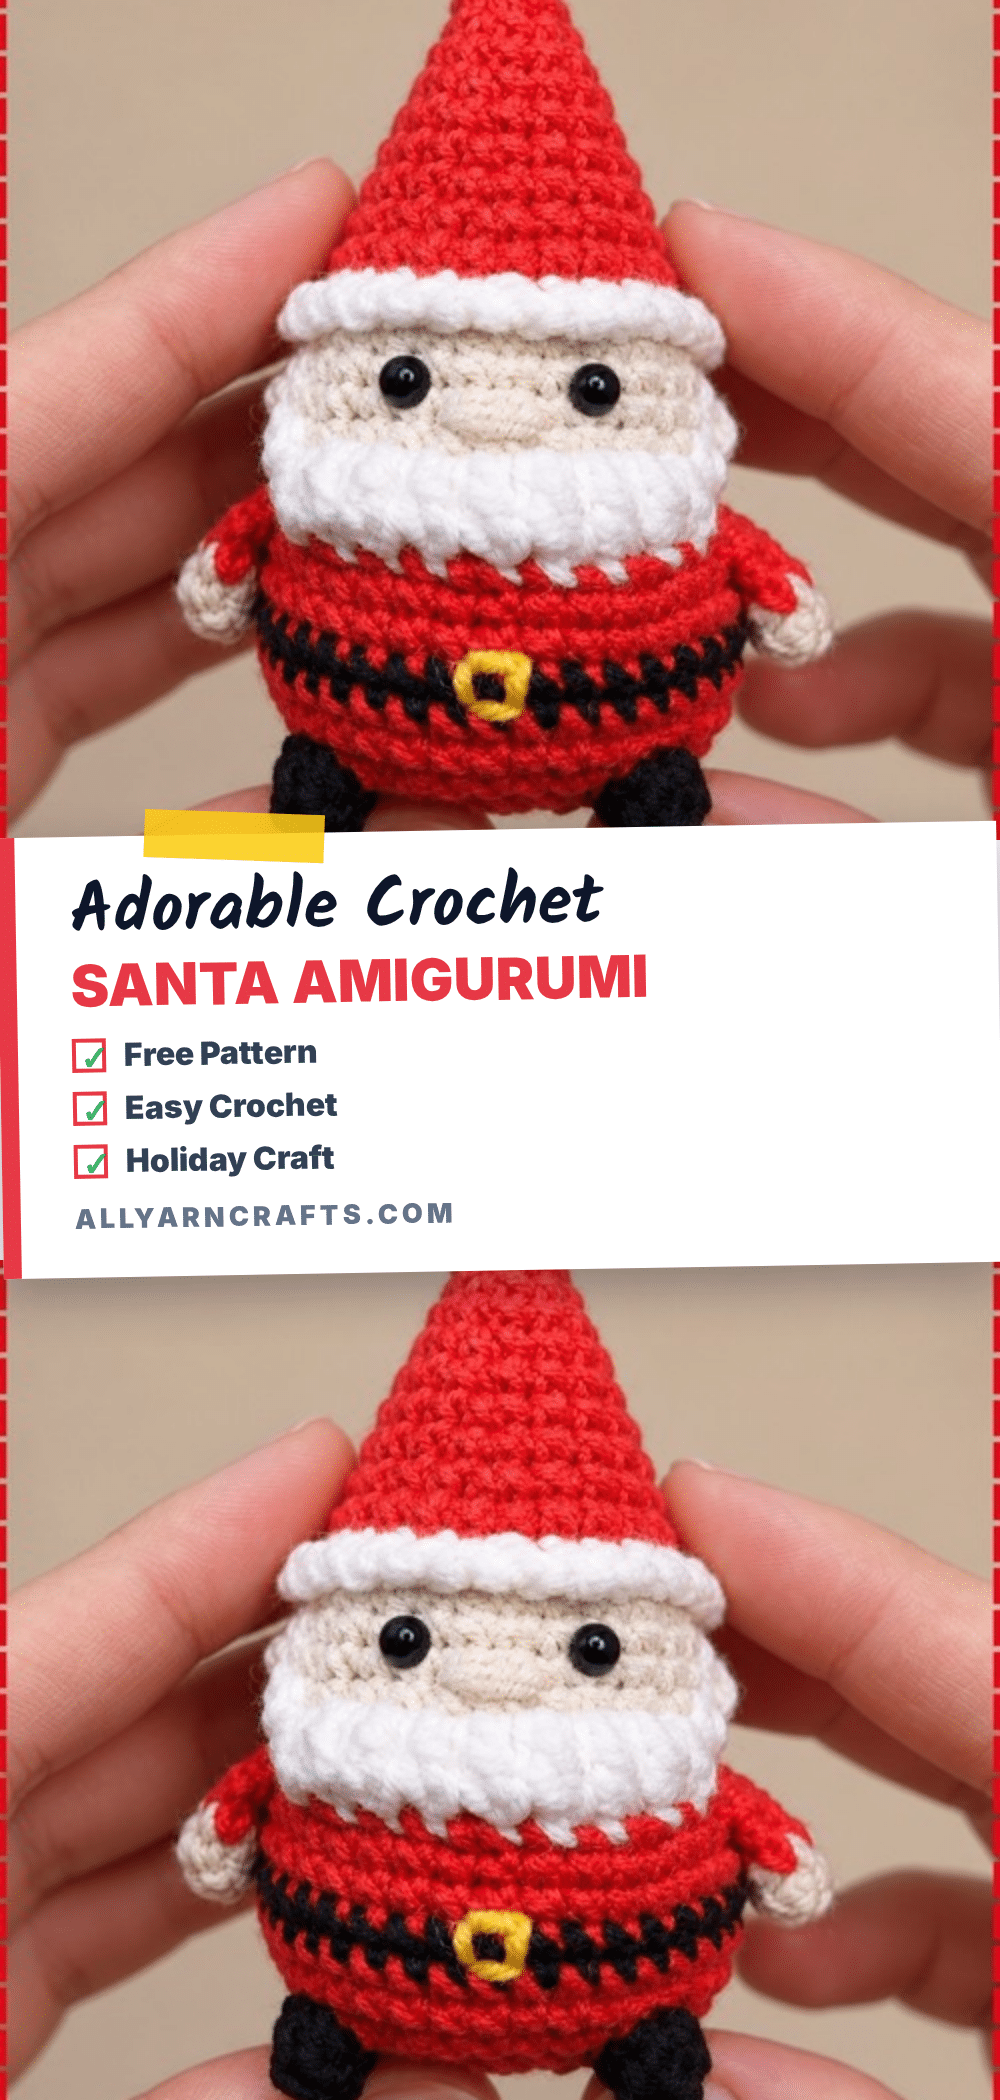
It is a common fear among crocheters that one missed stitch or a slipped marker will ruin the entire project, especially with complex amigurumi. You might worry that the progressive beard or the tricky front-loop split will result in a lopsided mess. However, this Santa pattern is designed to be forgiving. While it requires a bit of attention to detail, the construction is straightforward, and the visual charm of the finished figure makes the careful work well worth it. This guide simplifies the process, ensuring you can create a festive friend without the stress.
Maker Notes
There is something undeniably cheerful about a handmade Santa that sits on a mantel or hangs from a tree. This pattern is perfect for those who want to add a touch of whimsy to their holiday decor without spending hours on a single piece. The design features a classic red suit and hat, but the texture comes from the unique popcorn stitches used for the beard and boots, giving him a cozy, dimensional look. I love that he is small enough to fit in the palm of your hand, making him an ideal gift for teachers, coworkers, or as a special ornament. The construction is unique because it works top-down, starting with the pom-pom and hat, which helps in balancing the figure as you build the body. Just remember to take your time with the stuffing; firm packing is the secret to keeping him standing tall and proud.
Project Overview
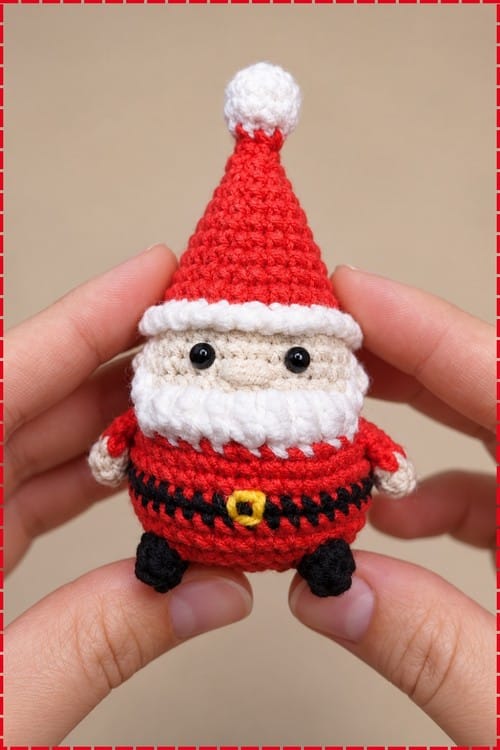
This Crochet Santa Amigurumi is a festive, small-scale figure perfect for holiday decorating or gifting. Standing approximately 8 to 12 inches tall, this pattern is written as a high-level construction guide rather than a strict round-by-round stitch count breakdown. This approach allows for flexibility in yarn weight and hook size, though it requires the maker to pay close attention to technique and placement. The figure is worked in continuous rounds from the top down, incorporating a progressive beard texture and live arm attachments.
Materials
- White Yarn: For the pom-pom, hat trim, beard, and ear sections.
- Red Yarn: For the hat body and main body.
- Skin Tone Yarn: For the head and ears.
- Black Yarn: For the belt and boots.
- Yellow or Gold Yarn: For the embroidered belt buckle.
- Crochet Hook: Suitable for your chosen yarn weight.
- Safety Eyes: Standard size (or black yarn for embroidery).
- Polyester Fiberfill Stuffing: For firm support.
- Yarn Needle: For weaving in ends and embroidery.
- Stitch Marker: To track rounds.
- Scissors.
Gauge and Finished Size
There is no strict gauge for this pattern as it is designed to be adaptable. The finished height is approximately 8 to 12 inches, depending on your yarn weight and hook size. The working time is estimated at 4 to 6 hours. The difficulty level is intermediate due to the front/back loop split at round 17, the progressive popcorn beard, and the live arm attachment.
Abbreviations
- SC: Single crochet
- HDC: Half double crochet
- DC: Double crochet
- SL ST: Slip stitch
- Popcorn Stitches: Used for beard and boot texture. See specific rounds for size.
Pattern Notes
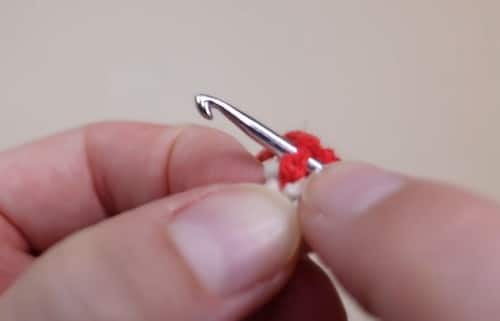
This pattern is written as a high-level construction guide. Most sections describe the technique and placement without specifying exact stitch counts per round. The exceptions are round 16 (increases to 30 stitches) and round 17 (front-loop frill). All other rounds are described by technique and color. Readers who need precise stitch counts will need to supplement with a reference pattern that matches this construction method, or swatch and count their own rounds.
The safety eye placement is critical and must be inserted between rounds 18 and 19 while the head is still accessible from inside. For toys intended for children under three, embroider the eyes with black yarn instead of using safety eyes.
Pattern Instructions
Pom-Pom and Hat
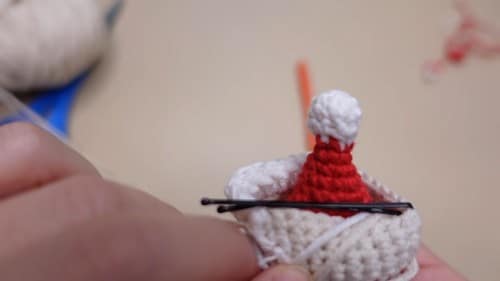
Start with white yarn at the top. Crochet the pom-pom section in white.
Checkpoint: The pom-pom should be a small rounded ball, roughly the size of a grape. If it is flat, it needs more stuffing; if it is stretching, it needs less.
At round 5, change to red yarn. Continue the hat in red through round 15.
Change to white at the end of round 15.
Round 16: Increase to [30] stitches.
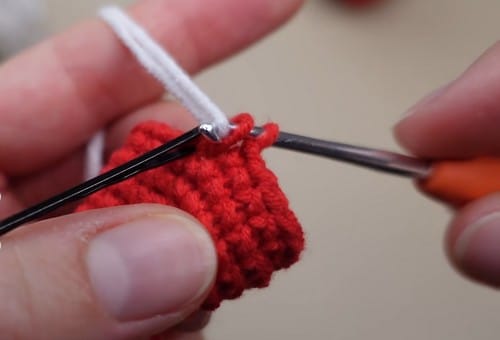
Round 17: Work the frill in front loops only by repeating sl st, ch 1 around.
Checkpoint: The front-loop frill should flare outward from the hat, forming a short ruffle. The back loops remain unworked and will be used in the next section. If the frill is lying flat rather than flaring, check that you worked into front loops only. Reserve the back loops of round 17 for the head — do not fasten off yet.
Preparatory Pieces
Arms (Make 2, Red Yarn)
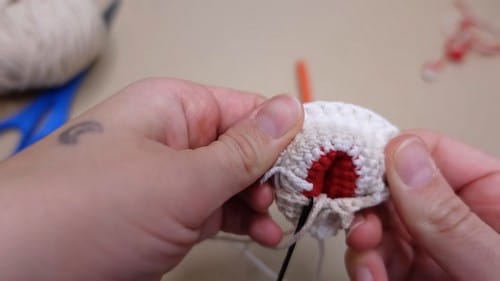
Crochet two arm pieces in red yarn. Close each opening by crocheting through both sides with 3 SC. Fasten off and set aside for attachment at round 22.
Ears (Skin Tone)
Make a slip knot, ch 1 to form each ear. Leave long tails for tying to the head. Set aside.
Head and Beard
Attach skin tone yarn to the back loops of round 17. Begin head shaping, working upward into the reserved back loops.
Checkpoint: The skin-tone section should be growing directly beneath the hat frill, visually separated from the red hat by the frill at round 17. If the skin tone is blending into the hat, the back loop attach point may have shifted.
Beard Texture (White Yarn Sections)
Round 17 area: Incorporate white sections to begin the beard base.
Rounds 18 to 19: Use 2 SC popcorn stitches for the upper beard layer.
Eye Placement: Insert safety eyes between rounds 18 and 19 while the head section is still accessible from inside. Position them slightly above the beard texture so the beard frames the face from below. Space them evenly on the front. Secure the washers from inside before continuing. For toys going to children under three, embroider the eyes with black yarn at this stage instead of using safety eyes.
Round 20: Use 3 SC popcorn stitches for the mid-beard layer.
Checkpoint: The beard should be noticeably fuller by round 20 than at round 18 — the progressive popcorn sizes are building volume. Push each popcorn outward after working it before moving to the next stitch.
Round 21: Use 3 HDC and 3 DC popcorn stitches for the full beard layer.
Nose: Embroider the nose between rounds 19 and 20, positioned centered between the eyes and just above the heaviest beard stitches.
Body, Belt, and Boots
Round 22: Switch to red yarn and attach the arms by crocheting through both arm stitches and body stitches simultaneously, keeping arms aligned on both sides and facing forward. Continue body rounds in red.
Round 25: Switch to black for the belt round, then switch back to red after. Embroider a small gold or yellow square as the belt buckle on the center front of the black belt round.
Round 28: Use 5 DC popcorn stitches in black for the boots.
Stuffing
Begin stuffing the pom-pom section around round 21, before the body rounds close it off. Add stuffing gradually through the body rounds before the bottom opening becomes too small to reach inside comfortably. Pack the body firmly — this figure needs firm stuffing to stand upright.
Closing
Weave yarn through the front loops of the final 8 stitches. Pull tight to close. Secure and hide the tail inside the body.
Assembly
Most of the figure assembles itself during construction. What remains:
- Tie the ears to the head using the long tails, positioning them on the sides of the head just above the beard level. Check symmetry from the front before knotting permanently.
- Confirm the arms are facing forward before the attachment stitches at round 22 are locked. Once those stitches are worked, the arm direction is fixed.
- Embroider the belt buckle last, after closing, when the front of the figure is fully visible and you can judge the center line accurately.
Tips
- Pom-Pom Balance: The pom-pom sits at the very top and affects hat balance — stuff it evenly in all directions before round 21 seals access.
- Firm Stuffing: Body stuffing should be firm throughout so the figure can stand without leaning. Add in small pinches, working upward from the base.
- Boot Support: The boots section at round 28 benefits from slightly extra stuffing pushed down to the base to prevent the feet from collapsing.
- Beard Volume: Overstuffing the beard area will push the popcorn stitches outward more aggressively than intended and distort the face proportions. Keep the beard rounds at moderate filling.
- Eye Safety: Safety eyes must be inserted between rounds 18 and 19 while the head is accessible from inside. For children under three, embroider the eyes instead.
- Weaving Ends: Weave in all ends with two direction changes inside the piece to prevent them from showing through.
FAQs
Why is my Santa leaning to one side?
This is usually caused by uneven stuffing in the pom-pom or the lower body. Roll the figure gently between your palms to redistribute the filling. If it still leans, push additional filling into the lower base on the lighter side using the blunt end of your hook through the yarn gap.
How do I fix sunken popcorn stitches in the beard?
Push each popcorn outward from the inside with a finger or blunt needle immediately after locking it off, before the next stitch is worked. Once the surrounding stitches are complete, sunken popcorns are very difficult to reposition.
Why isn’t the hat brim flaring?
The brim at round 17 must be worked entirely in front loops. If even one or two stitches were worked through full stitches, the frill will not flare cleanly. Ensure the back loops are fully unused at this point for the head to attach properly beneath.
Can I use this pattern for a child’s toy?
Yes, but for children under three, you should embroider the eyes with black yarn instead of using safety eyes to ensure there is no safety hardware.
What if I need exact stitch counts?
This pattern is a high-level guide. If you need precise stitch counts, you may need to supplement with a reference pattern that matches this construction method, or swatch and count your own rounds based on the technique described.
If you enjoy making festive figures, you might also like our adorable crochet Santa wallhanging for a different display option, or check out this easy crochet snowman to complete your holiday shelf.
Pin This Crochet Pattern!