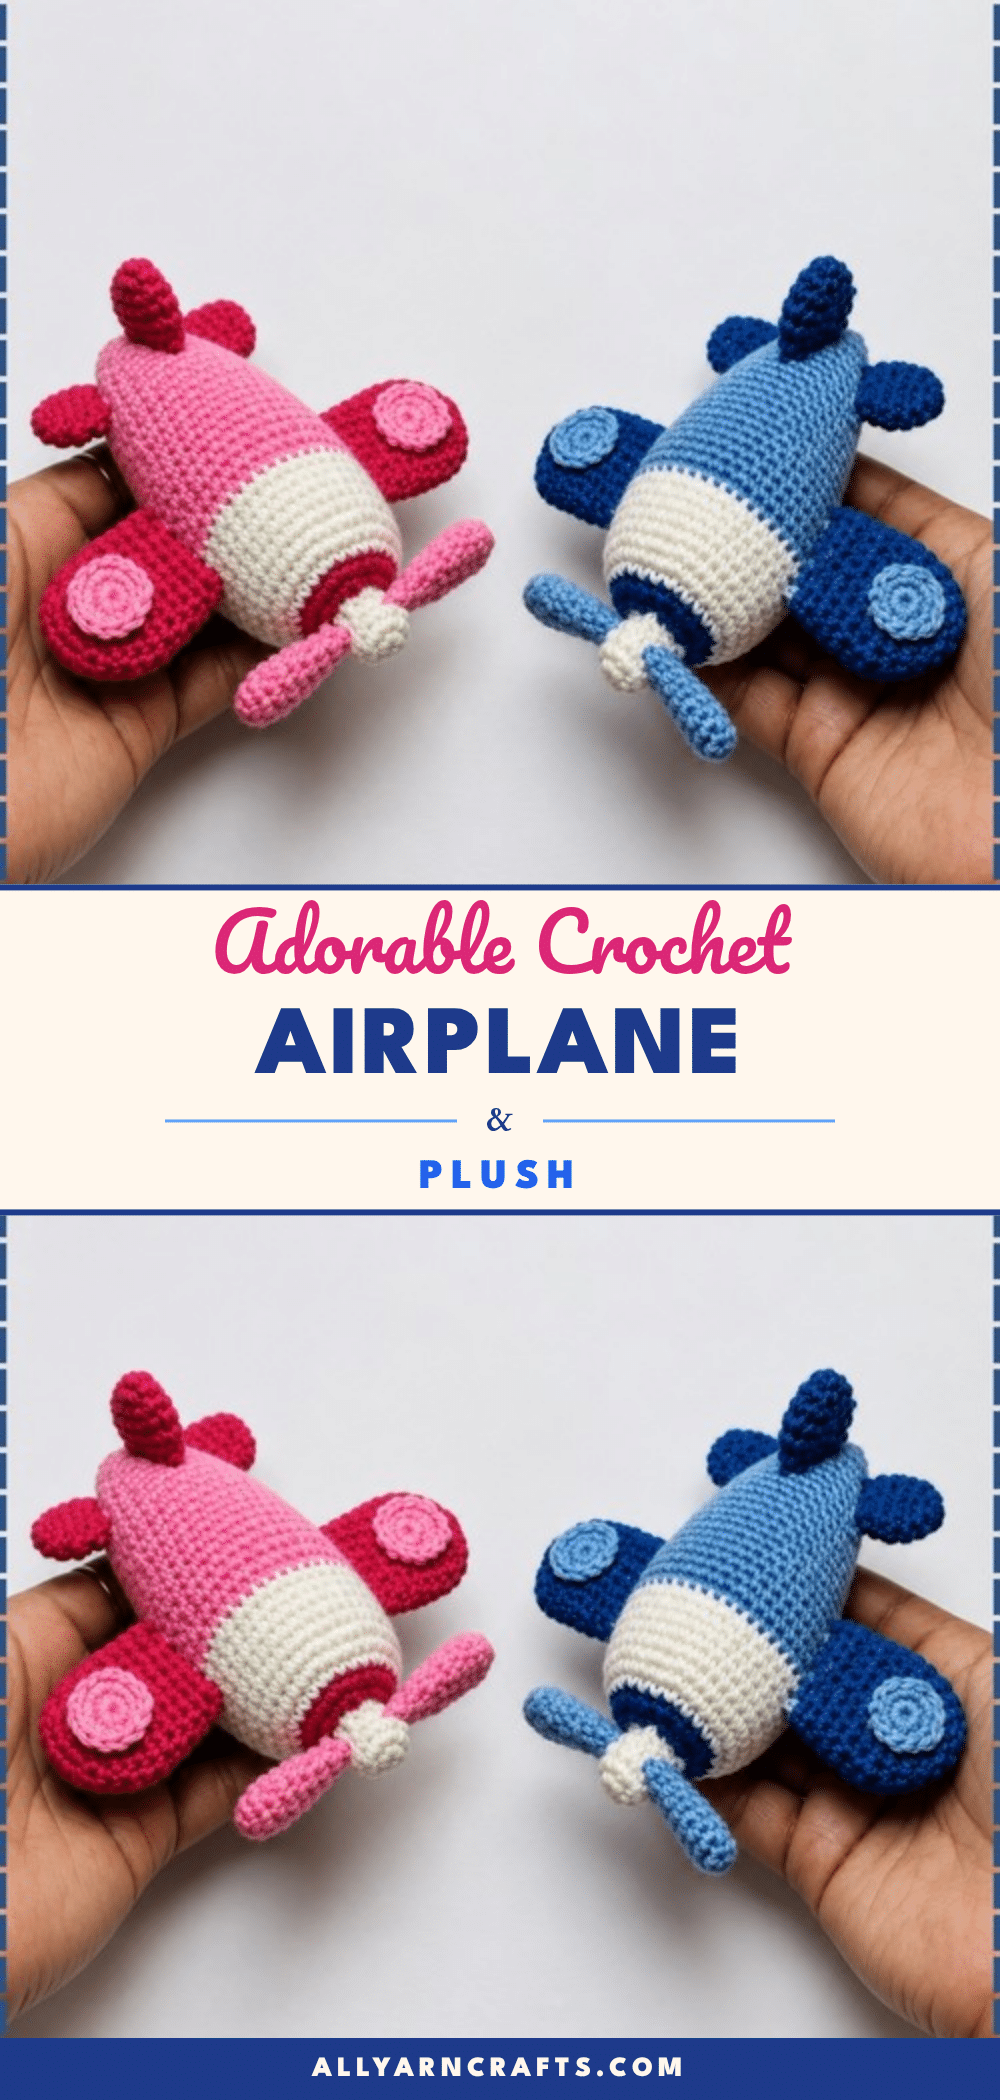
There is something undeniably charming about a small, handmade toy that invites a child’s imagination to take flight. For this project, the yarn choice was the first spark of inspiration. I reached into my stash for a soft, 3-ply cotton blend in a cheerful sky blue, paired with a slightly deeper navy for the accent stripe. The fiber’s slight elasticity gave the body a smooth, rounded silhouette that held its shape beautifully without needing excessive stuffing. It felt like the perfect decision to use a two-tone approach right from the start, allowing the plane to read as a classic passenger jet with just a simple color change. This intentional use of color transforms a basic amigurumi tube into a recognizable character, proving that sometimes the simplest material choices make the biggest impact.
Yarn and Color Notes
The visual appeal of this airplane relies heavily on the contrast between the nose and the main body. The source pattern specifies working the nose section in cream while the rest of the body carries the main color, creating a two-toned effect down the length of the fuselage. In our experience, this contrast helps define the shape even more clearly. If you prefer a different aesthetic, you can adapt this easily. A white body with a bold contrast stripe in red or navy reads as a classic passenger plane at this scale. Alternatively, working the nose section in a darker shade and switching to a lighter main body color from the color change round onward creates a distinct cockpit effect. Variegated or self-striping yarn is also an excellent option; it makes the stripe rounds redundant and produces a livery pattern without any yarn management at all.
Project Overview
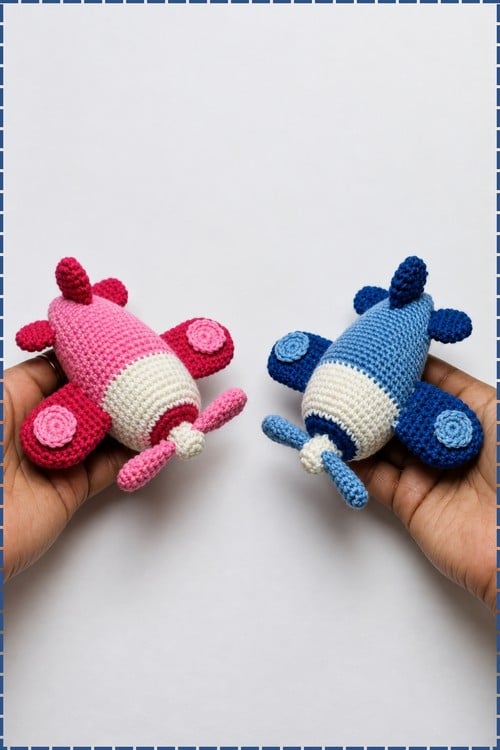
This Crochet Amigurumi Airplane Plush is a straightforward build with no face and no fiddly parts, making it an ideal project for beginner to confident beginner crocheters. It is perfect for gift making, nursery shelves, or as a travel companion for toddlers. The body is a single continuous tube, which means you are never assembling the hard parts; the shaping does all the work. While this pattern covers the airplane body only, the wings, tail, and propeller are referenced in the construction overview. The body alone is enough to make a satisfying standalone plush toy, but adding the separate flat pieces elevates it into a complete aircraft.
Materials
- 3 ply yarn in two or more colours (one for the main body and at least one for the stripe)
- 2.0 mm crochet hook
- Fiberfill stuffing
- Scissors
- Tapestry needle
- Stitch marker
Gauge and Finished Size
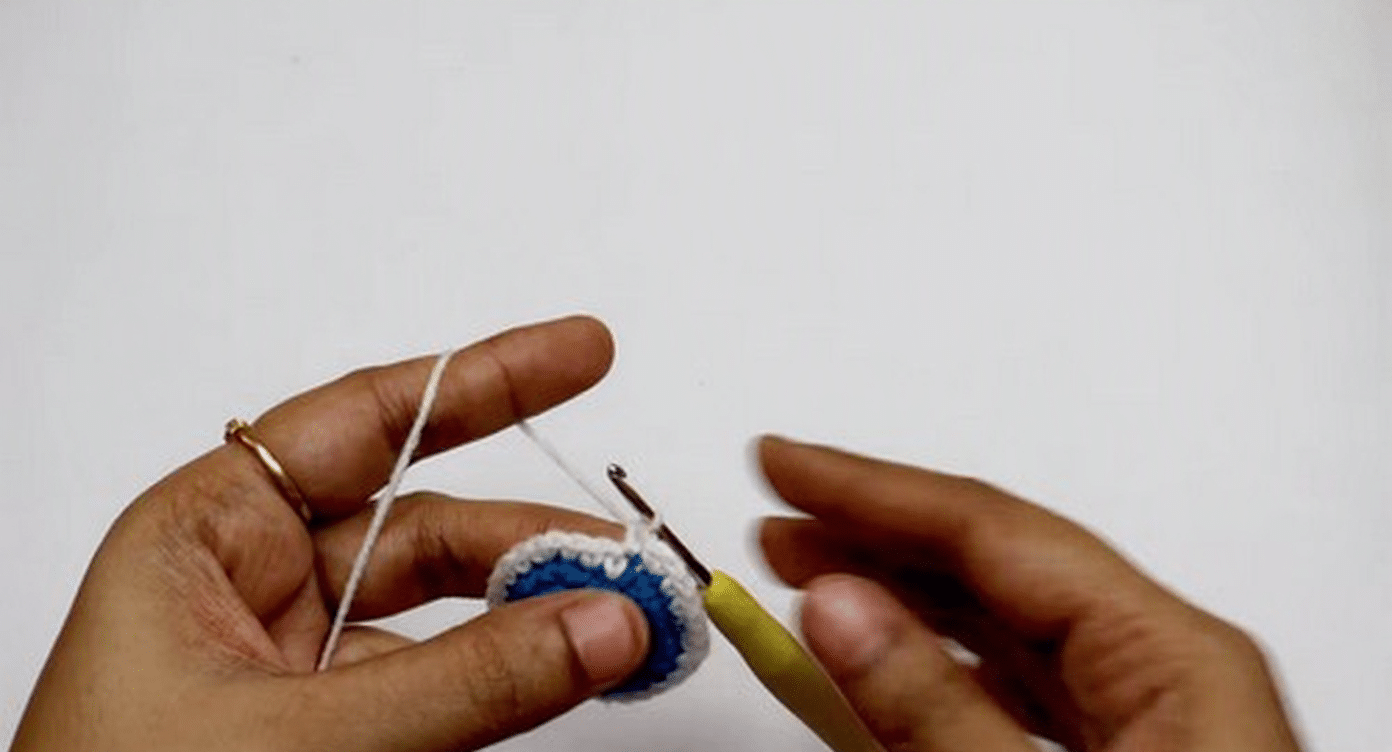
Finished Size: Approximately 5 to 7 inches in length (based on 3 ply yarn at a 2.0 mm hook).
Working Time: Roughly 2 to 3 hours for the body alone.
Abbreviations
- SC: single crochet
- Inc: increase, work 2 SC into the same stitch
- Dec: decrease, invisible decrease recommended
- Sts: stitches
Pattern Notes
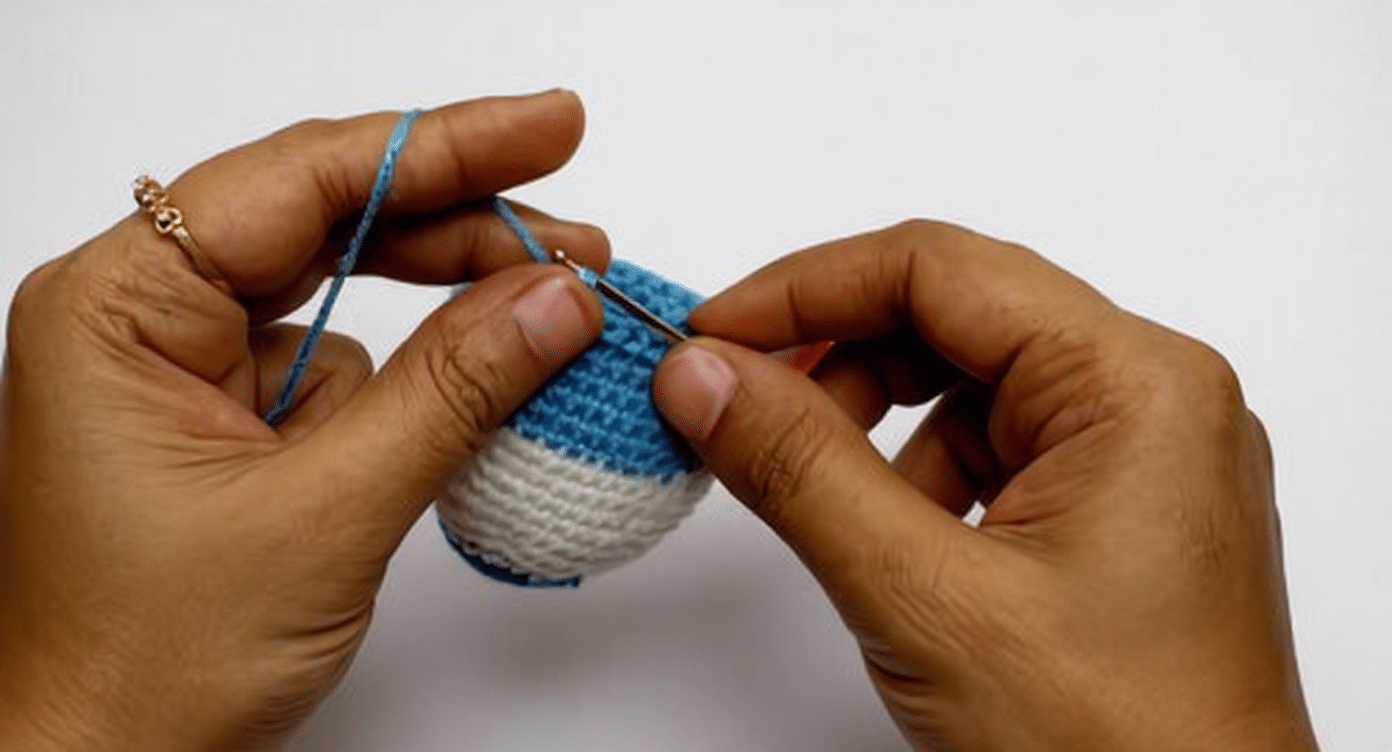
- Continuous Rounds: Work in continuous rounds throughout. Do not join or chain up at the end of each round. Move your stitch marker at the start of every new round.
- Color Changes: Plan colour changes before you begin. The clean stripe on this body depends on changing yarn on the final yarn-over of the stitch before the new colour starts, not at the beginning of the new colour.
- Decreases: Use invisible decreases wherever the pattern calls for a decrease. This keeps the surface smooth during the tail tapering rounds.
- Stuffing: Stuff as you go, not all at once at the end. Once the opening narrows past round 26, access becomes difficult.
- Scope: This pattern covers the airplane body only. Wings and tail sections are referenced in the construction overview and in the pre-assembly notes, but their rounds are not included in the pattern as written. If you plan to add wings, you will need a separate source for those pieces or design them yourself to suit the finished body proportions.
Pattern Instructions
Airplane Body
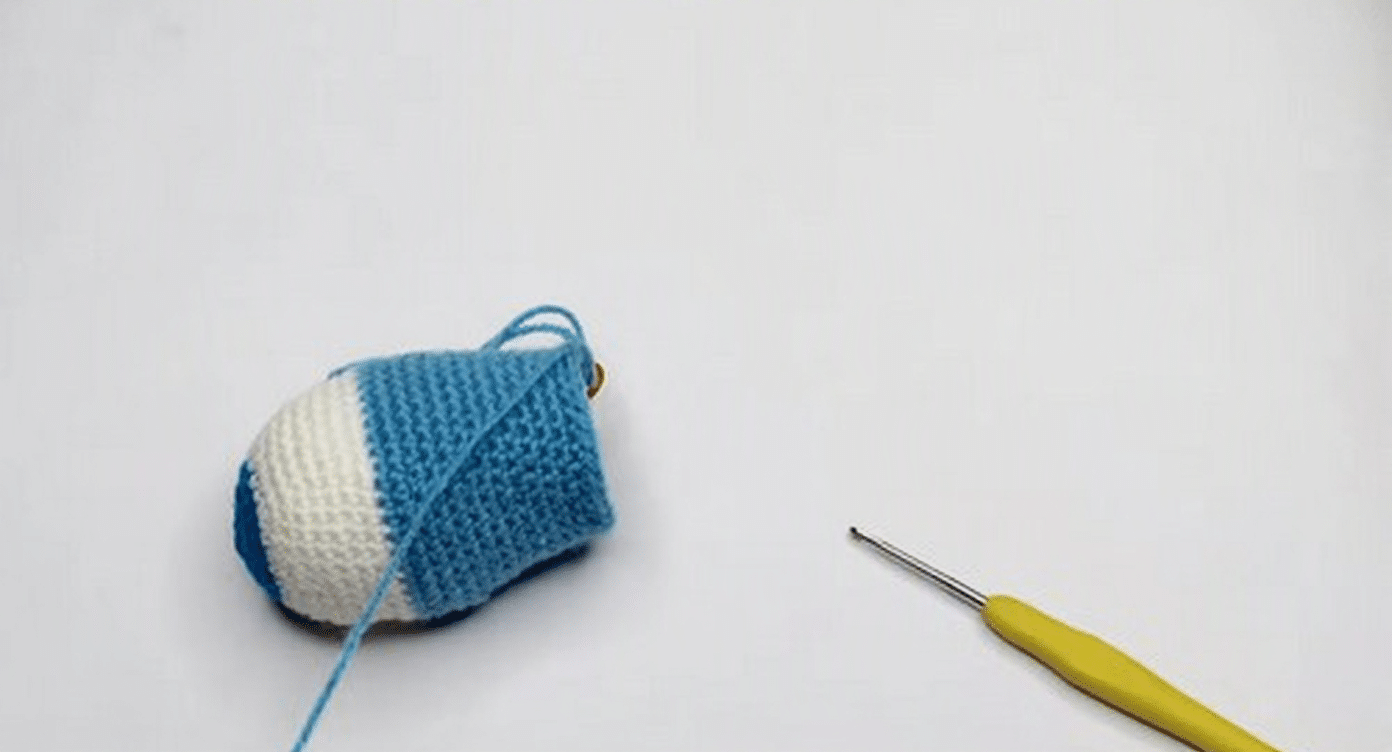
Round 1: Magic ring, chain 1, work 6 SC into the ring [6]
Round 2: Inc in each stitch around [12]
Round 3: 1 SC, inc, repeat 6 times [18]
Round 4: 2 SC, inc, repeat 6 times [24]
Round 5: Change colour, 3 SC, inc, repeat 6 times [30]
Round 6: 4 SC, inc, repeat 6 times [36]
Round 7: 8 SC, inc, repeat 4 times [40]
Checkpoint: The nose is fully rounded here. Laid flat it should look like an even disc with no gaps at the increase points. If it is curling up into a cup rather than lying flat, the increases are unevenly spaced.
Round 8: SC in each stitch around [40]
Round 9: SC in each stitch around [40]
Round 10: SC in each stitch around [40]
Round 11: SC in each stitch around [40]
Checkpoint: After four straight rounds the piece should be forming a clean tube. Hold it up — the sides should be vertical, not flaring out or pulling in. This is the main fuselage width.
Round 12: 9 SC, inc, repeat 4 times [44]
Round 13: Change colour, SC in each stitch around [44]
Round 14: SC in each stitch around [44]
Checkpoint: The two-round colour stripe should be sitting flat and horizontally level around the body. If it is spiralling, your round start position has drifted. This is cosmetic rather than structural, but worth noting now before you close the body.
Round 15: 9 SC, dec, repeat 4 times [40]
Round 16: SC in each stitch around [40]
Round 17: SC in each stitch around [40]
Round 18: 8 SC, dec, repeat 4 times [36]
Round 19: SC in each stitch around [36]
Round 20: SC in each stitch around [36]
Round 21: 7 SC, dec, repeat 4 times [32]
Round 22: SC in each stitch around [32]
Round 23: SC in each stitch around [32]
Round 24: 6 SC, dec, repeat 4 times [28]
Round 25: SC in each stitch around [28]
Checkpoint: The tail taper should be clearly visible now. The back of the piece should be noticeably narrower than the stripe section. Begin stuffing here, pushing filling firmly toward the nose and smoothing with your fingers to remove lumps before the opening gets any smaller.
Round 26: 5 SC, dec, repeat 4 times [24]
Round 27: SC in each stitch around [24]
Round 28: 4 SC, dec, repeat 4 times [20]
Add more stuffing through the narrowing opening. Push filling into the tail area until it feels firm but not stretched.
Round 29: SC in each stitch around [20]
Round 30: 3 SC, dec, repeat 4 times [16]
Round 31: SC in each stitch around [16]
Round 32: 2 SC, dec, repeat 4 times [12]
Round 33: SC in each stitch around [12]
Round 34: Dec around [6]
Finish stuffing if the body still needs filling before you close fully. Slip stitch. Chain 1. Cut yarn leaving a long tail. Thread the tapestry needle and close the remaining hole by weaving through the front loops of the 6 remaining stitches and pulling tight. Weave the tail securely inside the body and trim.
Stuffing Guide
Stuff the nose firmly. The rounded front carries the silhouette of the whole toy and needs to hold its dome shape under handling. Begin adding filling at round 25, using small pinches rather than handfuls. Large clumps are the single most common cause of a lumpy fuselage. Once the body is fully closed, roll it gently between your palms. This redistributes the fiberfill into any hollow spots without opening anything back up. If a dent appears after rolling, push the blunt end of your hook through the nearest stitch gap and nudge the filling from inside.
The tail section should be firm enough to hold its shape but not so tightly packed that the decrease rounds pucker outward. If you can see white filling through the stitches at any point, you have overstuffed. Pull a small amount back out before continuing.
Assembly
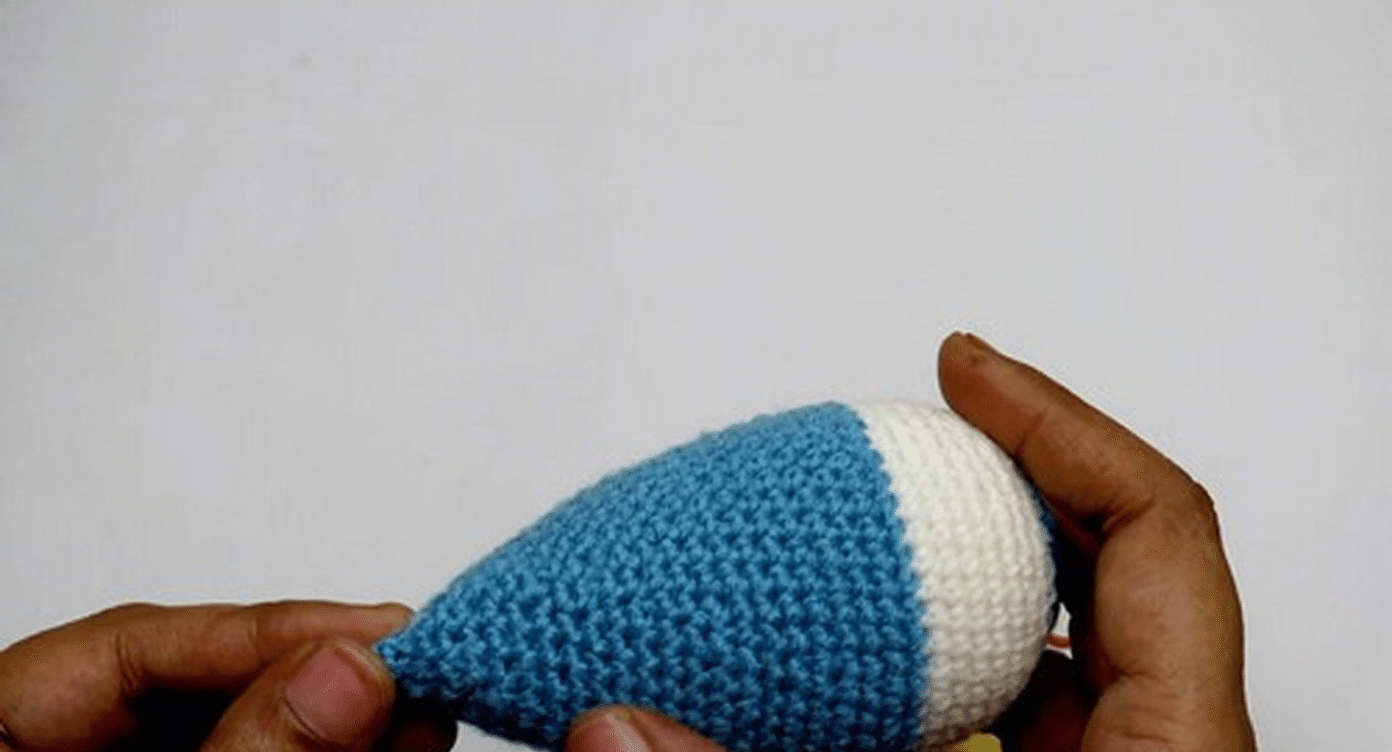
Wings and tail sections are not included in this pattern. When you do have those pieces ready:
- Pin every piece before sewing a single stitch.
- Check symmetry from the front, the top, and from directly behind.
- Attach wings level with each other on either side of the marked top line, with the leading edge angled slightly forward.
- Reinforce every join with multiple yarn passes, since toy airplanes get picked up by their wings more than by their bodies.
Before setting the body aside, mark the centre top line of the fuselage with a pin or contrast yarn scrap. This is where the upper wing root will sit. Lightly flatten the underside so the airplane can rest without rolling. Do this while the stuffing is still settling, not after it has fully compressed. Sew the wings level or it will sit crooked, and that is the only real thing to watch. For more simple assembly tips, you might find our guide on easy surface crochet techniques helpful for attaching flat pieces securely.
Tips
- Preventing Spirals: Spiralling stripes happen because amigurumi rounds are continuous rather than joined, so the start-of-round point creeps around the circumference. It is structural, not a mistake. Keeping your stitch marker placed precisely at the same stitch every round reduces the drift, but rarely eliminates it completely. On a toy this small it is barely visible once the body is finished.
- Fixing Lumps: Roll the closed body firmly between your palms for about thirty seconds. If lumps persist, the filling was added in chunks that compressed unevenly. You can try inserting the blunt hook end through a stitch gap to break up a clump from inside. On a future make, switch to pulling off small pinches of fiberfill rather than tearing a piece from the bag.
- Decrease Technique: Switch to invisible decreases if you have not already. Standard decreases leave a visible ridge on small 3 ply work at this tension. Invisible decreases take the fabric in from the inside of the stitch and sit flush against the surface.
- Color Customization: Two-colour stripes across the fuselage are built into the pattern. Three colours work equally well if you add a second change at round 5.
FAQs
Is this pattern suitable for absolute beginners?
Yes, the difficulty is listed as beginner to confident beginner. The body is a single continuous tube with no complex shaping or assembly of the main piece, making it very approachable.
Do I need to join rounds with a slip stitch?
No. This pattern is worked in continuous rounds. Do not join or chain up at the end of each round. Just move your stitch marker to the first stitch of the new round.
Can I use a different yarn weight?
The pattern is written for 3 ply yarn with a 2.0 mm hook. Using a heavier yarn will result in a larger finished size, while a lighter yarn will make it smaller. Adjust your hook size accordingly to maintain gauge.
How do I stop the color stripe from spiraling?
While some spiral is natural in continuous rounds, you can minimize it by ensuring your stitch marker is always placed in the exact same stitch at the start of each new round. If it does spiral slightly, note which side looks cleanest and use that as the front-facing side for symmetry.
What if I don’t have a magic ring?
You can start with a chain of 4 and slip stitch into the first chain to form a ring, then work your 6 SC into the ring. However, a magic ring provides a tighter, cleaner center hole.
Is this toy safe for toddlers?
Yes, because this pattern has no face and no fiddly parts like safety eyes or buttons, it is safe for toddlers to zoom around freely. Grandparents can tuck a palm-sized airplane toy into a carry-on as a soft travel companion.
Pin This Crochet Pattern!