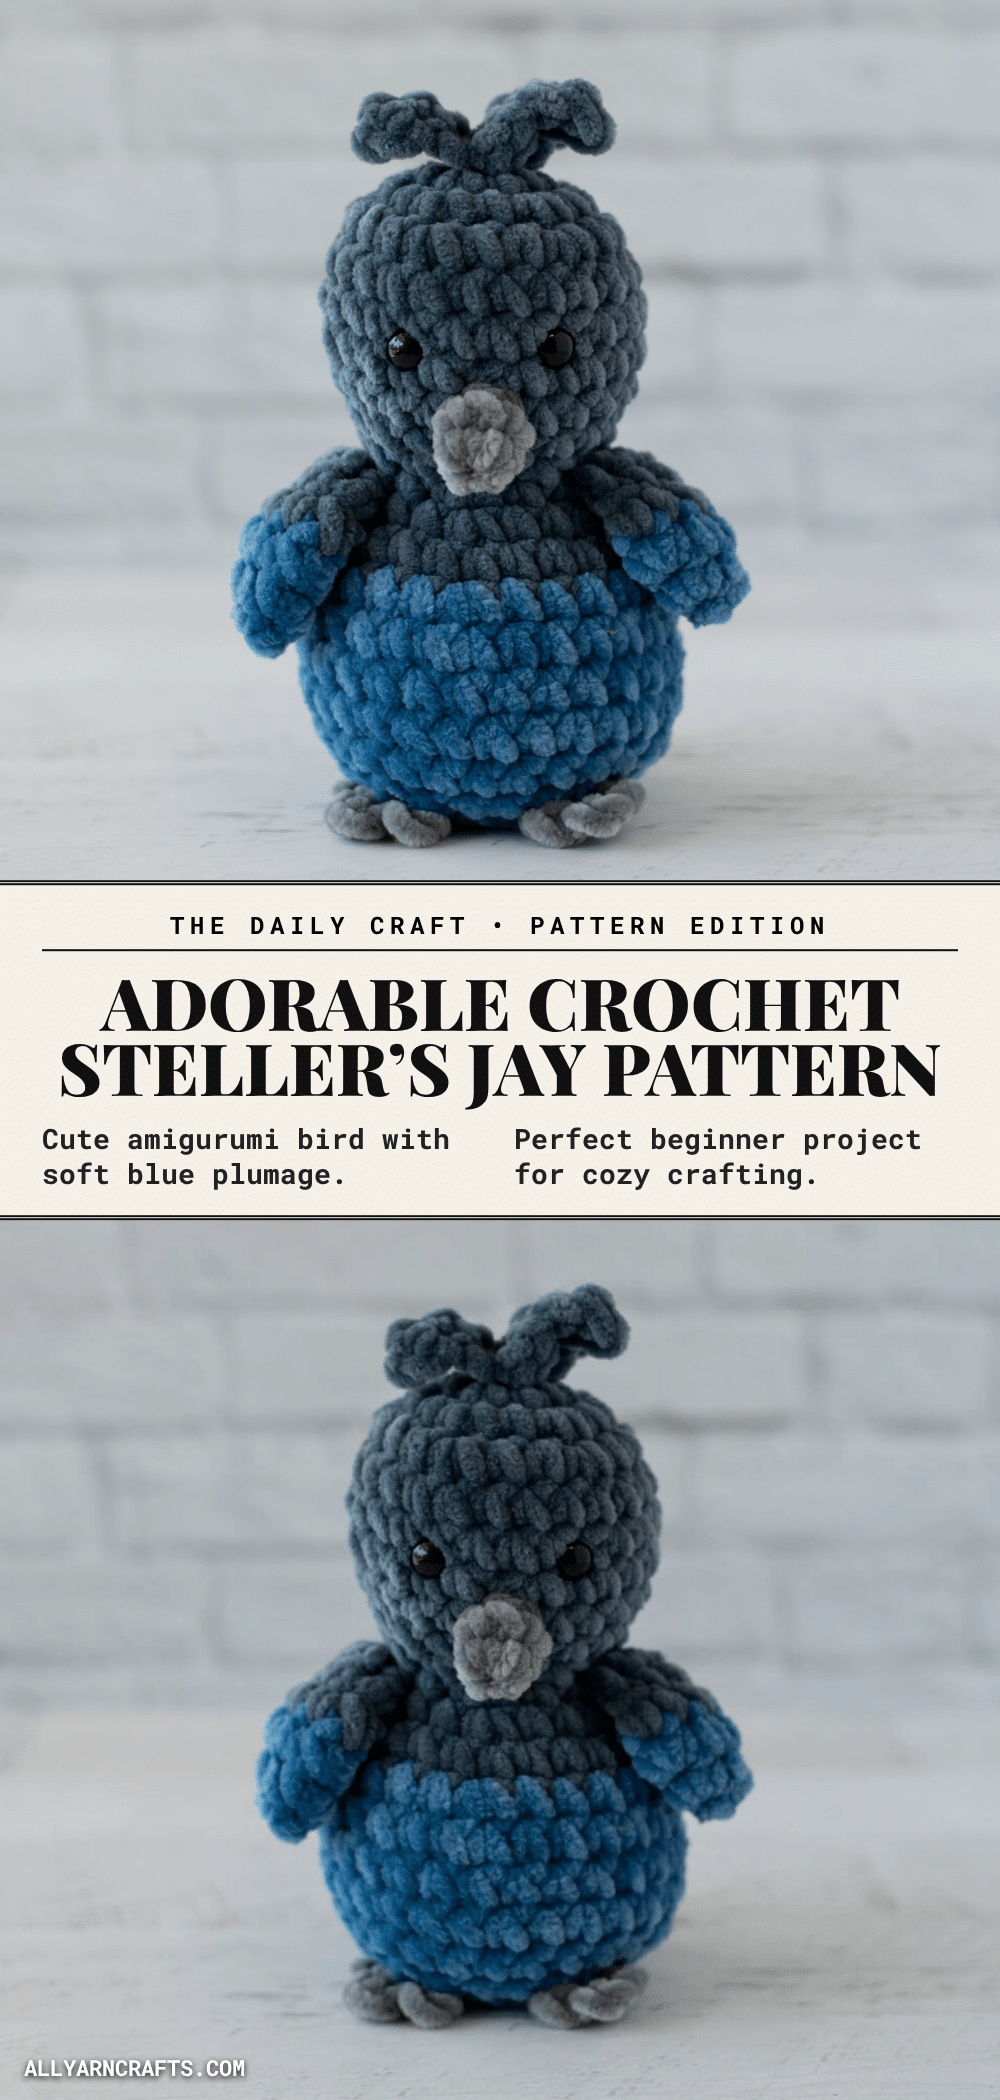
Yarn is draped over the edge of the table, the hook is already in your hand, and the first loop of the magic ring is just about to close. There is a specific kind of magic that happens when you start an amigurumi project like this one. You aren’t just making a bird; you are bringing a bit of the Pacific Northwest into your home. As you work through the rounds, the shape begins to emerge, soft and squishy, capturing the essence of Stan the Steller’s Jay. It is a grounded, satisfying process that rewards you with a plushie full of personality.
Why This Project Works
Stan the Steller’s Jay is more than just a cute bird; he is a celebration of the unexpected moments that inspire creativity. The design captures the dramatic crest and stunning blue shades of the real bird, but translates them into a form that is irresistibly cuddly. Using Premier Parfait Chunky yarn gives him a plush, chenille-like texture that feels wonderful to hold. The construction is straightforward, allowing you to focus on the details that make him unique, like the two-toned wings and the intentional placement of his feathers. Whether you are a seasoned crocheter or looking for a quick, satisfying make, Stan offers a perfect balance of charm and simplicity.
Project Overview
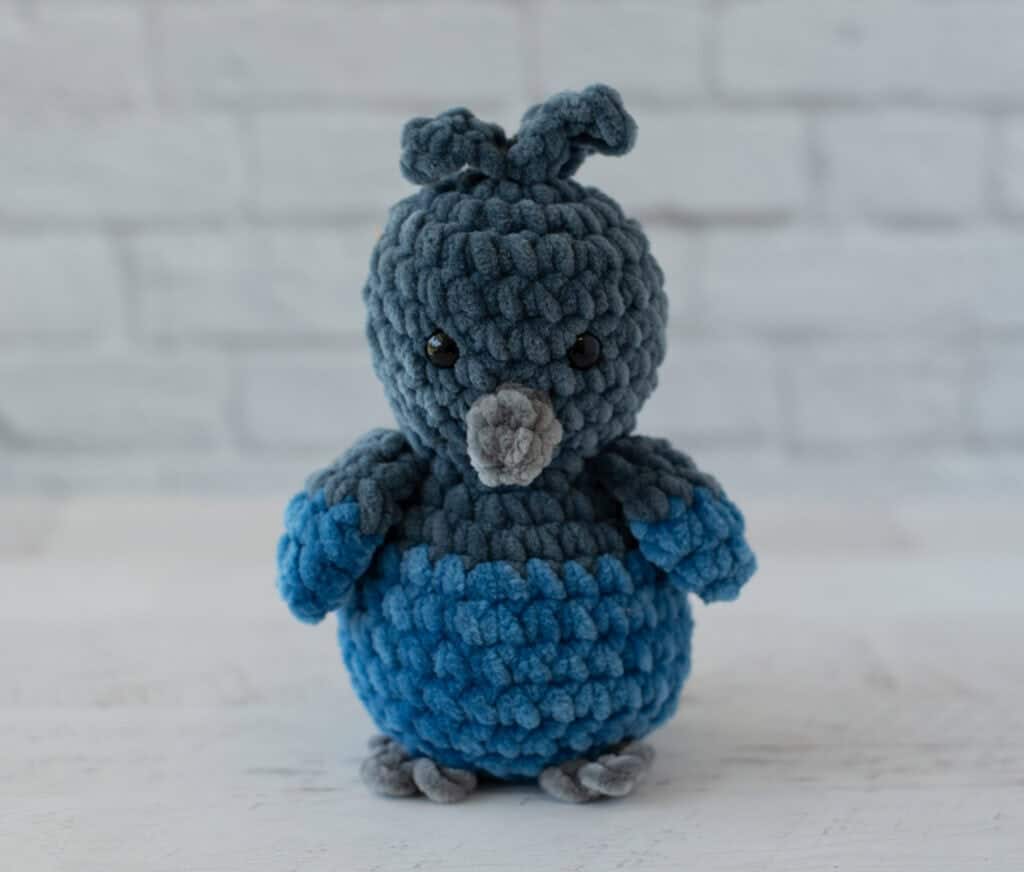
This pattern creates Stan, a Steller’s Jay amigurumi that stands approximately 6 inches tall and 4.5 inches wide. The project is worked in continuous rounds, starting with the head and body as a single piece before attaching the beak, wings, tail, and feet. The use of super bulky weight yarn ensures that this project works up surprisingly fast, making it an excellent choice for a weekend craft or a thoughtful gift for bird lovers.
Materials
- Yarn: Premier Parfait Chunky (Size 6 super bulky weight, 100% polyester, 131 yds/120m per 3.5 oz skein). You can find this at Herrschners, Amazon, or Etsy.
- Colors:
- Charcoal (Dark Gray): 28 yards
- Cornflower (Blue): 27 yards
- Seal (Light Gray): 3.5 yards
- Hook: US H8/5.00 mm crochet hook
- Eyes: 10 mm safety eyes (Note: If making for a baby or young child, embroider the eyes instead)
- Notions: Stitch markers, fiberfill, tapestry needle, and scissors
Gauge and Finished Size
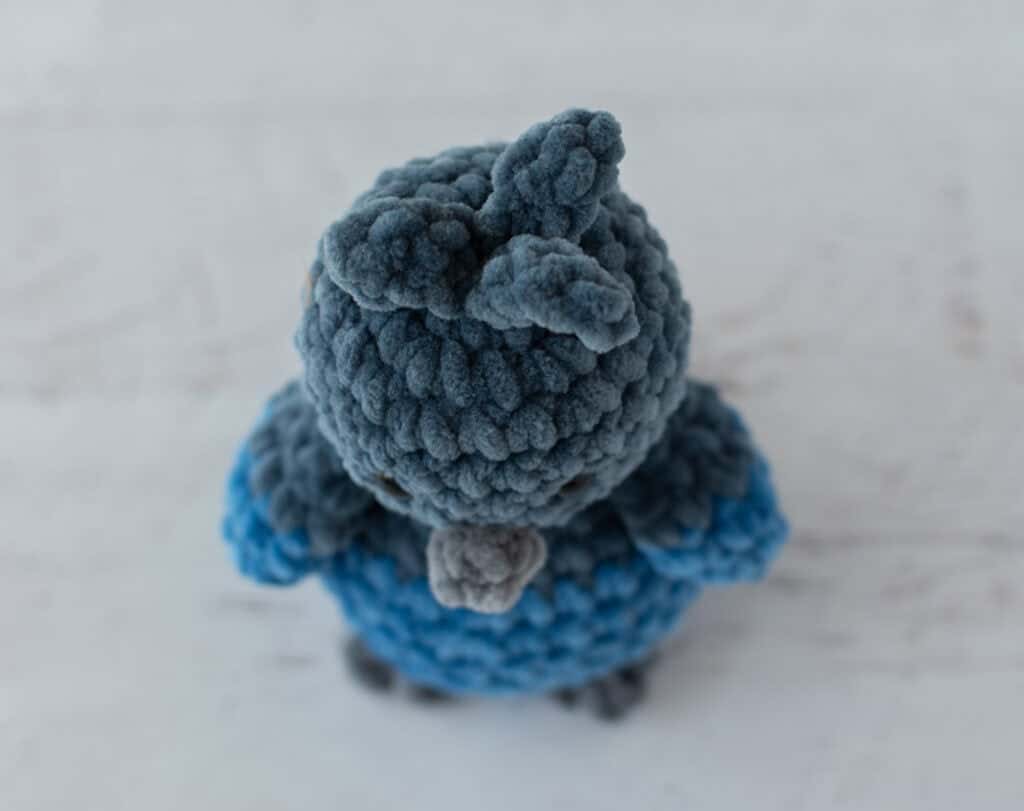
The finished crochet bird is approximately 6” tall x 4.5” wide. The designer’s gauge is 6 sc to 2 inches, but gauge is not critical for this pattern. You may use other weights of yarn and adjust your hook size to fit your needs.
Abbreviations
- ch = chain
- sc = single crochet
- sc2tog = single crochet 2 stitches together
- sl st = slip stitch
- st(s) = stitch(es)
Pattern Notes
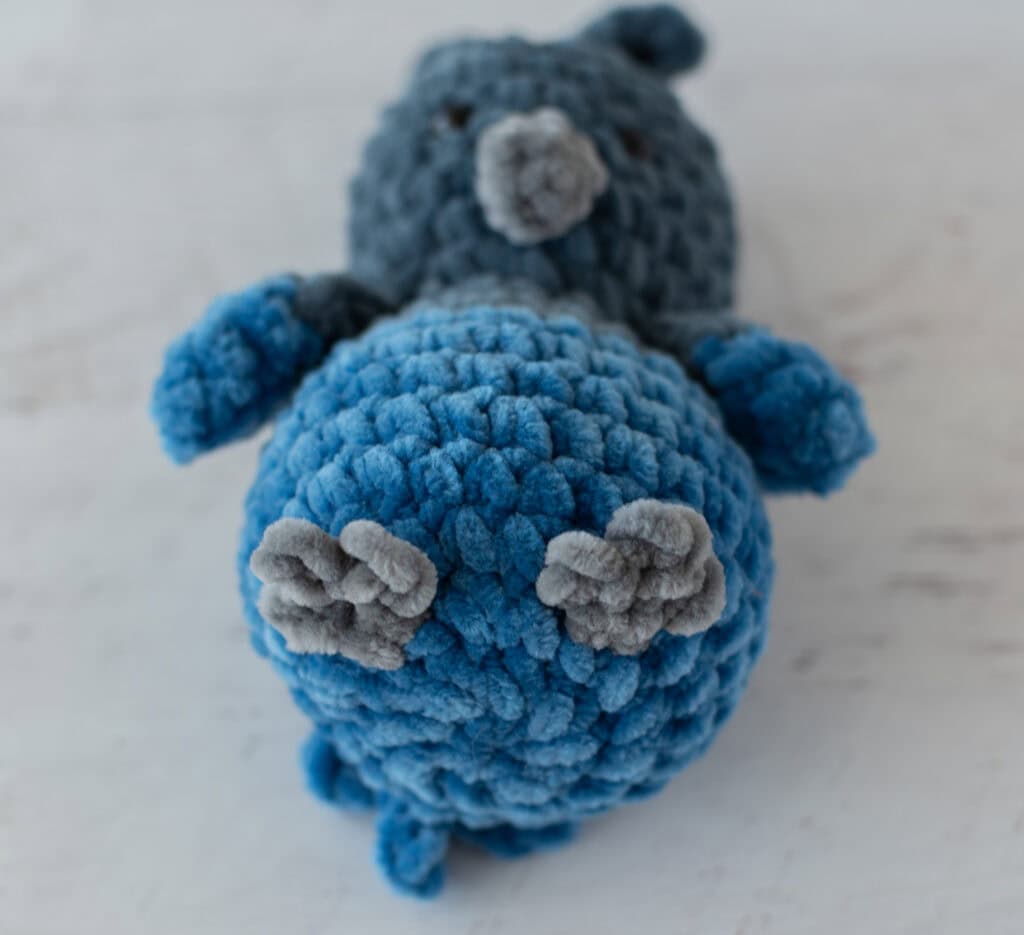
- The head and body are worked in one continuous piece, starting with the dark gray yarn at the top of the head and changing to blue mid-body.
- The tummy is designed with extra stitches to provide a perfect amount of squish.
- Details such as the beak, feet, and feathers use very few stitches but require intentional placement to capture the bird’s character.
- These small elements are quick to crochet and add significant charm to the final piece.
Pattern Instructions
Bird Head and Body
Using dark gray yarn, make a magic ring.
R1: 6 sc into ring. Place stitch marker and work in continuous rounds. (6 st)
R2: 2 sc in ea st. (12 st)
R3: *Sc in next st, 2 sc in next. Repeat from * around. (18 st)
R4: *Sc in next 2 st, 2 sc in next. Repeat from * around. (24 st)
R5-8: Sc around. (24 st)
R9: *Sc in next 2 st, sc2tog. Repeat from * around (18 st)
R10: *Sc in next st, sc2tog. Repeat from * around. (12 st)
Insert safety eyes between rows 6 & 7, leaving 4 stitches in between them. Stuff head and continue to stuff body as you work.
R11: *Sc in next st, 2 sc in next. Repeat from * around. (18 st)
R12: *Sc in next 2 st, 2 sc in next. Repeat from * around. (24 st)
R13: Sc around, changing to blue color in last stitch. (24 st)
R14: With blue, *Sc in next 5 st, 2 sc in next. Repeat from * around. (28 st)
R15-18: Sc around. (28 st)
R19: *Sc in next 5 st, sc2tog. Repeat from * around. (24 st)
R20: *Sc in next st, sc2tog. Repeat from * around (16 st) Firmly stuff body the rest of the way.
R21: *Sc2tog. Repeat from * around. (8 st) Fasten off, weave end through last stitches and pull tight.
Crochet Steller’s Jay Beak
With light gray yarn, make a magic ring.
R1: 4 sc into ring (4 sts). Work in rounds.
R2: (Sc in next st, 2sc in next st) twice (6 st). Fasten off, using an invisible join if you prefer.
Top Feathers (Hair)
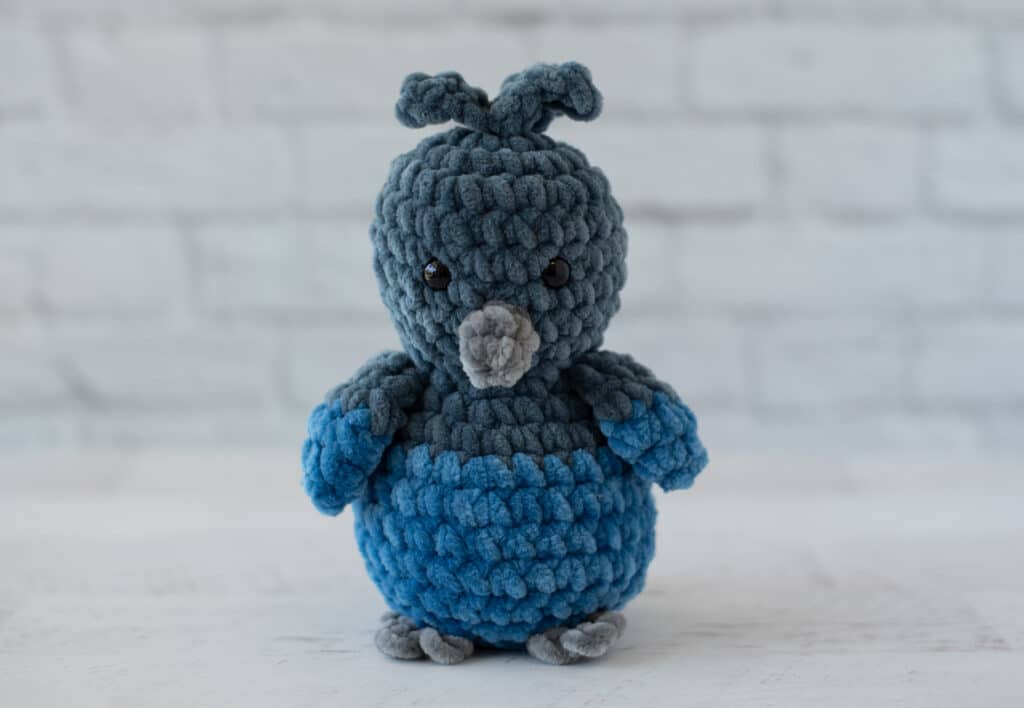
With dark gray yarn, *ch 5, sc in 2nd ch from hook, sc in next 3 st, repeat from * 2 more times. Fasten off and sew to top of head.
Wings (Make 2)
With blue yarn, make a magic ring.
R1: 4 sc into ring (4 sts). Work in rounds.
R2: (Sc in next st, 2sc in next st) twice. (6 st).
R3: (Sc in next 2 st, 2sc in next st) twice, changing to dark gray color in last stitch. (8 st)
R4: With dark gray, sc around. (8 st)
R5: Fold piece in half, then carefully sc across the double thickness. (4 st)
R6: Ch 1, (sc2tog) twice. (2 st) Fasten off leaving a long strand for joining.
Tail Feathers
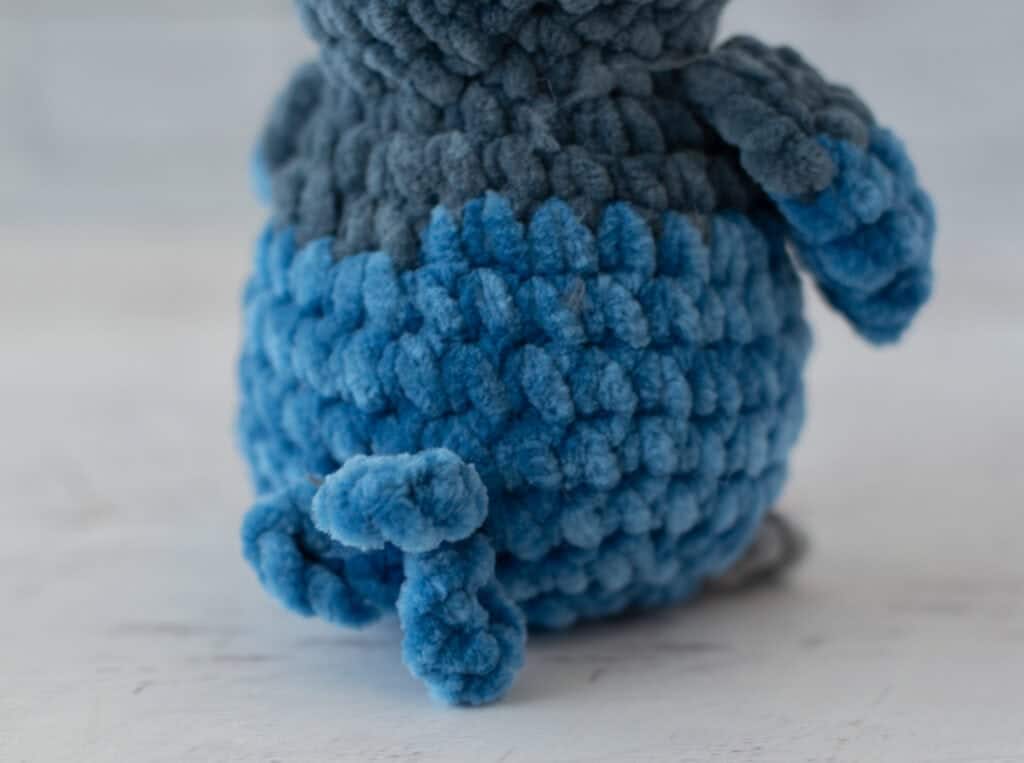
With blue yarn, *ch 7, sl st in next 1 st, repeat from * 2 more times (3 loops). Fasten off and sew to the lower back of bird.
Feet
With light gray yarn, ch 3
R1: Sl st in 2nd ch from hook (1 st toe made), *ch 2, sl st in 2nd ch from hook. Repeat from * once (3 toes made). Then, sl st to very 1st chain in round to connect the toes back to the start. Fasten off leaving a long strand for joining.
Assembly
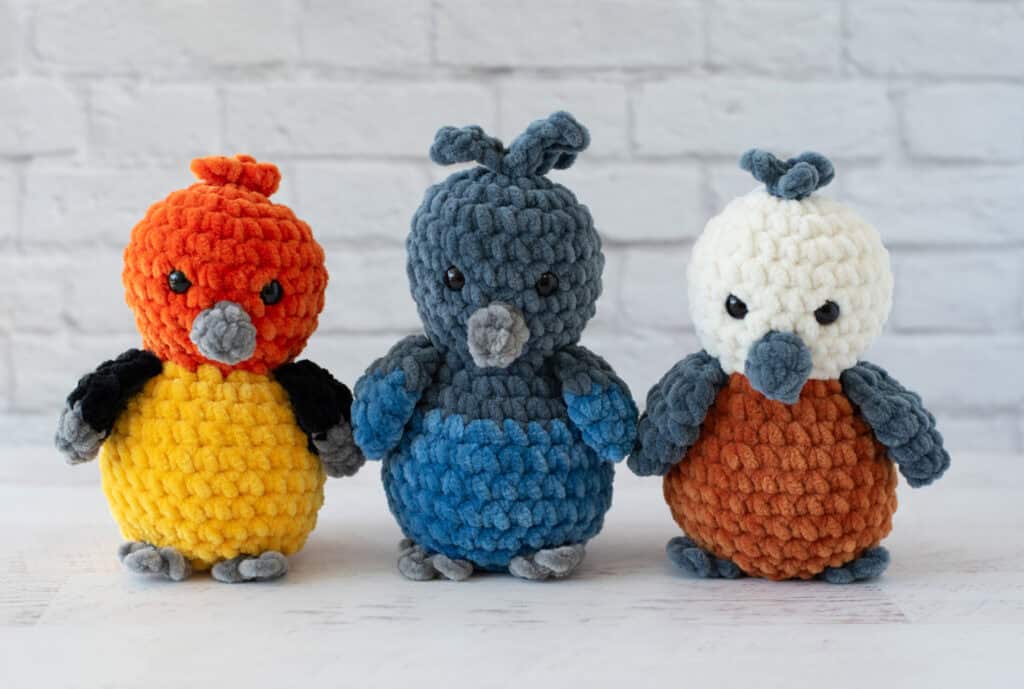
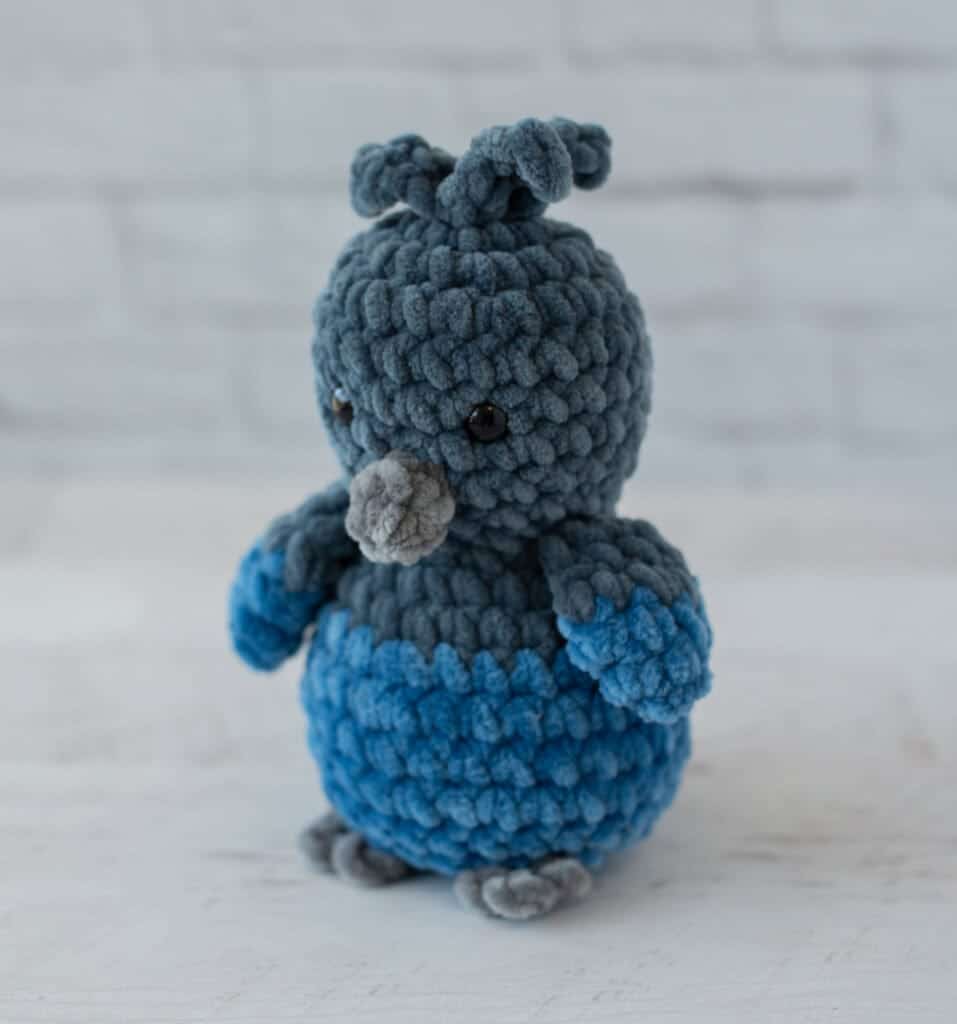
Sew the beak between and below the eyes. The beak should cover all of row 8 and parts of rows 7 & 9 (or as desired). Sew a wing on either side of the body near the neck. Attach the feet between rows 19 and 20 of the body, or as desired. Finally, weave in any loose ends.
Tips
- Safety First: If you are making this amigurumi for a baby or young child, please embroider the eyes instead of using safety eyes to ensure there are no choking hazards.
- Yarn Choice: The plush texture of the recommended yarn helps hide stitch imperfections, making this a forgiving pattern for beginners.
- Stuffing: Firmly stuff the body in the later rounds to maintain the bird’s shape, but keep the head soft and squishy.
FAQs
Can I use a different yarn weight?
Yes, you can use other weights of yarn. However, you will need to adjust your hook size to fit your needs, and the finished size of the bird will change accordingly.
How do I attach the wings?
Leave a long strand of yarn when fastening off the wings. Use this strand to sew the wings to either side of the body near the neck area.
Why are the feet made with slip stitches?
Slip stitches create a tight, durable fabric that is perfect for feet, which need to support the weight of the bird when it is sitting upright.
What if I don’t have the exact yarn colors?
You can substitute similar shades of dark gray, blue, and light gray. The charm of Stan comes from the contrast between the dark body and the bright blue wings.
Is this pattern suitable for beginners?
Yes, the pattern uses basic stitches like single crochet and increases/decreases. The chunky yarn makes stitches large and easy to see, which is helpful for new crocheters.
If you enjoy creating whimsical characters, you might also like our crochet chicken amigurumi or the crochet bluebird for more feathered friends. For a different kind of plushie, check out the crochet bunny pattern.
Pin This Crochet Pattern!