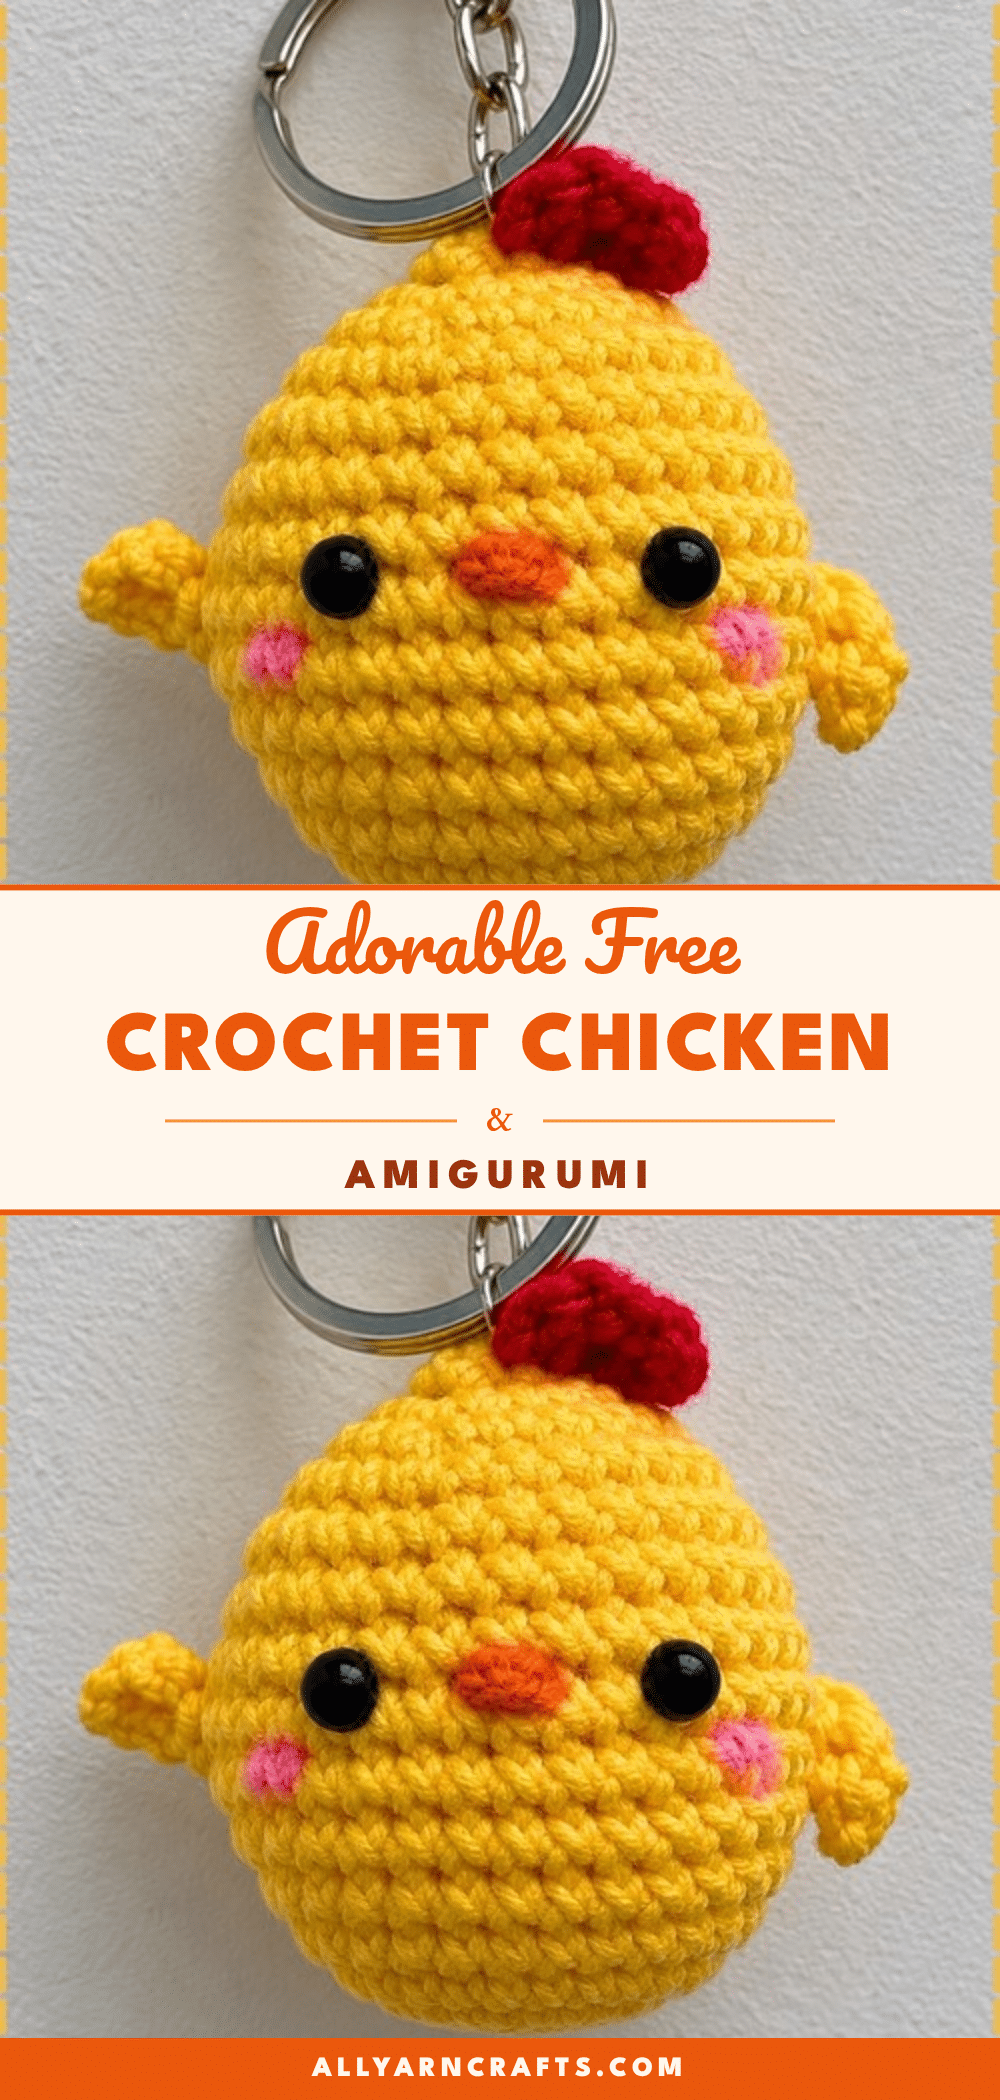
There is something undeniably charming about a handmade chick that brings a burst of warmth to your spring decor or serves as a delightful gift for a little one. This adorable crochet chicken amigurumi pattern is designed to be an accessible and joyful project for confident beginners. With a simple construction that combines the head and body into one piece, you can focus on the satisfying shaping and cute details without getting overwhelmed by complex assembly. Whether you are looking for a quick Easter basket filler or a charming addition to your nursery shelf, this pattern provides clear, step-by-step guidance to help you create a cheerful companion that stands on its own.
Seasonal Styling Ideas
While this little chicken is perfect for Easter, its versatility allows it to shine in various seasonal settings. A pale yellow body with an orange beak captures the essence of a baby chick, making it ideal for spring-themed tables or baby showers. Alternatively, a white body with a bright red comb reads as a classic hen, fitting seamlessly into a farmhouse-style kitchen or a spring garden display. For a softer touch, consider swapping the red comb for a pastel pink one to create a gentle spring-themed set. You can also embroider tiny closed eyes in black yarn for a sleeping version, which adds a cozy, restful vibe to a nursery or a child’s bedroom. These small customization choices allow you to adapt the pattern to match your home’s decor or the specific theme of your handmade gifts.
Project Overview
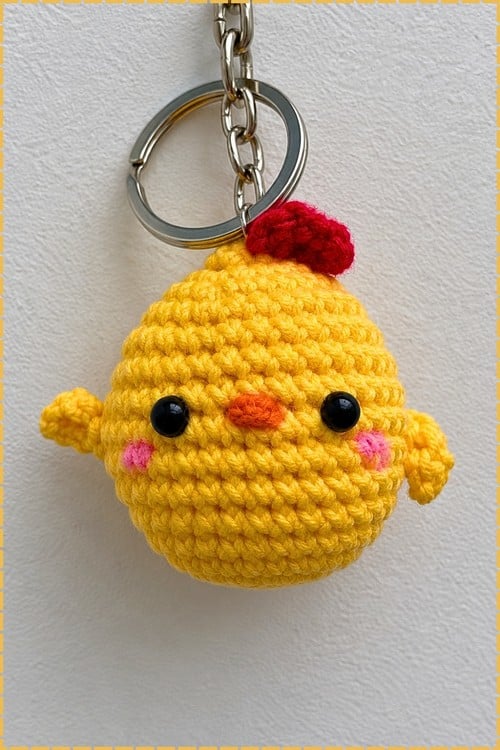
This cheerful little chicken is crocheted as one rounded body and head, then finished with wings, a red comb, orange beak, safety eyes, and a small keyring. The clear round-by-round shaping makes this beginner-friendly Easter make easy to follow. Keyring crafters and gift makers get the most out of this crochet little chicken, since it clips to a bag and travels well. Beginners land here too. The crochet little chicken suits anyone stitching for kids, teachers, or Easter baskets. Make the crochet little chicken once and requests follow fast.
Quick Facts
- Finished size: Roughly 4 to 5 inches tall in worsted weight yarn, approximate
- Difficulty: Easy, suitable for a confident beginner
- Time: About 2 to 3 hours, approximate
- Pieces: 5 total
- Construction: Worked in continuous rounds, body and head as one piece
Pieces List
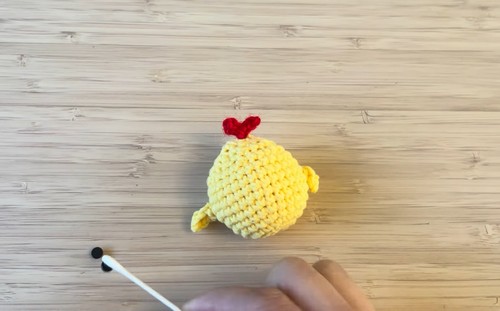
- Body and head: 1, worked as a single piece
- Wings: 2
- Comb: 1
- Beak: 1
Materials and Tools
- White or yellow yarn for the body
- Orange yarn for the beak and feet
- Red yarn for the comb
- Crochet hook suitable for your yarn, typically 3.0 to 3.5 mm with worsted weight, approximate
- Fiberfill stuffing
- Safety eyes, or black yarn for embroidery
- Stitch marker
- Yarn needle
- Scissors
Note: Go down a hook size from what the yarn label suggests. Tight fabric is the whole game with stuffed toys.
Abbreviations
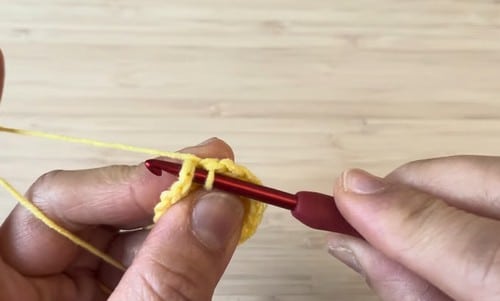
- MR: Magic ring
- sc: Single crochet
- inc: Increase, 2 sc in one stitch
- dec: Decrease, sc 2 stitches together
- sl st: Slip stitch
- ch: Chain
Pattern Instructions
Work in continuous rounds. Do not join or turn. Move your stitch marker up at the start of every round.
Body and Head, Single Piece
Round 1: MR, 6 sc. (6)
Round 2: inc in every stitch. (12)
Round 3: 1 sc, 1 inc, repeat around. (18)
Round 4: 2 sc, 1 inc, repeat around. (24)
Round 5: 3 sc, 1 inc, repeat around. (30)
Round 6: 4 sc, 1 inc, repeat around. (36)
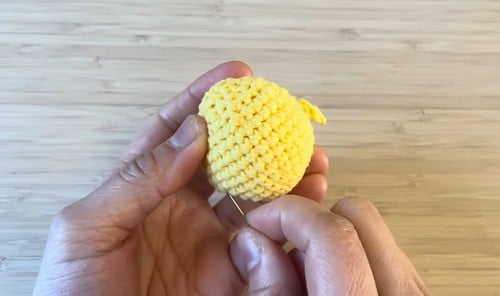
Checkpoint: This should sit like a shallow bowl that holds its own shape when you set it down, not a flat coaster. If it ruffles at the edge, your increases drifted out of line.
Rounds 7 to 10: 36 sc each round. (36)
Checkpoint: The sides should now stand up straight, giving you a short open cup. Look through the fabric toward a light. You should not see daylight between stitches. Insert safety eyes between Rounds 7 and 8, spaced evenly.
Begin stuffing gradually.
Round 11: 4 sc, 1 dec, repeat around. (30)
Round 12: 3 sc, 1 dec, repeat around. (24)
Checkpoint: The top should be curving back in over the stuffing, and the whole thing should read as a ball rather than a barrel.
Round 13: 2 sc, 1 dec, repeat around. (18)
Round 14: 1 sc, 1 dec, repeat around. (12)
Finish stuffing firmly. Final decrease around until the opening closes. Fasten off and weave in the ends.
Checkpoint: The closed end should be a small flat spot, not a pucker. Give the body a squeeze from both sides. It should spring back.
Wings, Make 2
Round 1: MR, 6 sc. (6)
Round 2: 1 sc, 1 inc, repeat around. (9)
Rounds 3 to 4: 9 sc each round. (9)
Checkpoint: A small shallow cup, about the size of a thumbprint. Flatten slightly. Do not overstuff. Sew one wing to each side of the body.
Comb, Red Yarn
Ch 7. Starting in the second chain from the hook, 1 sc. 1 hdc in the next stitch. 2 dc in the next stitch. 1 hdc in the next stitch. 1 sc in the next stitch. Fasten off, leaving a long tail.
Checkpoint: The piece should arch on its own, with the tallest point sitting just off center. Sew the comb to the top of the head.
Beak, Orange Yarn
Ch 4. Starting in the second chain from the hook, 1 sc. 1 hdc in the next stitch. 1 sc in the last stitch. Fasten off.
Checkpoint: A tiny wedge, wider in the middle than at either tip. Sew between the eyes.
Assembly
Pin the comb first, centered along the top of the head, and check it from the front before sewing. A comb set even slightly off looks wrong from every angle. Sew the comb down through the chain edge, using the long tail you left.
Pin the beak just below and between the eyes, so the top edge nearly touches the eye line. Sew the beak with small stitches, catching only the outer edge so it stays slightly raised.
Pin both wings last, one on each side, level with each other and a few rounds below the eyes. Step back and look. Sew the wings along their top edge only. Leaving the lower edge free lets them sit away from the body instead of lying flat.
Tips and Troubleshooting
Stuffing Guide
Start stuffing around Round 8 and add small pinches as you decrease. Stuffing in one large lump is what creates those visible lumps later, and no amount of squeezing fixes it after closing. The body wants to be firm, firm enough that the fabric stretches a little and the shape holds when you press a thumb into it. Wings stay nearly flat. A wisp of fiberfill in each is plenty, and many makers skip it entirely. Over-stuffing shows first at the widest rounds of the body, where the stitches spread and the white fill starts peeking through.
Troubleshooting
- Gaps between stitches: Your hook is too large for the yarn. Drop a size and start over. This is the single most common issue and it cannot be corrected after the fact.
- The body looks like an egg, not a ball: Your straight rounds ran long, or the tension changed between the increase and decrease halves. Count Rounds 7 to 10 again.
- A spiral seam running up the side: That is normal in continuous rounds. It gets less visible once the piece is stuffed and the seam is turned toward the back.
- Lost your place: The stitch marker moved or fell out. Count from the last full round you are sure of rather than guessing forward.
- The head sags to one side: Under-stuffed at the top. Push a little more fill toward the crown through the closing opening before you finish the last decreases.
- Wings sit at different heights: Unpin both, count the rounds down from the eye line on each side, and re-pin. Do not eyeball this one.
Yarn Substitution and Size Scaling
Worsted weight with a 3.0 to 3.5 mm hook gives roughly the size noted above. Move to DK or sport weight with a 2.5 mm hook and you will get a chick closer to 3 inches, which is a nice keychain size. Chunky yarn with a 5 mm hook pushes it toward 7 inches and eats stuffing faster than you would expect. Cotton holds stitch definition better and gives crisper shaping. Acrylic is more forgiving on tension and softer to handle. Both work here. All sizing above is approximate and depends heavily on your own tension.
Colour and Customization Ideas
- Pale yellow body with an orange beak reads as a baby chick
- White body with a bright red comb reads as a hen
- Brown or speckled yarn makes a convincing farmyard bird
- Embroider tiny closed eyes in black for a sleeping version
- Add a small blush circle on each cheek in pink yarn
- Swap the red comb for a soft pink one on a spring themed set
FAQs
Can I make this without safety eyes?
Yes, and for a young child you should. Embroider two small satin stitch dots in black yarn after the body is closed, which actually gives you more control over placement since you can see the finished shape first.
Why does my chicken look flat instead of round?
Almost always under-stuffing. Add more than feels right, then add a bit more. A properly stuffed amigurumi feels dense in the hand.
What does continuous rounds mean?
You never join with a slip stitch or turn your work. You just keep spiraling, which is why the stitch marker matters so much. Move it to the first stitch of each new round.
Do I have to use a magic ring?
No. Chain 2 and work 6 sc into the second chain from the hook if you prefer. The hole will be slightly larger, so pull the tail tight and close it from the inside when you weave in.
How do I keep the comb from flopping over?
The double crochet peak needs to be sewn down along its full base, not just tacked at the ends. Use small stitches through the chain edge and the comb will stand up on its own.
Pin This Crochet Pattern!