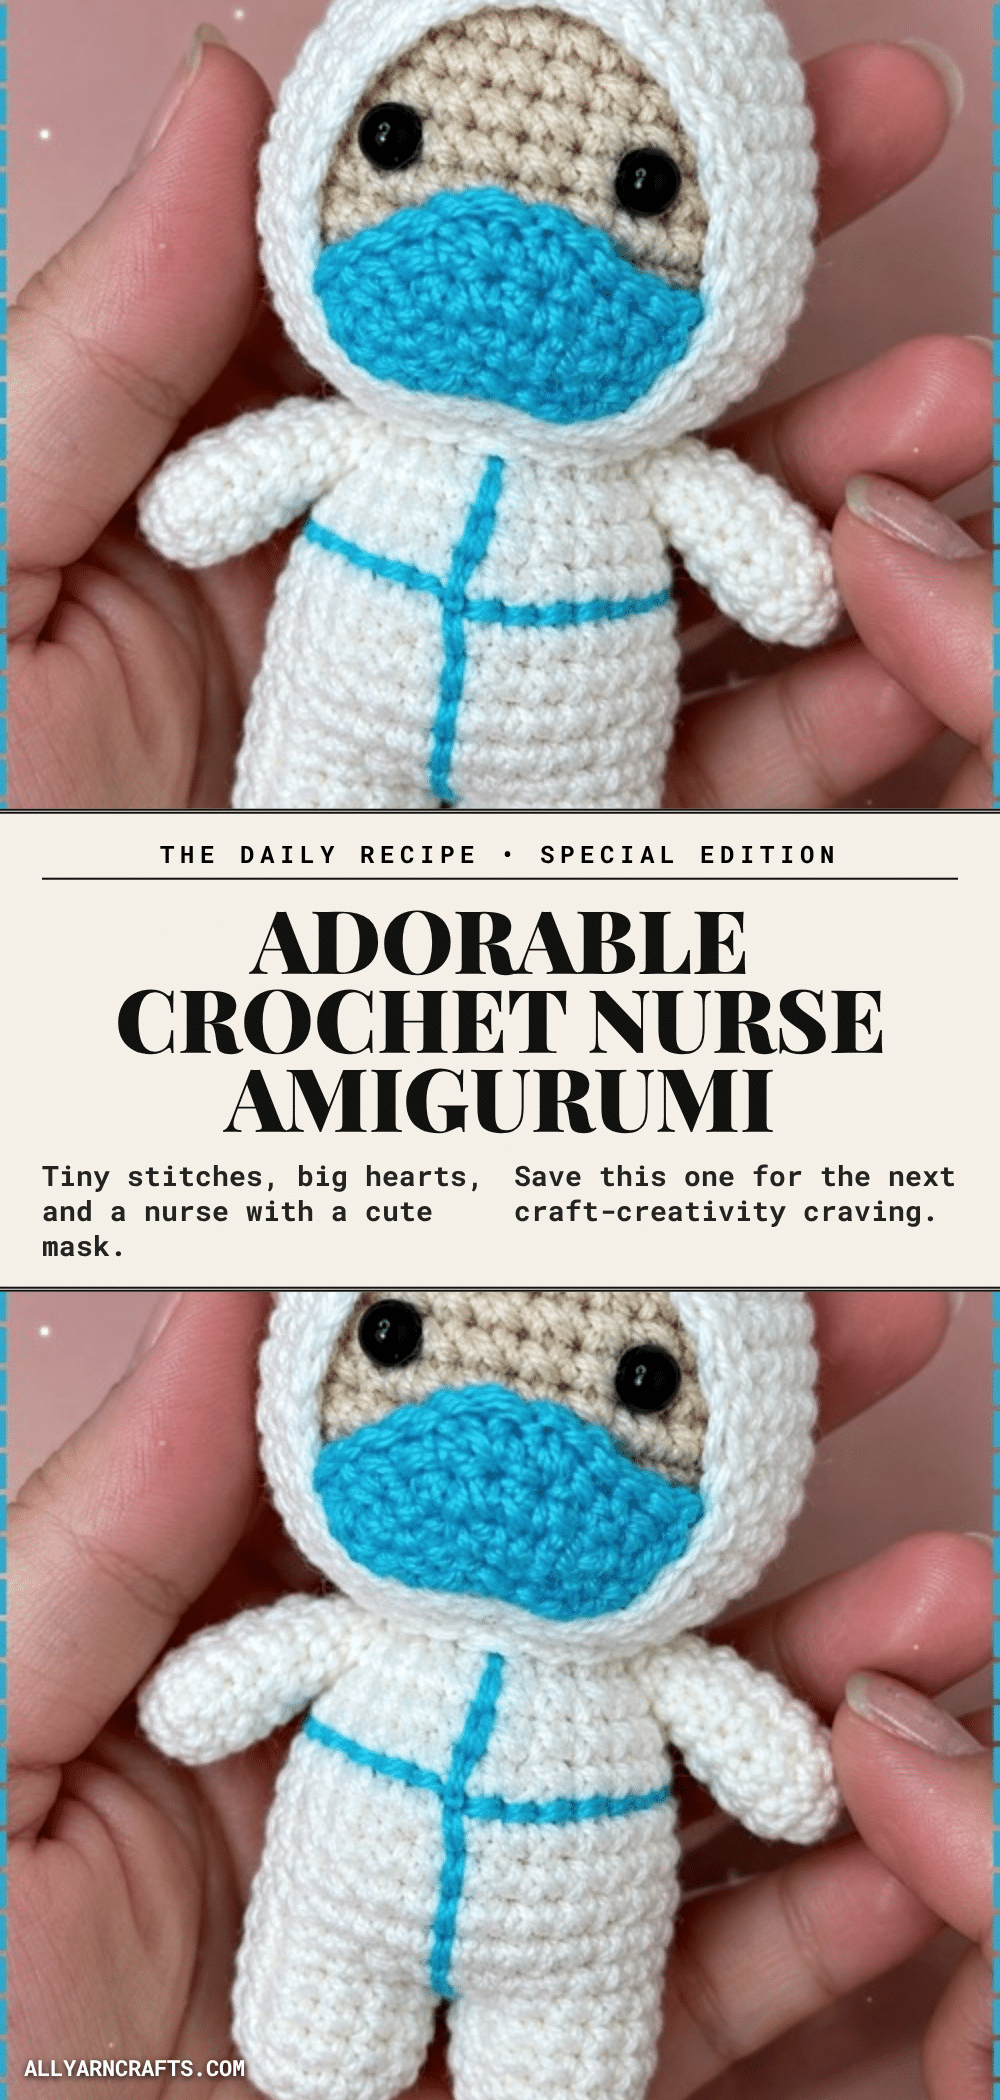
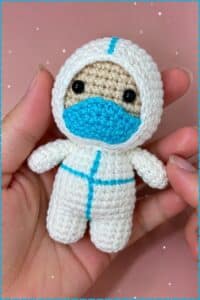
There is something deeply satisfying about creating a small, meaningful token of gratitude. For this project, the yarn choice was the first step in telling the story. I reached for a soft, warm beige skin tone yarn that felt comforting against the fingertips, paired with a crisp white for the uniform. The contrast between the gentle skin tone and the clinical white creates a visual balance that feels both professional and approachable. A small amount of blue or pink yarn was reserved for the accessories, adding that final pop of color that makes the doll feel like a complete character rather than just a collection of parts. This decision to use specific colors intentionally gives the finished piece a polished, intentional look that is perfect for gifting to healthcare heroes.
Yarn and Color Notes
The aesthetic of this nurse amigurumi relies heavily on the interplay between the skin tone and the uniform. The beige yarn used for the head, body, and arms provides a warm foundation, while the white yarn creates the classic, clean look of a medical uniform. The small amount of blue or pink yarn used for accessories serves as a focal point, drawing the eye to the details without overwhelming the design. This color palette is not only visually appealing but also practical, as these neutral tones hide minor imperfections in stitching better than bright, solid colors. The choice of a warm beige for the skin adds a touch of humanity to the doll, making it a lovely addition to a desk or a cherished gift for a nurse.
Project Overview
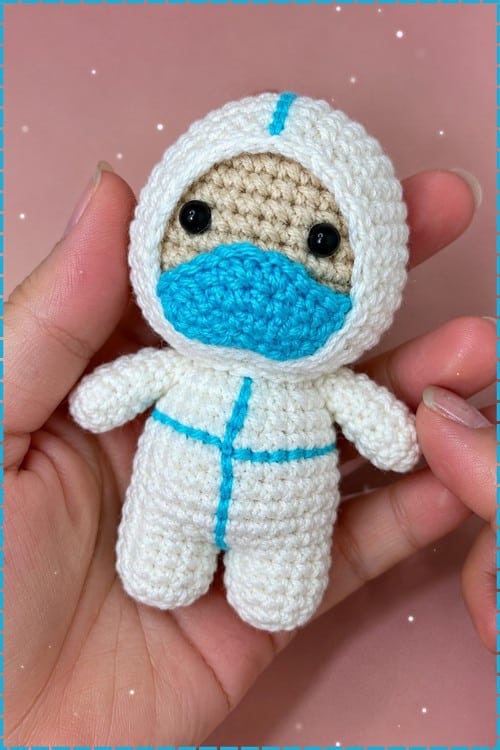
This adorable crochet nurse amigurumi is a straightforward build designed specifically for beginners. It features a continuous construction where the body and head are worked as one piece, eliminating the need for complex sewing of the torso. The doll stands approximately 8 to 10 inches tall, making it a perfect size for a desk companion or a small gift. The pattern relies on basic stitches and techniques, ensuring that even those new to amigurumi can create a professional-looking result. The finished doll is dressed in a white uniform with a matching hat and includes detailed features like a hood and mask, capturing the spirit of healthcare workers in a cute, huggable format.
Materials
- Yarn: Amounts are estimated based on the construction of the pattern.
- Skin Tone Yarn: Roughly 40 to 50 g estimated, used for the head, body, and arms.
- White Yarn: Roughly 20 to 25 g estimated, used for the uniform and hat.
- Blue or Pink Yarn: A small amount, used for accessories.
- Black or Brown Yarn: Roughly 10 to 15 g estimated, used for the hair.
- Crochet Hook: A hook suited to your yarn, usually around 2.5 mm to 3.0 mm for amigurumi weight.
- Fiberfill Stuffing: Standard polyester stuffing.
- Safety Eyes: Two safety eyes.
- Embroidery Needle: For sewing parts and embroidery details.
- Scissors: For cutting yarn.
- Stitch Marker: Essential for tracking rounds in continuous spirals.
Gauge and Finished Size
The finished height of the nurse amigurumi is approximately 8 to 10 inches, estimated using sport or DK weight yarn. The project typically takes between 5 to 8 hours to complete, spread over a few sessions. While specific gauge measurements are not provided, the stitch counts and round numbers are precise to ensure the doll maintains its intended shape and proportions.
Abbreviations
- sc: single crochet
- inc: increase (meaning two single crochet in the same stitch)
- dec: decrease (invisible decrease preferred)
- ch: chain
- sl st: slip stitch
- dc: double crochet
- BLO: back loops only
- R: round
Pattern Notes
This pattern relies on four key techniques that are essential for success. Please read each one carefully before starting your project.
The Magic Ring
A magic ring, sometimes called an adjustable ring, is how almost every amigurumi piece begins. Loop the yarn around two fingers, insert the hook through the loop, pull up a loop of working yarn, chain 1, then single crochet the number of stitches the pattern says into the ring. When you are done, pull the short tail tight to close the hole. If you leave the ring too loose, the center of the piece will have a gap, and on a stuffed toy, the white fiberfill shows straight through. Practice closing it firmly before you move on.
Continuous Rounds
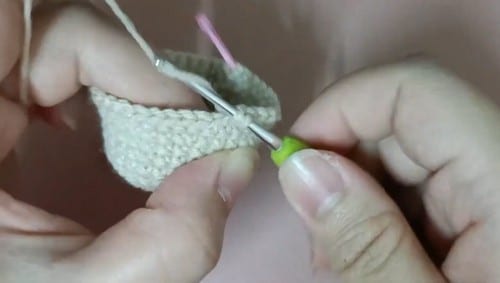
This pattern is worked in a continuous spiral, meaning you do not join at the end of each round and you do not chain up to start the next one. You just keep going. This is standard for amigurumi. The only way to track where each round starts and ends is a stitch marker. Place it in the first stitch of every round and move it up as you go. Without it, you will lose count, usually around Round 8 when all the stitches look identical.
The Invisible Decrease
Wherever the pattern says decrease, use the invisible decrease rather than the standard sc2tog. Insert the hook through the front loop only of the first stitch, then through the front loop only of the second stitch, yarn over and pull through both, yarn over and pull through the remaining two loops. It creates a much flatter, neater surface than the standard method, which is especially important on a doll’s face and body where every stitch shows.
Marking Your Round
Your stitch marker is the most important tool on the hook. Every time you reach a marked stitch, move the marker into the new stitch you just made and count the total stitches in the completed round. If the count does not match the number in the brackets, find the error before you continue. Frogging two rounds is much less painful than frogging ten.
Pattern Instructions
Arms, Make 2
R1: make a magic ring and work 6 sc into the ring (6)
R2: sc in each stitch around (6)
R3: sc in each stitch around (6)
R4: sc in each stitch around (6)
R5: sc in each stitch around (6). By Round 5 the arm should be a narrow tube roughly as wide as your little finger
R6: sc in each stitch around (6)
R7: sc in each stitch around (6)
R8: sc in each stitch around (6)
R9: sc in each stitch around (6)
R10: sc in each stitch around (6). The finished arm is a long slim tube. Set it beside the second arm when it is done to check they match in length before fastening off
Fasten off and leave a long tail for sewing
Repeat for the second arm
Legs, Make 2
R1: make a magic ring and work 6 sc into the ring (6)
R2: work 1 sc then 1 inc, repeat 3 times (9)
R3: sc in each stitch around (9)
R4: sc in each stitch around (9)
R5: sc in each stitch around (9). The leg should read as a short compact tube, slightly wider than the arm
R6: sc in each stitch around (9)
R7: sc in each stitch around (9)
R8: sc in each stitch around (9)
R9: sc in each stitch around (9)
R10: sc in each stitch around (9). The second leg: do not fasten off. Leave the yarn attached and set both legs aside ready for joining
Body, Joined from Legs
R11: ch 3 and join to the first leg, then crochet around both legs and the chain bridge (24). This is the most unusual round in the whole pattern. The chain bridge connects the two legs and you work around the outside of the whole joined shape. Count to 24 before moving on, because a wrong count here carries through every round above it
R12: sc in each stitch around (24)
R13: sc in each stitch around (24)
R14: sc in each stitch around (24)
R15: sc in each stitch around (24)
R16: sc in each stitch around (24). The body should now look like a hollow cylinder sitting on top of the two joined legs
R17: sc in each stitch around (24)
R18: sc in each stitch around (24)
R19: work 2 sc then 1 dec, repeat 6 times (18)
R20: sc in each stitch around (18)
R21: sc in each stitch around (18)
R22: sc in each stitch around (18)
R23: work 1 sc then 1 dec, repeat 6 times (12). The waist is now narrow and the body shape is clear. Stuff the body firmly now before the head increases close the opening further. Stuff the body firmly with fiberfill
Head, Continuing from Body
R24: work 1 sc then 1 inc, repeat 6 times (18)
R25: work 2 sc then 1 inc, repeat 6 times (24)
R26: work 3 sc then 1 inc, repeat 6 times (30)
R27: work 4 sc then 1 inc, repeat 6 times (36). The head should now be expanding noticeably wider than the body was, like a ball beginning to form above the neck
R28: sc in each stitch around (36)
R29: sc in each stitch around (36)
R30: sc in each stitch around (36)
R31: sc in each stitch around (36). Place the safety eyes now, between Round 31 and Round 32, roughly 7 stitches apart on the front of the head while the opening is still wide
R32: sc in each stitch around (36)
R33: sc in each stitch around (36)
R34: sc in each stitch around (36)
R35: sc in each stitch around (36). The head at this point should be a large open bowl, deep enough that you can almost rest your fist inside it
R36: work 4 sc then 1 dec, repeat 6 times (30)
R37: work 3 sc then 1 dec, repeat 6 times (24)
R38: work 2 sc then 1 dec, repeat 6 times (18)
R39: work 1 sc then 1 dec, repeat 6 times (12)
R40: work 6 dec around (6). The head should be a full round ball now with only a small hole remaining. Close the hole and weave in the yarn ends
Hair
Make a magic ring and work 6 sc into the ring (6). Continue working increase rounds until the piece reaches 36 stitches. Work the same increase pattern as the head: adding 6 stitches every round.
For each strand: ch 15 to 20 stitches, then work sc back down the full length of the chain to form one strand.
Repeat the strand sequence all the way around the edge of the hair base.
Sew or attach the completed hair piece to the top of the head.
Nurse Uniform
Using white yarn, attach yarn at the waist area of the body.
Ch enough stitches to work around the waist, then work dc stitches around to begin the skirt.
Continue adding rounds of dc, working outward or downward to create a flared skirt shape.
Continue until the dress reaches your desired length.
Fasten off and weave in ends.
Nurse Hat
R1: make a magic ring and work 6 sc into the ring (6)
R2: work 6 inc around (12)
R3: work 1 sc then 1 inc, repeat 6 times (18). The hat piece should sit like a small flat disc at this point
R4: sc in each stitch around, working in back loops only (18). Working in BLO here creates a ridge that gives the hat its brim, so make sure every stitch goes through the back loop only
Fasten off and leave a tail for attaching.
Embroider a small cross in red or blue on the front of the hat.
Assembly
Read this section before you start the head. The eye placement note lives here, not in the head rounds.
- Safety Eyes: Place safety eyes between Round 31 and Round 32 of the head, roughly 7 stitches apart on the face, while the opening is still wide. Embroider the nose and mouth after the head is stuffed and closed. A small Y or V for the nose and a short curved line for the mouth, both in embroidery thread, below the eye line.
- Hair: Sew the hair piece to the top of the head, centred, with the strands hanging down the sides and back.
- Arms: Sew both arms to the sides of the body at approximately Round 22, pinning them in place and checking the height matches on both sides before sewing either one.
- Hat: Attach the hat on top of the hair, centred, with the cross facing forward.
Stuffing Guide
- Body: Firm. This piece supports the arms and carries the head above it, so pack it well.
- Head: Firm. Stuff through the closing rounds before Round 40. A soft head will not hold the hat upright.
- Arms: The pattern gives no stuffing instruction. Leave them unstuffed so they hang naturally. At 6 stitches they are too narrow for stuffing to add anything useful.
- Legs: No stuffing instruction given. A very light pinch in each leg keeps the tube shape, but they also sit fine empty.
Tips
- If you leave the ring too loose the centre of the piece will have a gap, and on a stuffed toy the white fiberfill shows straight through. Practice closing it firmly before you move on.
- Without a stitch marker, you will lose count, usually around Round 8 when all the stitches look identical.
- If the count does not match the number in the brackets, find the error before you continue. Frogging two rounds is much less painful than frogging ten.
- The pattern places safety eyes between Round 31 and Round 32 of the head. That falls in the middle of the straight rounds, while the head is still wide open. Do not wait until the decreases start at Round 36. By Round 38 the opening is too small to fit a washer through, and after stuffing it is impossible. Position the eyes roughly 7 stitches apart on the front of the head, which the assembly section specifies. Hold each eye in place and look at the face from the front before clicking the washer on. Once the washer clicks, the eye is permanent.
- Body: firm. This piece supports the arms and carries the head above it, so pack it well.
- Head: firm. Stuff through the closing rounds before Round 40. A soft head will not hold the hat upright.
- Arms: the pattern gives no stuffing instruction. Leave them unstuffed so they hang naturally. At 6 stitches they are too narrow for stuffing to add anything useful.
- Legs: no stuffing instruction given. A very light pinch in each leg keeps the tube shape, but they also sit fine empty.
- What does working in back loops only mean? Every stitch has two loops at the top that form a V shape. The back loop is the one furthest from you as you hold the work. Inserting through only that loop instead of both creates a visible ridge, which is what gives the hat its brim in Round 4.
- How do I know where Round 11 starts when I join the legs? The chain bridge is your reference. After chaining 3 and joining to the first leg, work around the outside of both legs and the chain. Count every stitch as you go and stop when you have 24. Mark that as your round start before you continue.
- My decreases are leaving ridges on the head. What am I doing wrong? You are probably using a standard sc2tog instead of an invisible decrease. The invisible decrease goes through the front loops only of both stitches and sits much flatter. The technique notes section above explains it step by step.
- Can I change the yarn colours partway through? Yes, at any colour change point simply drop the old yarn and join the new one at the start of a round. Carry the old yarn end inside the work for a few stitches before trimming, or weave it in later with the needle.
FAQs
What size hook should I use for this pattern?
Use a crochet hook suited to your yarn, usually around 2.5 mm to 3.0 mm for amigurumi weight. The goal is to create tight stitches so the stuffing does not show through.
How do I prevent gaps in the magic ring?
Ensure you pull the short tail tight to close the hole firmly after completing the first round. If the ring is too loose, the center will have a gap where stuffing can show through.
When should I insert the safety eyes?
Insert the safety eyes between Round 31 and Round 32 of the head, roughly 7 stitches apart. Do this while the opening is still wide, before the decrease rounds begin.
Why is the body worked continuously from the legs?
Working the body and head as one continuous piece from the leg join eliminates the need to sew the head to the body, resulting in a cleaner look and a stronger structure.
Can I make this doll safe for toddlers?
For any doll going to a child under three years old, skip safety eyes entirely. Embroider both eyes with black thread, knot every end inside the head, and tug the embroidery firmly to confirm it is anchored.
How do I create the brim on the nurse hat?
In Round 4 of the hat, work single crochet in the back loops only (BLO) for every stitch. This creates a visible ridge that forms the brim of the hat.
Pin This Crochet Pattern!