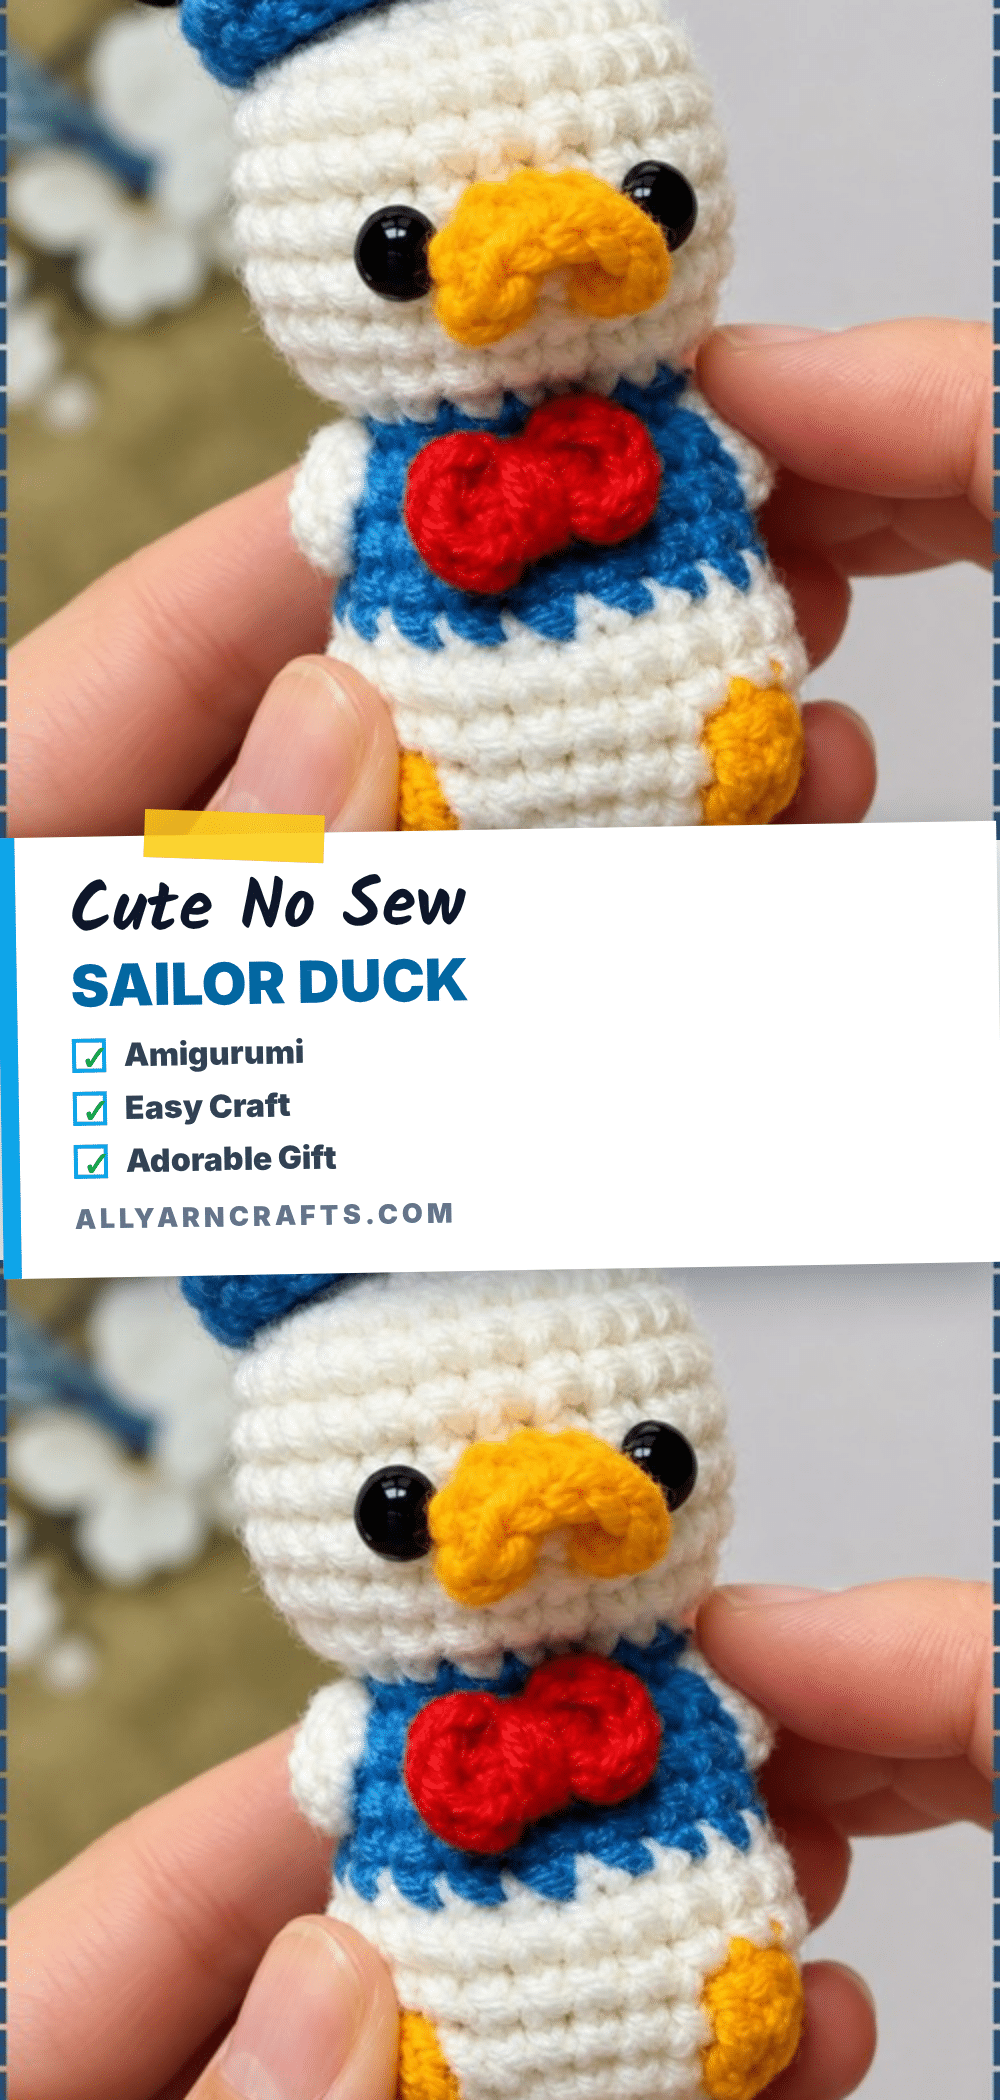
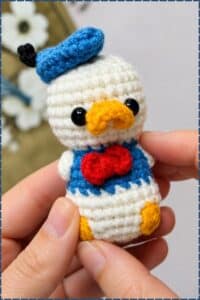
There is a specific kind of magic in the quiet hours of the evening when the house is still, the light is soft, and the only sound is the rhythmic click of the hook. You settle in with a small batch of yarn, counting stitches one by one, letting the repetitive motion of the single crochet wash away the day’s noise. It is a ritual of focus and calm, where a simple loop becomes a limb, and a round of increases transforms into a living, breathing character. This Sailor Duck Amigurumi is the perfect companion for those relaxing sessions, offering a nautical charm that feels both timeless and fresh.
Small Details That Make It Better
What truly elevates this pattern from a simple plushie to a statement piece is the attention to the “unseen” construction. The sailor hat, for instance, is worked exactly like a shoe sole—flat on the table, it looks like a mere oval, but once angled on the head, it takes on a distinct personality. The spike bubble stitches used for the feet and arms are not just functional; they create a charming, dimensional texture that makes the duck look like it is genuinely reaching out or waddling. The choice of milk cotton yarn adds a subtle sheen that catches the light, making the royal blue suit pop against the cream body. It is these small finishing touches—the arched beak, the angled hat, the visible collar ridge—that give this duck its expressive soul.
Project Overview
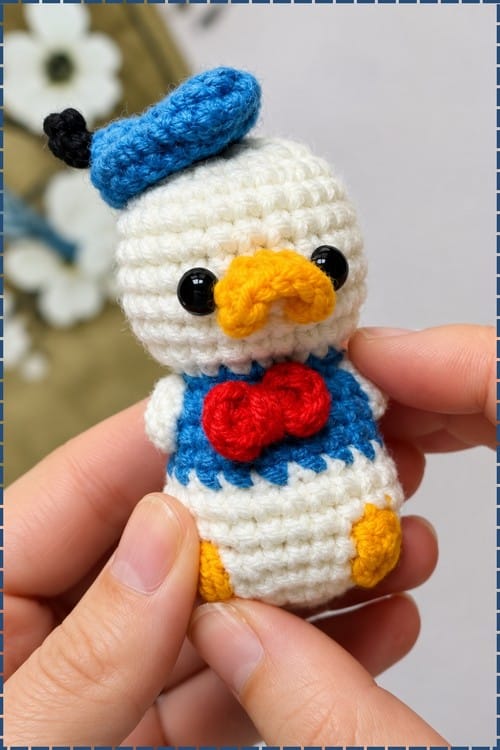
This Sailor Duck Amigurumi is a palm-sized, intermediate-level project that results in a charming nautical character. Standing roughly 9 to 11 cm tall including the hat, it is perfect for desk corners, nursery shelves, or as a unique gift for boat lovers. The pattern utilizes a continuous round construction with color changes and special spike bubble stitches to create integrated limbs, minimizing sewing while maximizing character.
Materials and Tools
- Yarn:
- 4 ply milk cotton yarn in white or cream (main body)
- Royal blue yarn for the sailor suit and hat
- Yellow yarn for the feet and beak
- Red yarn for the bow tie
- Black yarn for the hat band and ribbon
- Hook: 1.9 mm hook (or anywhere from 1.75 mm to 3.0 mm depending on your yarn tension)
- Eyes: 6 mm or 7 mm black safety eyes
- Filling: Fiber stuffing
- Notions: Leather needle or sewing needle, yarn cutters
Note: Scrap amounts cover every colour except the white. Nothing here needs a full ball.
Gauge and Finished Size
Finished Size: Roughly 9 to 11 cm tall including the hat, worked at 1.9 mm in 4 ply.
Disclaimer: This is an estimate from the stitch counts, not a figure the pattern gives. Gauge is not strictly specified, but tight, even tension is recommended as milk cotton shows stuffing through loose stitches quickly.
Abbreviations
Standard US crochet abbreviations are used:
- sc: single crochet
- inc: increase (2 sc in the same stitch)
- dec: decrease (2 sc together)
- invisible decrease: a cleaner decrease method
- dc: double crochet
- ch: chain
- sl st: slip stitch
- sc in back loops only: working only through the back loop of the stitch
Pattern Notes
- Continuous Rounds: Work in continuous rounds unless a round says otherwise. Do not join with a slip stitch at the end of rounds.
- Stitch Marker: Keep a marker in the first stitch. This is crucial because the spike bubble placement depends on knowing exactly where you are.
- Spike Bubble Stitch: This stitch is worked into a stitch one round below the round you are on. This makes the stitch stand outward from the body, creating the feet and arms. If they lie flat, they were worked too tight.
- Color Changes: Change colour on the last yarn over of the stitch before the switch, not at the start of the new one.
- Tension: Maintain tight, even tension. Milk cotton shows stuffing through loose stitches quickly.
- Stuffing: Stuff gradually as the body grows.
- Hat Construction: The sailor hat is constructed exactly like a shoe sole, worked around both sides of a starting chain. Flat on the table it looks like nothing at all. It only becomes a hat once it sits on the head at an angle.
Pattern Instructions
Body and Head, Starting With White
Round 1: 6 sc in a magic ring [6]
Round 2: 6 inc [12]
Round 3: 1 sc, 1 inc, repeat 6 times [18]
Round 4: 18 sc [18] — still a flat disc at this stage; this becomes the base the duck sits on
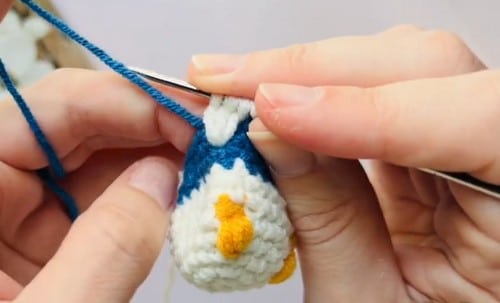
Round 5, legs: 2 sc, 1 inc, 2 sc. Begin an increase, change to yellow. Work spike bubble stitch one round below for the first foot. Change back to white. Repeat for the second foot, spaced with sc stitches — both yellow bubbles should sit opposite each other and stand clearly out from the white; if they lie flat they were worked too tight.
Rounds 6 to 7: 24 sc [24] — the sides should now stand up as a short straight tube resting on two yellow feet.
Round 8: Change to royal blue, 2 sc, 1 invisible decrease, repeat 6 times [18].
Rounds 9 to 10: 18 sc [18].
Round 11, arms: Work in royal blue. Incorporate two white spike bubble stitches on the sides for the arms — check from directly above that the two arms sit level with each other before moving on.
Round 12: 1 sc, 1 decrease, repeat around. Change to white at the end — the body should now pinch in to a narrow neck opening.
Round 13, neck and head: In back loops only, 1 sc, 1 inc, repeat around [18] — the back loop round leaves a visible ridge that reads as a collar line between suit and head.
Round 14: 2 sc, 1 inc, repeat around [24].
Rounds 15 to 19: 24 sc around [24] — five straight rounds; the head should look slightly too tall and unfinished here, which is correct.
Round 20: 2 sc, 1 decrease, repeat around [18].
Round 21: 1 sc, 1 decrease, repeat around [12] — the head should now be a firm ball with a small opening at the crown.
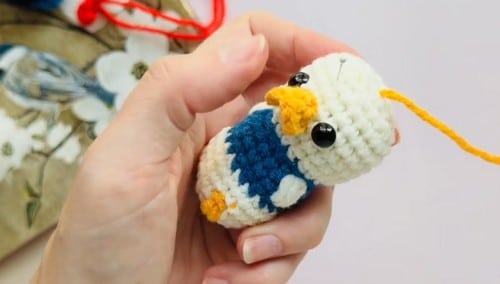
Safety Eye Timing: Insert safety eyes between rounds 15 and 16. You work up through round 21 first, then reach back down and insert them into those earlier rounds while the head is still open. Leave about five to six stitches between the eyes. Push the posts through from the outside, look at the face straight on to check the height and spacing, then snap the washers on from inside. Stuff after they are secured.
Safety Note: Making this for a child under three? Leave the safety eyes out. Embroider two small black satin stitch ovals in the same spot instead and work the ends deep into the stuffing.
Round 22: 5 invisible decreases. Fasten off and sew the gap closed.
Sailor Hat, Royal Blue and Black
Round 1: Chain 7. Starting in the second chain, 5 sc. 3 sc in the last chain. On the opposite side, 4 sc. 1 inc [14] — a flat oval, longer than it is wide, looking nothing like a hat yet.
Round 2: 1 inc, 4 sc, 3 inc, 5 sc, 1 inc [19].
Round 3: 19 sc [19] — the edge should now be lifting off the table into a shallow cap.
Round 4: 5 sc, 4 decrease, 6 sc [15]. Change to black.
Round 5: 15 sc [15] — the black round forms the band, and the cap should now hold its shape when set down. Fasten off.
Hat Ribbon Detail
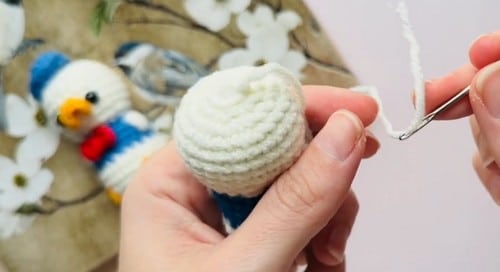
Attach black yarn at the back. Chain 4. Work 3 sc back down to form the ribbon.
Bill or Beak, Yellow
Chain 7. Starting in the second chain, 5 sc. 2 sc in the last loop. On the opposite side, 4 sc. 1 sc in the last space. Slip stitch to finish — a small flat oval that will curve once sewn.
Bow Tie, Red
Chain 2. Work 3 dc, chain 1, slip stitch into magic ring. Repeat for the second half. Wrap yarn around the centre to shape the bow.
Assembly
Finish, stuff, and close the body and head first. Everything attaches to a completed duck. Pin the beak centred directly between the eyes, sitting just below them. Sew the beak with a slight arch so it curves outward rather than lying flat against the face. This one detail does more for the expression than the eye placement does.
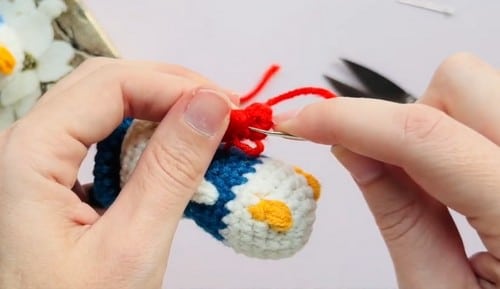
Pin the hat at an angle rather than square on the crown, and check it from the front before sewing. Sew the hat down using the yarn tails, working through the black band so the stitches disappear. Sew the bow tie to the front of the body just below the neck ridge.
Tip: Pin all three before sewing any of them. On a duck under 11 cm, a beak set two millimetres too high changes the whole face, and you will only see it once everything else is on.
Tips
- Carry Yarn: Carry the unused colour loosely inside the body rather than cutting at every change. On rounds this small the carried strand will not show, and you save yourself a dozen ends to weave in.
- Practice Bubbles: Practice two spike bubble stitches on a scrap swatch before you reach round 5. Getting the tension right on the first one you ever work, mid round, in a contrast colour, is asking a lot.
- Count Stitches: Count round 7 twice. An extra or missing stitch at 24 will throw off the decreases at round 8 and you will not notice until the shaping goes crooked.
- Video Help: If magic rings and invisible decreases sound like another language, start with a video tutorial; it makes everything click!
FAQs
What type of yarn is best for this pattern?
The pattern specifies 4 ply milk cotton yarn. This yarn is chosen because it has a slight sheen and holds its shape well, but it requires tight tension to prevent stuffing from showing through.
How do I fix flat spike bubble stitches?
If your feet or arms lie flat against the body, they were likely worked too tightly. Ensure you are inserting the hook into the stitch one round below and pulling the yarn through with a bit more slack, or use a slightly larger hook for those specific stitches.
Can I make this duck without safety eyes?
Yes. For children under three, it is recommended to embroider the eyes using black yarn and satin stitches instead of using plastic safety eyes for safety reasons.
Why does the hat look like a flat oval?
The hat is constructed by working around both sides of a starting chain, similar to a shoe sole. It is designed to look flat initially and only takes on its hat shape once it is angled and attached to the head.
How many colors do I need to cut?
You will need to cut and reattach yarn frequently due to the color changes for the suit, feet, arms, and hat band. However, you can carry the unused colors loosely inside the body to save time weaving in ends.
What is the finished size of the duck?
The duck is approximately 9 to 11 cm tall including the hat, making it a palm-sized plushie perfect for small hands or display.
Pin This Crochet Pattern!