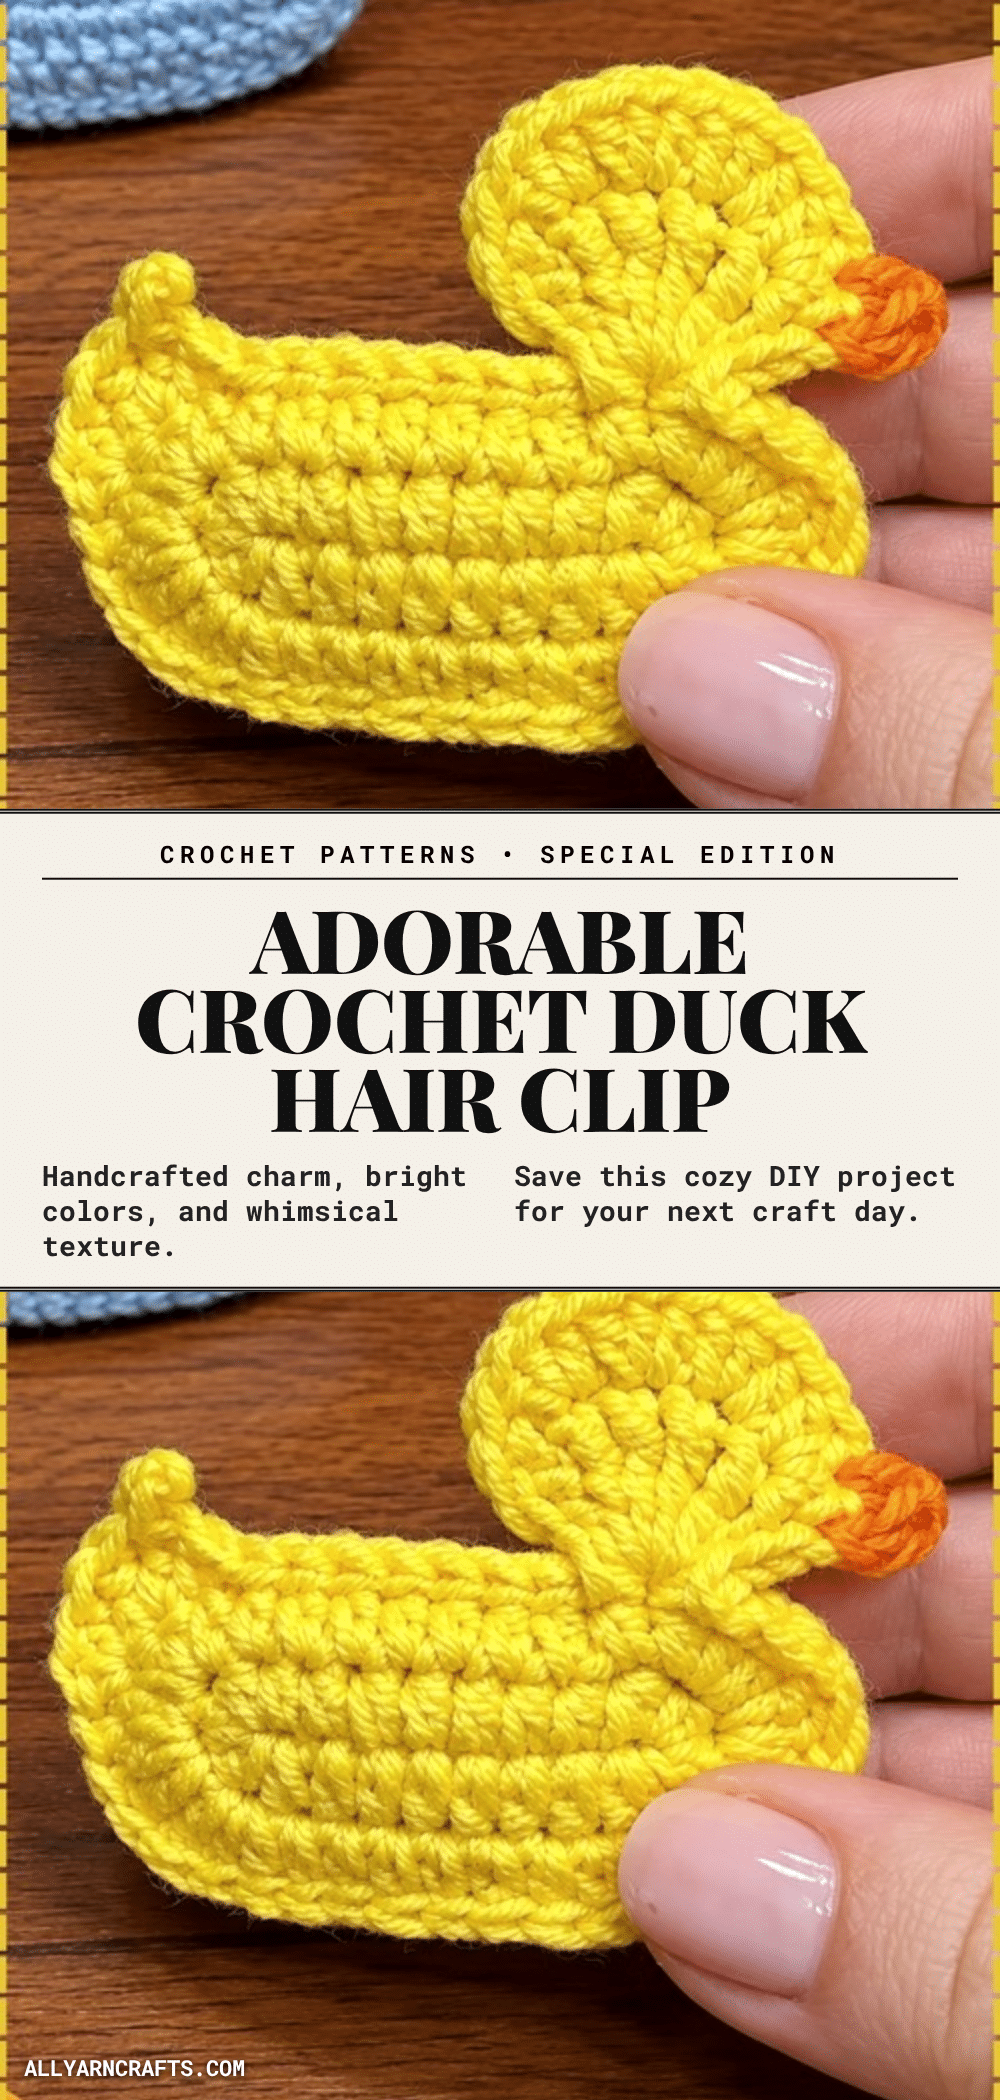
There is something undeniably charming about finding a skein of sunshine yellow in the back of your stash and knowing exactly what it is meant to become. It’s that specific, cheerful hue that instantly evokes warm spring mornings and playful bath time adventures. When you pull that color from the bin, you aren’t just grabbing yarn; you are grabbing a mood. This Adorable Crochet Duck Hair Clip is the perfect vessel for that feeling, transforming a simple flat profile into a wearable piece of joy that sits perfectly on a barrette, ready to brighten a school photo or an Easter egg hunt.
Yarn and Color Notes
The beauty of this project lies in its simplicity and the way color dictates its personality. While the classic rubber duck look calls for bright yellow and orange, the flat design allows for endless creativity. Sky blue yarn paired with a white beak creates a serene, aquatic vibe, while a pastel pink duck adds a sweet touch to a toddler’s hair. Because the duck is worked flat rather than stuffed, the texture of your yarn will show more prominently. A cotton blend or a soft acrylic 3-ply works beautifully here, providing enough structure to hold the shape against the metal clip without being too bulky. The ridged texture created by the single crochet rows adds a tactile quality that mimics the smooth plastic of a real bath toy, making it delightful to touch.
Project Overview
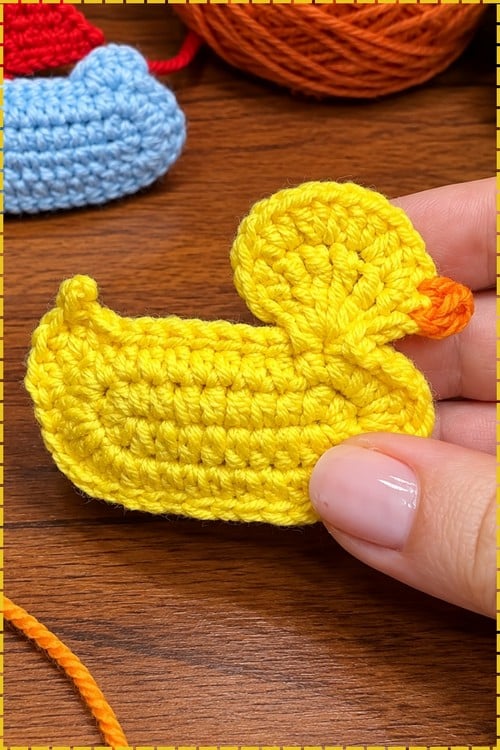
This crochet duck hair clip is a flat, side-profile amigurumi piece designed to be attached to a 5 cm hair clip. Unlike traditional stuffed amigurumi, this pattern is worked as two identical flat ovals that are joined together, with decorative elements like the tail, crest, and beak added directly to the edges. It is an excellent beginner-friendly project that requires no stuffing, no safety eyes (though you can embroider them), and no complex assembly. The result is a lightweight, durable accessory that is perfect for spring, Easter, or bath-themed gifts.
Materials
- 3 ply yarn in your chosen main color (e.g., yellow, blue, pink)
- A small amount of orange yarn for the beak
- 2.5 mm crochet hook
- 5 cm hair clip (metal barrette)
- Tapestry needle
- Scissors
Gauge and Finished Size
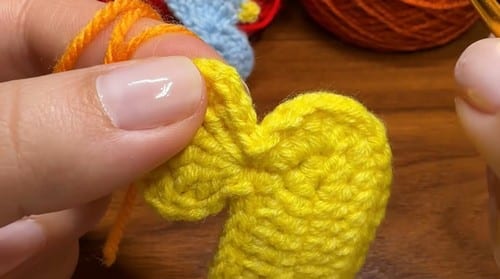
Worked at 2.5 mm in 3 ply, the finished duck should come out around 5 to 6 cm long, which allows it to sit securely on a 5 cm clip. Please note that this size is an estimate based on the stitch counts provided in the pattern rather than a strict gauge measurement stated by the designer. If you use a thicker yarn or larger hook, the duck will grow larger and may require a longer clip.
Abbreviations
This pattern uses US crochet terminology throughout.
- ch: chain
- sl st: slip stitch
- hdc: half double crochet
- sc: single crochet
- dc: double crochet
- tr: triple crochet
- picot: chain 3, slip stitch back into the base of the chain
Pattern Notes
Working the Foundation Chain
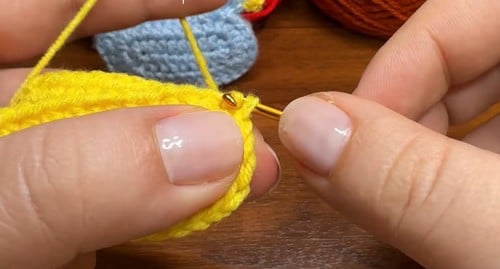
Instead of turning at the end of a row, you work across the chain, put several stitches into the last chain to turn the corner, then keep going back along the underside of the same chain. This technique creates an oval rather than a rectangle. The underside loops sit right below the ones you already used and may feel awkward for the first few stitches, but they will loosen up as you continue.
Joined Rounds
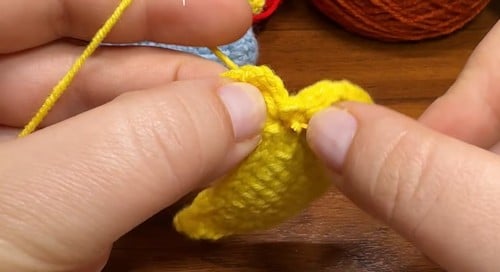
Most amigurumi spirals around without joining, but this pattern does not. Each round ends with a slip stitch into the first stitch of that round, which closes the ring before the next one starts. No stitch marker is needed because the join itself tells you where the round ends.
Stitch Heights and Shaping
This pattern uses single crochet, half double crochet, double crochet, and triple crochet deliberately. The tall triple crochets in the tail fan out because of their height, while the short slip stitches along the sides keep the body flat. This height difference is what creates the shaping.
Tension
Keep your tension fairly tight. A hair clip gets handled constantly, and loose stitches will let the metal show through and cause the piece to go floppy within a week.
Pattern Instructions
Body Base, Make 2 Pieces
Make two identical pieces. Do not cut the yarn on the second piece.
Foundation: Start with a slip knot and chain 10.
Round 1: In the 3rd chain from the hook, work 2 half double crochet. Work 6 half double crochet across the next stitches. In the last chain, work 5 half double crochet to turn the corner. Working down the other side of the chain, work 6 half double crochet. In the final space, work 2 half double crochet. Join with a slip stitch. At this point, you should have a narrow oval with rounded ends, roughly the shape of a grain of rice, lying completely flat.
Round 2: In the same space, work 3 half double crochet. In the next stitch, work 3 half double crochet. Work 8 half double crochet across. In each of the next 3 spaces, work 3 half double crochet. Work 8 half double crochet. In the next space, work 3 half double crochet. Finish the first piece with a slip stitch and fasten off. The oval should now be wider and still perfectly flat. If it is cupping or ruffling at the edges, your tension shifted partway round. Repeat the same pattern for the second piece.
Tip: Lay the two ovals on top of each other before going further. They should match closely. If one is noticeably bigger, your tension loosened on the second, and it is worth redoing it now rather than fighting the mismatch through the whole joining round.
Joining the Pieces
Place both pieces together with the right sides facing outward. Work through both layers to join them together.
Tail Area: Work 5 slip stitches along the edge.
Tail Fin: Chain 3. In the same space, work 5 triple crochet stitches. Chain 3. Slip stitch back into the same space. The five tall stitches should spread into a fan; if they stack up narrow instead, spread them apart with your fingers and they will settle.
Side of the Duck: Work 8 slip stitches along the edge.
Head Shaping: Work 1 half double crochet. Work 1 double crochet. Chain 3. Slip stitch into the base of the chain to create a picot. Work 1 double crochet in the next stitch. In the next stitch, work 3 half double crochet. The edge should now rise into a rounded bump with a small point on it, clearly taller than the flat side you just worked.
Neck: Work 4 single crochet stitches.
Inserting the Hair Clip: Slide the 5 cm hair clip inside the opening before closing. Position the clip so it sits centred inside the body.
Closing the Body: Work 17 slip stitches around the edge to close the duck around the clip. By the end, the two layers should be sealed all the way round with no gaps, and the clip should not slide about inside.
Head Detailing
Crest: Work 3 slip stitches around the top of the head. In each of the next 4 spaces, work 3 half double crochet. Finish with 3 slip stitches and fasten off. The crest should sit as a small ruffled cluster on the back of the head, not a flat line.
Beak: Join orange yarn to the face area. Chain 1. Work 1 single crochet in the next stitch. Fasten off.
Assembly
The real assembly here is the joining round, which has one point of no return. Line the two ovals up before you start and make sure the right sides both face outward. Once you have slip stitched a third of the way round, taking it back out is miserable. Slide the hair clip in before you work the 17 closing slip stitches. This is the step people miss. Once that seam is done, the duck is sealed and the clip cannot go in. Centre the clip inside the body so the fabric wraps it evenly on both sides. If it is off centre, the duck will sit crooked in the hair. Add the beak last, after everything is closed, so you can judge its position against the finished face. Open and close the clip a few times before weaving in your ends. If the crochet is fighting the hinge, you have wrapped it too tightly, and it is easier to loosen a seam now than after the tails are buried.
There is nothing to pin here, but do lay the piece flat and look at it from arm’s length before the final fasten off. The tail fan and the crest should balance each other on opposite ends. If one looks heavier, add or remove a stitch in the crest to even it out.
Tips
Stuffing
This duck stays flat by design, and it works better that way. A flat duck sits close to the head and does not flop over on the clip. If you want a little puff, add a very small pinch of fiberfill between the layers before you close the body. Keep it away from the clip itself. Over-stuffing shows immediately here because the two flat ovals start to bulge apart at the seam and the slip stitch edge stops looking clean. The tail fin and the crest stay completely unstuffed either way.
Eyes and Toy Safety
There are no safety eyes in this pattern, and that is the right call for a piece this flat. Nothing here needs a washer seated from inside, so there is no round you have to hit. If you want eyes, add them after the duck is closed. Place them slightly above the beak, spaced about 3 to 4 stitches apart. Small embroidery stitches in black yarn are the safest option and honestly the best looking one at this scale. Tiny beads work too, but only for an older child or an adult. For any child under three, embroider the eyes. No beads, no safety eyes, no buttons. A hair clip goes near a face and gets pulled at, and a small hard part sewn to a small soft thing is exactly the combination to avoid. Work all yarn ends back through the fabric rather than knotting them at the surface, and give the clip a firm tug once finished to check the crochet is not going to slide off it.
FAQs
Why does my first round look like a rectangle instead of an oval?
The 5 half double crochet worked into the last chain are what turn the corner. If that cluster got split across two chains, you get a squared-off end. Rip back to the corner and put all five into the same chain. It should visibly curve as you work them.
I cannot get my hook into the other side of the chain.
Turn the work so the bumpy underside of the chain faces you and aim for the single back loop of each chain. It feels tight for the first two or three stitches and then opens up. A pointier hook helps more than a bigger one.
What does “join with a slip stitch” actually mean?
Put your hook into the first stitch of the round you just finished, yarn over, and pull straight through both the stitch and the loop already on your hook. No yarn over in between. It closes the round into a ring so the next one starts from a clean edge.
My slip stitches along the edge are so tight I can barely work into them.
Very common and easy to fix. Slip stitches naturally pull tighter than every other stitch, so work them with a deliberately loose hand, or go up half a hook size just for the joining round. Tight slip stitches will also make the finished clip curl.
Can I use a thicker yarn since I do not have 3 ply?
You can, but the duck grows with it and may outsize the 5 cm clip. DK on a 3.5 mm hook gives something closer to 8 cm, so pair it with a longer clip. Keep the hook small relative to the yarn either way, since a dense fabric is what holds the shape. For more on yarn weights, check out our guide to standard yarn weights.
Pin This Crochet Pattern!