Yarn is on the table, hook in hand, and the first chain is pulled through. There is a quiet satisfaction in watching a flat circle begin to take shape, knowing that a simple fold will soon turn it into something recognizable and bright. This project is that moment of clarity. It is a Rainbow Amigurumi that requires no face, no limbs, and no complicated assembly—just a continuous arc of color that builds itself round by round.
Why This Project Works
Rainy spring days feel brighter with a crochet rainbow amigurumi on a nursery shelf, its red, yellow, green, and blue bands curving into a plump arc. Baby showers and rainbow baby announcements suit a soft stuffed rainbow plush that doubles as a photo prop or a crib side keepsake. Working the Crochet Rainbow Amigurumi feels like watching a stripe finish itself, then reaching for the next skein. Six color changes, six small rewards. The curve builds fast enough that you keep going past the point you meant to stop. Scrap yarn disappears, and your hands settle into the same rhythm for the whole arc. It is a perfect project for using up leftovers, and the result is a cheerful, sturdy piece that looks as good lying flat as it does standing up.
Project Overview
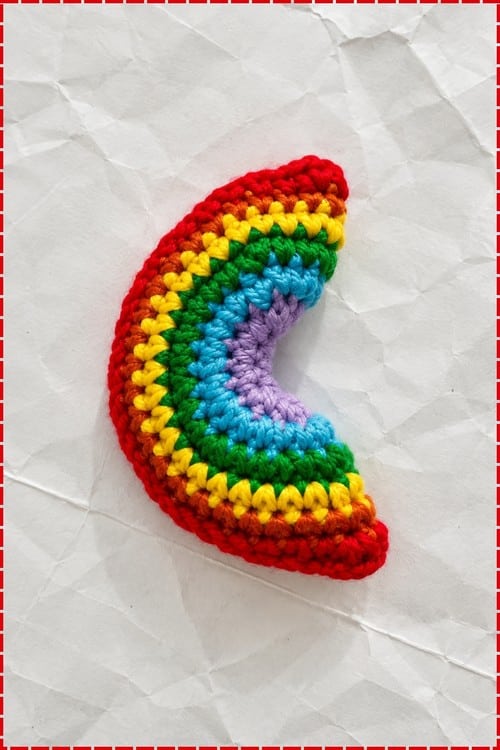
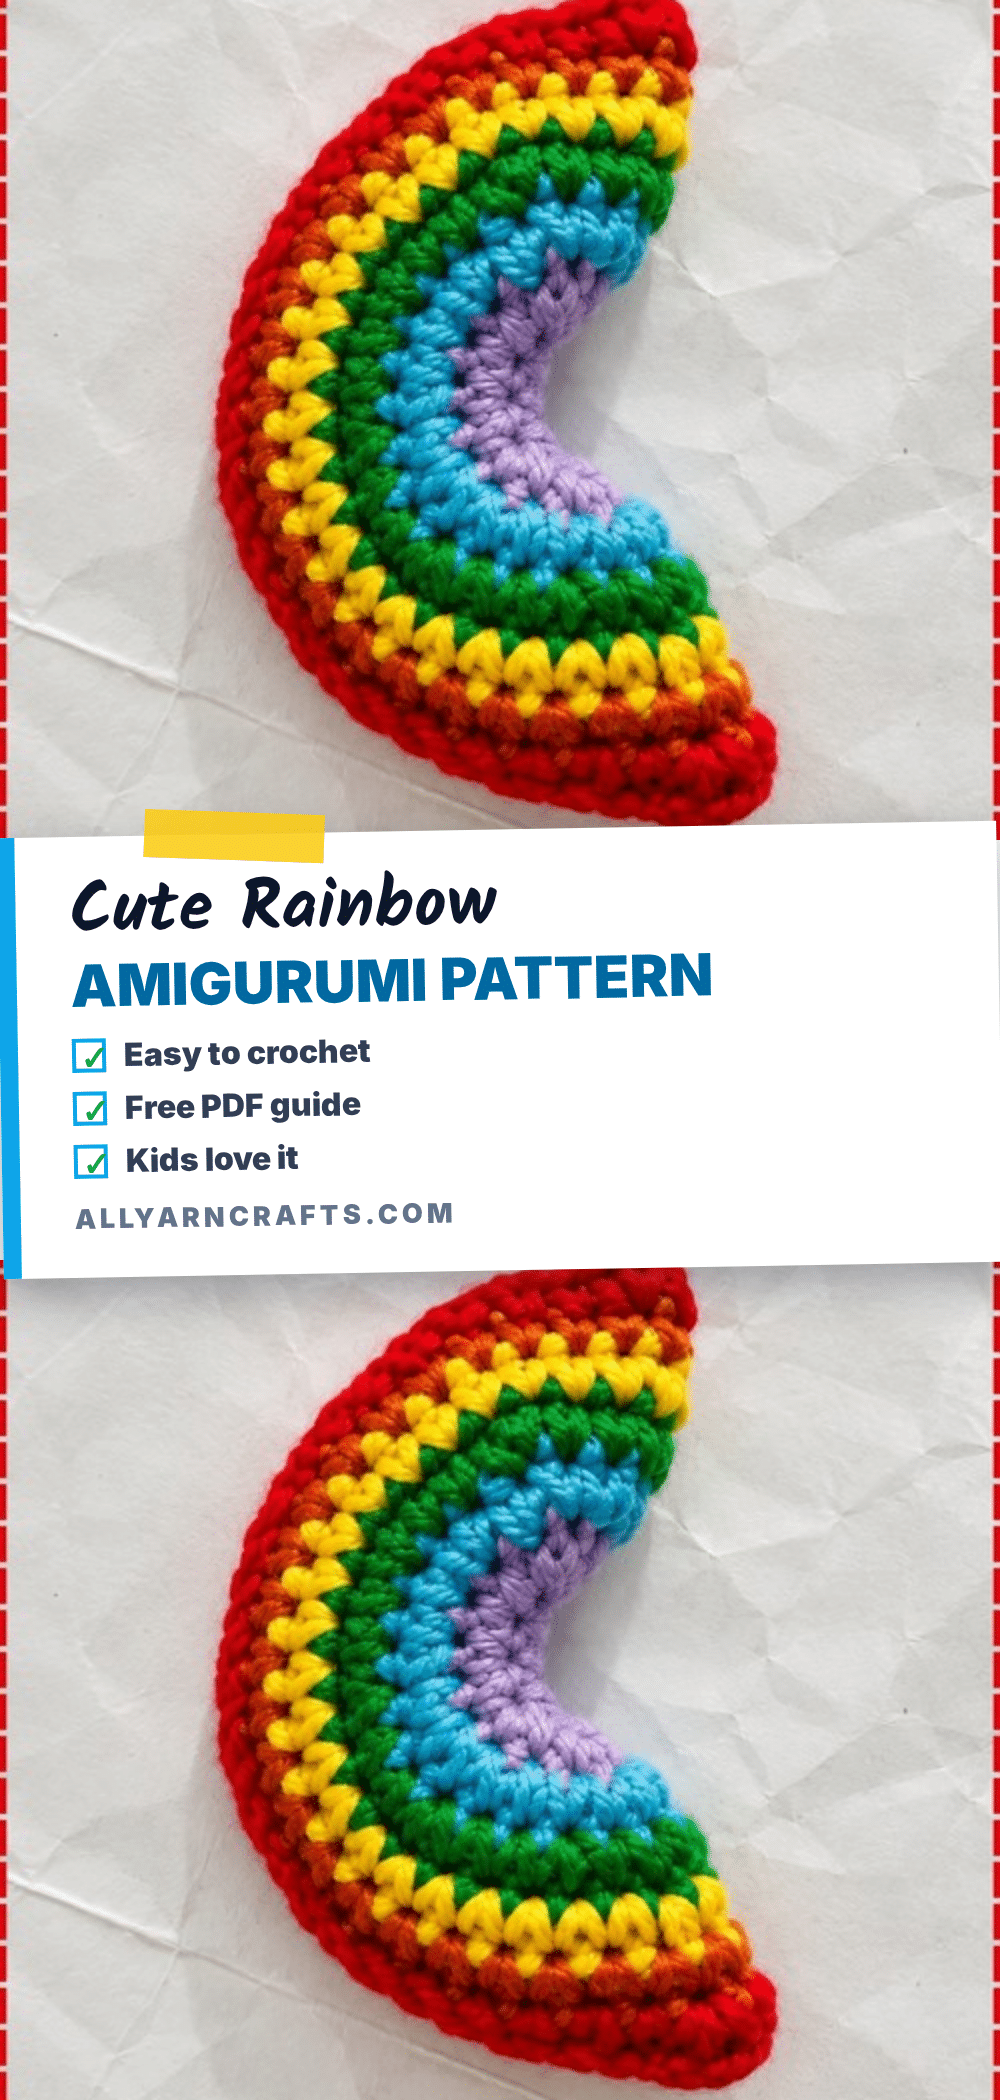
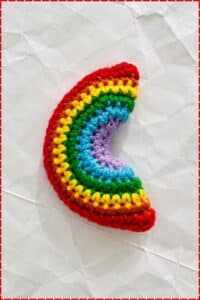
This pattern creates a six-color band rainbow that curves from red on the outer edge inward to lavender. The whole shape sits as a thick half moon with squared off ends. The arc is stuffed but flat, more cushion than ball, so it stands upright or lies down on a shelf. Rows follow the curve, one color at a time, worked outward from the inner band. It comes as one continuous piece with no limbs, no face, and nothing to sew on afterward. Front and back are identical, which means both sides look finished.
The only real skill needed is joining colors cleanly, so this lands well within reach for anyone new to shaped pieces. It is worked in joined rounds rather than a spiral, which ensures sharp horizontal color bands with no jog. The increase patterns are what let the circle widen without ruffling, and each layer adds one more plain stitch between increases than the layer before it. Keep your joins loose enough that the round does not pull in at the seam.
Materials
- Four ply baby soft cotton yarn in six colours: lavender, blue, green, yellow, orange, and red
- A 2.5 mm hook
- Yarn needle for sewing
- Fiberfill (optional, if you want to stuff it)
Gauge and Finished Size
Approximate rather than pattern specified: four ply cotton on a 2.5 mm hook gives a finished arch roughly 12 to 14 cm across. The project takes around an hour and a half to complete, most of it in the last two rounds where the stitch counts get long.
Abbreviations
- SC: single crochet
- Ch: chain
- Sl st: slip stitch
Pattern Notes
This is worked in joined rounds rather than a spiral. Finish each colour with a slip stitch, chain one, cut the yarn, then attach the next colour and carry on. The increase patterns are what let the circle widen without ruffling, and each layer adds one more plain stitch between increases than the layer before it. Keep your joins loose enough that the round does not pull in at the seam.
Pattern Instructions
Lavender Layer
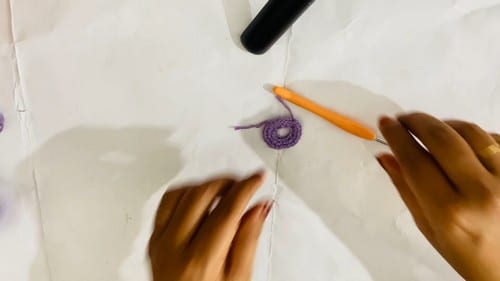
Make a slip knot and chain 12 stitches [12]. Join the first and last chain stitches with a slip stitch to form a circle. Chain one, then crochet two single crochet stitches into each of the 12 chain stitches [24]. This should sit as a flat ring with a visible hole at the centre, which is the chain loop and is meant to be there. Join the first stitch with a slip stitch, chain one, and cut the yarn.
Blue Layer
Attach the blue yarn and chain one. Follow a one-two pattern: one single crochet in the first stitch, two single crochet in the next. Repeat to the end of the round [36]. Join with a slip stitch, chain one, and cut the yarn.
Green Layer
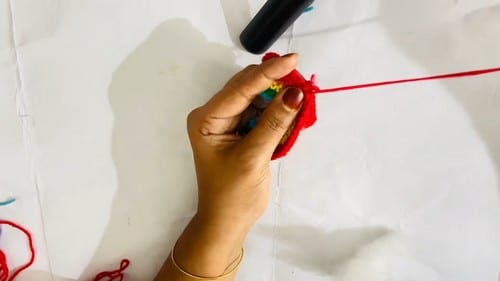
Attach the green yarn and chain one. Follow a one-one-two pattern: one single crochet in the first and second stitches, two single crochet in the third. Repeat to the end of the round [48]. Lay it down here. It should still be flat, and if the edges are waving your increases are too frequent for your tension. Join with a slip stitch, chain one, and cut the yarn.
Yellow Layer
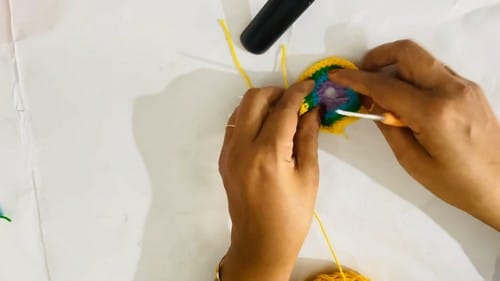
Attach the yellow yarn and chain one. Crochet one single crochet in each stitch around [48]. Join with a slip stitch, chain one, and cut the yarn.
Orange Layer
Attach the orange yarn and chain one. Crochet one single crochet in each stitch around [48]. The disc will start to cup slightly across these two even rounds, which is expected rather than a mistake. Join with a slip stitch, chain one, and cut the yarn.
Red Layer
Attach the red yarn and chain one. Follow a one-one-one-two pattern: one single crochet in each of the first three stitches, two single crochet in the fourth. Repeat to the end of the round [60]. The red band should sit slightly wider than the orange beneath it, opening the cup back out a little. Join with a slip stitch, chain one, and cut the yarn.
Assembly
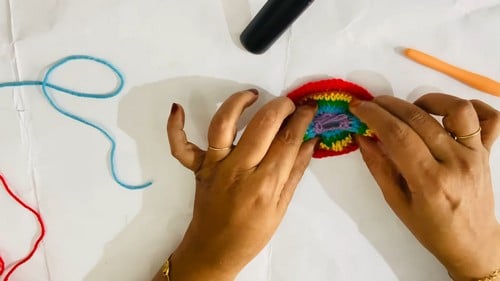
Fold the finished circle directly in half. That fold is what turns a disc into an arch, and the shape appears the instant you do it. Line up the colour bands on both halves so lavender meets lavender and red meets red along the open edge, then pin along the whole curve before you start sewing. Sew the two sides together through the back loops of both edges.
Add a light amount of fiberfill as you go if you want a fuller rainbow, feeding it in through the gap you have not yet closed. Keep going until the arch is sewn completely shut, then weave the tail in along the red band where it will not show. One thing worth knowing about this construction: the fold line is the only part with no seam, and it ends up being the crispest edge on the finished piece. If your rainbow has a “good side,” it is whichever way the fold faces.
Tips
Why cut the yarn after every colour instead of carrying it? Joined rounds with a clean cut give you sharp horizontal colour bands with no jog. Carrying the yarn up would save ends but leave a visible line of the previous colour at each join, which shows badly on something this graphic.
Can I make it bigger? Add layers by continuing the pattern. The next one would be one-one-one-one-two, then five plain stitches before each increase, and so on. Each new layer adds twelve stitches.
Should I stuff it or not? Depends where it is going. Unstuffed lies flat against a wall or in a garland. Stuffed sits up on a shelf. If you are undecided, sew most of the way, try it both ways, and finish accordingly.
FAQs
Why cut the yarn after every colour instead of carrying it?
Joined rounds with a clean cut give you sharp horizontal colour bands with no jog. Carrying the yarn up would save ends but leave a visible line of the previous colour at each join, which shows badly on something this graphic.
Can I make it bigger?
Add layers by continuing the pattern. The next one would be one-one-one-one-two, then five plain stitches before each increase, and so on. Each new layer adds twelve stitches.
Should I stuff it or not?
Depends where it is going. Unstuffed lies flat against a wall or in a garland. Stuffed sits up on a shelf. If you are undecided, sew most of the way, try it both ways, and finish accordingly.
What yarn weight is best for this pattern?
The pattern specifies four ply baby soft cotton yarn. This weight works well with a 2.5 mm hook to create a dense, sturdy fabric that holds its shape.
Is this pattern suitable for beginners?
Yes. The only real skill needed is joining colors cleanly, so this lands well within reach for anyone new to shaped pieces. Beginners can follow the video tutorial to crochet this plushie right along with the instructions.
Pin This Crochet Pattern!