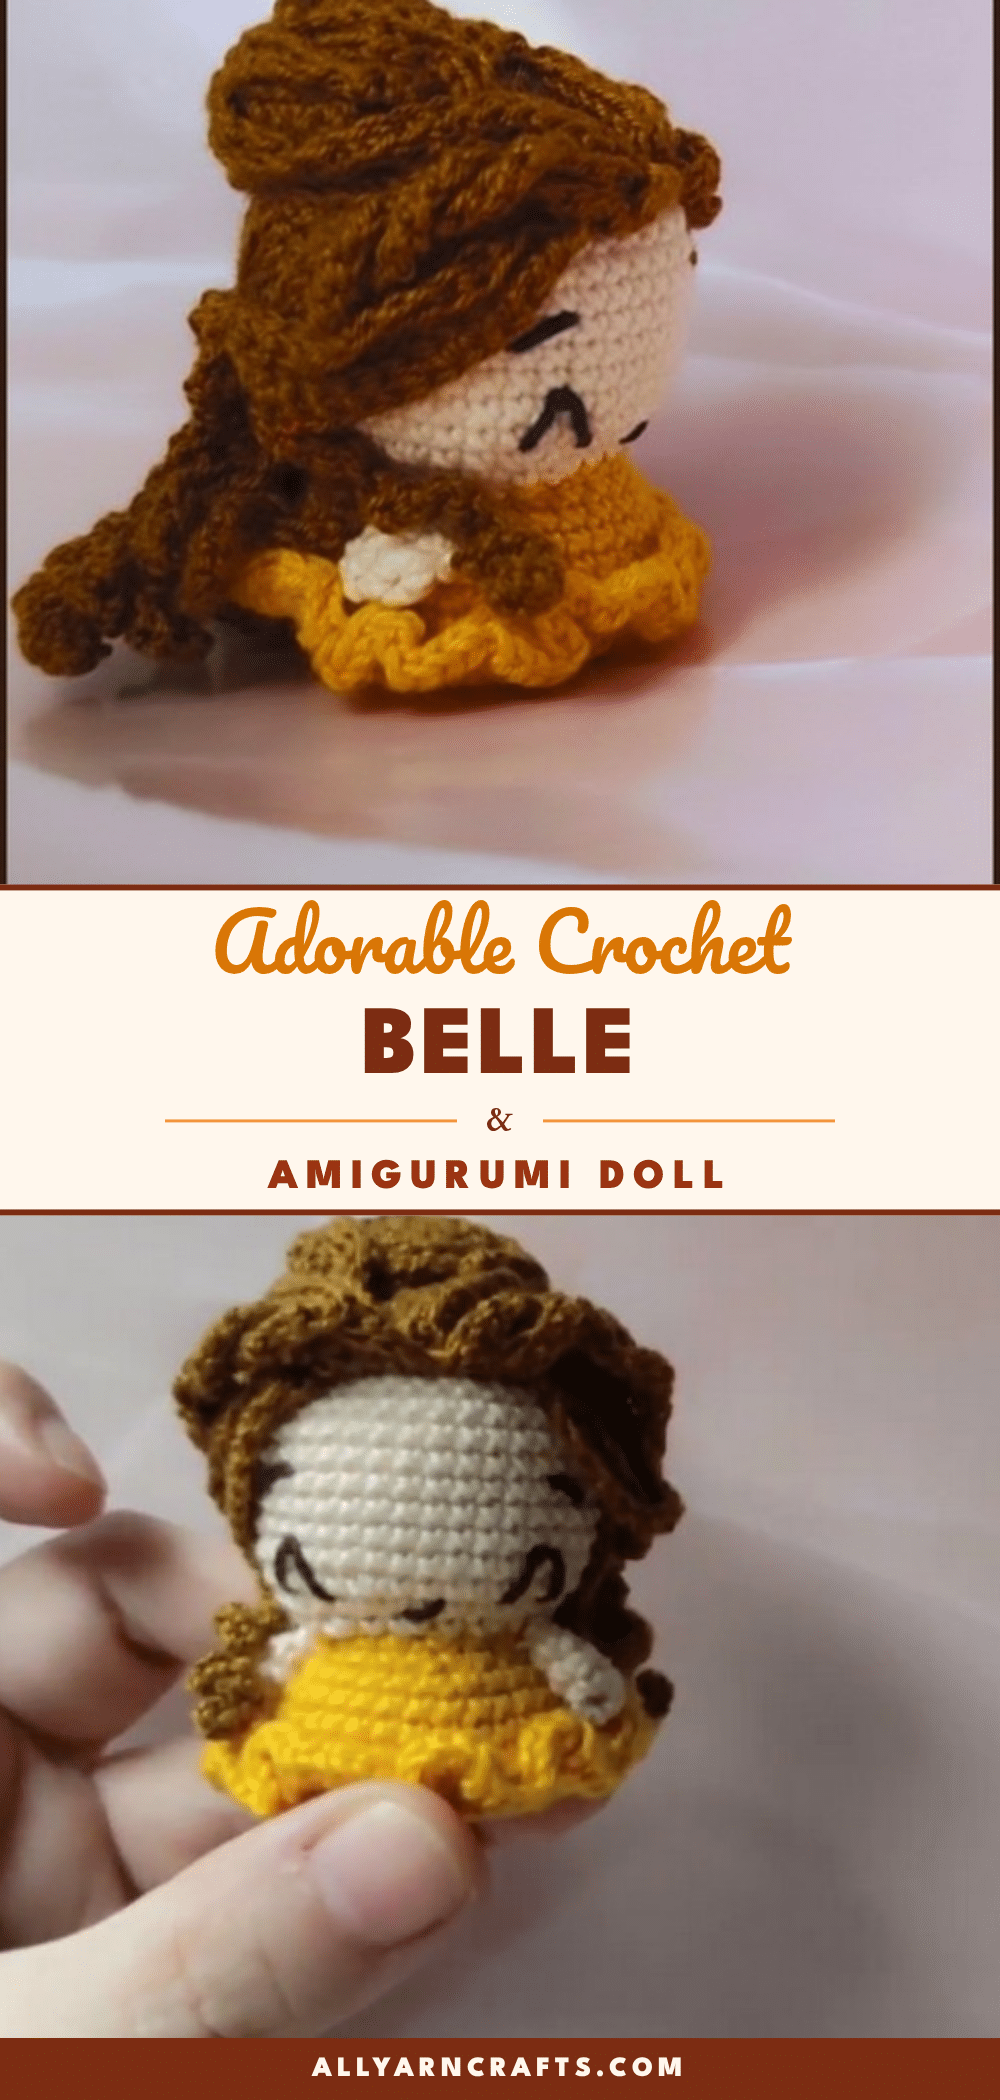
There is something undeniably magical about holding a finished amigurumi that looks like it stepped straight out of a storybook. This crochet Belle doll is the perfect blend of cute and display-worthy, featuring a structured ballgown that flares beautifully and a calm, stitched expression that makes it an ideal gift. Whether you are crafting party favours for a princess-themed birthday or adding a touch of whimsy to a nursery shelf, this project delivers a tidy, squishy result that feels as satisfying to make as it is to show off.
Why the Finished Piece Stands Out
What truly makes this Belle pattern special is the silhouette. The wide, bell-shaped skirt takes up more visual space than the head and torso combined, creating a dramatic yet balanced shape that is classic to the character. The technique used to create the skirt—working in the front loops only (FLO)—produces a genuinely structured flare that feels risky but looks professional. Unlike plain increases that just get wider, this method angles the fabric outward, giving the gown a ruffled, layered look without needing complex edging. The chunky braided strands of hair swept up in a bun add a textural contrast to the smooth, rounded head, making this one of the more involved and rewarding projects in the amigurumi category.
Project Overview
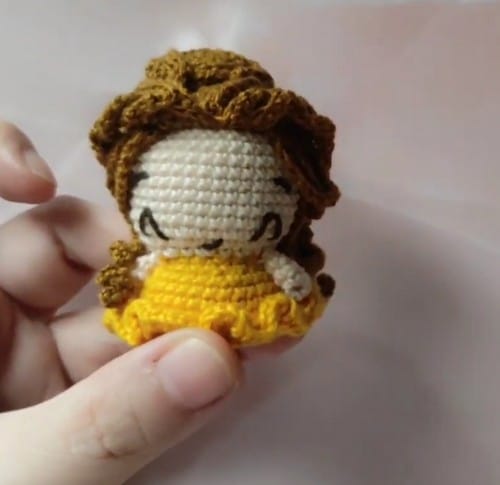
This pattern creates a princess doll with a distinct separation between the upper body and the lower skirt. The construction involves making the legs separately, joining them to form the base of the torso, and then working the body upward. The skirt is worked directly onto the waistline, while the head, arms, and hair are created as separate components before assembly. The final result is a doll with a bare neckline and exposed shoulders, finished with embroidered details for a soft, safe expression.
Materials
- Yellow Yarn: The largest portion, used for the legs, bodice, arms, skirt, and hairband.
- Skin Tone Yarn: Used for the upper legs, body, head, and arms.
- Brown Yarn: Used for the hair cap and bun.
- White Yarn: Optional, for adding accent details.
- Crochet Hook: 2.0mm or 2.5mm hook (depending on desired finished size).
- Safety Eyes: Approximately 6mm, one pair (or black embroidery thread for embroidered eyes).
- Stuffing: Polyester fiberfill.
- Tools: Tapestry needle, scissors, and black embroidery thread for eyelashes.
- Face Details: Pink yarn or thread for the mouth and optional blush.
Gauge and Finished Size
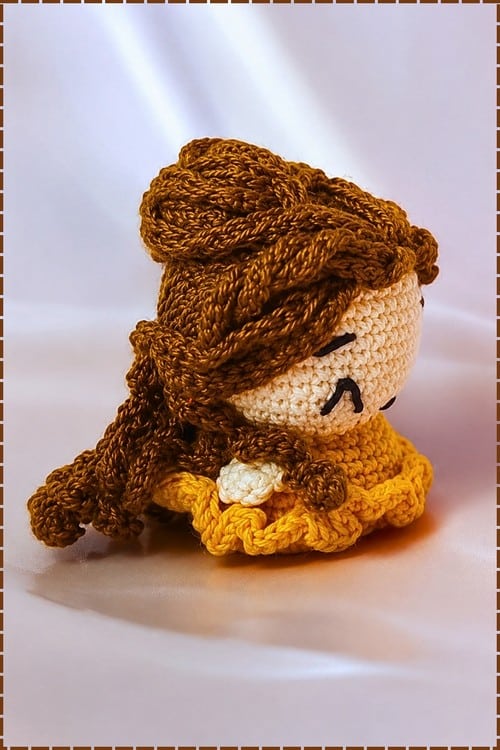
The finished height depends heavily on hook size and personal tension. With sport weight yarn and a 2.0mm hook, the estimate is approximately 18 to 22cm. This is an approximate measurement and not strictly stated in the pattern. Allow four to six hours across multiple sessions for a project of this scope.
Abbreviations
- sc: single crochet
- inc: increase, 2 sc in one stitch
- dec: decrease
- ch: chain
- sl st: slip stitch
- FLO: front loops only
- MR: magic ring
- st / sts: stitch / stitches
Pattern Notes
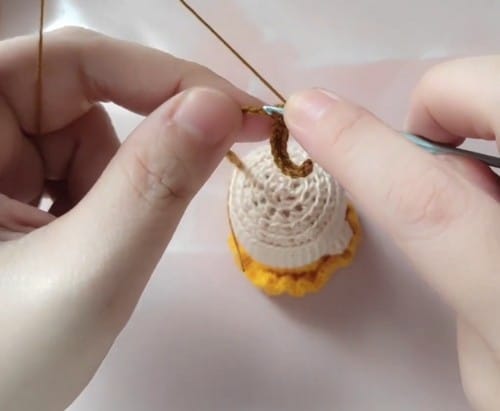
The silhouette is defined by a wide bell-shaped skirt that forms the lower body. The upper body sits on top of that skirt as a separate piece, with arms attached at the shoulders and hair worked or sewn on above. The head is a standard sphere. Parts include the skirt, the upper body, the head, two arms, and hair pieces, making this one of the more involved assembly lists in the amigurumi category. Stuffing fills the head and upper body firmly, while the skirt holds its shape through the structure of the stitches alone.
Party favours for a princess birthday come out better when every crochet Belle princess doll matches a child’s own colours. Changing the gown to blue, pink, or green gives each guest a different doll from the same amigurumi princess pattern. Chunky braided strands make up the hair on this free crochet princess doll Belle amigurumi pattern, swept up at the back with one long piece falling forward over the shoulder. A ruffled ballgown flares out from the chest, leaving the neckline bare and the shoulders exposed. Stitched closed eyes and lashes give the small round head a calm expression. Attach the hair before the dress, since the strands need room to sit right across the shoulders.
Working in continuous rounds for the first time? No problem at all, the video tutorial below makes it easy to keep track! For more beginner-friendly techniques, you might also enjoy our easy crochet top pattern for beginners.
Pattern Instructions
Legs (Make 2)
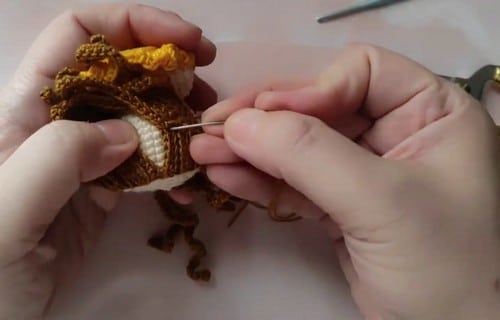
Starting yarn: Yellow.
Foundation: Start with a magic ring and work the first rounds in yellow to form the shoe and lower leg. Increase evenly from the magic ring to form the foot, then work even rounds to build the leg tube.
Colour change: Switch to skin tone yarn to continue the upper leg section.
Stuffing: Stuff the legs firmly as you work upward, pushing fiberfill into the foot before the tube narrows. — Checkpoint: each finished leg should stand upright on its own on a flat surface with the foot visible at the base. A leg that flops sideways was either understuffed or the tension through the upper rounds loosened relative to the lower section.
Fasten off the first leg. Leave the second leg attached to the working yarn.
Joining: Ch a short bridge — typically 2 to 3 chains — and join to the first leg. Work around both legs and the chain to begin the body. — Checkpoint: both legs should hang evenly at the same length and the joining chain should sit snugly between them without pulling either leg inward. Hold the joined base up before continuing. A twisted join here will torque the whole torso.
Body and Torso (Continues From Joined Legs)
Continuing in skin tone yarn: Work the body section in continuous rounds upward from the join.
Shaping: Continue in skin tone yarn to form the midsection.
Colour change to yellow: Switch to yellow yarn to form the bodice area.
Decreases: Shape the torso with gradual decreases until reaching the neck. — Checkpoint: the torso should taper clearly from the hip width at the join down to a narrower neck, with the yellow bodice section reading as a defined upper body. If the decreases happened too quickly the torso looks pinched; too slowly and there is no waist definition.
Fasten off. Leave a long tail for attaching the head.
Head
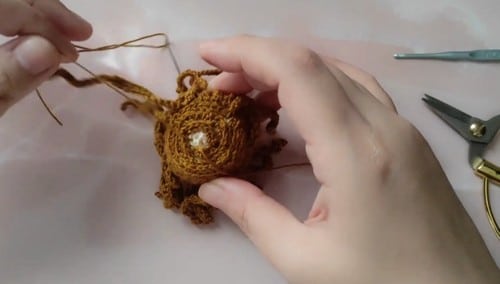
Foundation: Start a magic ring in skin tone yarn.
Shaping: Increase evenly across several rounds to form a round head shape. — Checkpoint: by the widest round the head should be a clear, evenly rounded dome sitting flat on the table with no points or corners at the sides. Uneven increases produce a lumpy oval rather than a sphere.
Safety eyes go in now, before decreasing begins. Insert them evenly spaced at eye level — roughly one third of the way down from the crown — while the opening is still wide enough to reach inside and attach the washers comfortably. Once the decreases begin the access shrinks fast and getting washers onto the backs becomes very difficult. This step cannot happen after closing. For toys going to children under three, use embroidered eyes in black thread only. Two small satin stitch circles, stitched before stuffing with tails woven well inside the head.
Decreasing: Continue crocheting and begin decreasing evenly to close the head. — Checkpoint: the opening should be narrowing symmetrically, pulling inward at the same rate all the way around. An uneven close — one side higher than the other — usually means the decrease pairs drifted from their evenly spaced positions.
Stuffing: Stuff the head firmly with fiberfill before the opening is fully closed.
Fasten off. Leave a long yarn tail for attaching the head to the body.
Arms (Make 2)
Foundation: Start each arm with a magic ring in skin tone yarn.
Shaping: Crochet evenly without increases to keep the arms slender. Work enough rounds in skin tone to form the hand and lower arm. — Checkpoint: the arm tube should be narrow and consistent in width, not flaring at the base or pinching at any point. Hold both arms side by side before the colour change and check they match.
Colour change: Switch to yellow yarn to create the sleeve or glove detail.
Stuffing: Lightly stuff the arms if desired. Overstuffing makes them rigid and they will not drape naturally against the body.
Fasten off. Leave a long tail for sewing.
Hair Cap (Brown Yarn)
Foundation: Start a magic ring in brown yarn.
Shaping: Work increases evenly across rounds to form a fitted cap shape roughly matching the diameter of the top of the head. — Checkpoint: lay the cap against the head before fastening off. It should sit flush on the crown without gaps at the edges or bunching at the centre. A cap that sits proud of the head was increased too generously; one that buckles or puckers was not increased enough.
Fasten off. Leave a long tail for sewing.
Bun (Brown Yarn)
Foundation: Start a magic ring in brown yarn and work a small compact sphere or flat circle, depending on whether you prefer a rounded or flatter bun shape.
Fasten off. Leave a long tail for sewing.
Skirt (Yellow Yarn, Worked Onto the Body)
Attachment: Attach yellow yarn at the waistline of the body.
FLO round: Work in front loops only to allow the skirt to flare outward from the body. — Checkpoint: after the first FLO round you should be able to see the unused back loops sitting as a visible ridge above the skirt, and the skirt fabric should already be angling outward rather than sitting flat against the body. If it is lying flat against the torso, check that only the front loops were used.
Volume increases: Increase stitches generously in the early skirt rounds to build the bell shape.
Length: Continue working even rounds — or additional increase rounds — until the skirt reaches the desired length.
Hem: Add decorative edging at the hem to suggest the layered or ruffled bottom of a classic ballgown. Shell stitches, picots, or a fan stitch row all work here.
Fasten off and weave in ends.
Final Details
Hairband: Wrap a small strip of yellow yarn around the base of the bun to form the hairband, securing both ends inside the bun.
Eyelashes: Embroider lashes using black thread in short diagonal stitches above each eye.
Mouth and blush: Add a small mouth using pink yarn or thread. Apply optional blush using a few loose satin stitches or a dry-brush of chalk pastel sealed with spray fixative.
Stuffing Guide
The legs need the most stuffing of any section and it should go in as you work rather than at the end, because the foot tube is too narrow to push fiberfill into from the top once the leg is finished. Fill firmly. The body and torso need enough stuffing to hold the shape under the skirt but not so much that the torso looks wide through the waist — add a modest amount, then check the silhouette from the side before closing. The head should be packed firmly so the face does not distort over time. Arms stay lightly stuffed or empty entirely; a densely stuffed arm at 2.0mm tension is rigid and does not pose well.
Assembly
Work in this order and the process is straightforward. Close and stuff the head first, then attach it to the body using the long tail, sewing through several stitches all the way around the neck join rather than tacking in two or three spots. A head attached at only a few points will rotate and eventually work loose. Pin the head in position before committing to the first stitch and check from the front that it sits centred and upright. Attach both arms next, at shoulder level on each side of the yellow bodice. Pin both before sewing either — hold the whole doll upright and check that the arms hang symmetrically at the same height before threading the needle. Sew the hair cap onto the head, positioning it so the front hairline sits above the eyes at a natural height. Attach the bun to the top back of the cap and wrap the yellow hairband strip around its base. Embroider the eyelashes and face last, while the whole doll is assembled and you can judge the expression in context.
Tips
The pattern describes making two separate legs then joining them with a short chain before continuing the body in one piece. That is the construction to follow. Making legs separately and sewing them on afterward is possible but will not give the same clean integrated join at the hip. If you are looking for other gift ideas, check out our easy fathers day crochet gifts for more inspiration.
The skirt is not flaring — it just sits flat against the body. What’s wrong? Almost certainly the FLO row was worked through both loops rather than front loops only. The unused back loops are what allow the skirt to angle away from the body. If it already happened, the skirt will need to be unravelled back to the attachment round and reworked. Check with your fingernail that you are catching only one loop per stitch before working the first increase round.
The pattern does not specify, and this is genuinely a by-eye decision. Cut test lengths and hold them against the head before committing — they should hang to roughly the waist of the doll for the loose section. The worked cap handles the pulled-up portion and the strands or sections add the loose fall below. Whatever length looks balanced against the specific doll you have made is the right answer.
An oval head on an amigurumi almost always means the increase rounds were not evenly distributed. If the head is already closed and stuffed, wet blocking it gently into a rounder shape while the stuffing is still slightly compressible can help. On the next version, spread the increases further apart across more rounds rather than cramming them into the first two.
FAQs
Can I use a larger hook for this pattern?
Yes, you can use a 2.5mm hook, but be aware that the finished height will increase. The pattern estimates 18-22cm with a 2.0mm hook, so a larger hook will result in a taller doll with looser stitches.
How do I ensure the skirt flares correctly?
The flare is created by working the first round of the skirt in the front loops only (FLO). You must catch only the front loop of each stitch from the body; the back loops should remain unused and visible as a ridge. This creates the angle for the bell shape.
Is it safe to use safety eyes for this doll?
The pattern uses 6mm safety eyes. However, for toys intended for children under three, it is recommended to use embroidered eyes in black thread only to avoid small parts. Ensure any safety eyes are securely fastened with washers.
Why are my legs flopping over?
If a leg flops sideways, it is likely understuffed or the tension in the upper rounds loosened. Stuff the legs firmly as you work, pushing fiberfill into the foot before the tube narrows, to ensure they stand upright on their own.
How do I fix an oval-shaped head?
An oval head usually means increases were not evenly distributed. If the head is already closed, you can try wet blocking it gently. For future projects, spread the increases further apart across more rounds to maintain a spherical shape.
For more cozy home decor ideas, consider exploring our cozy crochet floor pouf or easy crochet blanket patterns.
Pin This Crochet Pattern!