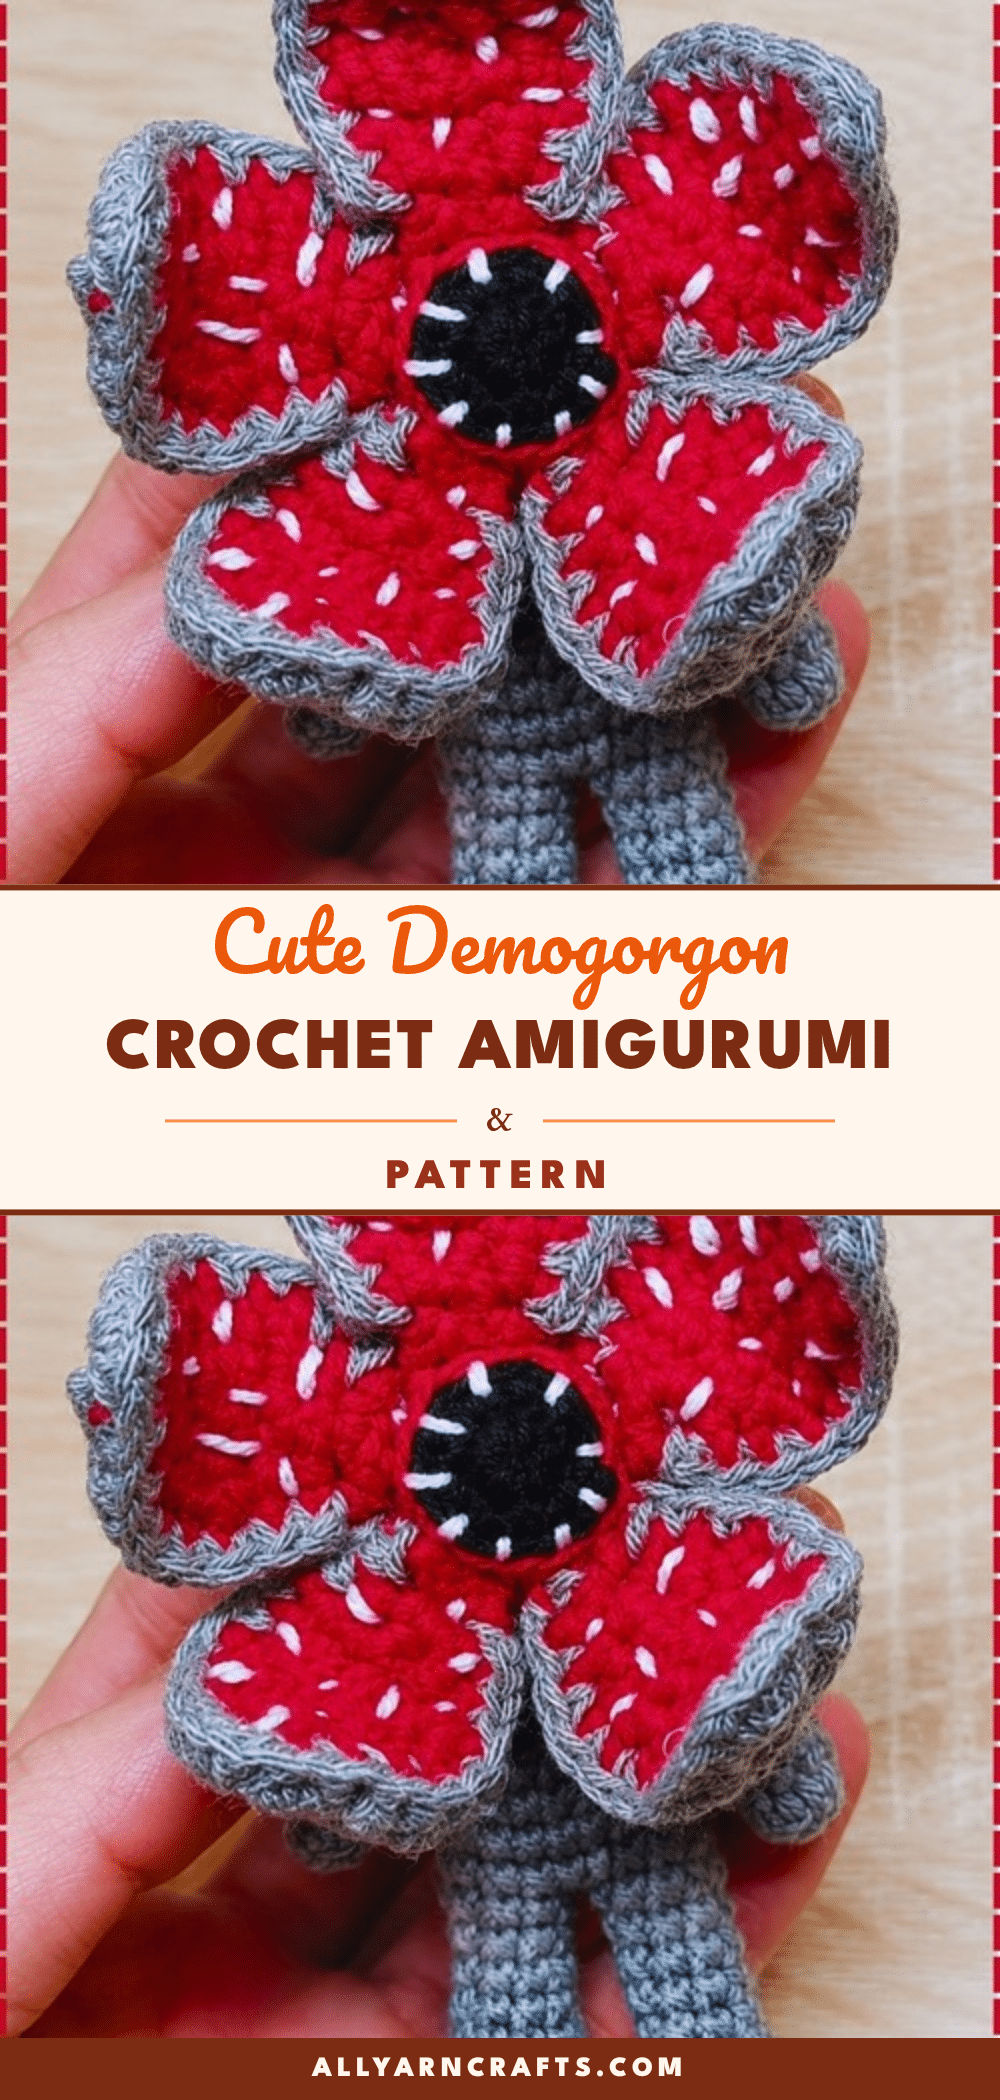
There is a particular kind of magic in the quiet hours of the evening when the house settles down and the only sound is the rhythmic click of the hook. A small batch of DK yarn waits patiently, the colors chosen with care, and the stitches fall into a relaxing, meditative repeat. This Demogorgon amigurumi is the perfect companion for those cozy project rituals. It requires patience and attention to detail, rewarding you with a sculptural piece that captures the eerie charm of the Upside Down. As you count each round and join the pieces, you are not just building a toy; you are crafting a piece of Halloween history with a handmade touch.
Small Details That Make It Better
What truly elevates this amigurumi from a simple stuffed toy to a statement piece is the construction of the head. Unlike standard amigurumi that rely on safety eyes, the Demogorgon’s face is entirely built from sewn and embroidered elements. The contrast between the gray and red petals creates a striking visual depth, while the white surface stitching mimics the teeth that line the inside of the flaps. Paying close attention to the pairing of the petals—ensuring the red and gray layers are joined seamlessly—gives the final piece a professional finish. The decision to use wire inside the petals is optional but recommended for display, as it allows the “mouth” to hold its open, star-like shape without collapsing. These small finishing details transform the yarn into something that feels alive and menacing.
Project Overview
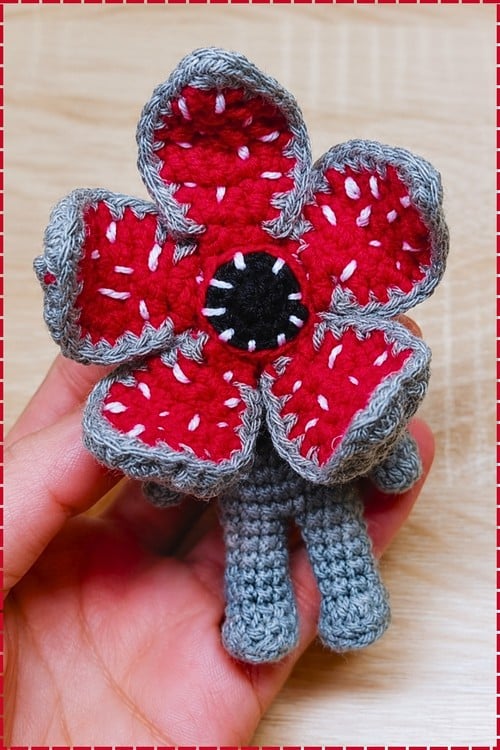
This pattern creates a Demogorgon amigurumi inspired by the popular series. The figure features a segmented head that splits into ten petals (five red, five gray), a black center disk, and a humanoid body with four stubby legs. The construction is unique, particularly the head, which involves an inside-out turn to create the flaring petal structure. The face has no safety eyes; instead, the expression is created through the arrangement of the petals and embroidered teeth.
Materials
- Gray Yarn: DK weight. Approximately 50 to 60 meters total for the body, head, arms, and legs.
- Red Yarn: Approximately 15 meters for the red petals.
- Black Yarn: A small amount for the mouth center disk.
- White Yarn: A small amount for embroidered teeth.
- Crochet Hooks: 2.5 mm and 3.0 mm hooks.
- Stuffing: Polyester fibrefill.
- Tools: Tapestry needle, thin wire (optional, for stiffening petals), hot glue (optional, for final assembly).
Note: All yardage is approximate. Finished height is roughly 16 to 20 cm depending on tension.
Gauge and Finished Size
There is no specific gauge provided for this pattern, but the finished height is estimated to be roughly 16 to 20 cm. The final size may vary based on your personal tension and the specific DK yarn weight used. If you substitute to a heavier yarn, scale both hooks up by 0.5 mm and expect a finished piece roughly a third larger.
Abbreviations
- ch: chain
- sc: single crochet
- inc: two sc in the same stitch
- dec: invisible decrease
- BLO: back loops only
- FLO: front loops only
- sl st: slip stitch
- R: round
Pattern Notes
- Hook Usage: The pattern uses two hook sizes (2.5 mm and 3.0 mm). Use the smaller hook (2.5 mm) on the body and legs for a dense fabric that holds stuffing well. Use the larger hook (3.0 mm) on the petals for a softer drape.
- Petal Consistency: The petal count is the largest commitment. Plan to make all ten petals in a single session to keep the size consistent across them.
- Surface Stitching: Work the surface stitches while the petals are still flat. Curling them into position first makes it hard to keep the lines even.
- No Safety Eyes: The face is built entirely from sewn and embroidered elements. All attachments should be sewn firmly rather than glued if the piece will be handled, as hot glue bonds can loosen with repeated use.
- Wire Safety: For display pieces, wire is fine. For anything handled or given to a child, skip the wire and rely on blocking instead, as thin wire can work its way through yarn over time.
Pattern Instructions
Legs (Make 2) — Gray
Use 2.5 mm hook.
- R1: 5 sc into magic ring (5)
- R2: inc in each st around (10)
- R3: sc in BLO in each st around (10). The back-loop-only round creates a visible ridge at the foot base. After this round the piece should sit like a small flat-bottomed cup.
- R4: 3 sc, dec twice, 3 sc (8)
- R5 to R8: sc in each st around (8). Four straight rounds build the leg height. By round 7 each leg should look like a stubby even tube with a slightly squared-off foot base.
Fasten off the first leg. Keep yarn attached on the second leg and do not cut.
Body — Gray
Worked continuously from the second leg, joining both legs in round 9. Use 2.5 mm hook.
- R9: sc 8 across second leg, ch 1, sc 8 across first leg, 1 sc into the ch on each side of the bridge (18). Count carefully after this round — the chain bridge adds 2 stitches and the join can be confusing on the first attempt.
- R10 to R12: sc in each st around (18). By round 11 the joined body should look like a short wide barrel sitting on two legs.
- R13: (4 sc, 1 dec) repeat 3 times (15)
- R14: (3 sc, 1 dec) repeat 3 times (12). Stuff the body firmly now, before the opening narrows further.
- R15: (1 sc, 1 dec) repeat 4 times (8). This is the neck. By round 15 the body should taper clearly inward from the barrel of rounds 10 to 12, forming a visible neck stump. Close by weaving the yarn tail through the front loops of the remaining 8 stitches and pulling tight. Do not fasten off yet — leave the tail for attaching the head.
Arms (Make 2) — Gray
Use 2.5 mm hook.
- R1: 7 sc into magic ring (7)
- R2 to R6: sc in each st around (7). Five straight rounds. By round 4 the arm should be a neat cylinder, even and consistent. If it is twisting, your tension is uneven. Flatten the arm across its widest point and close the top with 2 to 3 sc through both layers. Leave a long tail for sewing.
Head Base — Gray
This piece has an unusual construction. Rounds 1 to 7 form a narrow tunnel that fits over the body neck. The work is then turned inside out and the head expands outward from round 8. Use 2.5 mm hook.
- R1: 5 sc into magic ring (5)
- R2: inc in each st around (10)
- R3 to R7: sc in each st around (10). Five plain rounds form the neck tunnel. By round 7 this should look like a small, tight cylinder, open at both ends. Turn the whole piece inside out before continuing.
- R8: Working in BLO, inc in each st around (20). This is worked on the now-outward-facing loops after turning inside out. The head begins to flare here. After this round the piece should look like a small trumpet bell opening from the tunnel base.
- R9: (1 sc, 1 inc) repeat around (30)
- R10 to R16: sc in each st around (30). Seven plain rounds build the head sphere. By round 13 the head should be clearly rounded and roughly three-quarters closed.
- R17: (3 sc, 1 dec) repeat 6 times (24)
- R18: (2 sc, 1 dec) repeat 6 times (18). Stuff the head firmly now through the remaining opening. Continue decreasing evenly until the head is closed. Weave in the end through the remaining stitches.
Mouth Petals (Make 5 Red and 5 Gray)
Each petal is worked flat in rows. Use 3.0 mm hook.
- Row 1: ch 3, sc in the second ch from hook, sc in the next ch, ch 1 and turn (2)
- Row 2: inc in each st across (4), ch 1 and turn
- Row 3: 1 sc, inc, inc, 1 sc (6), ch 1 and turn
- Row 4: sc in each st across (6), ch 1 and turn
- Row 5: sc in each st across (6), ch 1 and turn. By row 5 each petal should be a small even rectangle, wider at the top than the base.
- Row 6: 2 sc, 1 dec, 2 sc (5), ch 1 and turn
- Row 7: 2 sc, 1 dec, 1 sc (4), ch 1 and turn
- Row 8: dec twice (2), ch 1 and turn
- Row 9: 1 dec (1), fasten off
Pairing petals: Place one red petal and one gray petal together with wrong sides facing. Single crochet around the entire outer edge to join them, inserting a short length of wire between the layers before closing if you want the petals to hold a slight curve. Fasten off and leave a tail.
Mouth Centre Disk — Black
Use 2.5 mm hook.
- R1: 6 sc into magic ring (6)
- R2: inc in each st around (12)
Fasten off and leave a long tail for sewing.
Stuffing
- Legs: Can be lightly stuffed or left empty — empty legs give a floppier, more poseable result.
- Body: Needs firm, even stuffing through the neck opening before round 15 closes it down.
- Head: Needs very firm stuffing: it has to hold its sphere shape once the petals and centre disk are sewn on, since those pieces add visual weight to the front.
- Arms: Get no stuffing.
- Petals: Get no stuffing, though wire inside gives them rigidity.
Assembly
Pin every piece before committing to any seam. Work in this order.
- Head to Body: Fit the head’s neck tunnel over the body neck stump. The tunnel should slide over snugly. Secure by sewing through the tunnel edge into the body neck with small stitches all the way around the join. Reinforce with a second pass.
- Arms: Pin the arms to the sides of the body at approximately round 10, one on each side. The flattened top of each arm sits flush against the body. Sew through the body fabric in a ring for a secure hold.
- Teeth (Center): Embroider white teeth around the outer edge of the black centre disk before attaching it, using straight stitches radiating outward.
- Center Disk: Sew the disk to the centre front of the head at approximately round 12 to 13, which sits in the middle of the flat face area.
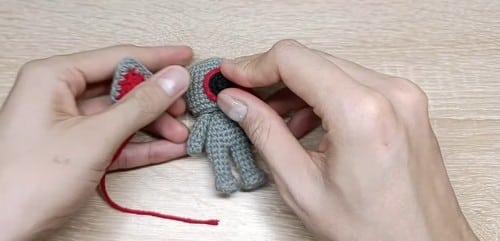
- Petals: Arrange the five paired petals in a star pattern around the centre disk and pin them evenly before sewing. Each petal base should touch or slightly overlap the disk edge. Sew each petal base through to the head fabric.
- Teeth (Petals): Embroider additional white teeth onto the inner red surface of each petal after they are sewn down, using straight stitches along the lower edge of the red layer.
Tips and Troubleshooting
- Leg Join Gap: The leg join at round 9 looks gappy. Use the yarn tail from the first leg to close the gap on the inside with one or two extra stitches. The chain bridge always leaves a small hole that needs to be manually closed.
- Head Tunnel Fit: The head tunnel will not slide over the neck. Check that round 15 of the body closed to 8 stitches and that you did not skip the FLO pull-through close. If the neck is too wide, work one more decrease round before attaching.
- Inside-Out Turn: The inside-out turn at round 8 of the head looks twisted. This is normal during that round. Work through it and the piece will settle into a proper flare by round 9.
- Petal Flatness: The petals are not staying flat after joining. If you did not use wire, the petals will naturally curve slightly. Either insert wire during the joining round or block each petal flat under a damp cloth and let it dry before sewing.
- Even Spacing: The petal star looks uneven. Count the stitches around the centre disk and divide by 5 before pinning petals. Mark every fifth stitch with a pin to get true even spacing before sewing anything down.
- Embroidery: The embroidered teeth look lumpy. Use a thread weight lighter than your main yarn. A single strand of DK or a dedicated embroidery thread gives a cleaner line than full-weight yarn.
- Petal Tip: My petal join round looks messy around the tip. The tip of each petal is only 1 stitch wide, so single crocheting around it will always feel tight. Work one sc into the last stitch at the tip and pivot. Do not try to put more than one stitch there or it will ruffle.
- Center Disk Size: The centre disk looks too small against the head. Work one more increase round after round 2 to bring the disk to 18 stitches. This gives a larger face opening for the petal arrangement.
FAQs
Can I use a different yarn weight?
If you substitute to a heavier yarn, scale both hooks up by 0.5 mm. Be aware that this will result in a finished piece roughly a third larger than the estimated 16-20 cm height.
Is the wire safe for children?
For display pieces, wire is fine. For anything handled or given to a child, skip the wire and rely on blocking the petals flat instead. Thin wire can work its way through yarn over time, especially at points and edges.
Why does my head tunnel not fit over the body?
Check that round 15 of the body closed to exactly 8 stitches and that you wove the tail through the front loops (FLO) to close it. If the neck is too wide, work one more decrease round before attaching the head.
How do I make the petals stay flat?
If you do not use wire, you must block the petals. Place them under a damp cloth and let them dry completely before sewing them down. This helps them retain a flat shape once attached to the head.
Can I add more rounds to the center disk?
Yes. If the disk looks too small, work one more increase round after round 2 to bring the disk to 18 stitches. This provides a larger face opening for the petal arrangement.
If you enjoy making unique amigurumi characters, you might also like exploring other creative projects, such as a crochet top pattern or a cozy crochet floor pouf for your crafting space.
Pin This Crochet Pattern!