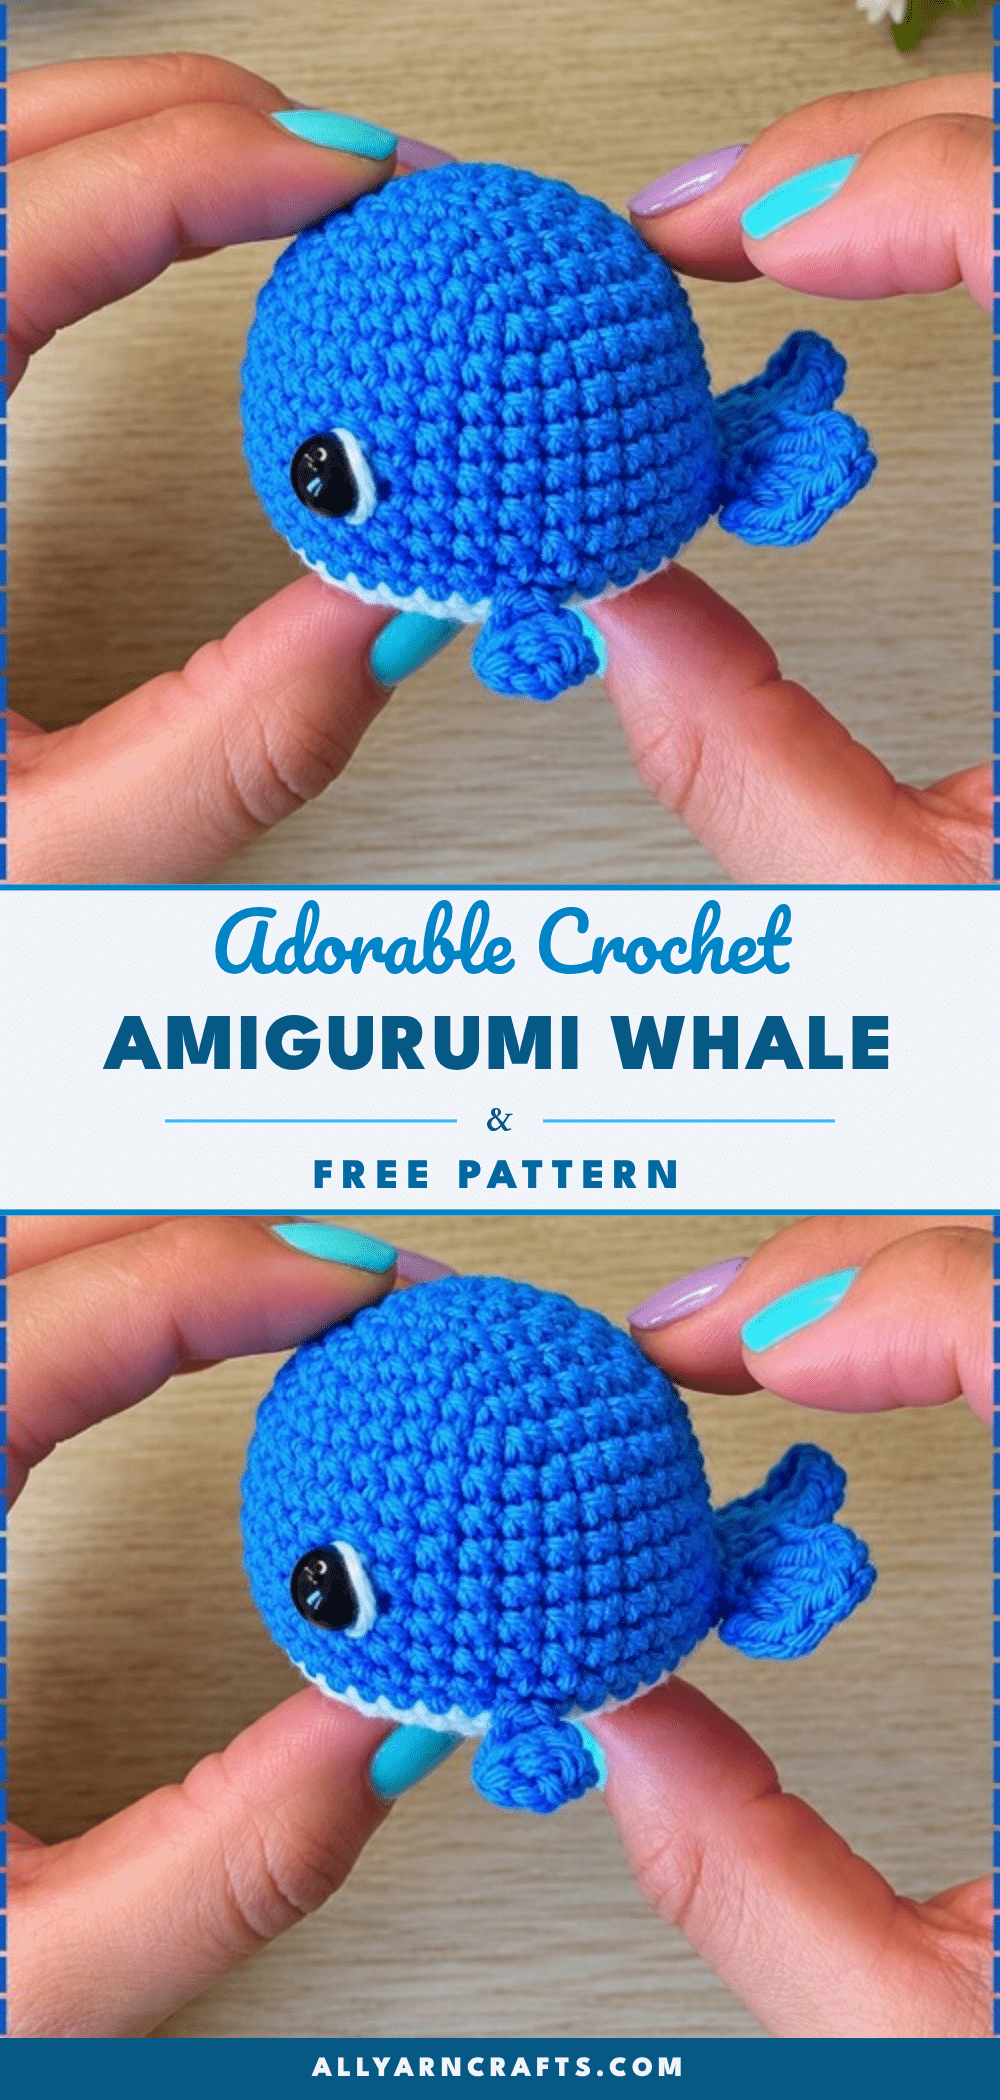
Yarn sits on the table, hook in hand, and the project begins to take shape. There is a specific kind of magic in watching a single piece of fabric grow into a character. You are not just making a toy; you are building a personality, stitch by stitch. This crochet amigurumi whale is the perfect project for that moment. It is round, cheerful, and surprisingly quick to finish. The body works up in a single piece, meaning you skip the tedious assembly phase and get straight to the fun part: watching your little whale claim its spot on the shelf.
Why This Project Works
What makes this whale stand out is its “one-and-done” construction. Unlike many amigurumi patterns that require sewing on separate heads, tails, and limbs, this design integrates the tail flukes and side fins directly into the body rounds. You work the main color up to the nose, add the fins and tail in a single complex round, switch to white for the belly, and then close it up. The result is a sturdy, seamless toy that holds its shape beautifully. It is also forgiving; the simple geometric shaping means you do not need advanced skills to get a professional-looking result. Whether you are a beginner looking for a confidence-building project or an experienced maker wanting a quick gift, this whale delivers.
Project Overview
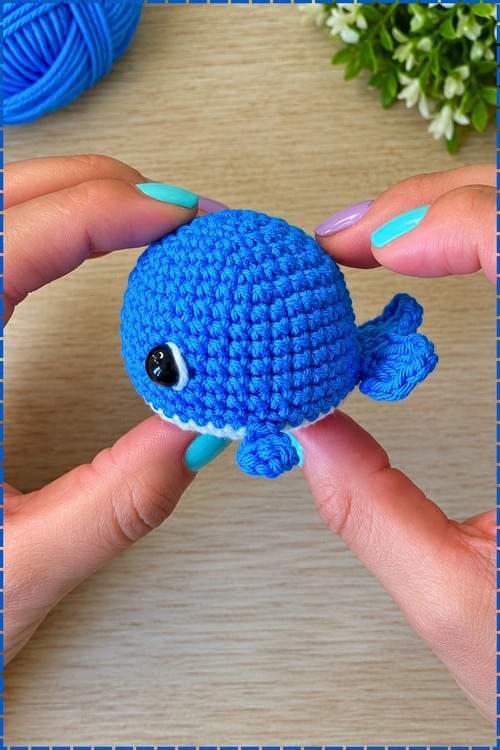
This pattern creates a cheerful, rounded whale with a contrasting white belly, integrated tail flukes, and stubby side fins. It is worked in one continuous piece from the tail end to the nose, requiring no sewing of major components. The design features a flat white underside and a split tail, giving it a playful, mid-shrug appearance. It is an ideal project for gifting to children or as a decorative shelf companion.
Materials
- Main Colour Yarn: Your choice of colour (see Colour Ideas below).
- White Yarn: For the belly and optional eye highlights.
- Crochet Hook: Suitable for your yarn weight. Sport or DK weight cotton with a 3 mm hook is recommended for clean stitch definition and a firm fabric. Bulkier yarn with a larger hook will create a bigger, squishier toy.
- Safety Eyes: Black, to be placed between rounds 10 and 11.
- Fiberfill Stuffing: For firm stuffing.
- Yarn Needle: For weaving in ends and closing the nose.
- Scissors.
Gauge and Finished Size
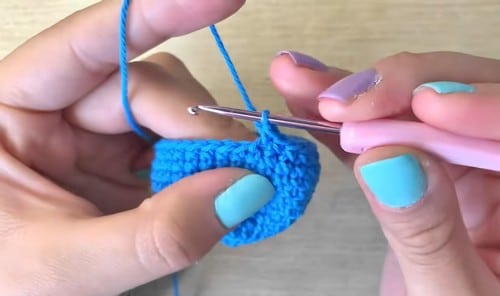
Finished Size: Roughly 12 to 16 cm in length, estimated from the round counts at DK weight. Your personal tension will affect this measurement.
Gauge: The pattern relies on a firm fabric to hold the whale’s shape. Using sport or DK weight cotton with a 3 mm hook provides the necessary structure. If you use a larger hook and bulkier yarn, the toy will be larger and softer, but ensure your stitches remain tight enough that stuffing does not show through.
Abbreviations
- sc: single crochet
- hdc: half double crochet
- dc: double crochet
- inc: increase (2 sc in the same stitch)
- dec: decrease (sc 2 together)
- FLO: front loop only
- ch: chain
- sl st: slip stitch
Pattern Notes
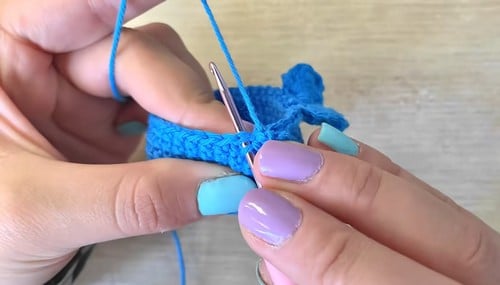
- Construction: The whale is worked in a spiral from the tail end (magic ring) to the nose end. There is no joining at the end of rounds unless specified.
- Round 13 Complexity: This is the most involved round, where the tail flukes and side fins are created. Read the entire round instructions before starting.
- Back Loops: Round 13 uses the front loops only (FLO) for specific sections, leaving the back loops unworked. These back loops are used in Round 14 to create the white belly. Marking these loops with a stitch marker is highly recommended to avoid losing them.
- Safety Eyes: Eyes are placed between rounds 10 and 11. Ensure they are locked securely from the inside before stuffing the body.
- Time: Approximately one to two hours for a maker comfortable with amigurumi construction.
Pattern Instructions
Body and Tail (Main Colour)
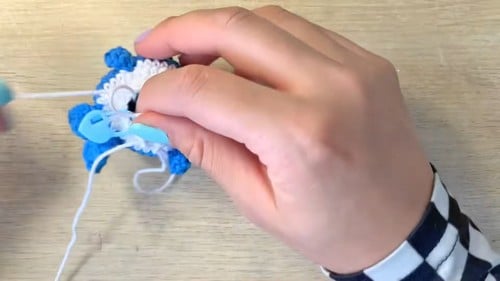
Round 1: Make a magic ring and work 6 sc into it. [6]
Round 2: Work 1 inc in each stitch. [12]
Round 3: 1 sc, 1 inc repeat 6 times. [18]
Round 4: 2 sc, 1 inc repeat 6 times. [24]
Round 5: 3 sc, 1 inc repeat 6 times. [30]
Round 6: 4 sc, 1 inc repeat 6 times. [36]
Checkpoint: You should have a flat, even disc with no cupping at this stage.
Rounds 7 to 12: Work 1 sc in each stitch around for 6 rounds. [36]
Checkpoint: You now have a short, wide cylinder. The open end is the nose end where the eyes will go. The closed magic ring end is the tail end.
Round 13: Tail Flukes and Side Fins
This is the most involved round. Read it fully before starting. Everything happens in one pass around the 36 stitches.
Work 3 sc in front loops only (FLO). Turn the work and work 3 sc back across those same stitches. Checkpoint: A small tab sticks out from the body. This becomes one tail fluke.
In the same base stitch, work 1 sc, 1 hdc, 2 dc, chain 3, 2 dc, 1 hdc, 1 sc to form the tail flukes. Checkpoint: A V-shaped fin fans out from the tab. If it looks like a blob, the chain 3 at the centre is what opens the split between the two fluke lobes.
Continue with 6 sc along the body. In the front loop of the next stitch, work 1 sc, chain 5. Checkpoint: A short chain hangs off the side of the body. This becomes the first side fin.
Skip 2 chains and work 3 dc back down the chain. Sl st to join the first fin to the body.
Work 19 sc.
Repeat the fin process in the next front loop stitch (1 sc, chain 5, skip 2 chains, 3 dc, sl st).
Finish the round with 6 sc. Checkpoint: Both side fins point outward, roughly symmetrical. If one fin is longer than the other, check whether you skipped the same number of chains on both.
Belly and Closing (White Yarn)
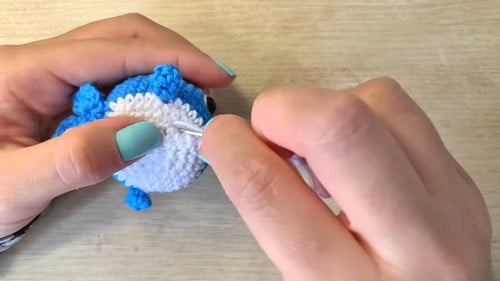
Round 14: Switch to white yarn and work 36 sc around, working into the leftover back loops behind the tail and fins. [36]
Checkpoint: The white round sits neatly behind the tail and fin construction. If any loops are hard to find, use a stitch marker to pick them out before you start.
Important: Place safety eyes between rounds 10 and 11, approximately 9 stitches apart, before continuing. Lock them from the inside. See Eyes and Toy Safety below.
Round 15: 4 sc, 1 dec repeat 6 times. [30]
Round 16: 3 sc, 1 dec repeat 6 times. [24]
Round 17: 2 sc, 1 dec repeat 6 times. [18]
Checkpoint: The nose end closes steadily into a rounded snout. Stuff firmly now before the opening gets too tight. Add a small white embroidery stitch near the eyes for a highlight if desired.
Round 18: 1 sc, 1 dec repeat 6 times. [12]
Assembly and Finishing
Cut a long yarn tail. Thread the yarn needle. Weave the needle through the front loops of the remaining 12 stitches. Pull tight to close the opening. Secure the end and hide the tail inside the body.
Optional Water Spout: If you want to add a water spout or decorative element on top, sew it directly through the body at round 7 or 8 where the fabric is widest and most stable.
Eyes and Toy Safety
Safety eyes go between rounds 10 and 11 of the body, 9 stitches apart. Fit and lock them from the inside before continuing past round 14. They must be secured before stuffing.
For toys going to children under three: Skip the safety eyes entirely. Use black yarn in tight satin stitches for both eyes instead. The optional white highlight embroidery is fine for any age since it sits on the outside surface and uses no loose parts.
Tips and Troubleshooting
- Tail Flukes Look Closed: The chain 3 in the middle of the fluke sequence creates the gap between the two lobes. If it collapsed, work it over a hook one size larger to open it, or try a looser tension for just that section.
- Fins Sit Flat: The 3 dc back down the chain need to be worked firmly but not tightly. If they pull inward, try working them with a half size larger hook.
- Can’t Find Back Loops: The fin and tail construction in round 13 uses the front loops, leaving the back loops unworked. Run a stitch marker through each one before round 13 if you expect to lose them.
- White Belly Doesn’t Align: Round 14 should sit as a clean band below round 13. If it drifts, the back loop pickup may have started in the wrong place. Count carefully from the tail end.
- Safety Eyes Impossible to Lock: Mark the eye position with a pin or scrap yarn during rounds 10 and 11. If you are past round 17 already, push the stuffing aside from the inside and try reaching through with the washer. A pair of blunt tweezers helps.
- Nose Looks Pointed: Add more stuffing before closing. The gathered finish pulls slightly, which emphasises any hollow near the tip.
Yarn Substitution and Size Scaling
Any yarn weight works as long as the hook is small enough to keep the stitches closed so stuffing doesn’t show through. At fingering weight with a 2 mm hook, the finished whale is ornament sized. At chunky with a 5 mm hook, it becomes a solid pillow toy. The pattern’s round count stays the same; only the size changes.
Colour Ideas
A pale grey main colour with white belly looks immediately like a beluga. Teal or turquoise with a cream belly reads as a tropical fish more than a whale, but it photographs very well. Dark navy with white is the most classic choice. You can also experiment with yarn textures to give the whale a unique feel, though cotton remains best for stitch definition.
FAQs
Can I make this whale larger?
Yes. You can use a larger hook and bulkier yarn (like chunky weight) to create a bigger, squishier toy. The round count remains the same, but the physical size will increase significantly.
Do I need to sew on the fins and tail?
No. The fins and tail are worked directly into the body in Round 13. This is one of the main advantages of this pattern, as it eliminates the assembly phase.
What if I don’t have safety eyes?
You can embroider the eyes using black yarn. Use tight satin stitches to create two eyes between rounds 10 and 11. This is also the recommended method for toys intended for children under three years old.
Why is Round 13 so complicated?
Round 13 is where the unique shape of the whale is created. It combines the split tail and the side fins in a single pass. It requires careful attention to which loops you are working into (FLO vs. standard), but once completed, the rest of the pattern is straightforward.
How do I fix a pointed nose?
A pointed nose usually indicates insufficient stuffing. Ensure you stuff the body firmly, packing the fill evenly from the tail end forward to the snout, before closing the final round.
Pin This Crochet Pattern!