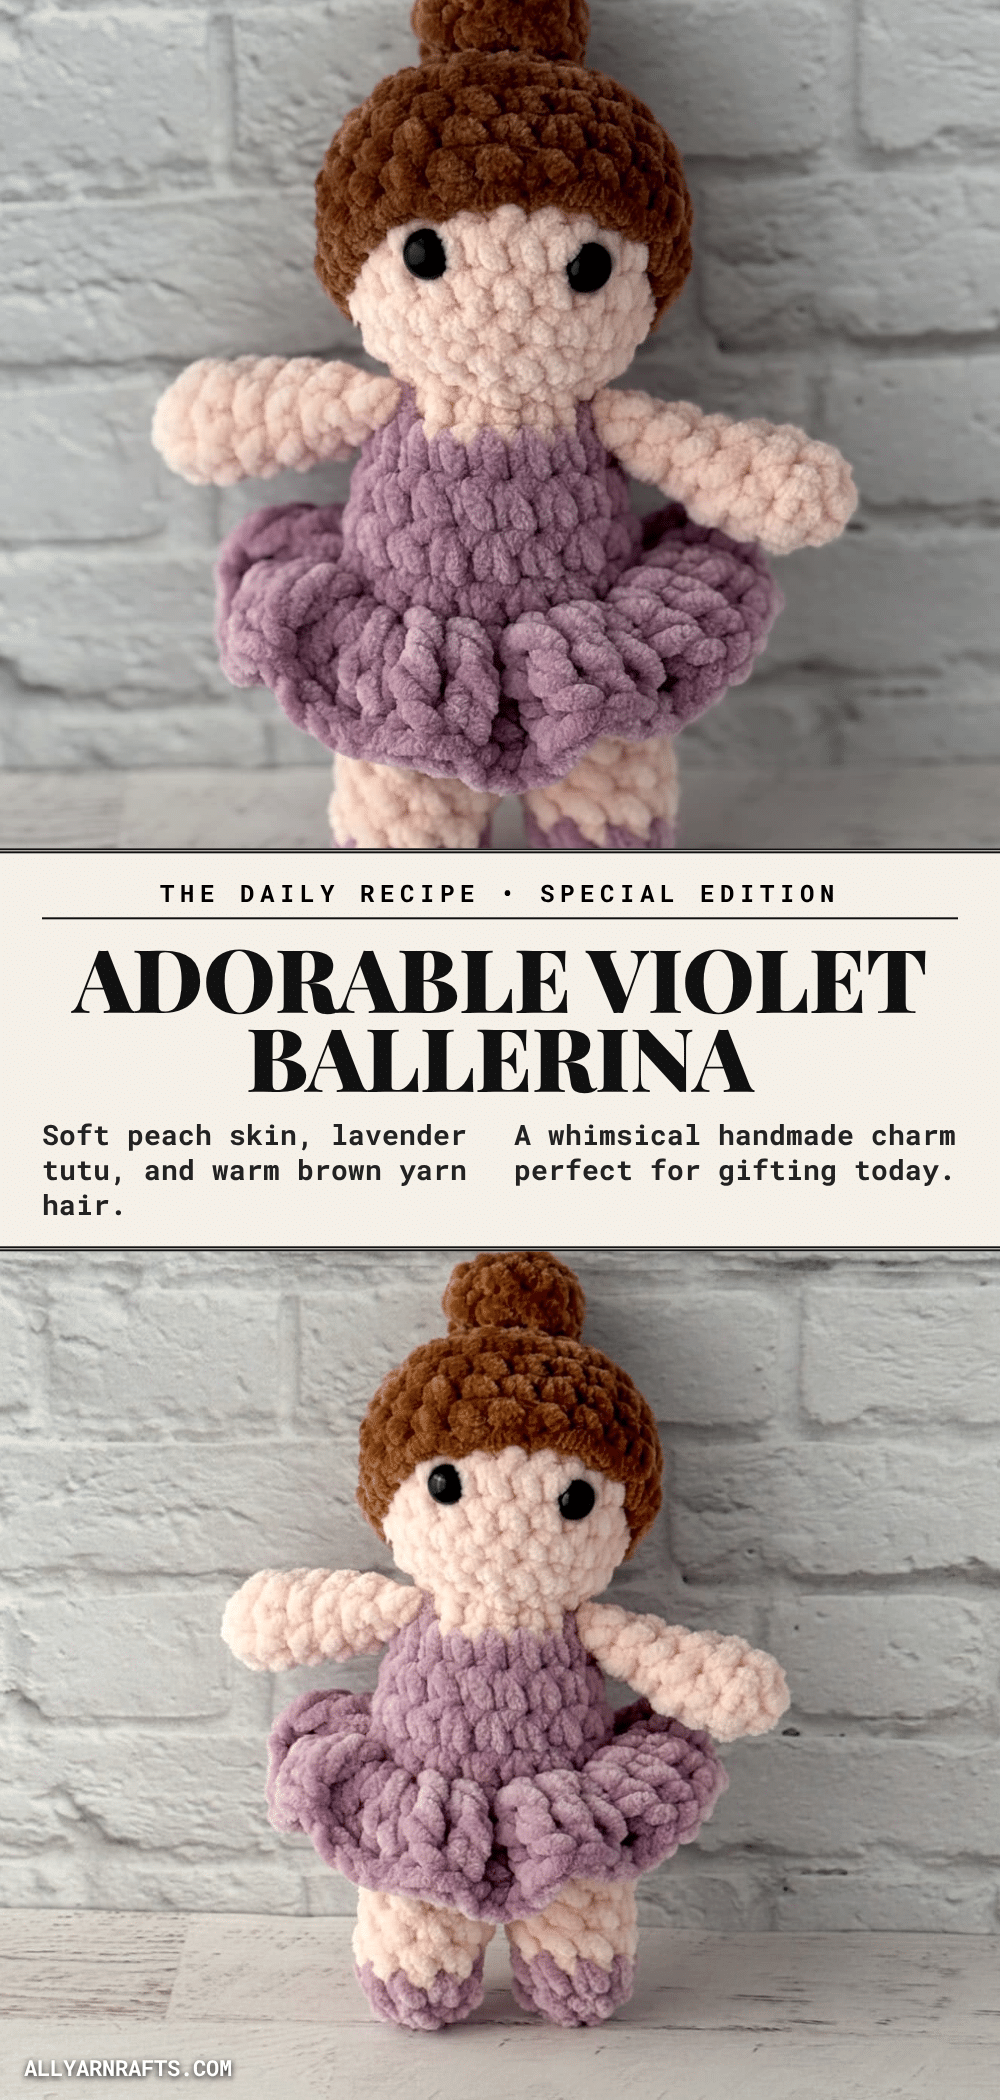
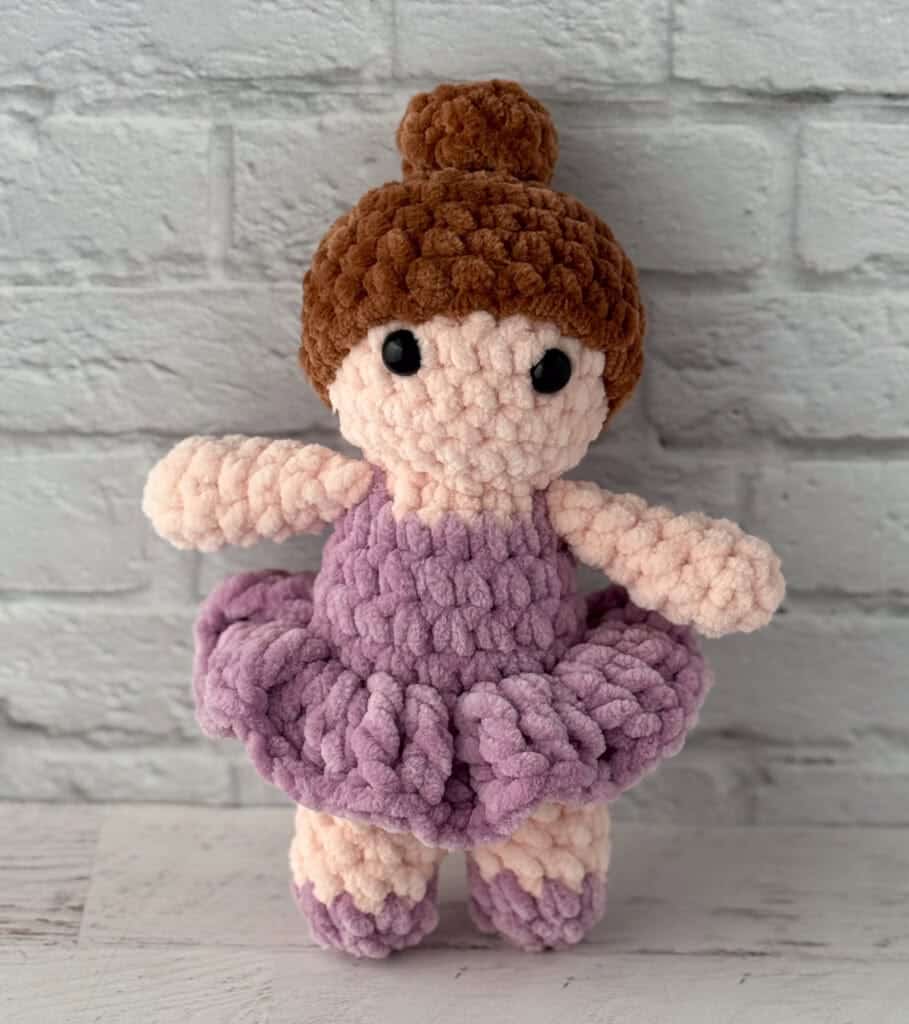
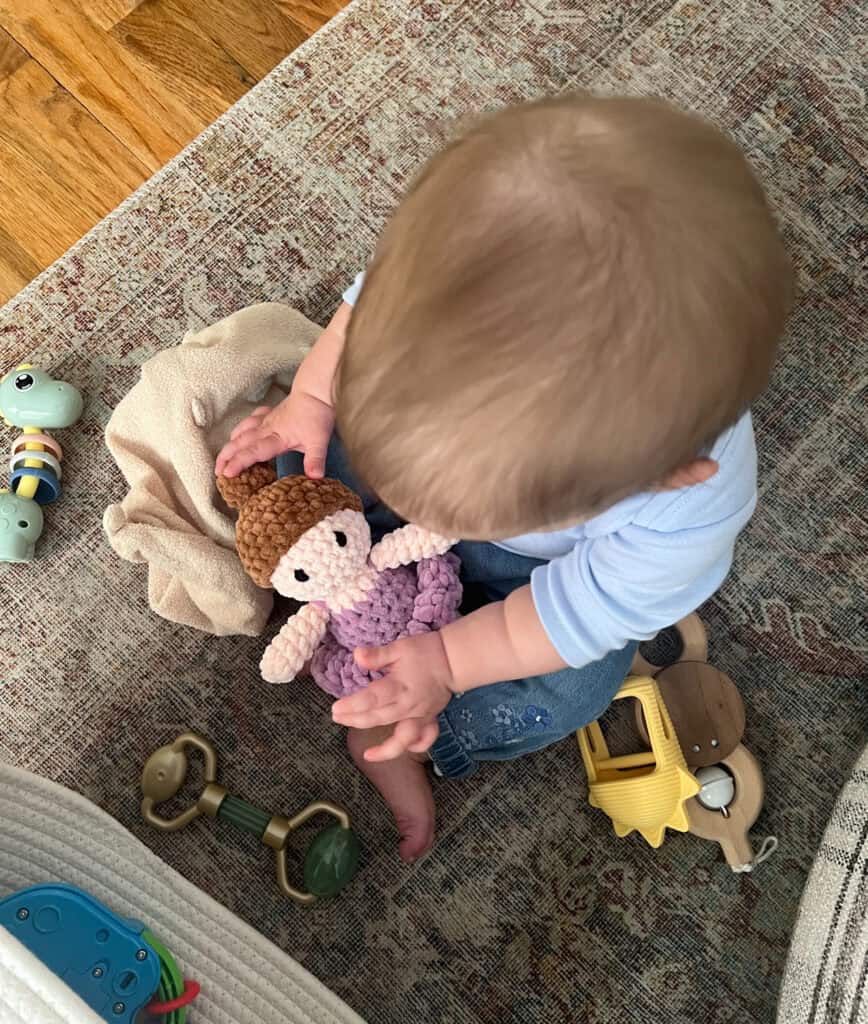
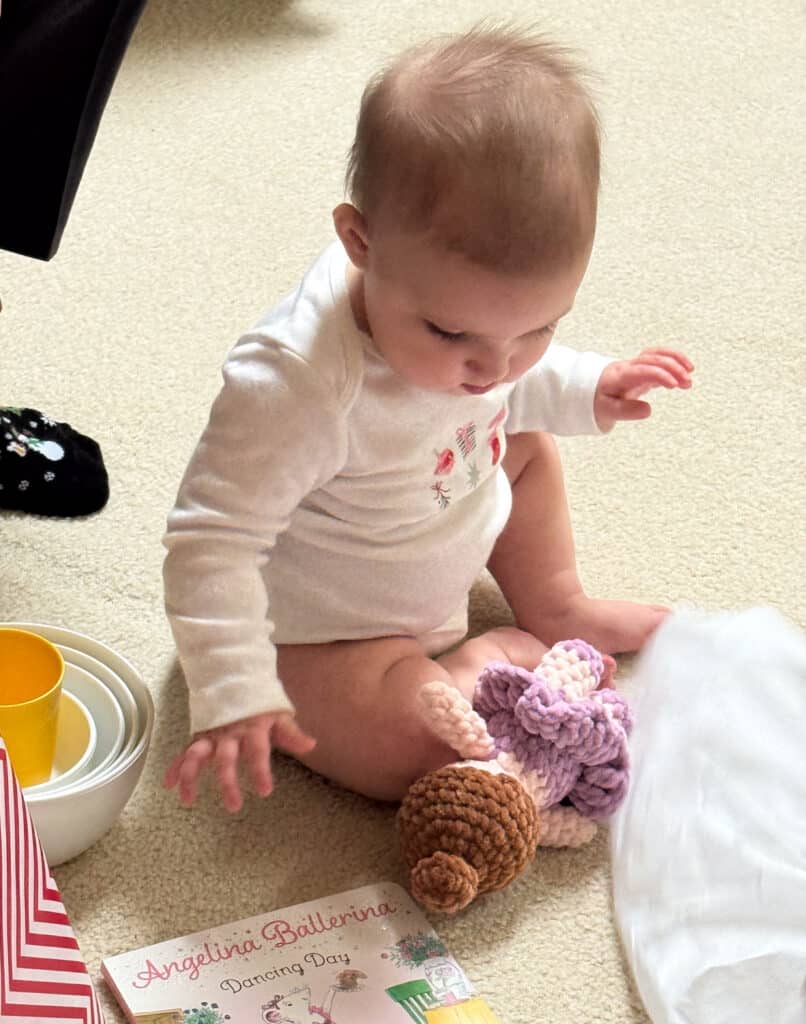
There is just something magical about a little crochet ballerina with soft plush yarn, sweet details, and that perfect cuddly size that fits right in your hand. Meet Violet the Ballerina—a completely adorable little plushie with the softest texture and a sweet personality all her own. She is made with super bulky plush yarn, making her soft, cuddly, and easy for little hands to carry. Whether you are looking for a quick one-evening project or a special gift for a nursery, Violet is sure to become a favorite.
Why the Finished Piece Stands Out
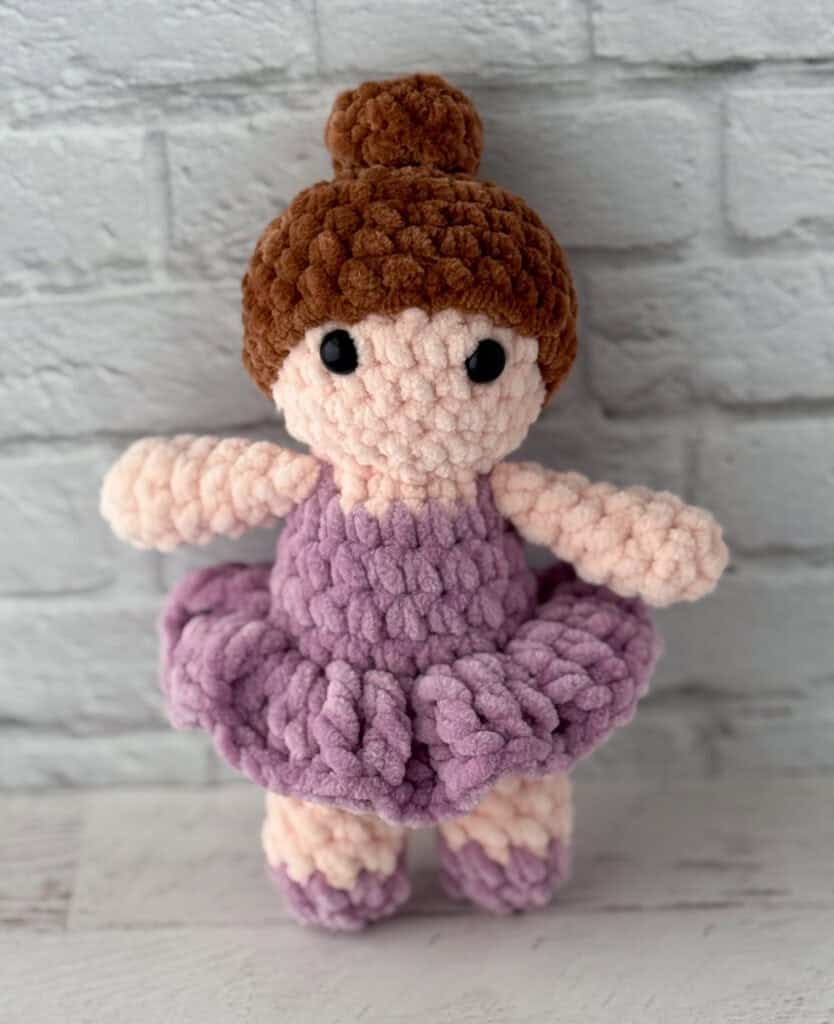
What makes Violet truly special is the combination of textures and the clever construction that creates her iconic silhouette. The use of chenille-style yarn gives her a velvety, plush finish that is incredibly inviting to touch. The design features a seamless transition from the head to the body, with a clever waistline detail that allows for a ruffled skirt without complex seaming. The contrast between the light pink bodice, the dusty mauve tutu, and the brown hair cap creates a charming, classic ballet aesthetic. Plus, her compact size makes her the perfect companion for bedtime or a delightful display piece for a child’s room.
Project Overview
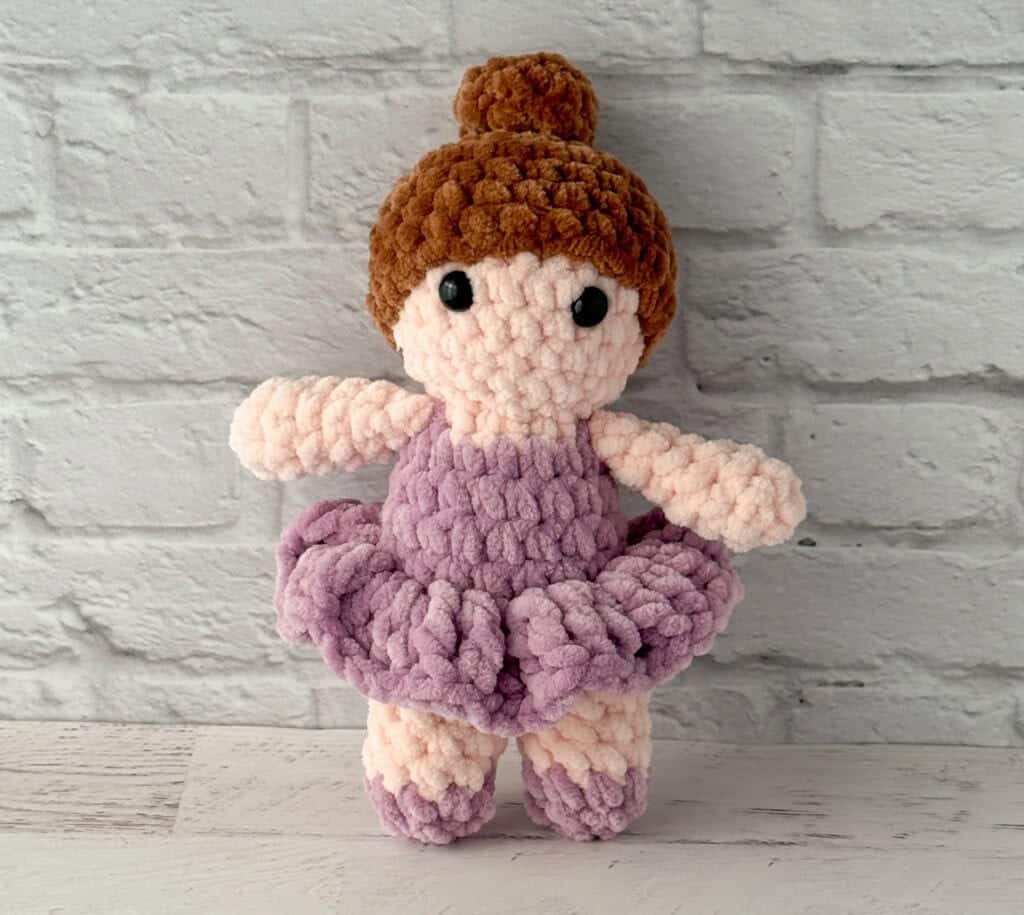
This amigurumi pattern creates a 7.5-inch tall ballerina doll using super bulky plush yarn. The project is designed for crocheters who are ready to dip their toes into amigurumi but want a manageable challenge. The construction is unique: the head and body are worked as one piece, separated for the legs, and finished with a ruffled skirt worked into the front loops. It is a fun project for plush yarn lovers and makes for a wonderful gift, birthday present, or nursery décor.
Materials
- Yarn 1 (Light Pink): Himalaya Dolphin Baby, size 6 super bulky weight, 100% polyester, 131 yds/120m per 100g skein (Color: 80343-Powder). Approximately 30 yards.
- Yarn 2 (Purple): Premier Parfait Chunky, size 6 super bulky weight, 100% polyester, 131 yds/120m per 3.5 oz skein (Color: Dusty Mauve). Approximately 25 yards.
- Yarn 3 (Brown): Teddy Bear yarn. Approximately 18 yards.
- Crochet Hook: US H8/5mm
- Accessories: 10 mm safety eyes (or embroidery floss for young children), stitch marker, fiberfill, tapestry needle, scissors.
Gauge and Finished Size
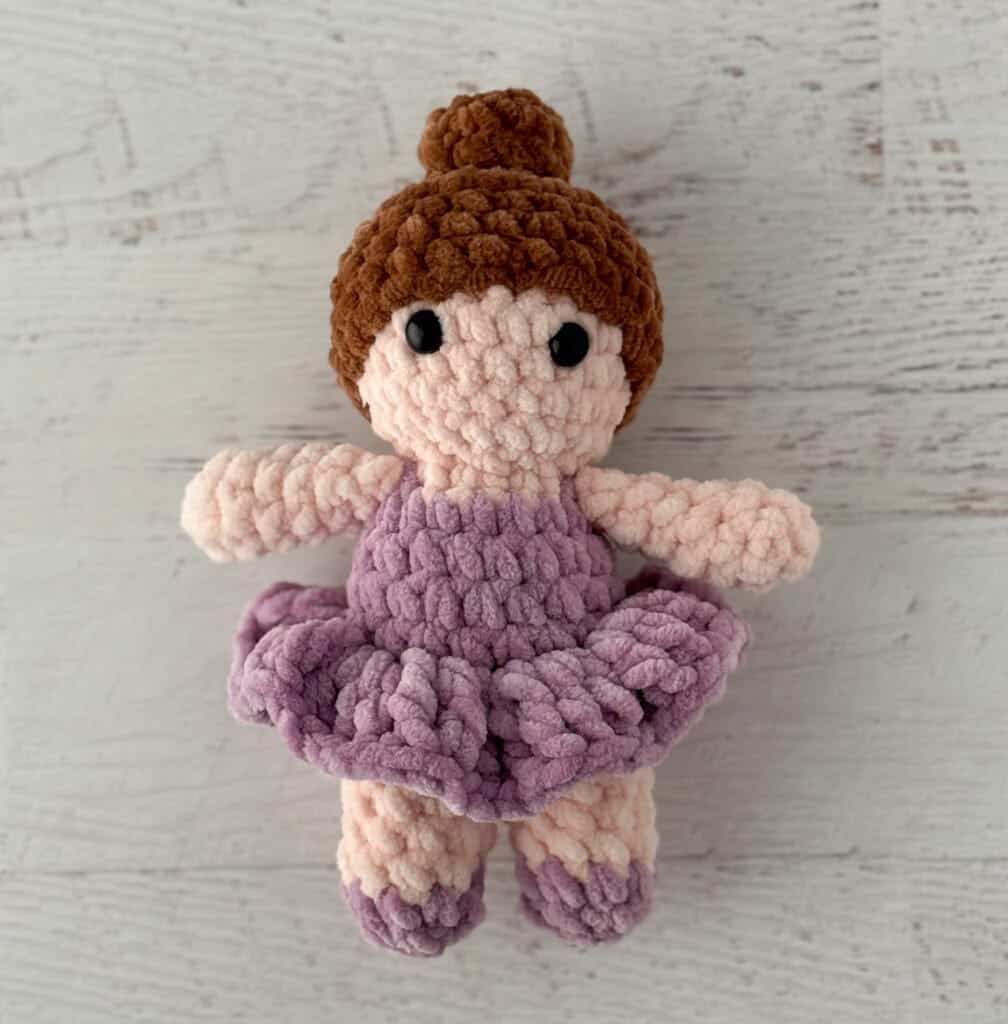
Finished Size: The ballerina is approximately 7.5” tall (excluding bun).
Gauge: The author’s gauge is 6 sc to 2 inches. However, gauge is not important in this pattern due to the use of super bulky yarn and the nature of amigurumi.
Abbreviations
- ch(s) = chain(s)
- sc = single crochet
- sc2tog = single crochet 2 together
- sl st = slip stitch
- st = stitch(es)
- tr = treble crochet
Pattern Notes
- The head and body are crocheted as one piece and then separated for the legs.
- At the waistline, a row is worked in the back loops only (BLO), leaving the front loops available to crochet the ruffled skirt.
- The arms and hair components are worked separately and sewn on at the end.
- Work in continuous rounds unless otherwise stated. Use a stitch marker to keep track of the beginning of each round.
Pattern Instructions
Ballerina Head and Body
Using light pink yarn, make a magic ring.
R1: 6 sc into ring. Place stitch marker in last st and work in continuous rounds. (6 st)
R2: 2 sc in ea st. (12 st)
R3: *Sc in next st, 2 sc in next. Repeat from * around. (18 st)
R4: *Sc in next 2 st, 2 sc in next. Repeat from * around. (24 st)
R5-8: Sc around. (24 st)
R9: *Sc in next 2 st, sc2tog. Repeat from * around. (18 st)
R10: Sc2tog around. (9 st)
Insert safety eyes between rows 6 & 7, leaving 4 stitches in between them. Stuff head and continue to stuff body as you work.
R11: 2 sc in ea st, changing to purple yarn in the last st. (18 st)
R12-15: With purple yarn, sc around. (18 st)
R16: Working in Back Loop Only, sc around. (18 st)
R17: Sc around. (18 st)
Slip stitch in next stitch and fasten off.
Leg 1
Flatten the body to determine center back of doll and attach light pink yarn with a sl st.
R1: Ch 1 and sc in the same st as joining, sc in next 8 st, skip remaining 9 sts. Then work continuous rounds in these 9 sts.
R2-4: Sc around. At end of R4, change to purple yarn (9 st)
R5: With purple, sl st in next st, sc in next 8 st. At end of round work a sc into the 1 st sl st of round. Mark this stitch as the new last st in round. (9 st)
Stuff the leg, making sure the body and leg are both stuffed firm. Continue to add stuffing as needed as you finish up the leg.
R6: Sl st in next st, sc2tog, *sc in next st, sc2tog. Repeat from * around (6 st)
R7: Sc2tog around (3 st). This leaves a bit of a point at the bottom of the leg. Fasten off yarn, thread a yarn needle and make one whip stitch to hold the 2 sides together and pull tight, then insert the needle through the center of the foot and up into the leg and tug. This pulls the final stitches inside the work and makes a rounded end to the leg. Knot tight and bury the end inside the doll.
Leg 2
Leg 2 is worked on the remaining 9 stitches of the body. Attach the yarn at the back of the 2nd leg, leaving a long strand for weaving in later and then repeat R1-7 of the first leg. When leg is complete, use the unworked yarn to sew up any opening between the legs of the doll.
Arms (Make 2)
With light pink yarn, make a magic ring.
R1: 6 sc into ring. (6 st)
R2-6: Sc around. (6 st)
Lightly stuff the hand. Leave the rest of arm unstuffed.
R7: *Sc in next st, sc2tog. Repeat from * once. (4 st)
Fasten off, leaving a long strand. Use a yarn needle to whip stitch top of arm closed and sew onto ballerina on the side, just below the neck.
Skirt
The skirt is worked on the front loops on row 16 of the body. Position the doll so the head is facing downward to work the round.
R1: Attach purple yarn with a standing tr stitch to any free front loop on the back of the doll. Work 2 tr in same stitch. *Work 3 tr in each stitch around. Join with a slip stitch to the top of the starting stitch. Fasten off and weave in all ends.
Hair Cap
Using brown yarn, make a magic ring.
R1: 6 sc into ring. Place stitch marker in last st and work in continuous rounds. (6 st)
R2: 2 sc in ea st. (12 st)
R3: *Sc in next st, 2 sc in next. Repeat from * around. (18 st)
R4: *Sc in next 2 st, 2 sc in next. Repeat from * around. (24 st)
R5-7: Sc around. (24 st)
R8: Sc around. At end of round, sl st to next st and fasten off. Leave a long strand for joining. (24 st)
Hair Bun
Using brown yarn, make a magic ring.
R1: 8 sc into ring. Place stitch marker in last st and work in continuous rounds. (8 st)
R2: *Sc in next st, 2 sc in next st. Repeat from * around. (12 st)
R3: *Sc in next st, sc2tog. Repeat from * around (8 st).
Fasten off, leave a long strand for joining.
Assembly
- Sew hair cap to head, referring to photo.
- Sew bun to top of hair cap/head, stuffing lightly as you sew down.
- Use a strand of purple yarn and make one stitch over each shoulder into the dress to represent straps on the dress. Be sure to knot off, burying the ends securely in your work, so the shoulder strap is secure on the dress.
- Weave in any remaining ends.
Tips
- Use Stitch Markers: Chenille yarn can make stitches harder to see, so stitch markers are your best friend. I mark the last stitch in a row, but some crocheters prefer placing the marker in the first stitch—or even using a scrap piece of yarn.
- Be Mindful of Your Tension: Tight stitches can make plush yarn harder to work with and, at the opposite end of the spectrum, loose stitches can mean stuffing poking out. If you find it hard to get your hook into a stitch in the prior row, loosen up your tension. If it’s so loose you’re seeing stuffing peeking through, work a little tighter.
- Avoid Frogging Too Much: Plush yarn doesn’t always love being ripped out repeatedly, so working carefully can save frustration later.
- Count Your Stitches Often: Because the texture hides stitches a bit, counting as you go really helps keep everything on track.
FAQs
Is this pattern suitable for absolute beginners?
This pattern is considered a bit adventurous. It is not recommended as a very first crochet project, but it is a wonderful option for beginners who are ready to dip their toes into amigurumi. You will need to know how to make a magic ring, single crochet, increases, decreases, and work in continuous rounds.
Can I use a different yarn weight?
You can switch yarns, but the size will change. Thinner yarn (like worsted weight) will result in a smaller ballerina, while bulkier yarn (like Premier Basix Chenille or Bernat Blanket) will result in a larger ballerina. Be sure to adjust your hook size to match your yarn.
Should I use safety eyes or embroider them?
The pattern calls for 10 mm safety eyes. However, if you are making this for a baby or young child, it is safer to embroider the eyes instead.
Why is the skirt worked in the front loops only?
Working in the back loops only at the waistline creates a defined edge and leaves the front loops exposed. This allows you to attach the ruffled skirt directly to the front loops, creating a seamless and structured tutu effect.
How do I finish the bottom of the foot neatly?
After fastening off in the final round of the foot, use a yarn needle to whip stitch the two sides together. Then, insert the needle through the center of the foot and up into the leg, pulling tight. This hides the final stitches inside the work and creates a rounded end to the leg.
For more inspiration on handmade gifts, check out these easy Father’s Day crochet gifts or explore more crochet patterns to expand your collection.
Pin This Crochet Pattern!