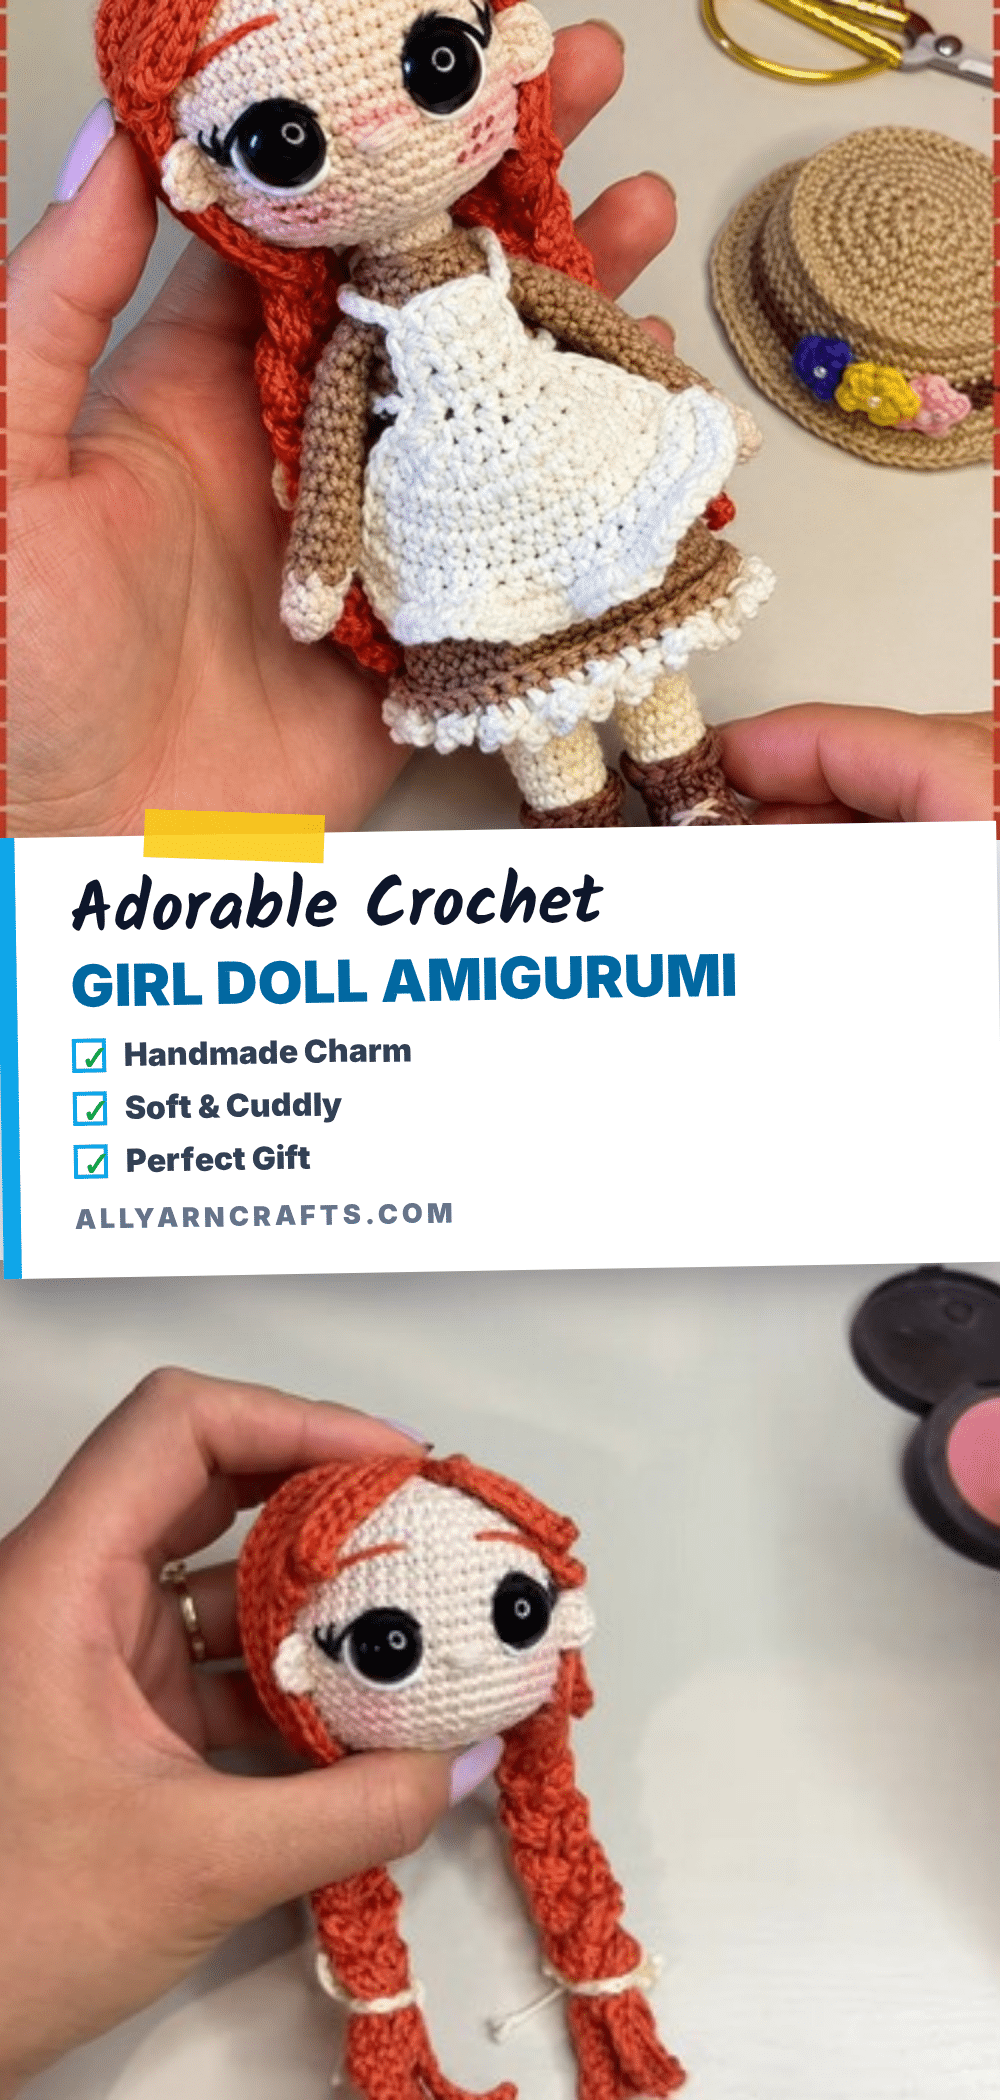
There is something deeply satisfying about watching a circle of stitches transform into a three-dimensional sphere, especially when the result is a character as charming as this crochet girl doll. The magic of amigurumi lies in those subtle shaping moments—the precise increase sequences that keep the curve smooth and the strategic decreases that pull the fabric into a perfect form. This pattern invites you to slow down and appreciate the texture of the work, from the initial magic ring to the final structural neck tube that gives the doll its sturdy presence. With its distinct ginger hair and expressive face, this project is a delightful exercise in precision and patience.
Texture and Stitch Notes
What makes this amigurumi doll truly special is the attention to the structural details that often go unnoticed until you count back. Round 7 features a staggered increase sequence that is designed to keep the sphere smooth rather than hexagonal; it is a subtle technique that ensures a professional finish. The hair base is constructed to sit like a cap on the crown, allowing the braids to hang naturally rather than creating a full wig. This partial cap design is consistent with the braids falling down the sides, offering a realistic and cute hairstyle. The neck tube, formed in rounds 25 to 33, is an intentional structural element that gets tucked inside the head, providing stability so the head does not wobble when attached to a body.
Project Overview
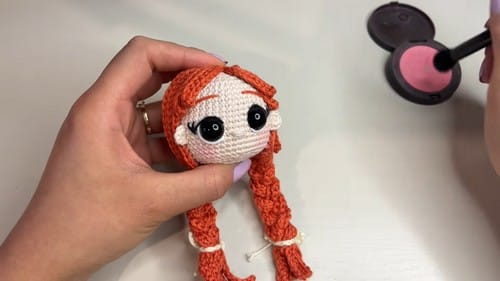
This beginner-friendly amigurumi pattern creates a girl doll with long ginger hair, glossy black eyes, and a classic look. The project is manageable for first-time doll makers because the body consists of simple round shapes, and the face is created using attached pieces and embroidery. It is an excellent gift option for small children, provided safety guidelines are followed. The finished doll features a head that sits large over a short body, with legs ending in round boots to keep her upright on flat surfaces.
Materials
- Skin tone cotton yarn
- Terracotta or orange yarn (for hair and eyebrows)
- White yarn (for eye highlights)
- Black yarn (for eyelashes)
- Crochet hook suitable for your yarn weight
- 12 mm safety eyes
- Fiberfill stuffing
- Yarn needle
- Scissors
Note: The pattern does not specify a yarn weight or hook size beyond “suitable for the yarn.” Cotton yarn at fingering or sport weight on a 2.0 to 2.5 mm hook is a common match for a doll head at this stitch count, giving an approximate finished head diameter of 10 to 14 cm. Total time including hair is roughly 4 to 6 hours.
Gauge and Finished Size
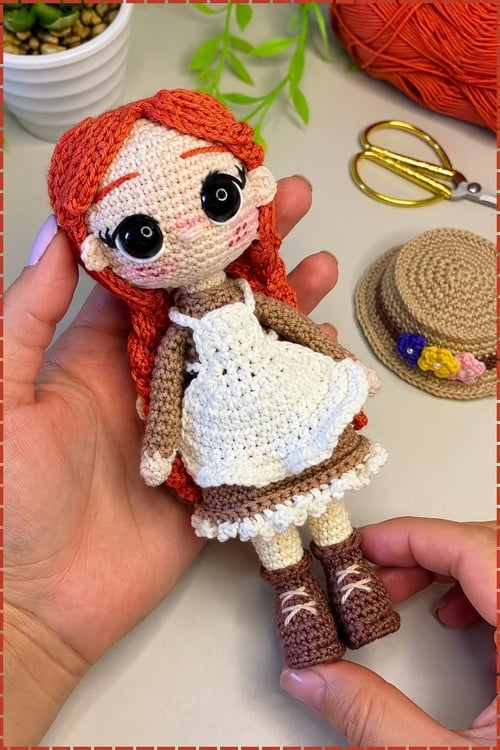
The pattern does not specify a formal gauge. The approximate finished head diameter is 10 to 14 cm, depending on the yarn weight and hook size used.
Abbreviations
- sc: single crochet
- inc: increase (2 sc in one stitch)
- dec: decrease
- MR: magic ring
- sl st: slip stitch
Pattern Notes
- Pieces are made separately: head, body and skirt, arms, legs, hair loops, holly leaf and berries.
- Safety eyes and an embroidered mouth handle the face.
- Rounds repeat in one stitch throughout, so assembly is where the real attention goes.
- Work in continuous rounds. Use a stitch marker and record your round number after each one.
Pattern Instructions
Head
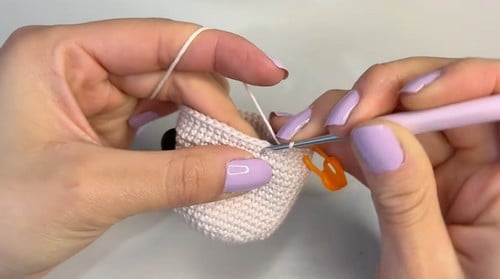
Work in continuous rounds. Use a stitch marker and record your round number after each one.
- Round 1: MR, 8 sc (8)
- Round 2: 8 inc (16). Checkpoint: a flat tight circle — pull the ring fully closed or the centre will gap when stuffed.
- Round 3: (1 sc, 1 inc) repeat 8 times (24)
- Round 4: (3 sc, 1 inc) repeat 6 times (30)
- Round 5: (4 sc, 1 inc) repeat 6 times (36)
- Round 6: (5 sc, 1 inc) repeat 6 times (42)
- Round 7: 3 sc, 1 inc, (6 sc, 1 inc) repeat 5 times, 3 sc (48). Checkpoint: a large flat circle with a slight dome starting to form at the centre — should lie mostly flat but with a gentle curve, no cupping at the edge.
- Rounds 8 to 20: 48 sc each round (48). Checkpoint: after round 12 or 13 the circle should have curved into a clear bowl, sides rising evenly — no flat base visible anymore. By round 17 it should look like a deep, rounded cup.
Inserting Safety Eyes: Insert safety eyes between rounds 14 and 15, with 7 stitches between them. Test placement from the front before snapping the backs on. Both eyes must sit on exactly the same horizontal round. This must happen before the head begins to close.
- Round 21: (4 sc, 1 dec) repeat 8 times (40)
- Round 22: (3 sc, 1 dec) repeat 8 times (32)
- Round 23: (2 sc, 1 dec) repeat 8 times (24). Checkpoint: the top of the head is now curving inward clearly — begin stuffing here while the opening is still wide enough to shape the cheeks with your hand. Stuff the head firmly.
- Round 24: 1 sc, 2 dec, (1 sc, 1 dec) repeat 5 times, 2 dec (15). Checkpoint: the opening should be small and tight, the head fully rounded below.
- Round 25: 15 sc in back loops only (15)
- Rounds 26 to 33: 15 sc each round (15)
- Round 34: 1 sc, 7 dec (8). Checkpoint: a narrow closed tube extending below the head — this is intentional, not an error. Cut a long yarn tail and close the remaining stitches with a needle. Push the neck tube slightly inside the head to create a stable neck structure.
For toys going to children under three: skip the 12 mm safety eyes and embroider both eyes with black yarn in the same position between rounds 14 and 15, hiding the tails inside the head before closing.
Face Details
Eye Highlights
Using white yarn, embroider a small line along the lower edge of each safety eye.
Eyelashes
Using thin black yarn, embroider two small diagonal lashes at the outer edge of each eye, angled slightly upward.
Nose
Embroider the nose between rounds 16 and 17, using skin tone yarn across two stitches, centred between the eyes.
Eyebrows
Using terracotta yarn, embroider the eyebrows between rounds 9 and 10, with about four stitches between them. Angle them to control expression — horizontal reads calm, slightly angled inward reads playful or curious.
Ears — Make 2
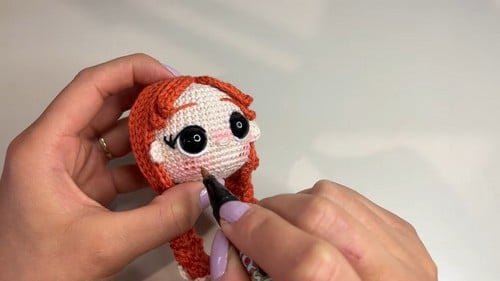
- MR, 6 sc (6)
Fasten off, leaving a long tail for sewing. Sew each ear to the side of the head about three stitches away from the eye, aligned with the middle of the eye height.
Hair Base (Terracotta Yarn)
- Round 1: MR, 8 sc (8)
- Round 2: 8 inc (16)
- Round 3: (1 sc, 1 inc) repeat 8 times (24). Checkpoint: a flat disc that matches the curvature of the top of the head — test fit before fastening off.
Fasten off, leaving a long tail for sewing.
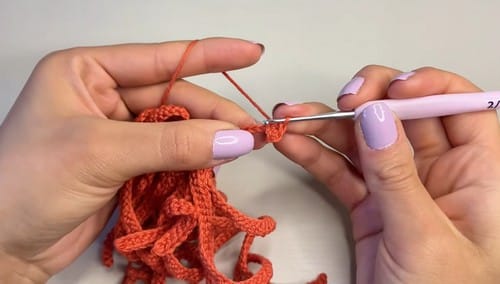
Long Hair Strands — Make 12
- Chain 47. Return: 2 sl st, then 44 sc. Fasten off, leaving a tail. Attach each strand to the base with a sl st.
Short Hair Strands — Make 5
- Chain 18. Return: 17 sc. Fasten off, leaving a tail. Attach each strand to the base with a sl st.
Bang Strands — Make 4
- Chain 11. Return: 10 sc. Fasten off, leaving a tail. Attach each strand to the base with a sl st.
Assembly
- Embroider all face details — highlights, lashes, nose, eyebrows — before the hair goes on, while the face is fully visible and easy to work.
- Sew the ears onto the sides of the head, aligned with the eye midline, before attaching the hair base. The ears sit under the hair edge on most placements.
- Attach all hair strands to the base before sewing the base to the head — working on a flat base is much easier than working on a curved head.
- Sew the hair base to the top of the head, positioned slightly forward rather than dead centre. This allows the braids to fall naturally along the sides rather than behind the ears.
- Arrange the bang strands toward the front of the face. Pin before securing.
- Divide the long strands into two groups of six. Braid each group evenly, keeping consistent tension so both braids match in thickness.
- Secure each braid with a small tie made from a chain of approximately 30 stitches.
- Add blush to the cheeks and embroider or draw small freckles on the nose and cheek area if desired.
Tips
- Stuffing Guide: Feed fiberfill into the head gradually from round 23 onward, adding small amounts as each decrease round closes rather than waiting for the end. Focus extra stuffing around the cheeks and forehead to keep the face smooth and even. The neck tube that forms in rounds 25 to 33 should not be stuffed — it is a structural piece that gets tucked inside the head, and stuffing it makes it rigid and harder to fold inward. Overstuffing the body of the head shows as spreading stitches near the decrease rows, usually around rounds 21 to 23. If you see that, pull a little out before continuing.
- Toy Safety: Safety eyes 12 mm in size carry more surface area than smaller eyes, but they are still not safe for children under three. Use the embroidered swap described in the head section for any doll going to a young child. Also check the braids — long yarn strands on a handled toy need to be anchored firmly at the base. Run a tug test on each braid before the doll is given away.
FAQs
Why does the pattern make a tube below the head?
That is the neck. It gets folded back inside the head after closing, which gives the head internal structure so it does not wobble when attached to a body. It looks alarming the first time you see it and makes complete sense once it is tucked in.
My round 7 stitch count is coming out wrong.
Count carefully: 3 sc, 1 inc, then (6 sc, 1 inc) five more times, then 3 sc to end. That gives 6 increases total in the round, which takes 42 to 48. The offset 3 sc at start and end is what makes it work — skip those and the count is off.
How do I keep both braids the same thickness?
Divide the strands before you start braiding, count them, and confirm each group has exactly six before picking up. Once you start braiding it is hard to add or remove strands without undoing a section.
The face looks asymmetrical after embroidering.
The most common cause is that the nose or one eyebrow landed on a slightly different round than its pair. Use your stitch marker and count from the magic ring to confirm each embroidered feature is horizontally level before finishing it off.
What if my head runs larger than the pattern?
If your head runs larger, you may need to add one more increase round to the hair base for fit. The hair base uses the same increase pattern as the head for the first three rounds, reaching 24 stitches.
Pin This Crochet Pattern!