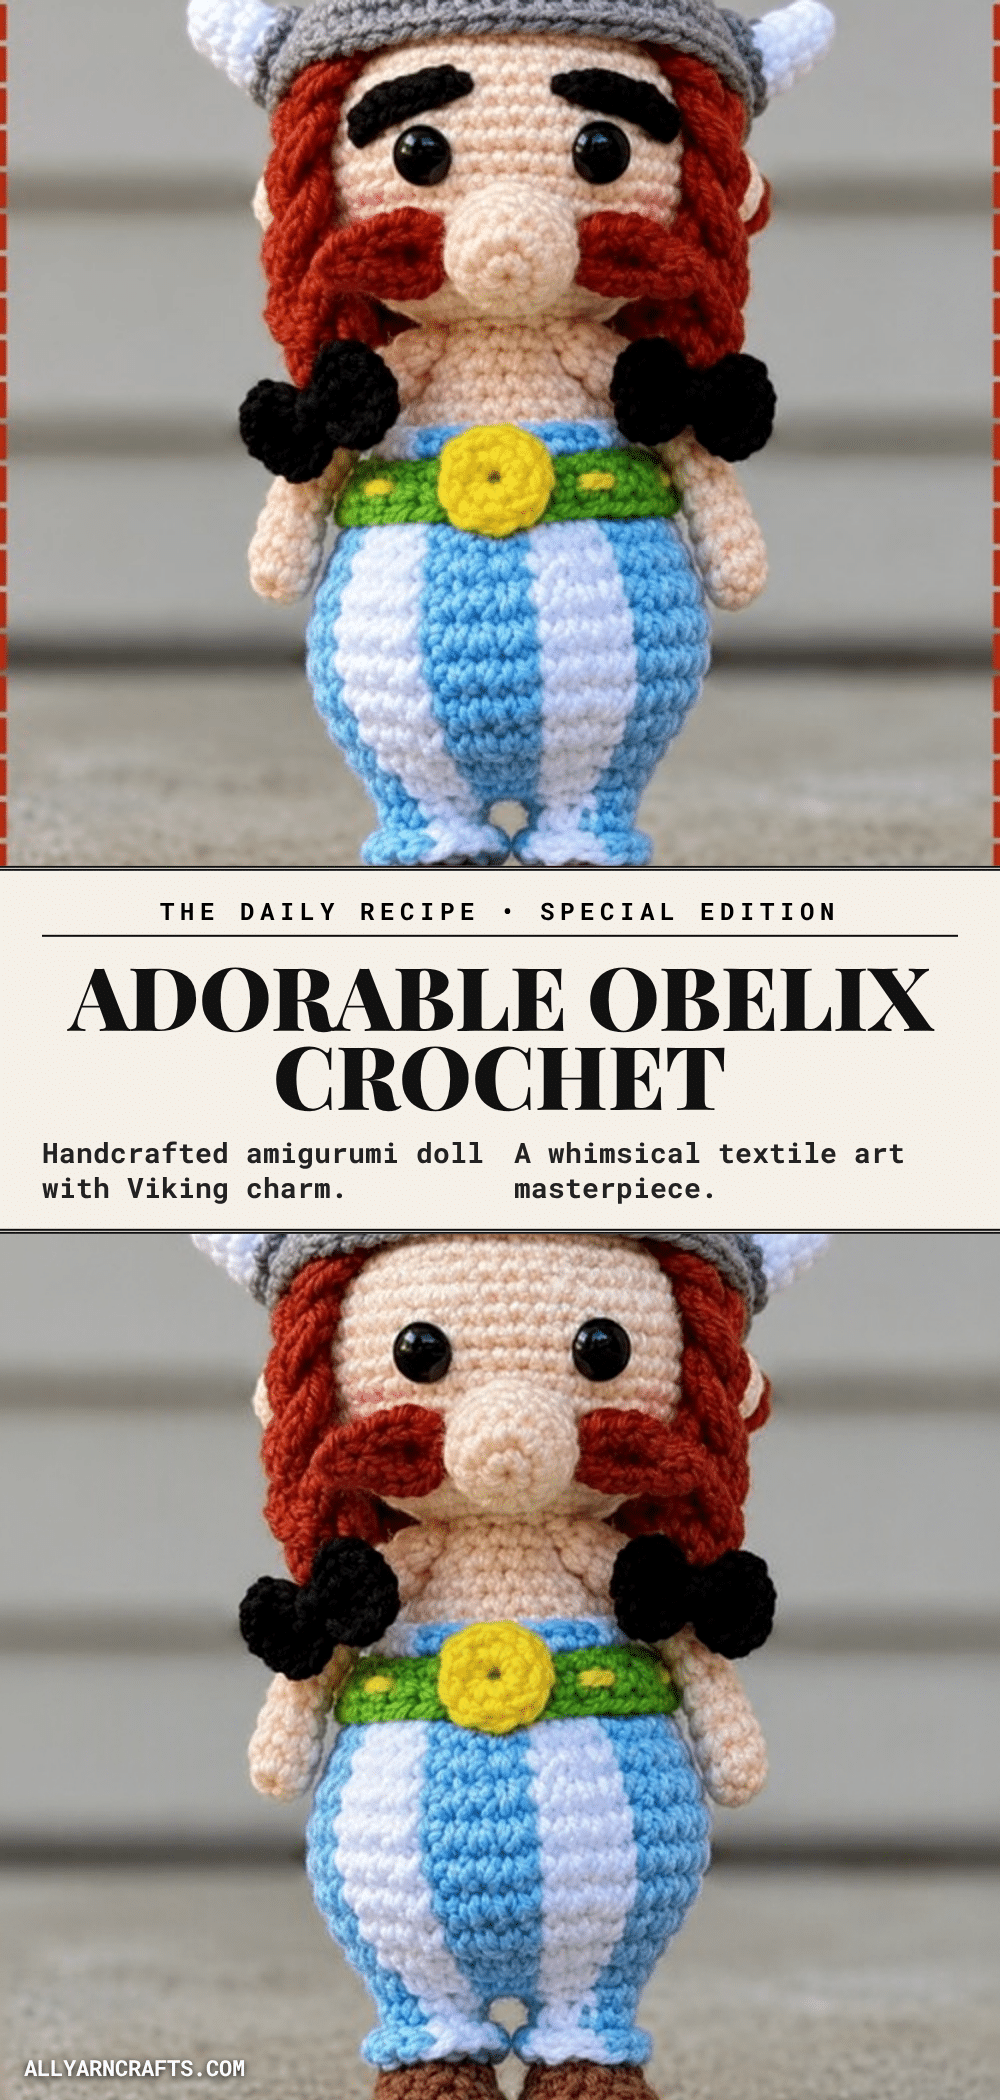
Have you ever crocheted a magic ring and realized halfway through that you forgot to place your stitch marker? Or perhaps you started a tube and suddenly realized you were working in joined rounds instead of continuous spirals? These small technical hiccups are part of the amigurumi journey, but they rarely ruin a project. This Obelix crochet doll pattern is designed to be forgiving and approachable. While it relies on descriptive shaping rather than rigid stitch counts, the checkpoints provided ensure you stay on track. Whether you are a seasoned maker or just learning how amigurumi patterns work, this project offers a satisfying build with a distinct character and a classic striped look.
Maker Notes
Obelix is a character defined by his robust physique and iconic accessories, making him a joy to craft. The most visually striking element is the striped trousers; while carrying two colors can slow down the process, the result is oddly satisfying and instantly recognizable. The doll features a winged helmet and long orange braids, which add significant personality. For those looking to customize, the helmet is an optional detail—you can leave it off for a slightly different version of the doll, or keep it on for the full comic book look. The color palette allows for flexibility; while the classic blue and white stripes are traditional, tan and cream or red and cream work just as well for the pants. This project is perfect for Asterix fans or anyone who enjoys a sturdy, character-driven amigurumi.
Project Overview
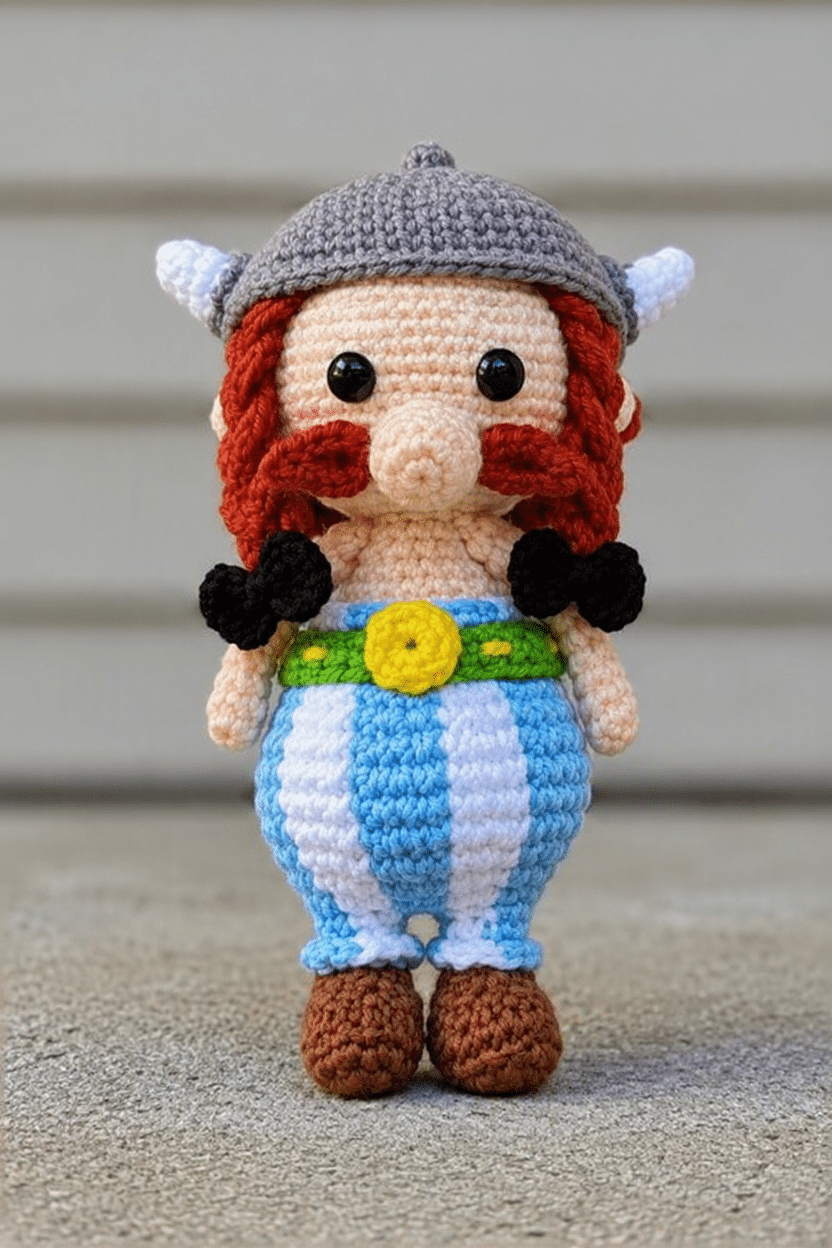
This pattern creates a stuffed Obelix doll, approximately 15 to 22 cm (6 to 8 inches) tall, depending on the yarn weight used. The project requires roughly 5 to 8 hours of work. The pattern is descriptive, meaning you will shape pieces based on visual checkpoints rather than exact round numbers for most components. The arms are the only section with specific round counts. The finished doll includes a head, body with striped trousers, arms, a wig with braids, a helmet, and a belt.
Materials
- Skin tone yarn
- White yarn
- Light blue yarn
- Brown yarn
- Orange yarn
- Grey yarn
- Green yarn
- 2.0 mm or 2.5 mm crochet hook
- Safety eyes
- Fiberfill stuffing
- Tapestry needle
- Scissors
Note: The pattern does not specify a yarn weight. At a 2.0 to 2.5 mm hook, a fingering or fine weight yarn is the likely match. Any fine to sport weight yarn works on this hook size.
Gauge and Finished Size
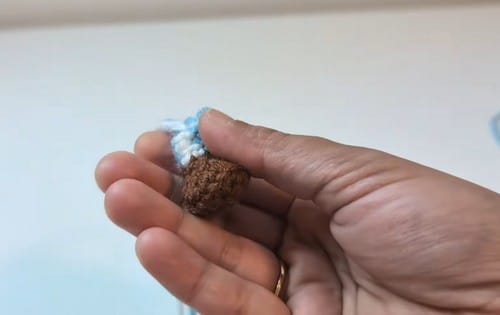
At a 2.0 to 2.5 mm hook with fingering or fine weight yarn, the finished doll will be approximately 15 to 22 cm tall. There is no specific gauge swatch required, as the pattern relies on descriptive shaping.
Abbreviations
- sc: single crochet
- mr: magic ring
Pattern Notes
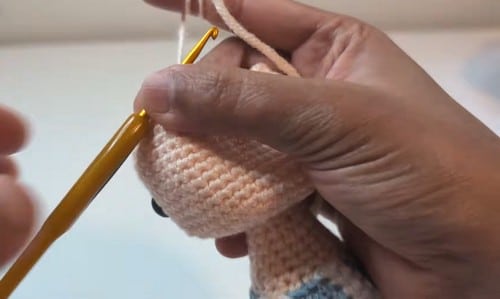
- Work in continuous rounds. Use a stitch marker to keep track of the start of each round.
- The pattern provides descriptive instructions (e.g., “increase significantly”) for most pieces. Trust your eyes and use the checkpoints to ensure correct shaping.
- For toys intended for children under three years old, skip the safety eyes. Embroider both eyes with black yarn in the same position, hiding the tails inside the head before closing.
- If you are still learning how amigurumi patterns work, follow along with video tutorials and check the written pattern as you go.
Pattern Instructions
Arms — Make 2
Work in continuous rounds. Use a stitch marker.
- Round 1: mr, 6 sc in skin tone yarn (6). Checkpoint: A small tight circle. The arm stays at 6 stitches the whole way, so a clean start matters.
- Rounds 2 to 10: Sc in each stitch around (6). Checkpoint: After round 6, the arm should be a clean narrow tube, roughly the length of your thumb from base to tip. Both arms must match, so count rounds rather than eyeballing length.
Fasten off, leaving a long tail for sewing.
Legs and Body — Make 2 Legs, Then Join
Work in continuous rounds. Use a stitch marker and note your round number after each one.
- Round 1: mr, 6 sc in brown yarn for the shoes (6). Checkpoint: A tight circle with no gap at the centre.
- Continue crocheting rounds to shape the shoes and legs, widening slightly at the base of the shoe for a natural foot shape.
- Change to light blue and white yarn for the striped pants, alternating colours every few rounds. Checkpoint: After the first two colour stripes, the legs should look clearly striped. If the stripes are uneven in height, adjust before continuing, because the difference becomes very visible once the legs are joined.
Make the second leg the same way. Do not fasten off the second leg.
- Chain a short bridge from the second leg and join to the first leg to begin the body.
- Work sc around both legs and the chain stitches to form the base of the torso. Checkpoint: After the first joining round, you should have one continuous oval—no gap or visible hole between the legs.
- Increase significantly across several rounds to shape the large round belly, spreading increases evenly around to keep the shape smooth. Checkpoint: The belly should be noticeably wider than the legs—a clear round curve, not a straight cylinder.
- Continue crocheting upward and switch to skin tone yarn for the chest and upper body.
- Stuff the body firmly as you work, adding fill gradually round by round.
Fasten off when the upper body is complete, leaving a tail for attaching the head.
Head
Work in continuous rounds. Use a stitch marker and note your round number after each one.
- Round 1: mr, 6 sc in skin tone yarn (6).
- Continue increasing each round, spreading increases evenly, until the head reaches the desired width. Checkpoint: After several increase rounds, the piece should lie completely flat as a smooth circle. Cupping or waving means uneven increases.
- Work several rounds evenly to create the head height. Checkpoint: Midway through the even rounds, the disc should have curved into a clear bowl with straight sides.
- Insert safety eyes now, before the opening narrows further. Place them centred horizontally and slightly above the midpoint of the face, testing spacing from the front before snapping the backs on. This must happen while the piece is still open.
- Embroider the nose and mouth using yarn or embroidery thread.
- Begin decreasing to close the head. Checkpoint: Stuffing should begin as soon as the decrease rounds start and the opening is still wide enough to shape with your hand. Stuff the head firmly before closing completely.
Fasten off and weave in ends.
Hair and Braids
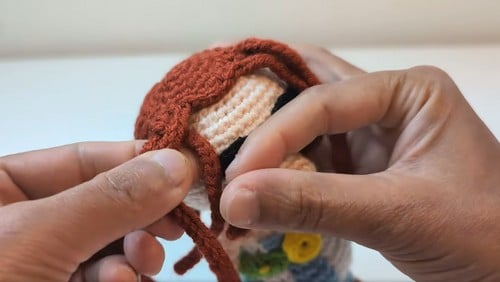
Using orange yarn, crochet a wig base shaped to fit snugly over the top of the head—not loose, not stretched.
- Crochet long braid strands using chain and stitch rows, making both braids equal in length.
- Attach small black bows at the ends of the braids.
- Sew the braids onto the sides of the wig base, positioned slightly forward on the head for a natural fall. Checkpoint: Hold the wig base on the head before sewing the braids down and check from the front—the braids should hang symmetrically.
Sew the completed wig assembly onto the head.
Helmet
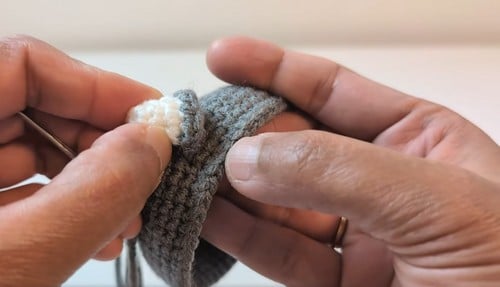
Using grey yarn, crochet a helmet piece shaped to fit over the top of the head. Try the helmet on the doll’s head before sewing—it should sit comfortably without distorting the head shape underneath. Sew the helmet securely in place.
Belt
Using green yarn, crochet a simple chain or narrow strip long enough to wrap around the waist. Wrap the belt around the waist at the point where the pants meet the upper body. Sew or secure ends neatly at the back.
Assembly
- Sew the head onto the body centred and positioned slightly forward to prevent a backward tilt. Pin before sewing and check from the front and side.
- Attach both arms to the sides of the upper body, just below the neckline. Pin both before sewing either, check symmetry from the front, then secure.
- Wrap the belt around the waist and sew or tack it in place so the stripe between pants and upper body reads cleanly.
- Place the wig and braids on the head, pinning from multiple angles before committing. The braids will hang differently depending on where they attach.
- Set the helmet on top of the head last, positioning it over the wig base. Pin and check from the front before sewing down.
Stuffing Guide
- The Belly: Needs the most attention. It should feel genuinely firm—press it and it pushes back without denting. That firmness is what holds the rounded increase shape against gravity once the doll is finished.
- Method: Feed fiberfill into the body gradually as you crochet, not all at once at the end.
- The Head: Needs firm stuffing too, particularly around the cheeks and the front of the face.
- The Arms: Get no stuffing or the very lightest fill. They are thin tubes and heavy stuffing makes them rigid and hard to sew naturally at the shoulder.
- Warning: Overstuffing shows first as spreading stitch gaps, usually at the belly-to-chest transition where the rounds narrow.
Troubleshooting
- The belly looks straight instead of rounded: The increases were not enough or not spread evenly. The pattern says “increase significantly” without giving exact counts. If the belly looks tubular, add more increase rounds before switching to even rounds.
- The stripes on the pants are uneven in height: Stripe height is controlled by how many rounds you work in each colour before switching. Count rounds per stripe on the first leg and match exactly on the second.
- The two legs look different sizes: Count the rounds on both before joining. If they are already joined and slightly off, the belt placement can hide a small discrepancy at the hip line.
- The safety eyes sit at different heights: Take them out before snapping the backs on and count the stitch rows between each eye and the magic ring to confirm they are level. Once the backs are on they are very difficult to remove.
- The head tilts backward after assembly: Unpick the seam, reposition the head with more of the base touching the front of the body rather than the back, pin again, and resew.
- The braids hang at different lengths: Measure both braid chains before working the stitch rows. The chain count determines the length, and one extra chain is enough to create visible asymmetry at the ends.
Yarn Substitution and Size Scaling
Any fine to sport weight yarn works on a 2.0 to 2.5 mm hook. Going up to DK weight will produce a noticeably larger doll—all proportions carry over, but you will need more stuffing and heavier-gauge safety eyes. For a smaller version, drop to a 1.5 mm hook and thinner yarn; the tube arms especially benefit from the finer gauge since they stay narrow and neat. The striped section works in any two colours; the blue and white combination reads as a classic costume but tan and cream, or red and cream, works just as well.
Toy Safety
Safety eyes are not suitable for children under three. Use the embroidered swap described in the head section. Additionally, the small bows at the end of the braids and the belt need to be sewn very firmly—decorative pieces at the ends of long strands are the first things young children pull. Do a tug test on every separate piece before the doll goes to a child.
FAQ
Do I need to follow exact stitch counts for the body?
No. The pattern does not give a number for the body, which means you are reading the shape as you go. Start increasing on the joining round and keep going until the belly looks visibly round—wider than it is tall. Usually that means several increase rounds spread across 6 to 10 rounds. If it still looks straight, add more.
Is the helmet required?
Easily. The wig sits on the head without the helmet and looks finished on its own. The helmet is an optional character detail—leave it off and you have a slightly different version of the same doll.
How do I keep my stripes even?
Complete the last yarn-over of the stitch before the colour change with the new colour, then carry the old colour inside the stitches for a round or two rather than cutting it each time. Fewer ends, cleaner stripes, less weaving in at the end.
Why are my arms too stiff?
No. The arms in this pattern are narrow tubes worked at 6 stitches throughout. Stuffing them makes them stiff and hard to sew at a natural angle. Leave them empty or with the absolute minimum fill, and they will drape better when attached.
How do I fix a loose wig base?
The base needs to fit snugly—if it is too large, it will shift. Either rework it a round smaller or use a few hidden tack stitches around the perimeter to anchor it to the head before sewing the braids.
If you enjoy making character dolls, you might also like our easy crochet Batman doll pattern or this adorable crochet unicorn doll for a different kind of magical friend.
Pin This Crochet Pattern!