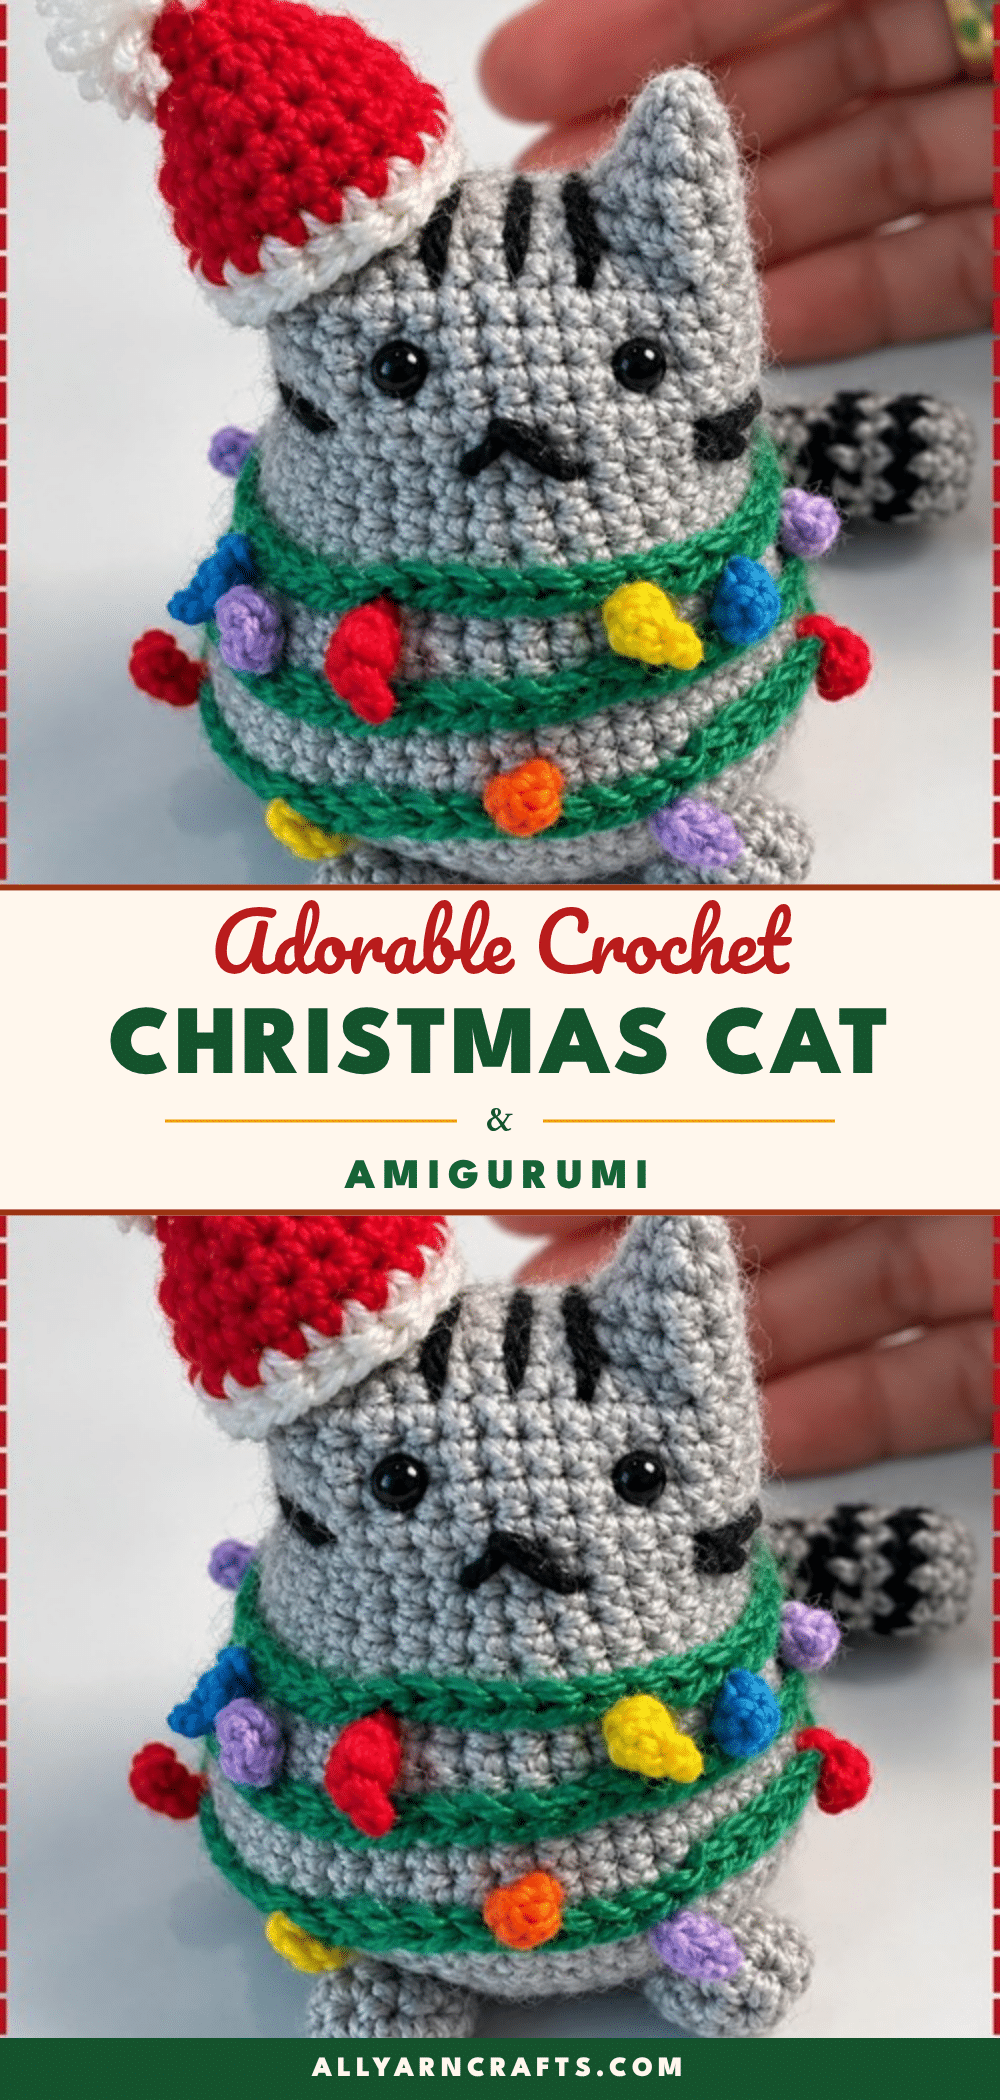
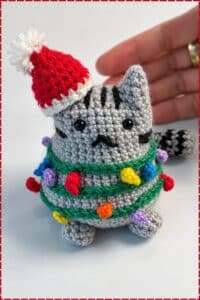
There is a specific kind of magic in amigurumi that comes from the tactile nature of the craft—the satisfying click of the hook, the gradual emergence of shape through continuous rounds, and the tiny details that transform a simple ball of yarn into a character. This crochet Christmas cat amigurumi pattern captures that essence perfectly. While the source material refers to the figure as a mouse, the visual description of a grey tabby with a Santa hat and tangled fairy lights creates a festive feline charm that is sure to delight. The construction relies on a unique downward build from the ears, a technique that gives the head a sturdy, upright posture, while the addition of bobble bulbs and a tipped hat adds a layer of playful complexity.
Texture and Stitch Notes
What makes this project particularly engaging for crocheters is the interplay between the smooth, continuous rounds of the body and the textured, fiddly nature of the accessories. The body is worked in SC (single crochet) rounds, creating a dense, plush fabric that holds stuffing well. However, the real texture comes from the “Christmas lights.” Each bulb is a tiny, raised nub created with a HDC (half double crochet) bobble, adding a three-dimensional quality that contrasts with the smooth grey body. The chain-4 bridge between the ears also provides a distinct textural ridge across the top of the head, emphasizing the shape. This mix of smooth shaping and raised details keeps the hands busy and the eyes focused, making the two-to-three-hour project time fly by.
Project Overview
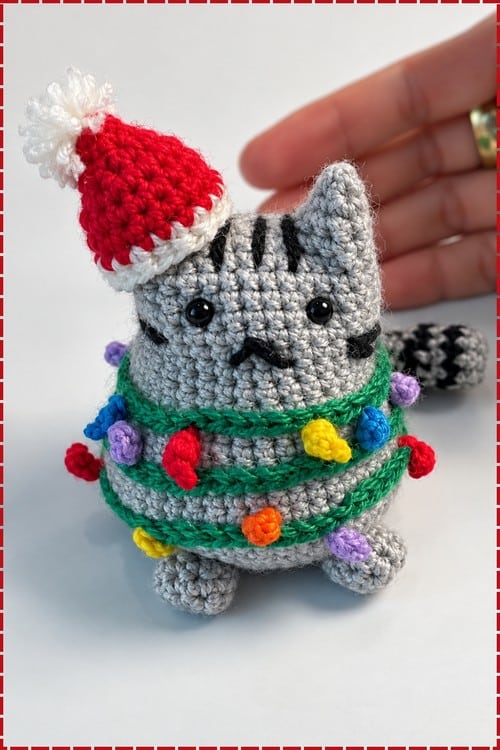
This pattern creates a palm-sized amigurumi figure, described as a grey tabby cat (or mouse) wearing a Santa hat and wrapped in green fairy lights. It is an intermediate-level project, not because the stitches are difficult, but because the construction requires careful attention to shaping, ear joining, and the assembly of multiple small components. The figure is designed to fit snugly into a Christmas stocking or sit as a festive desk ornament.
Quick Facts
- Finished Size: Roughly 10 to 13 cm tall (not counting the tail).
- Difficulty: Intermediate. The stitches are simple, but several rounds lack explicit counts, requiring you to fill in gaps based on checkpoints.
- Time: Approximately two to three hours for the body, plus additional time for the lights.
- Style: Amigurumi, worked mostly in continuous rounds.
Materials and Tools
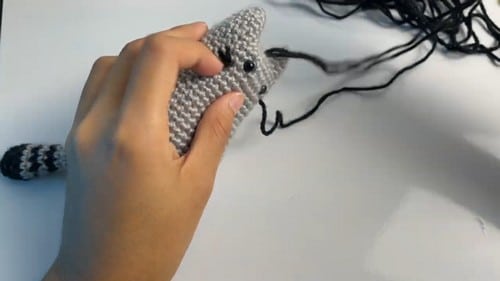
Amounts are approximate. The pattern does not specify a yarn weight, but the use of a 3 mm hook suggests sport or DK weight yarn.
- Grey yarn: Roughly 40 to 50 g for the body.
- Black yarn: A small amount for tail stripes.
- Green yarn: A short length for the light cable.
- Scrap yarn: Several colours (red, blue, yellow, purple, orange) for the bulbs.
- Red yarn: For the hat.
- White yarn: For the hat trim.
- 3 mm crochet hook: For the body.
- 2 mm crochet hook: For the tiny bulbs.
- Safety eyes: Or black thread for embroidered eyes.
- Stuffing: Standard poly-fil.
- Notions: Embroidery needle, stitch markers, scissors, and pins.
Abbreviations
SC: Single crochetHDC: Half double crochetMC: Magic circleSS: Slip stitch
Note: Stitch counts appear in brackets where the pattern provides them.
Pattern Notes
- Construction: The ears are worked first and joined into the body. The head and body are one continuous piece worked downward from the ear join. The feet, tail, and hat are made separately.
- Continuous Rounds: The body is worked in continuous rounds without joining. Use a stitch marker to mark the beginning of each round.
- Missing Counts: Several sections do not have explicit stitch counts. You must work to the “checkpoints” described to achieve the correct shape.
- Eye Placement: Although the original pattern suggests inserting eyes at the end, this guide recommends inserting them early (around round 13) to ensure proper placement on the downward-working body.
- Stuffing: Stuff as you go, particularly during the body shaping, rather than waiting until the end.
Pattern Instructions
Ears, Make 2
Worked in continuous rounds. Do not stuff.
- Round 1:
MC, 4SC[4] - Round 2: Increase every other stitch [6]
- Round 3: Increase every other stitch [9]
Checkpoint: You should have a small shallow cup, roughly the size of a thumbnail. Both ears must match. After the first ear, slip stitch and cut the yarn. For the second ear, do not cut the yarn.
Joining the Ears and Building the Body
Join: Chain 4 after the second ear. Slip stitch to the first ear to join. Work 2 rounds of SC around the join [26].
Checkpoint: Two ears at 9 stitches each plus the chain of 4 worked along both sides gives 26 stitches. This is the only place where the math is explicitly spelled out. If you are not on 26, recount. The chain of 4 is now the bridge across the top of the head.
- Next Round: Increase to 30 stitches [30].
- Next Rounds: Work even rounds up to round 13 [30].
Checkpoint: This is the head. It should be a rounded shape with the ears sitting at the top. Insert the eyes now. Position them on the head with the ears above them, spaced evenly either side of the chain 4 bridge.
- Next Round: Increase to 36 stitches [36].
- Next Rounds: Work even to round 17 [36].
- Next Round: Increase to 42 stitches [42].
- Next Rounds: Work even to round 24 [42].
Checkpoint: This is the widest part of the body. It should stand on its own as a rounded barrel with a narrower head above it. Stuff as you work these rounds.
- Decrease Round 1: Decrease every 4 stitches [35].
- Decrease Round 2: Continue decreasing every 3 stitches [28].
- Decrease Round 3: Continue decreasing every 2 stitches [21].
Checkpoint: The base is tapering, but 21 stitches is still a wide opening. Stuff firmly. Close completely and weave in the ends.
Feet, Make 2
- Start:
MC. WorkSCrounds to create a small oval base.
Checkpoint: No counts are given. Both feet must match, so make the second one straight after the first and lay them side by side. Fasten off, leaving a tail for sewing.
Tail
- Round 1:
MC, 6SC[6] - Round 2: Increase to 12 [12]
- Next Rounds: Work even rounds [12].
Checkpoint: A tube of even width with a closed end. No round count is given. Work it to the length you want against the body (usually 12 to 15 rounds). Note that this tail does not taper. Alternate black and grey yarn to create stripes. Finish in grey. Stuff lightly. Sew to the back of the body.
Face Details
Embroider the nose and mouth. Place the nose centred and slightly below the eyes. A small triangular nose suits the character. Add whiskers with a few short stitches extending sideways, if desired.
Christmas Lights
Wrap green yarn around the body in a spiral. Secure it at several points with small stitches so the spiral cannot slip or sag.
Bulbs: Using the 2 mm hook and scrap yarn:
- Chain 2.
- Work a
HDCinto the first chain. - Slip stitch to close.
Checkpoint: A tiny raised nub. On a 2 mm hook, it should be dense and hold its shape. If it flattens out, the hook is too large for the scrap yarn. Attach the bulbs along the cable, spacing them unevenly so the string looks natural. Secure and trim the ends carefully.
Hat, Optional
Crochet a small red hat. Add white trim and a pom-pom. Sew onto the head securely. Note that no specific stitch instructions are given for the hat; create a simple cone shape that fits the head size.
Assembly
- Body: Close and stuff the body firmly. Insert the eyes before the final closing if you haven’t already.
- Feet: Sew the feet on evenly spaced at the bottom front of the body. Position them toward the front so the figure sits upright instead of tipping backward. Stand it up and check before sewing.
- Tail: Attach the tail at the back centre, sewing around the full open end so it cannot rotate.
- Face: Embroider the nose and mouth next, once the body is closed and you can hold it properly.
- Lights: Wrap the green cable around the body in a spiral and pin it in place before stitching. Look at it from all sides; a spiral that looks even from the front often bunches at the back. Stitch the cable down at several points.
- Bulbs: Attach the bulbs along the cable, spacing them unevenly. Even spacing reads as a decoration, while uneven spacing reads as fairy lights.
- Hat: Sew the hat on last, tilted slightly to one side.
- Finishing: Weave all ends into the inside of the pieces.
Tips
- Eye Timing: The pattern suggests inserting eyes near the end, but this does not work well on a body worked downward from the head. Insert them early, around round 13, when you have 30 stitches.
- Count the Ear Join: Two ears at 9 stitches plus 4 chains worked along both sides gives 26 stitches. This is the critical number for the body start. If you are not on 26, recount before going further.
- Stuffing: Stuff as you go. The pattern says to stuff firmly once near the close, but this contradicts the need for a sturdy shape. Stuff the body gradually as you increase the circumference.
- Contrast: Protect the contrast between the body and the cable. A grey mouse with a dark green cable loses the lights completely from a distance. Use a brighter green or ensure the grey is light enough.
FAQs
Why does the ear join give 26 stitches?
Two ears at 9 stitches each is 18 stitches. The chain of 4 is worked along both its sides, adding 8 stitches (4 on each side). That comes to 26 stitches, which is the number the pattern states and the foundation for the body.
How many rounds should the tail be?
The pattern does not specify a count. Hold the tail against the finished body and stop when it looks proportional. For a figure this size, it is usually around 12 to 15 rounds. Remember that the tail does not taper as written.
My decreases left me with a big hole at the bottom. Is this normal?
Yes, the pattern stops decreasing at 21 stitches and tells you to close. This leaves a wide opening. You can close it by hand, or work two more decrease rounds to get down to 7 stitches for a tighter closure.
Can I sew the ears on afterwards instead?
You could, but you would lose the structural benefit of this construction. The chain of 4 between the ears becomes the top of the head, so the ears help hold the shape. Sewn ears on a small figure like this tend to droop.
What yarn weight should I use?
The pattern does not name a yarn weight, but the use of a 3 mm hook points to sport or DK weight yarn. For the tiny bulbs, a 2 mm hook is used, which works well with scrap yarns of similar weight.
Why are the lights spaced unevenly?
Even spacing reads as a manufactured decoration. Uneven spacing mimics the look of real fairy lights or garlands, adding a more natural and festive charm to the piece.
Pin This Crochet Pattern!