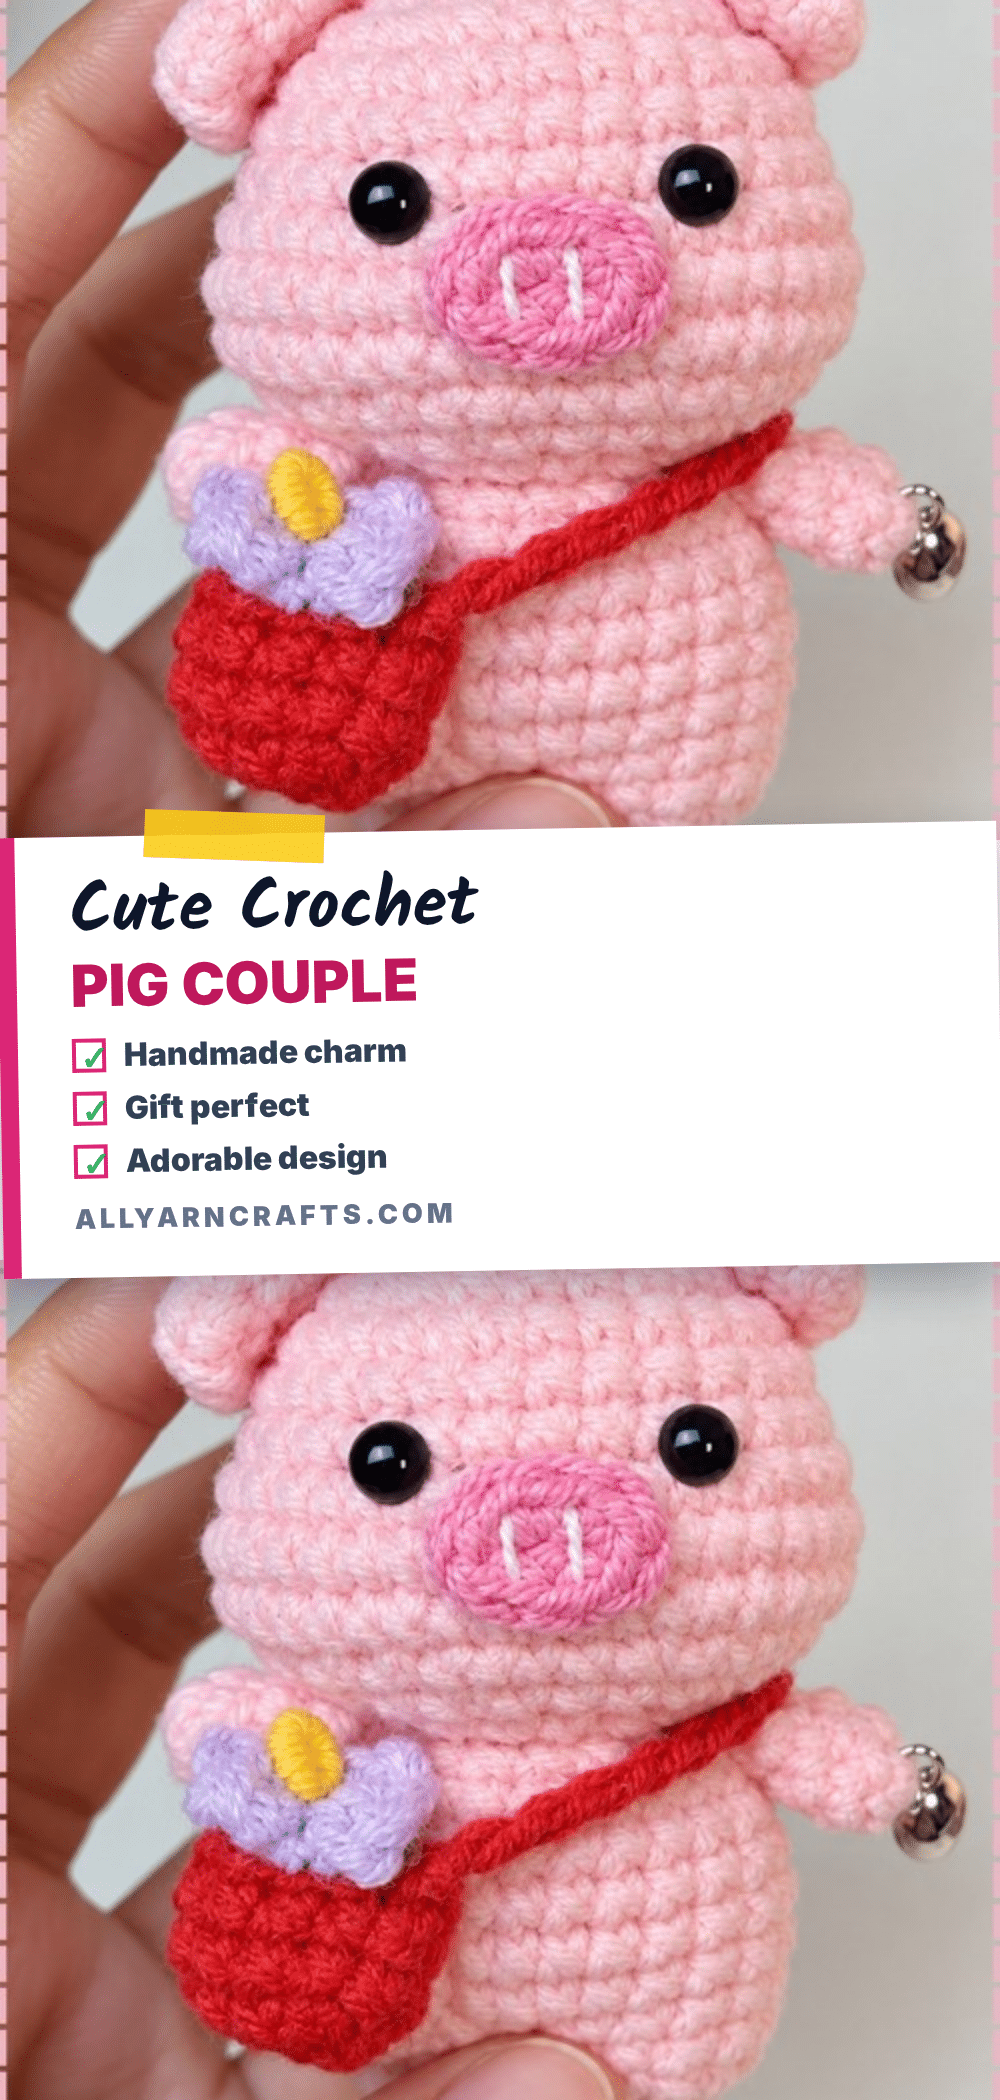
It is incredibly common for beginners to panic when their first amigurumi circle starts curling up like a potato chip instead of lying flat. You might worry that your tension is too tight or that you made a math error in the first few rounds. The truth is, this is a normal part of the learning curve, and it does not ruin the project. In fact, for a keychain-sized pig, a slightly tight tension is actually your friend. This pattern is designed to be forgiving and approachable, turning that initial worry into a sturdy, charming result that sits perfectly on your keys or bag.
Maker Notes
What makes this couple keychain pattern so delightful is the exaggerated proportion of the head to the body. Because the head is significantly larger than the body, the pig reads instantly as a kawaii charm rather than a realistic animal. This design choice allows for a lot of personality in the face without needing complex sculpting. I recommend using a slightly different shade of pink for the snouts if you want to give each pig a unique personality, or stick to the classic look with matching colors. The outfit colors—blue and purple—provide a nice contrast against the pale pink, making them perfect as a set for a couple or best friends. These are small enough to carry around but substantial enough to feel like a quality handmade gift.
Project Overview
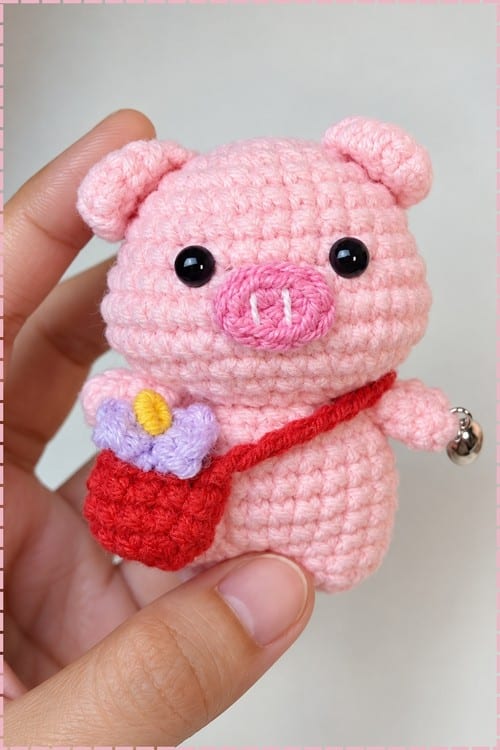
This pattern creates a pair of adorable crochet pig amigurumi keychains. The design features a large, round head, a distinct snout, floppy ears, and stubby limbs. The body is worked continuously from the head down to the base, allowing for easy stuffing and assembly. The final pieces are attached to keychain rings, making them perfect accessories for bags, lanyards, or car keys.
Materials
- Yarn:
- Light pink yarn for the head and body
- Dark pink yarn for the snout
- Blue or purple yarn for the outfits (one color per pig)
- Darker shade or black yarn for the nostrils
- Hook: 2.5 mm to 3.0 mm crochet hook
- Eyes: 5 to 6 mm safety eyes
- Stuffing: Fiberfill stuffing
- Tools: Tapestry needle, stitch marker, scissors
- Hardware: Keychain rings (one per pig)
Gauge and Finished Size
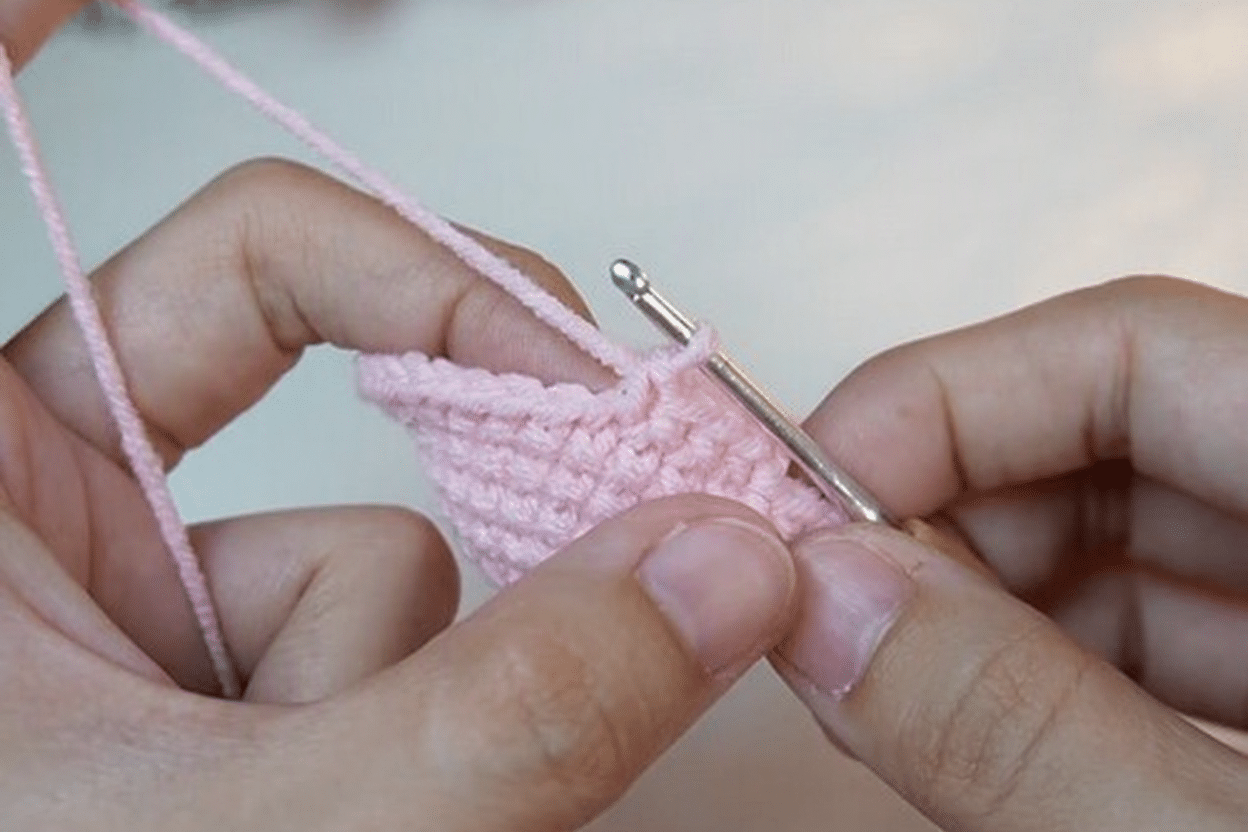
Gauge: Tight tension is essential. At keychain scale, loose stitches will allow the stuffing to show through the pale pink yarn almost immediately.
Finished Size: When worked with a 2.5 mm hook, each pig finishes at approximately 7 to 9 cm tall. This size is ideal for a keychain charm.
Abbreviations
Standard US crochet abbreviations are used:
- sc: single crochet
- inc: increase (2 sc in the same stitch)
- dec: decrease (2 sc together)
- MR: magic ring
- ch: chain
Pattern Notes
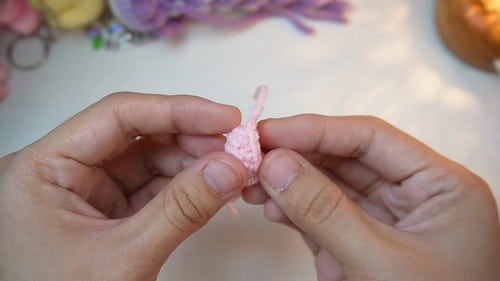
- Continuous Rounds: Work in continuous rounds without joining. Place a stitch marker in the first stitch of each round to keep track.
- Tension: Maintain tight tension. This prevents stuffing from showing and keeps the shape defined.
- Stuffing: Stuff as you go rather than waiting until the end. The head requires firm stuffing to hold its shape, while the neck should be stuffed lightly to prevent the head from tipping forward.
- Decreases: Invisible decreases are recommended for a cleaner look, as standard decreases leave a visible ridge in the neck shaping.
- Proportions: The head finishes at 30 stitches around, while the body only reaches 18 stitches. This “head-heavy” proportion is what gives the pig its cute charm appearance.
Pattern Instructions
Head and Body
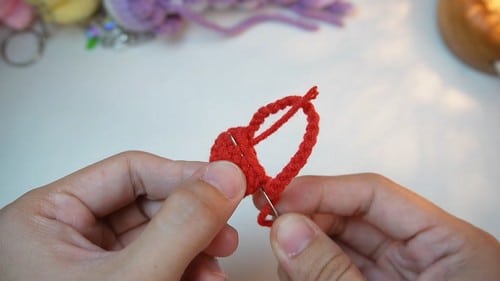
Worked in one continuous piece from the head down to the body base.
Round 1: 6 sc in MR [6]
Round 2: inc in each stitch [12]
Round 3: 1 sc, 1 inc, repeat [18]
Round 4: 2 sc, 1 inc, repeat [24] — Still flat, like a coin. If it is already cupping, your tension is tight enough that later rounds will fight you.
Round 5: 3 sc, 1 inc, repeat [30]
Rounds 6 to 11: sc in each stitch [30] — Six straight rounds should give a cylinder with straight sides. Any flare means a stray increase crept in, so recount round 6 against 30 before going further.
Safety Eyes: Insert safety eyes between rounds 8 and 9, about 5 stitches apart. Ensure they are secure before proceeding.
Round 12: 3 sc, 1 dec, repeat [24] — If you run out of stitches before the last repeat, the error is upstream in rounds 4 to 5, not here.
Round 13: 2 sc, 1 dec, repeat [18] — Start stuffing firmly.
Round 14: 1 sc, 1 dec, repeat [12] — The head should now be a firm ball with a clear pinch below it. This is your last easy access for adding filling to the head.
Round 15: sc in each stitch [12] — Pack the neck lightly here, not firmly. Over-stuffing this round is the single most common reason a finished pig tips forward on the ring.
Round 16: 1 sc, 1 inc, repeat [18]
Rounds 17 to 20: sc in each stitch [18] — The body should read as a small barrel sitting under a much larger head. Change yarn color here for the shirt or dress effect.
Round 21: 1 sc, 1 dec, repeat [12]
Round 22: dec in each stitch [6] — The base should close smoothly; a dent means the body needed more filling a round or two back.
Fasten off and sew the hole closed.
Snout
With dark pink yarn:
Foundation: ch 4
Round 1: Start in the second chain from the hook, 2 sc. 3 sc in the last chain. Turn and work on the opposite side, 1 sc, 1 inc [8 total] — A small flat oval. If it comes out as a straight bar, the 3 sc went into two different chains instead of the same one.
Round 2: sc in each stitch [8]
Fasten off leaving a long tail for sewing.
Ears, Make 2
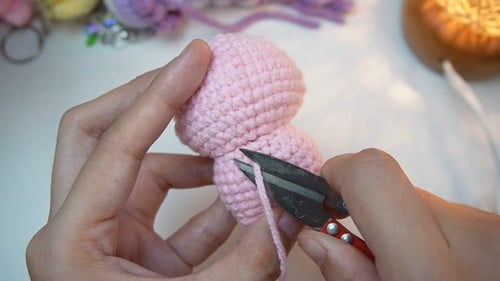
Round 1: 4 sc in MR
Round 2: 1 sc, 1 inc, repeat [6]
Round 3: sc in each stitch [6] — A tiny shallow cup that flattens into a rounded tab.
Flatten slightly.
Arms and Legs, Make 4
Round 1: 5 sc in MR
Rounds 2 and 3: sc in each stitch [5] — Stubby little cylinders, wider than they are long.
Lightly stuff if desired. Working a 5-stitch round is fiddly; if the magic ring keeps collapsing, leave the tail long and pull it tight only after round 3 is done.
Assembly
Finish, stuff, and close the head and body first. Everything else attaches to a completed piece.
- Snout: Pin the snout centred between the eyes before sewing a stitch. This placement decides whether it looks like a pig. Sew around the full outer edge of the snout rather than tacking it at a few points. Push a pinch of stuffing underneath just before you close the last section if you want it to stand proud.
- Nostrils: Embroider the nostrils once the snout is on so you can judge the spacing against the whole face.
- Ears: Place the ears symmetrically on top of the head, angled slightly outward rather than straight up. Sew between rounds 3 and 7 on top of the head.
- Arms: Sew the arms to the sides just below the neck. Too high and the pig looks stiff; too low and they read as a second pair of legs.
- Legs: Attach the legs evenly along the bottom so the pig sits level.
- Keychain: Add the keychain loop last, between the ears.
Pro Tip: Pin the snout and both ears before committing to any of them. On a head 30 stitches around, two millimetres of drift on the snout changes the whole face. Look at it from arm’s length before threading the needle.
Tips
- Stuffing Balance: Stuff the head firmly so it holds a round shape under the weight of the ring. Keep the neck rounds deliberately softer. A firm neck pushes the head off balance and causes it to tip forward.
- Body Stuffing: The body takes less stuffing than you expect. Firm enough not to collapse, but no more.
- Limbs: Arms and legs stay barely stuffed, or unstuffed entirely. At 5 stitches around, they hold their shape without help, and filling them makes them stick straight out.
- Eye Placement: The eyes must be inserted before round 13, as that is where stuffing begins. Sitting them higher than round 8 gives a startled expression; lower leaves no room for the snout.
- Safety vs. Embroidery: For children under three, embroider two small black satin stitch ovals instead of using safety eyes. Work the ends deep into the stuffing as keychains are handled constantly.
- Pairing: Work the two pigs identically and change only the outfit color (blue for one, purple for the other). A slightly different snout shade on each can give them separate personalities.
FAQs
Why does my pig’s head tip forward?
This usually happens because the neck rounds (Round 15) are stuffed too firmly. The neck should be stuffed lightly to allow the shaping to remain visible as a pinch. If the neck is packed tight, it shifts the balance point forward. If the head is already closed, you can try moving the keychain loop slightly back from the center to correct the hang.
Can I make just one pig instead of a couple?
Absolutely. The “couple” aspect is only a color choice at Round 16 or 17. If you are making one, pick whichever outfit color you like and ignore the pairing section entirely.
My snout looks flat against the face. How do I fix it?
Push a small pinch of stuffing under the snout just before you close the last few stitches of the seam. Sew all the way around the edge rather than tacking the top. It should sit forward off the head, which is essential for the pig to look like a pig rather than a bear.
What hook size should I use?
Use a 2.5 mm to 3.0 mm crochet hook. A 2.5 mm hook is recommended to achieve the tight tension necessary to prevent stuffing from showing through the pale pink yarn.
How do I keep the magic ring from collapsing in the limbs?
Working a 5-stitch round can be fiddly. Leave the tail long and pull it tight only after Round 3 is completed to ensure the center stays closed.
Pin This Crochet Pattern!