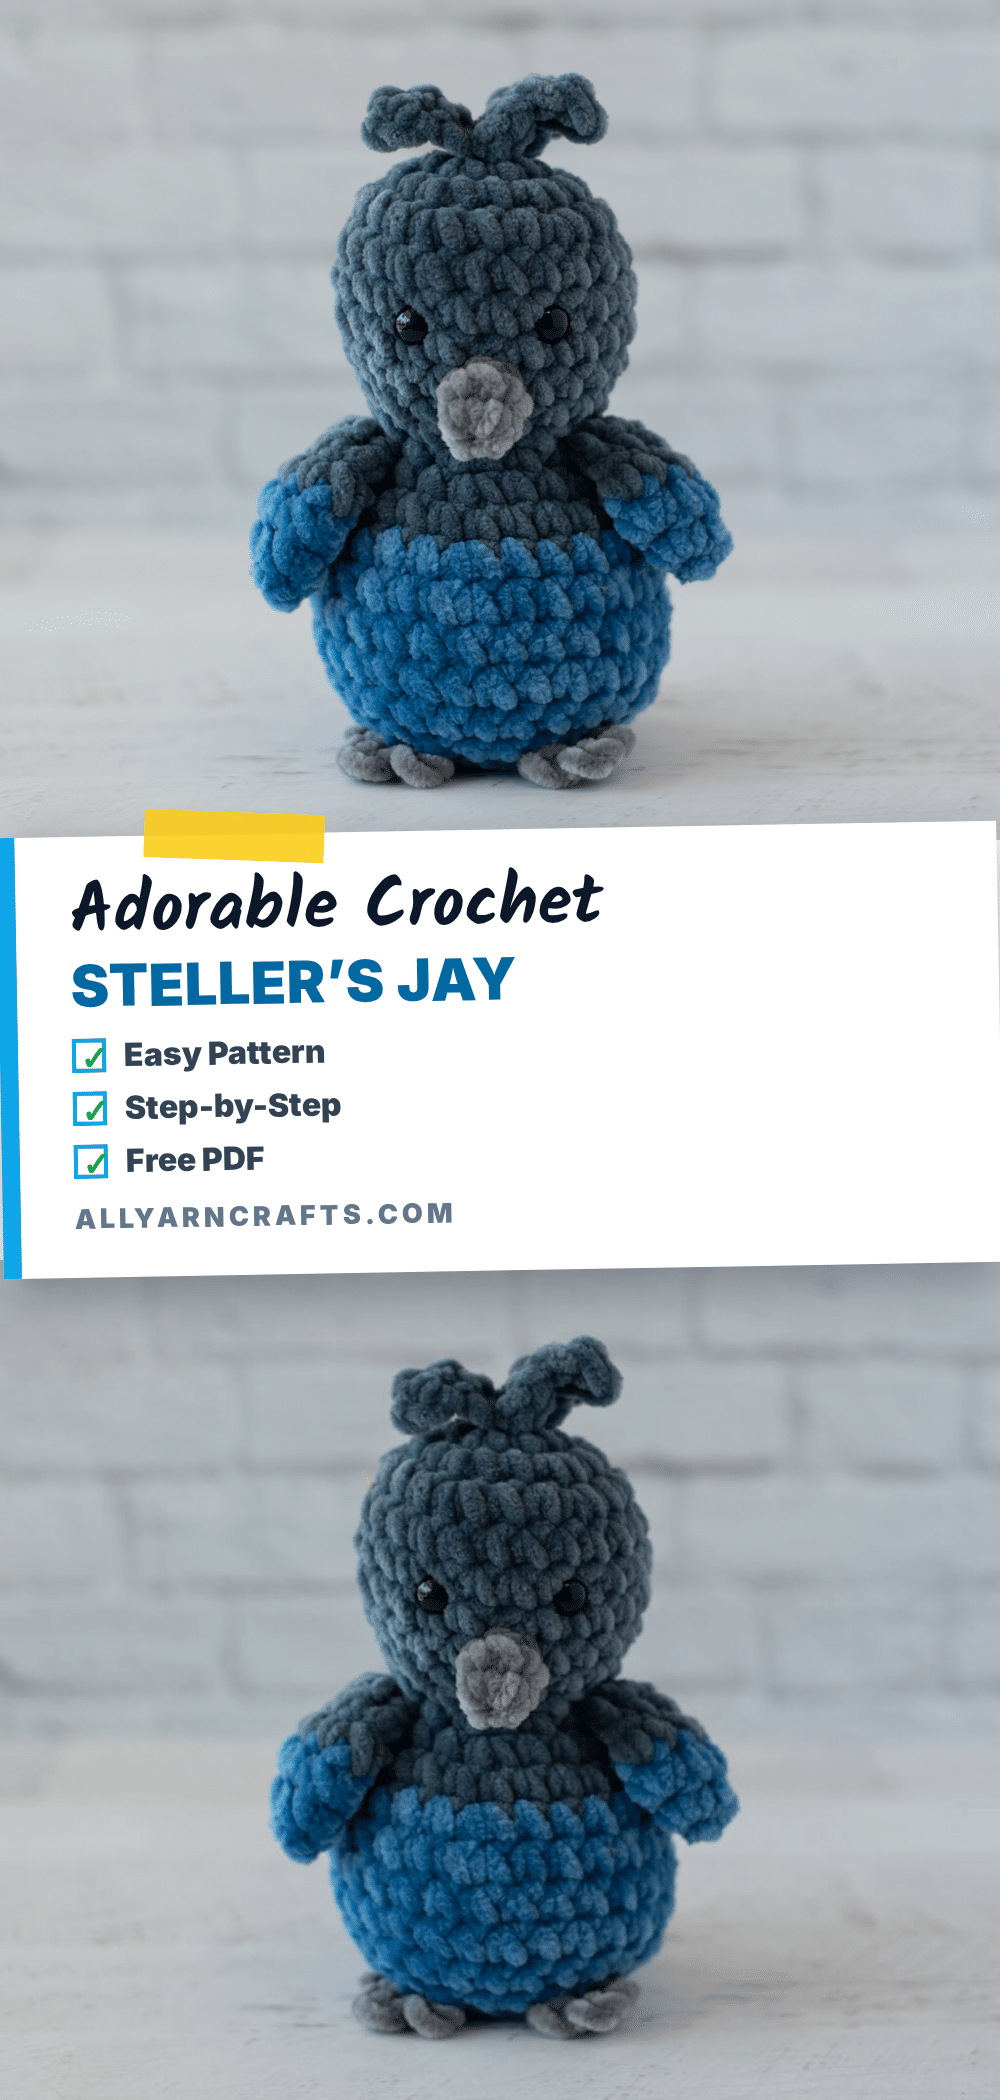
There is a specific kind of magic that happens when you sit down with a hook and a skein of plush yarn. The yarn rests on the table, waiting for your touch, and as you pull the first loop through, the project begins to take shape. It is a quiet, grounding moment where creativity meets craft. Today, we are channeling that energy into creating Stan, a Steller’s Jay amigurumi that captures the wild beauty of the Pacific Northwest in a soft, cuddly form.
Why This Project Works
Stan is more than just a bird; he is a celebration of texture and color. The use of Premier Parfait Chunky yarn—a chenille-style super bulky weight—gives Stan a velvety, luxurious feel that is incredibly satisfying to work with. This project works because it balances simplicity with high-impact details. The head and body are worked in one continuous piece, which streamlines the construction process, while the intentional placement of the beak, wings, and crest feathers adds character without requiring complex shaping.
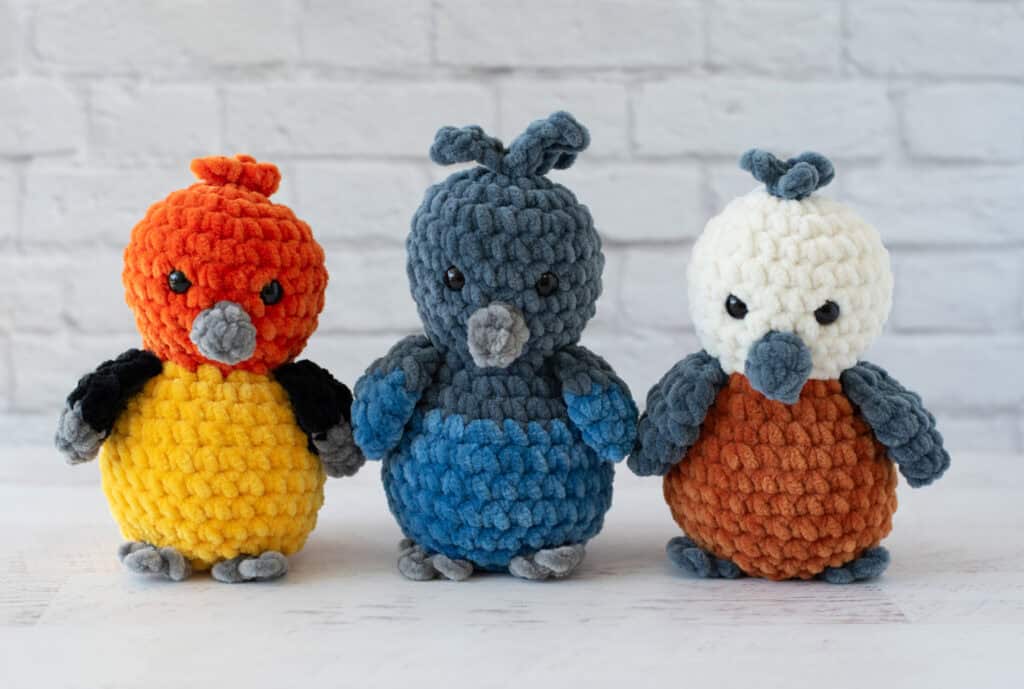
The color palette is striking: a deep charcoal for the head and crest, contrasted with a vibrant cornflower blue for the body and wings. This two-tone effect mimics the real bird’s plumage while keeping the aesthetic modern and cute. Whether you are a fan of crochet bluebirds or you simply love adding a touch of nature to your home decor, Stan fits right in. He is quick to make, making him a perfect project for when you want a satisfying finish in a short amount of time.
Project Overview
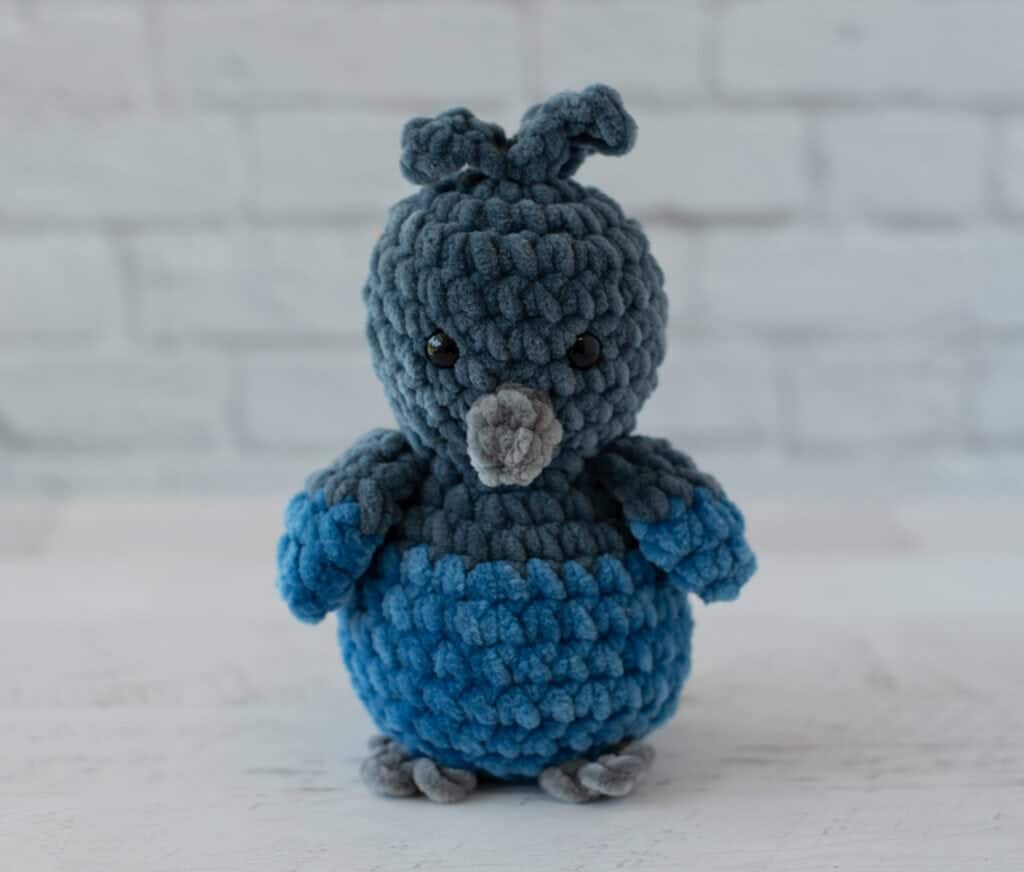
Stan the Steller’s Jay is an amigurumi bird designed for crocheters who enjoy working with bulky yarns for faster results. The pattern features a one-piece body construction, a distinct crest of feathers, and two-toned wings. It is suitable for makers who are comfortable with basic amigurumi techniques and looking for a project with personality.
Materials
- Yarn: Premier Parfait Chunky (Size 6 super bulky, 100% polyester, 131 yds/120m per 3.5 oz skein).
- Charcoal (dark gray): 28 yards
- Cornflower (Blue): 27 yards
- Seal (light gray): 3.5 yards
- Crochet Hook: US H8/5.00 mm
- Accessories: 10 mm safety eyes (or embroidery floss for young children), stitch markers, fiberfill, tapestry needle, and scissors.
Gauge and Finished Size
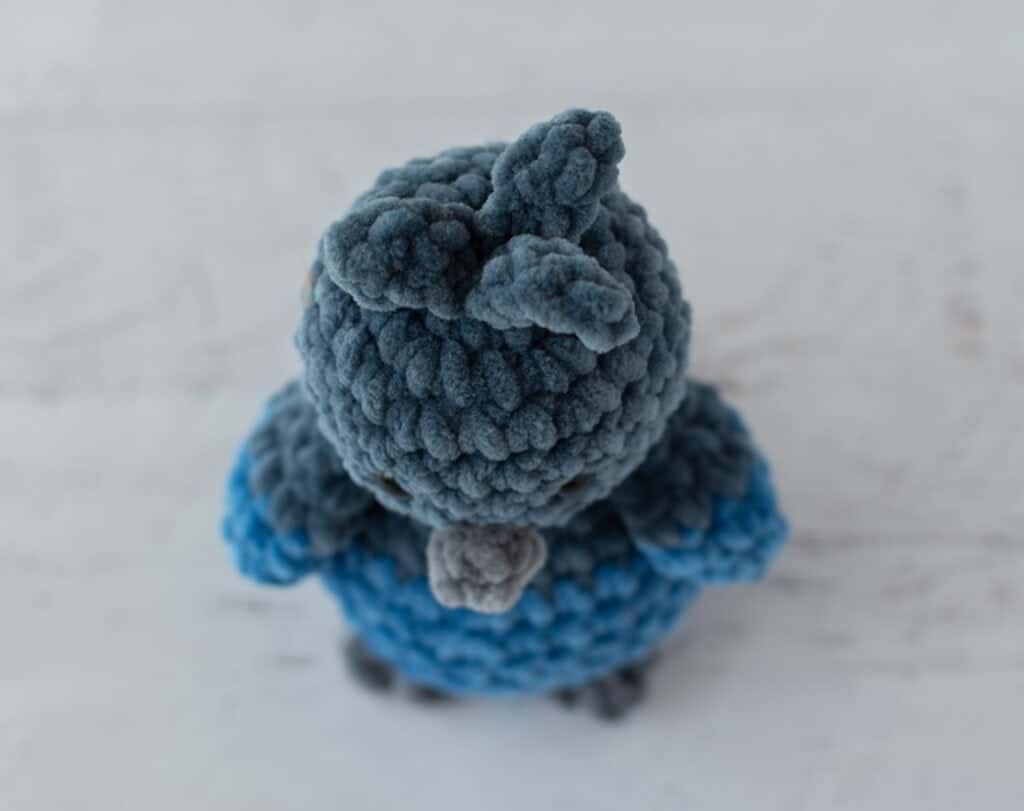
The finished crochet bird is approximately 6” tall x 4.5” wide. While the designer’s gauge is 6 sc to 2 inches, gauge is not critical for this pattern. You may use other weights of yarn, adjusting your hook size to fit your needs.
Abbreviations
- ch = chain
- sc = single crochet
- sc2tog = single crochet 2 stitches together
- sl st = slip stitch
- st = stitch(es)
Pattern Notes
- The head and body are worked in one piece, starting with dark gray yarn at the top of the head and changing to blue mid-body.
- The tummy includes extra stitches to create a perfect amount of squish.
- Details such as the beak, feet, and feathers use very few stitches but require intentional placement for the best look.
- Safety Note: If making for a baby or young child, embroider the eyes instead of using safety eyes.
Pattern Instructions
Bird Head and Body
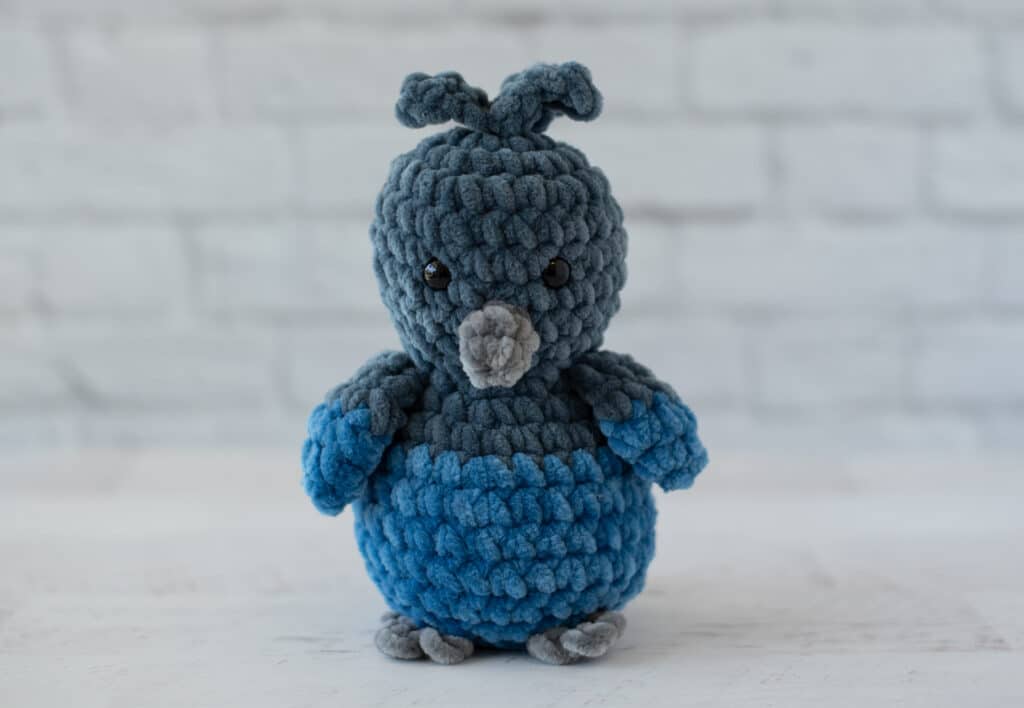
Using dark gray yarn, make a magic ring.
R1: 6 sc into ring. Place stitch marker and work in continuous rounds. (6 st)
R2: 2 sc in ea st. (12 st)
R3: *Sc in next st, 2 sc in next. Repeat from * around. (18 st)
R4: *Sc in next 2 st, 2 sc in next. Repeat from * around. (24 st)
R5-8: Sc around. (24 st)
R9: *Sc in next 2 st, sc2tog. Repeat from * around (18 st)
R10: *Sc in next st, sc2tog. Repeat from * around. (12 st)
Insert safety eyes between rows 6 & 7, leaving 4 stitches in between them. Stuff head and continue to stuff body as you work.
R11: *Sc in next st, 2 sc in next. Repeat from * around. (18 st)
R12: *Sc in next 2 st, 2 sc in next. Repeat from * around. (24 st)
R13: Sc around, changing to blue color in last stitch. (24 st)
R14: With blue, *Sc in next 5 st, 2 sc in next. Repeat from * around. (28 st)
R15-18: Sc around. (28 st)
R19: *Sc in next 5 st, sc2tog. Repeat from * around. (24 st)
R20: *Sc in next st, sc2tog. Repeat from * around (16 st). Firmly stuff body the rest of the way.
R21: *Sc2tog. Repeat from * around. (8 st). Fasten off, weave end through last stitches and pull tight.
Crochet Steller’s Jay Beak
With light gray yarn, make a magic ring.
R1: 4 sc into ring (4 sts). Work in rounds.
R2: (Sc in next st, 2sc in next st) twice (6 st). Fasten off, using an invisible join if you prefer.
Top Feathers (Hair)
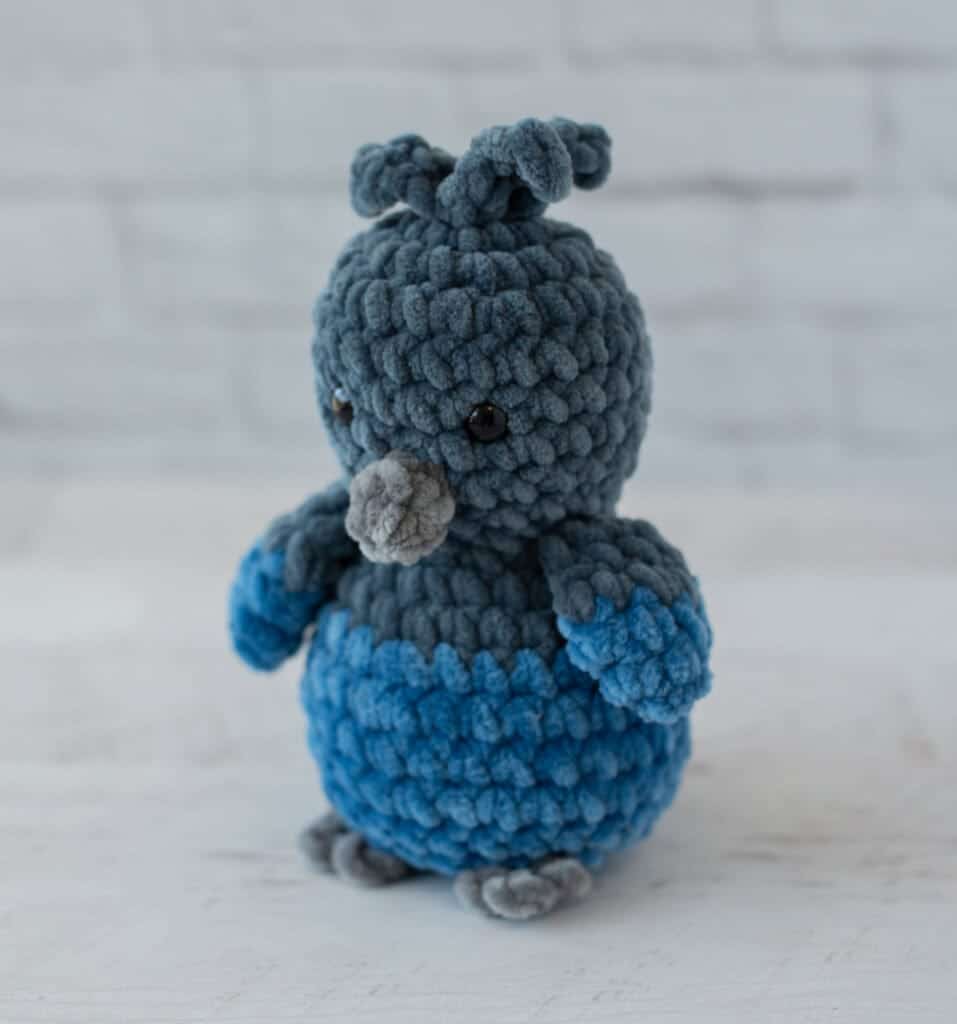
With dark gray yarn, *ch 5, sc in 2nd ch from hook, sc in next 3 st, repeat from * 2 more times. Fasten off and sew to top of head.
Wings (Make 2)
With blue yarn, make a magic ring.
R1: 4 sc into ring (4 sts). Work in rounds.
R2: (Sc in next st, 2sc in next st) twice. (6 st).
R3: (Sc in next 2 st, 2sc in next st) twice, changing to dark gray color in last stitch. (8 st)
R4: With dark gray, sc around. (8 st)
R5: Fold piece in half, then carefully sc across the double thickness. (4 st)
R6: Ch 1, (sc2tog) twice. (2 st). Fasten off leaving a long strand for joining.
Tail Feathers
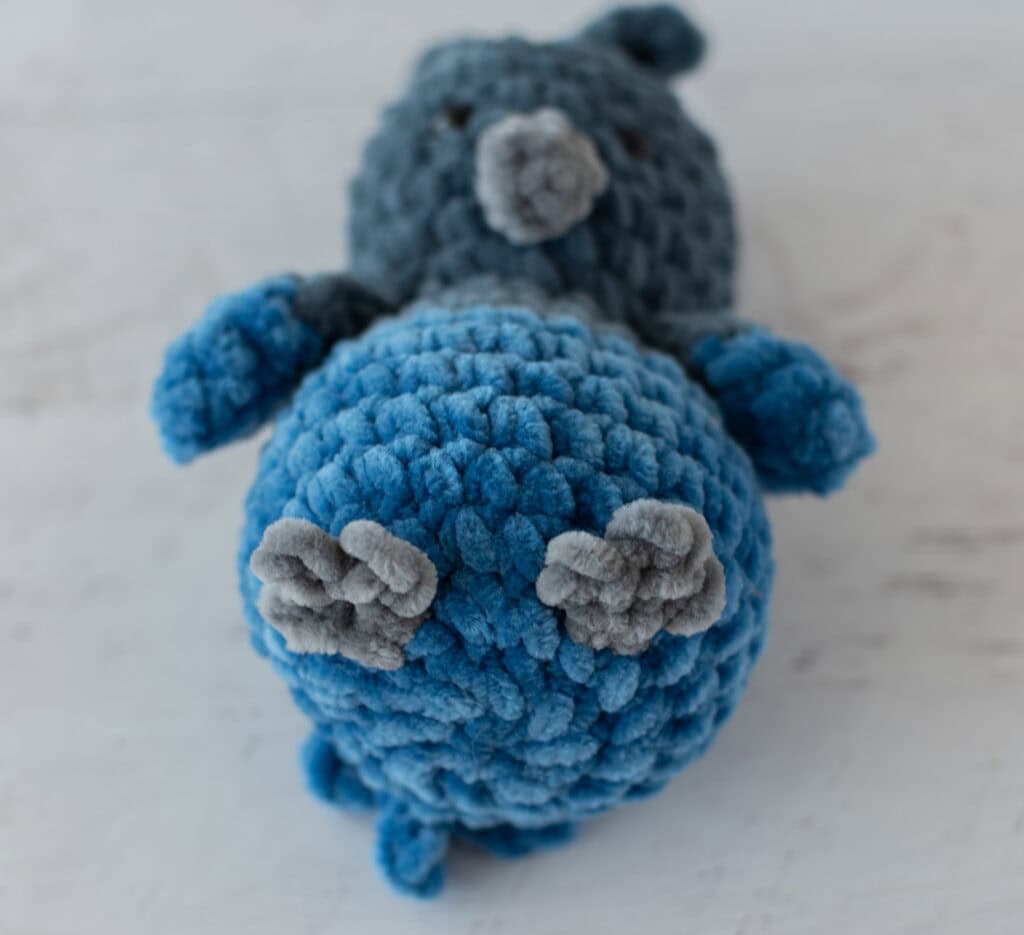
With blue yarn, *ch 7, sl st in next 1 st, repeat from * 2 more times (3 loops). Fasten off and sew to the lower back of bird.
Feet
With light gray yarn, ch 3.
R1: Sl st in 2nd ch from hook (1 st toe made), *ch 2, sl st in 2nd ch from hook. Repeat from * once (3 toes made). Then, sl st to very 1st chain in round to connect the toes back to the start. Fasten off leaving a long strand for joining.
Assembly
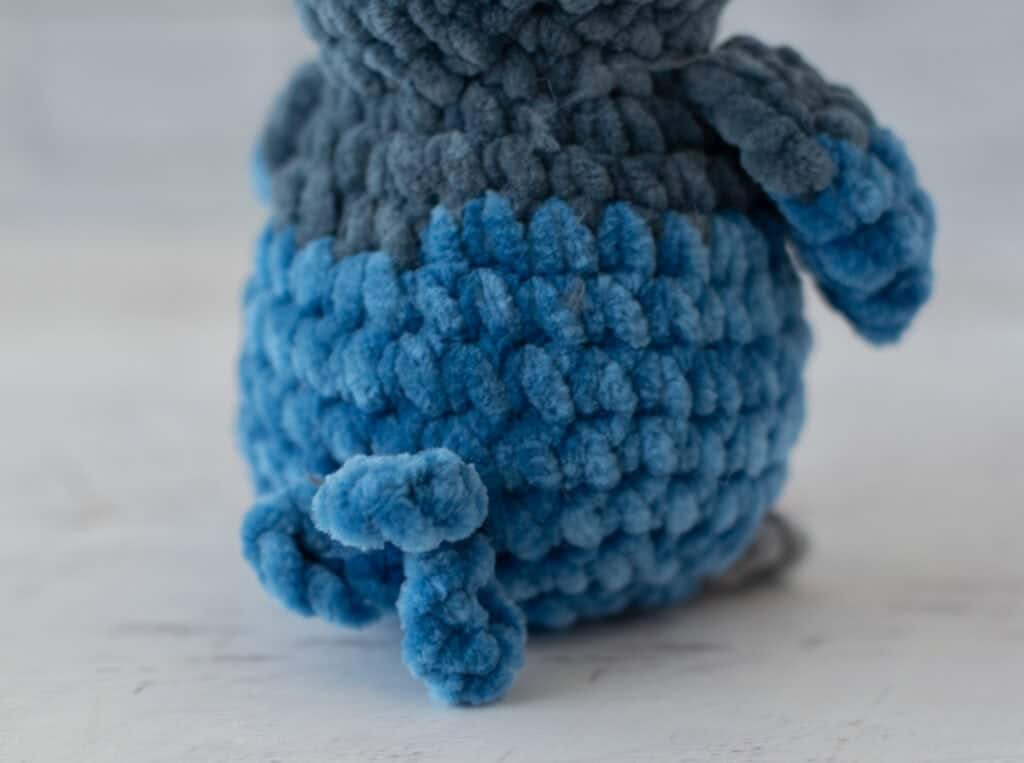
1. Sew the beak between and below the eyes. The beak should cover all of row 8 and parts of rows 7 & 9 (or as desired).
2. Sew a wing on either side of the body near the neck.
3. Sew the feet between rows 19 and 20 of the body, or as desired.
4. Weave in any loose ends.
Tips for Success
- Yarn Choice: The chenille texture of Premier Parfait Chunky helps hide stitch definition, giving Stan a smooth, plush appearance. If you substitute yarn, ensure it is bulky enough to maintain the 6” height.
- Stuffing: Stuff the head firmly to support the safety eyes and beak placement. Add extra stuffing to the tummy area to achieve the “squishy” look described in the pattern notes.
- Feather Placement: The top feathers are simple chains, but their placement on the crown of the head is what gives Stan his signature crest. Adjust the sewing position slightly if you want a more dramatic or subtle look.
FAQs
Can I use a different yarn weight?
Yes, the pattern notes state that gauge is not important. You can use other weights of yarn, but you will need to adjust your hook size and potentially the stitch counts to achieve the finished size of 6” tall.
How do I attach the wings?
Leave a long strand of yarn when fastening off the wings. Use a tapestry needle to sew the wings to the sides of the body near the neck area. You can angle them slightly downward for a natural resting position.
Is this pattern safe for babies?
The pattern includes 10 mm safety eyes, which are not recommended for babies or young children. For a baby-safe version, embroider the eyes using dark gray or black embroidery floss.
Why are there only 3 tail feathers?
The tail is made of three simple chain loops. This minimalist approach keeps the bird lightweight and maintains the clean lines of the amigurumi style while still suggesting the shape of a tail.
How do I keep the stitches even with bulky yarn?
Chenille yarn can be slippery. Use a stitch marker for every round to keep track of your increases and decreases. If the yarn splits, try using a slightly larger hook or slowing down your tension.
Pin This Crochet Pattern!