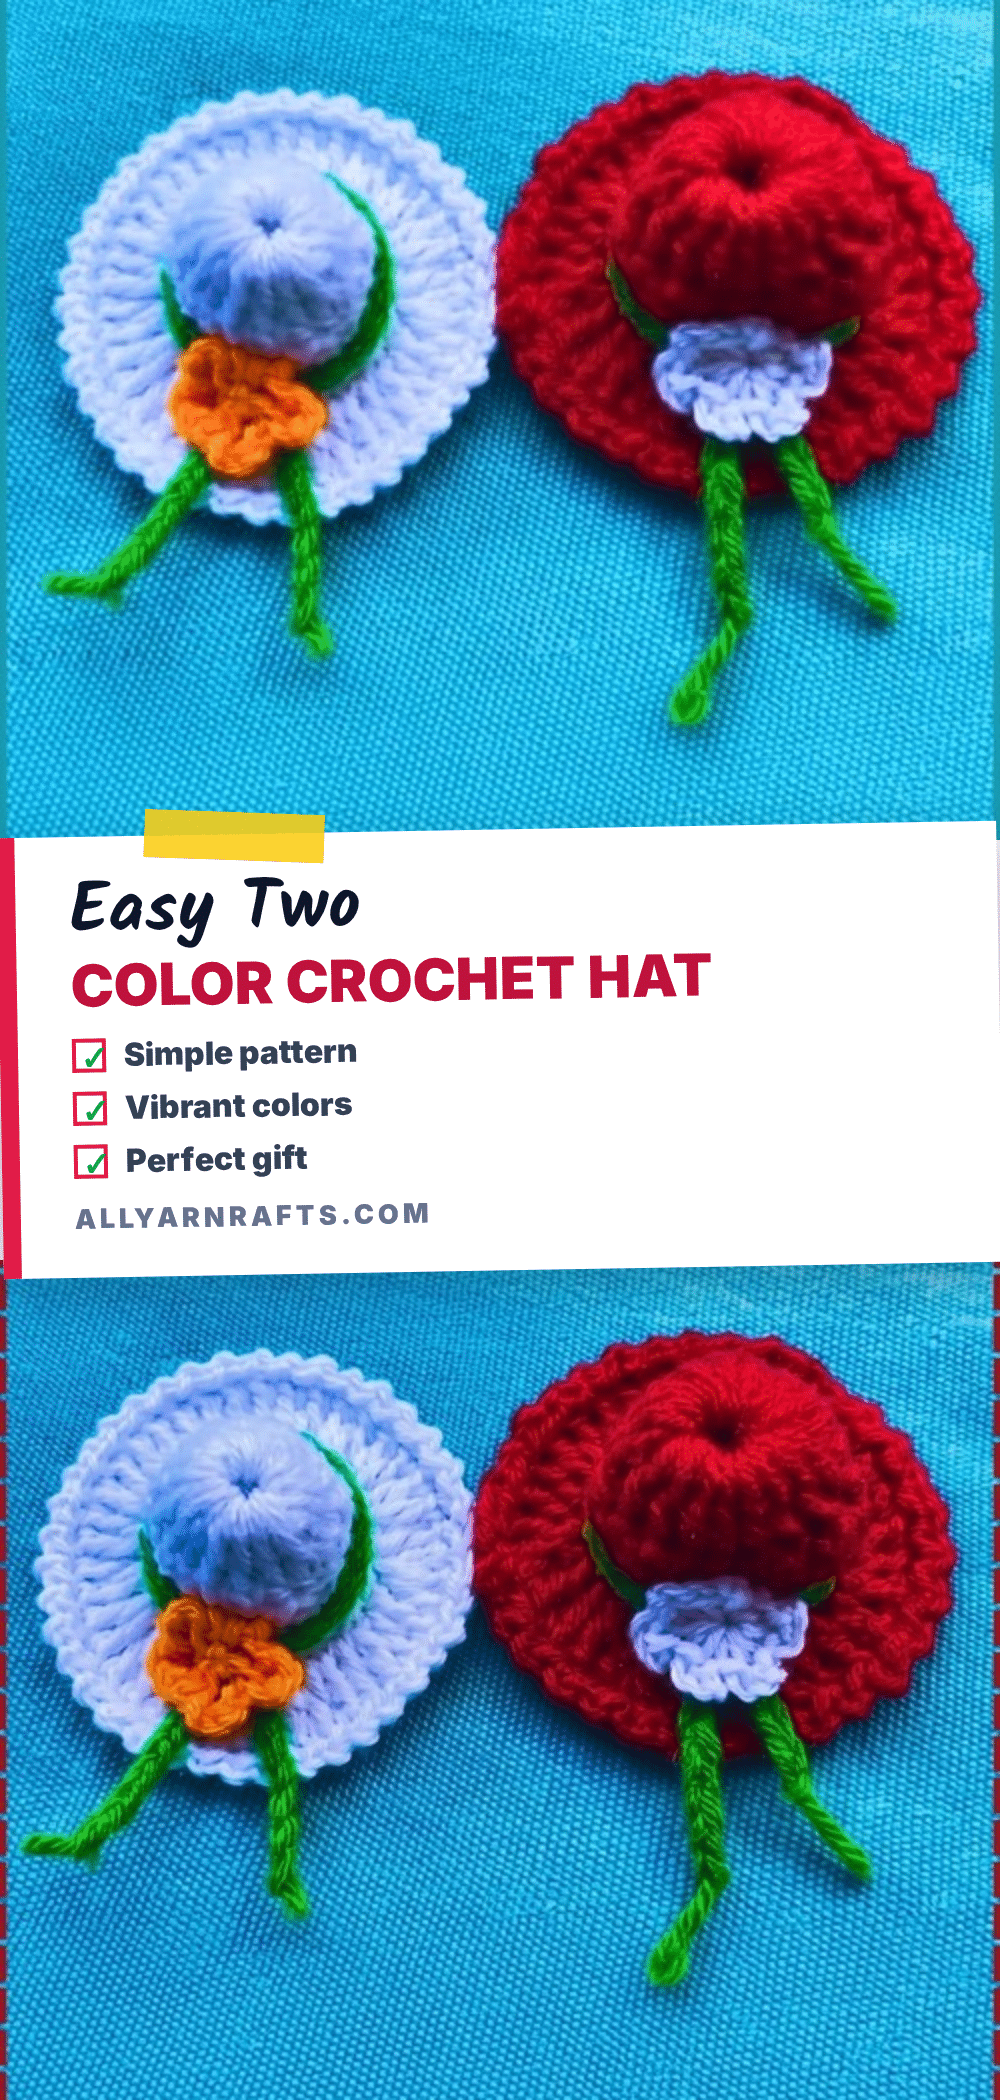
There is something undeniably charming about miniature versions of everyday objects, and this easy two color crochet hat ornament captures that whimsy perfectly. Designed to be palm-sized rather than wearable, this project transforms simple scraps of yarn into a delightful holiday decoration or a thoughtful handmade gift. The pattern features a classic wide-brimmed sun hat silhouette with a textured crown, making it a versatile accessory for your Christmas tree, a festive wreath, or even a unique gift tag.
Seasonal Styling Ideas
While the pattern provides a beautiful base in red and white, the true magic of this ornament lies in how you style it. Because the hat is small and lightweight, it serves as a perfect canvas for seasonal accents. Imagine adding a tiny five-petal flower where the crown meets the brim—perhaps orange on a white hat or white on a red one—to mimic a festive corsage. You can also trail two green ties from the sides to resemble a bow, or attach a faux fur pom pom for a touch of winter warmth.
These mini hats are not limited to holiday decor. They make excellent fridge magnets or brooch pins, turning a simple craft project into an everyday keepsake. If you are looking for other quick, scrap-friendly projects to fill your afternoon, this ornament pairs well with the ideas found in our easy fathers day crochet gifts collection. The flat brim also holds its shape beautifully, allowing you to block it perfectly for a polished look that rivals larger wearable items.
Project Overview
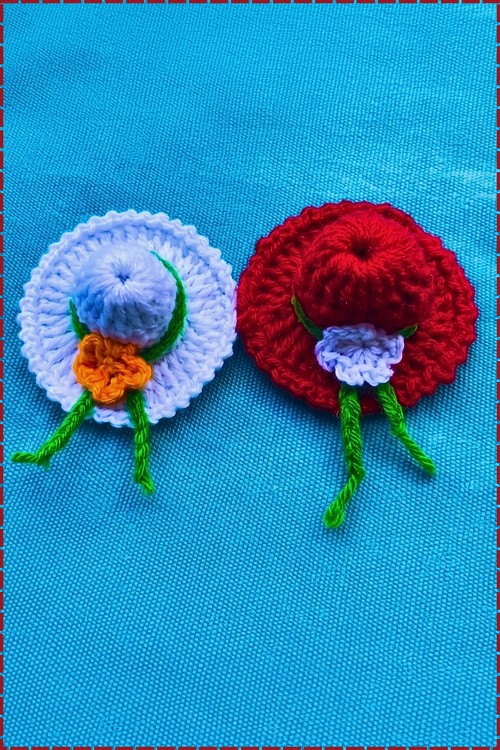
This crochet mini hat pattern creates a palm-sized ornament featuring a domed crown and a wide, flat brim. The construction is straightforward, requiring no stuffing, safety eyes, or complex assembly. The hat is built in two main sections: a ribbed brim worked flat in rows and seamed into a loop, and a hat body worked upward from the brim in joined rounds. The texture of the crown is created by alternating double crochet and single crochet stitches, resulting in a subtle, woven appearance.
Materials
- Medium weight yarn in two colors (roughly 100–150 g total at this gauge, though the actual amount depends on head size and how long you work the body)
- 5.0 mm crochet hook
- Scissors
- Yarn needle
- Optional: Yarn or faux fur pom pom for the top
Gauge and Finished Size
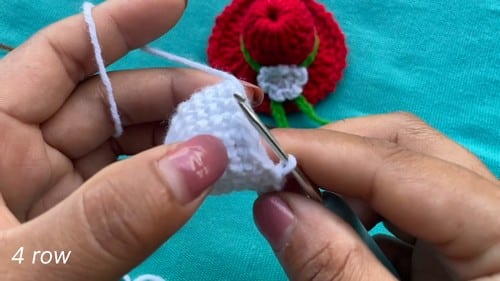
The finished ornament is palm-sized rather than wearable. The gauge is determined by the medium weight yarn and 5.0 mm hook. Because the brim length is adjustable based on the desired head circumference, the stitch count will vary. Firm, even tension is essential to keep the fabric from going floppy at the brim.
Abbreviations
- ch: chain
- sc: single crochet
- dc: double crochet
- sl st: slip stitch
Pattern Notes
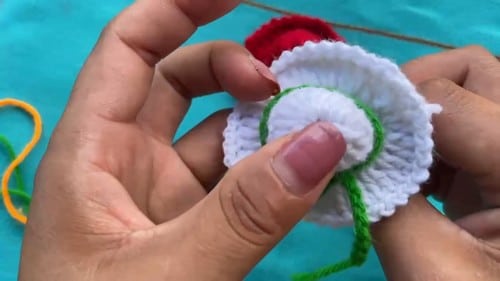
- Construction: The hat consists of two pieces joined at the brim pickup round. The brim is worked flat in rows then seamed into a loop. The body is worked upward from the brim in joined rounds.
- Blocking: Block both brims flat. A curled brim ruins the flat sun hat shape, and the brim folds outward from the base, flat and wide enough to hold its shape without extra stiffening.
- Tension: Firm, even tension throughout keeps the fabric from going floppy at the brim. The ribbing will relax slightly once the body weight is added, so err toward firm rather than loose.
- Texture: The alternating texture is created by reversing the stitch positions each round. If the rounds look like plain sc, check that you are consistently placing dc over sc and sc over dc.
Pattern Instructions
Ribbed Brim
The brim starts as a flat strip and becomes a loop. Work it in your first color.
- Make a slip knot and ch 11.
- Row 1: sc in the 2nd ch from the hook and in each ch across [10] — flat strip, 10 stitches wide.
- Row 2: ch 1, turn, sc in the back loop only of each st across [10].
- Continue working sc in the back loops only, turning with ch 1, until the strip fits comfortably around your head.
- Checkpoint: Wrap the unjoined strip around your head before seaming. It should sit snugly without pulling.
- Fold the strip in half and sl st the short ends together to form a loop.
Hat Body
Switch to your second color here, or stay in the same color — the pickup round is where the transition reads most cleanly.
- Ch 1, work 1 sc into the end of each ribbed row around the loop [stitch count depends on brim length].
- Sl st to join the round.
- Checkpoint: This joined round should sit flat against the top edge of the brim, with one sc per row end. If the edge is pulling tight or ruffling outward, the sc count is off relative to your row count.
- Ch 2, work 1 sc in the next st.
- Continue alternating 1 dc and 1 sc around to the end.
- Sl st to join.
- Ch 1, work 1 sc into each dc and 1 dc into each sc around — this reversal of the stitch positions is what creates the texture pattern.
- Sl st to join.
- Checkpoint: After two or three rounds the alternating pattern should be visible as a subtle, almost woven texture. If the rounds look the same as plain sc, check that you’re consistently placing dc over sc and sc over dc.
- Continue repeating the alternating round until the hat reaches your desired height, sl st to join each round.
Closing the Top
- Cut yarn leaving a tail of roughly 30 cm.
- Thread the yarn needle and weave through the stitches around the top opening.
- Pull tightly to close, then pass the needle through the centre a second time to secure.
- Weave the end in on the inside.
Optional Pom Pom
- Attach a yarn or faux fur pom pom to the centre of the closed top.
- A faux fur pom pom clips on with a snap and can be removed for washing — worth considering if this hat will see real outdoor use.
Assembly
Assembly is minimal, focusing on joining the brim and closing the crown:
- Fold the brim strip in half and sl st the short ends together to form a loop.
- Work the pickup round and sl st to join.
- Continue the body rounds, sl st to join each round.
- Thread the yarn needle and weave through the stitches around the top opening.
- Pull tightly to close, then pass the needle through the centre a second time to secure.
- Weave the end in on the inside.
- Attach the optional pom pom.
Tips
- Brim Fit: Wrap the unjoined strip around your head before seaming. It should sit snugly without pulling.
- Texture Fix: If the alternating texture isn’t showing up, you are likely placing dc over dc and sc over sc. Each round should be the reverse of the one before. A quick fix: after joining each round, look at the stitch below your hook. If it’s a dc post, your next stitch is a sc. If it’s a sc post, your next stitch is a dc.
- Hidden Seam: If your brim seam is visible from the outside, try sl stitching the short ends with the wrong side facing out before turning the brim right side out. This hides the seam inside the fold.
- Beginner Friendly: Don’t let the stitch counts scare you off! Beginners can follow video tutorials to crochet this plushie right along.
FAQs
Can I make this for a child’s head size?
Yes — just make the brim strip shorter. Measure around the child’s head and stop adding rows when the strip reaches that measurement snugly. Everything else follows from the brim, so no other adjustments are needed.
Why does my hat body look like plain single crochet?
The alternating texture isn’t showing up because you are likely placing dc over dc and sc over sc rather than swapping them. Each round should be the reverse of the one before. Look at the stitch below your hook before you work into it to ensure you are alternating correctly.
How do I hide the brim seam?
Sl stitching the short ends with the wrong side facing out before turning the brim right side out hides the seam inside the fold. If you’ve already seamed with right sides out, the join will sit at the inside of the brim once the hat is worn and won’t show much in practice.
Can I use this pattern for larger hats?
This pattern is designed for a palm-sized ornament. If you wish to scale it up, you would need to adjust the initial chain and row counts significantly, but the construction method remains the same.
What kind of yarn works best?
Medium weight yarn is recommended to achieve the proper gauge and structure. The pattern calls for roughly 100–150 g total, depending on how long you work the body.
Pin This Crochet Pattern!