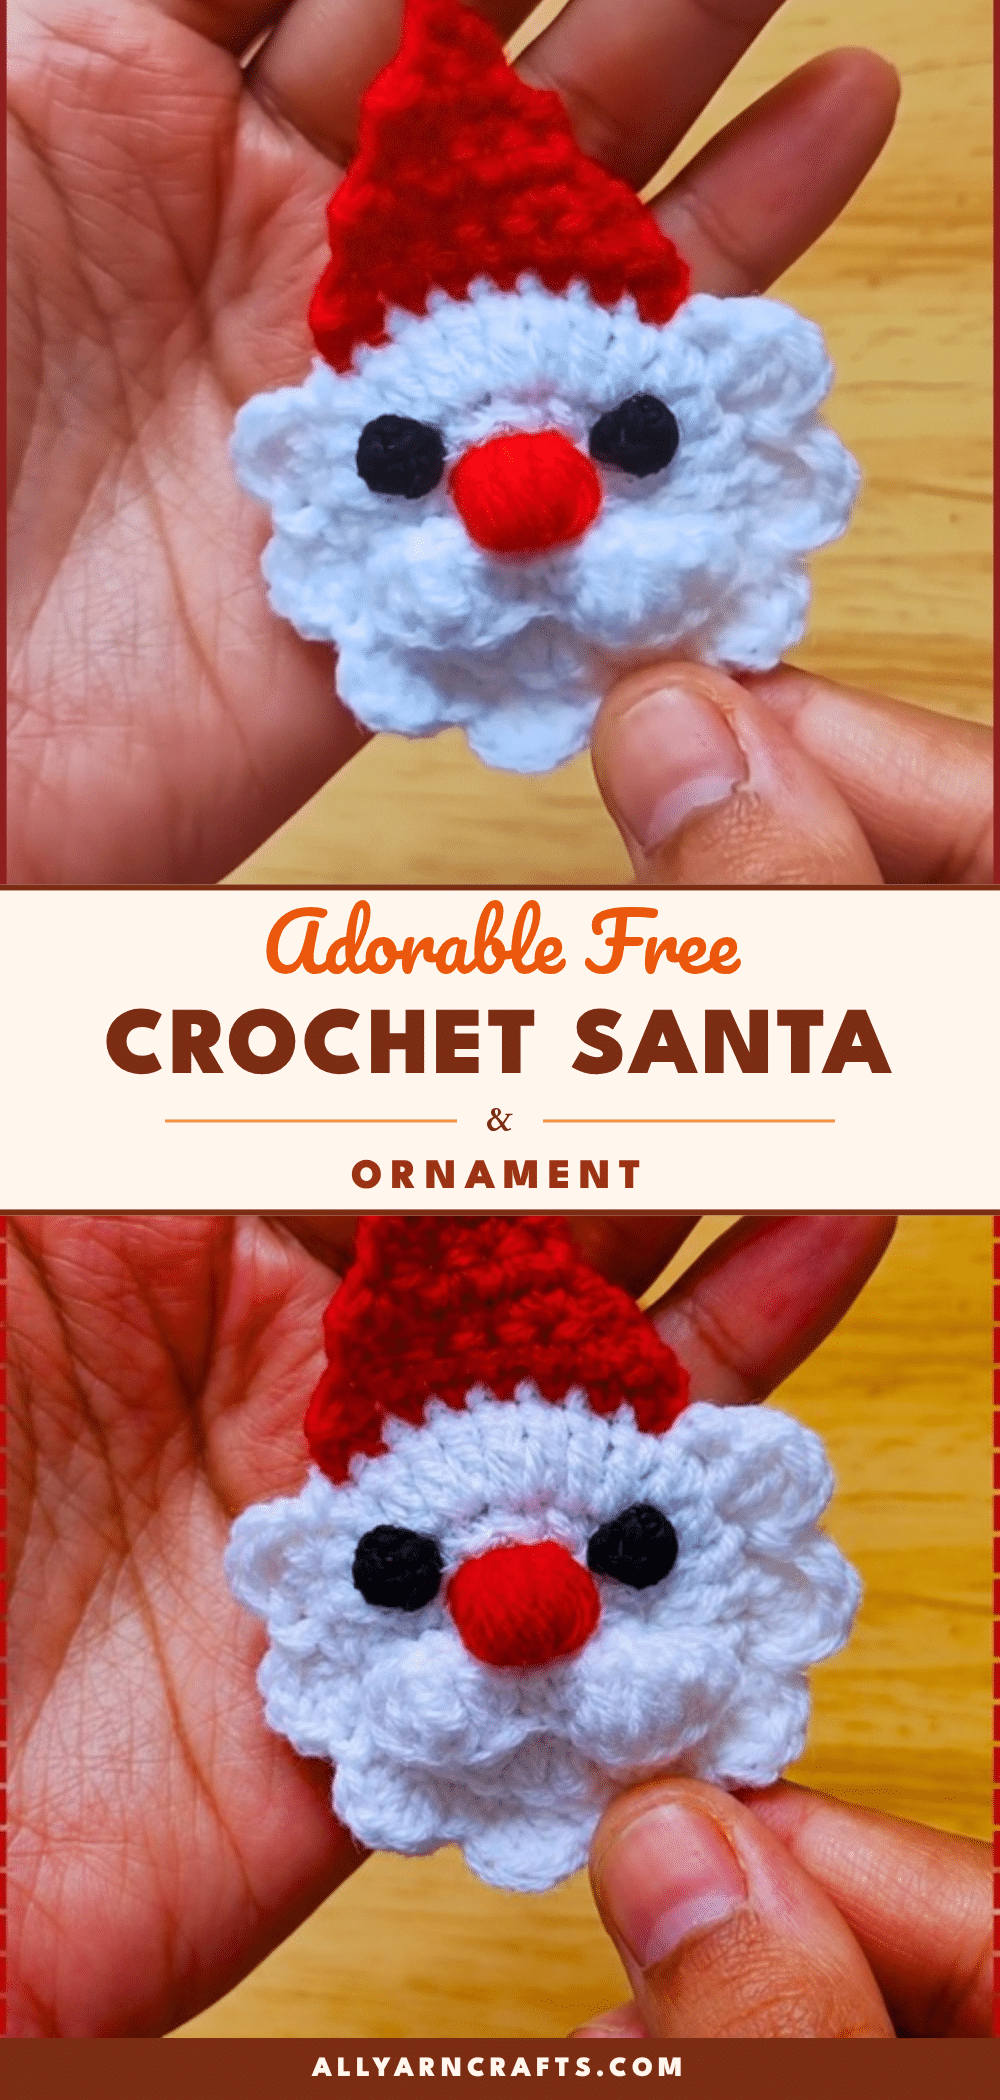
Have you ever started a crochet circle and panicked because the magic ring just wouldn’t close, leaving a hole the size of a dime? It is a classic beginner worry that makes even the simplest amigurumi projects feel intimidating. But here is the good news: this crochet Santa ornament is designed to be forgiving. Because it is a flat, lightweight piece rather than a stuffed toy, you do not need perfect tension or complex shaping to make it look professional. It is a quick, satisfying project that turns leftover yarn into a charming holiday accent without the stress of stuffing or safety eyes.
Maker Notes
This Santa ornament is perfect for the “one-sitting” crafter. It uses only two colors and stays flat, making it incredibly portable—toss it in your coat pocket and work on the train or while waiting for a coffee. The beard is the star of the show; those fluffy scallops give the face its character without requiring any stuffing. I love that you can customize the hat lean by hand while the yarn is slightly damp, giving your Santa a unique personality. Plus, using hot glue for the nose and mustache keeps the back smooth and the assembly incredibly fast.
Project Overview
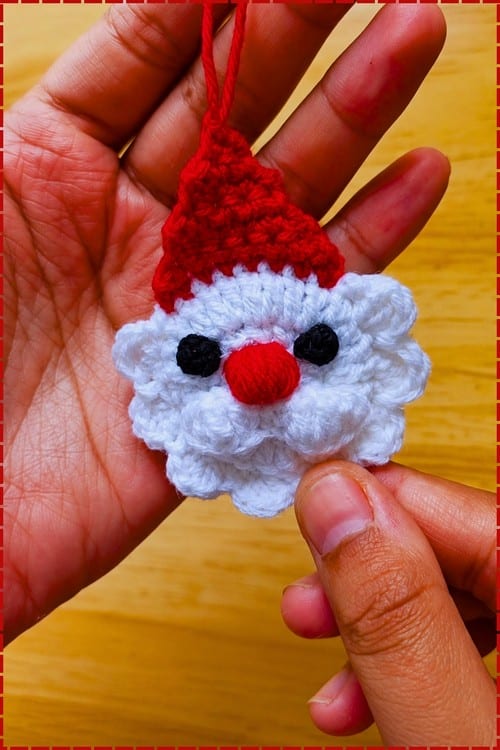
This flat crochet Santa ornament is a lightweight, beginner-friendly amigurumi project. It features two white face circles joined by a scalloped beard, topped with a tapered red hat. The design relies on double crochet clusters for the beard and a cluster stitch for the nose, creating dimension without the need for stuffing. It is ideal for using up small scraps of red and white yarn.
Materials
- White yarn (for face circles, beard, and mustache)
- Red yarn (for the hat)
- 2.5mm crochet hook
- Scissors
- Yarn needle for weaving in ends
- Hot glue gun and glue stick (for attaching the nose and mustache)
Note: While a 2.5mm hook is specified, you may adjust the yarn weight to suit your hook. Using 4-ply or sport weight cotton will produce a face circle approximately 5 to 6 cm across. Ensure both face circles are made with the same yarn and hook to maintain symmetry.
Gauge and Finished Size
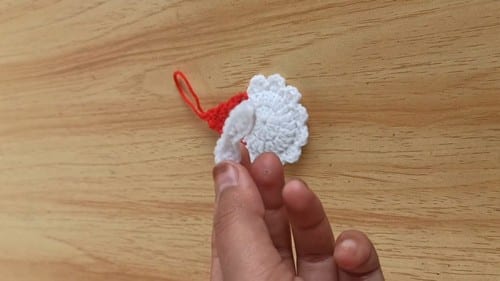
- Face Circles: Approximately 5 to 6 cm across after Round 2.
- Overall Size: The ornament sits flat in the palm, about two fingers wide.
- Shape Checkpoint (Round 1): A small tight circle at 12 stitches, approximately 2 to 3 cm across.
Abbreviations
Standard US crochet abbreviations are used. Key terms include:
- MC: Main Color (White)
- CC: Contrast Color (Red)
- dc: Double Crochet
- sc: Single Crochet
- sl st: Slip Stitch
- ch: Chain
- MR: Magic Ring
Pattern Notes
Magic Ring
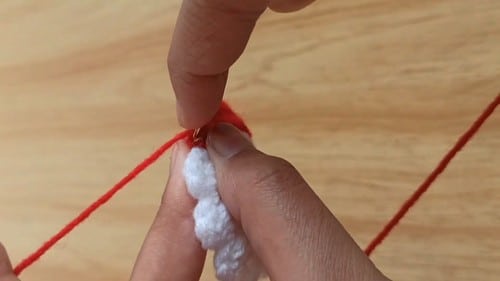
Wrap yarn around two fingers to form a loop. Insert your hook through the loop, pull up the working yarn as a new loop, and chain 1 to anchor it. Work your stitches into the center of the loop, then pull the tail end to close the hole at the center. This ensures a clean, hole-free start.
Double Crochet & Chain 2
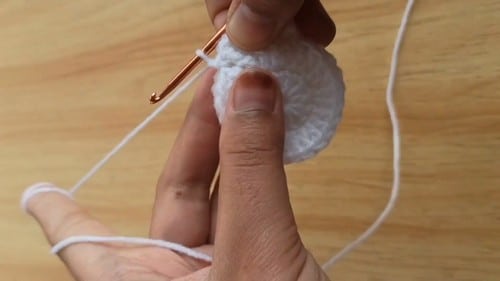
Yarn over the hook once before inserting it into the stitch, pull up a loop, yarn over and pull through 2 loops, yarn over and pull through the remaining 2 loops. In this pattern, the chain 2 at the start of each round does not count as a stitch. Work your first double crochet into the same stitch the chain came from.
Cluster Stitch (Nose)
This is the most technically demanding stitch. Yarn over, insert hook into the ring, pull up a loop—repeat this action 5 times total without completing any loops. You will have 11 loops on the hook. Yarn over once and pull through all 11 loops together. Keep loops loose to prevent jamming.
Hat Shaping
The hat is shaped by skipping the first stitch of every row rather than working a decrease. This creates a natural diagonal lean. Do not single crochet into the skipped stitch; leave it unworked.
Assembly Glue
The nose and mustache are attached with hot glue. Apply a small amount to the back, press firmly for a few seconds, and let it cool fully (about 1 minute) before handling to prevent slipping.
Pattern Instructions
Face Circles (White — Make 2)
Round 1: Magic ring, chain 2 (does not count as a stitch), 12 double crochet into the ring, pull ring tight, slip stitch into the first double crochet (12).
Round 2: Chain 2 (does not count as a stitch), 2 double crochet into each stitch around — 24 double crochet total, slip stitch into the first double crochet (24).
Fasten off and weave in ends. Repeat to make the second circle.
Checkpoint: Lay both circles side by side. They must be the same size. If one is larger, your tension differed; remake the smaller one at a slightly looser tension.
Beard (White — Worked Between Both Circles)
Align the two face circles together, edge to edge, along the lower half of their circumferences.
- Insert hook through corresponding stitches of both circles simultaneously along the lower edge.
- Chain 1.
- Work 3 double crochet into the same stitch pair (through both circles).
- In the next stitch pair: work 3 double crochet in the same stitch.
- Slip stitch into the following stitch pair.
- Repeat this sequence (3 dc into one stitch pair, 3 dc into the next, sl st into the following) 8 times total to form the full beard.
Fasten off and weave in ends.
Checkpoint: You should have a row of fluffy double crochet clusters hanging below the joined face circles. The top half of the circles remains open for the hat.
Hat (Red — Worked in Rows on Top of the Head)
Attach red yarn to the top edge of the joined face circles.
- Row 1: Chain 1, then work 8 single crochet across the top edge of the joined head (8).
- Row 2 onward: Chain 1, turn, skip the first stitch, single crochet across the remaining stitches.
Continue repeating Row 2—skipping the first stitch of each row—until only 1 stitch remains. Fasten off and leave a tail.
Checkpoint: The hat should narrow visibly from the base upward. The finished hat is a right triangle of red single crochet. You can fold the tip forward slightly by hand while damp to give it a classic bent lean.
Mustache (White)
- Start with a slip knot and chain 12.
- Skip the first chain.
- Work across the chain in the following sequence: 1 single crochet, 1 double crochet, 2 double crochet into each of the next 2 chains, 1 single crochet, 1 slip stitch, 1 single crochet, 2 double crochet into each of the next 2 chains, 1 half-double crochet, 1 single crochet into the final chain.
- Chain 1, fasten off and leave a tail.
Checkpoint: The slip stitch should land exactly at the center of the 12 chains (between stitch 6 and 7) to ensure symmetrical lobes.
Nose (White or Pink)
- Start with a magic ring, chain 2.
- Work a cluster stitch: yarn over, insert hook into the ring, pull up a loop—repeat this action 5 times, keeping all loops on the hook—yarn over once and pull through all loops on the hook to complete the cluster.
- Chain 2.
- Slip stitch into the ring.
- Chain 1, fasten off and leave a tail.
Checkpoint: The cluster should feel firm when pressed. If it is loose, the loops were not pulled through together tightly enough.
Assembly
- Glue Features: Glue the nose to the center of the front face circle, slightly below the midline. Glue the mustache directly below the nose, symmetrically. Pin both pieces first, look straight-on, adjust if needed, then glue. The glue needs a full minute to set before moving.
- Eyes: Add eyes if desired. The source mentions eyes as optional, so placement is at your discretion.
- Hanging Loop: The hat is already attached to the head. You can add a hanger loop by chaining 15 or 20 before fastening off the final hat row, then slip stitching back into the tip to form a loop.
Tips
- Uneven Beard Clusters: Ensure each set of 3 double crochets goes into a single stitch pair. Spreading them across two pairs will flatten the cluster.
- Hat Lean: If the hat leans irregularly, check that you are skipping the first stitch of the row (immediately after the chain 1) on the same side every row.
- Simple Nose Alternative: If the cluster stitch is too difficult, you can work a magic ring with 5 or 6 single crochet, slip stitch to close, and fasten off. This creates a small flat circle that works well as a nose.
- Circle Size Mismatch: If your face circles differ slightly, ease the larger circle in during the beard assembly by pulling the joining yarn tighter on that side.
FAQs
Can I use acrylic yarn for this project?
Yes, while the source suggests cotton for structure, acrylic or wool blends will work. Just ensure you use the same yarn weight for both face circles to keep them symmetrical.
Do I need to stuff this ornament?
No. This is a flat ornament. The beard adds dimension through stitch texture (clusters), not stuffing, keeping it lightweight for thin tree branches.
How do I fix a hole in my magic ring?
If you see a hole after Round 1, pull the tail end more firmly before fastening off. Ensure you are working into the center of the loop tightly.
Can I make this larger?
To make the face circles larger, you would need to add increase rounds (e.g., Round 3: 2 dc in each stitch, then Round 4: *1 dc, 2 dc in next* repeat). However, the hat and beard patterns are designed for the 24-stitch base, so scaling up would require adjusting those sections as well.
Why is my mustache asymmetrical?
Check your center slip stitch. It must land exactly between the 6th and 7th chain from the slip knot. If it is off-center, the lobes will be uneven.
Pin This Crochet Pattern!