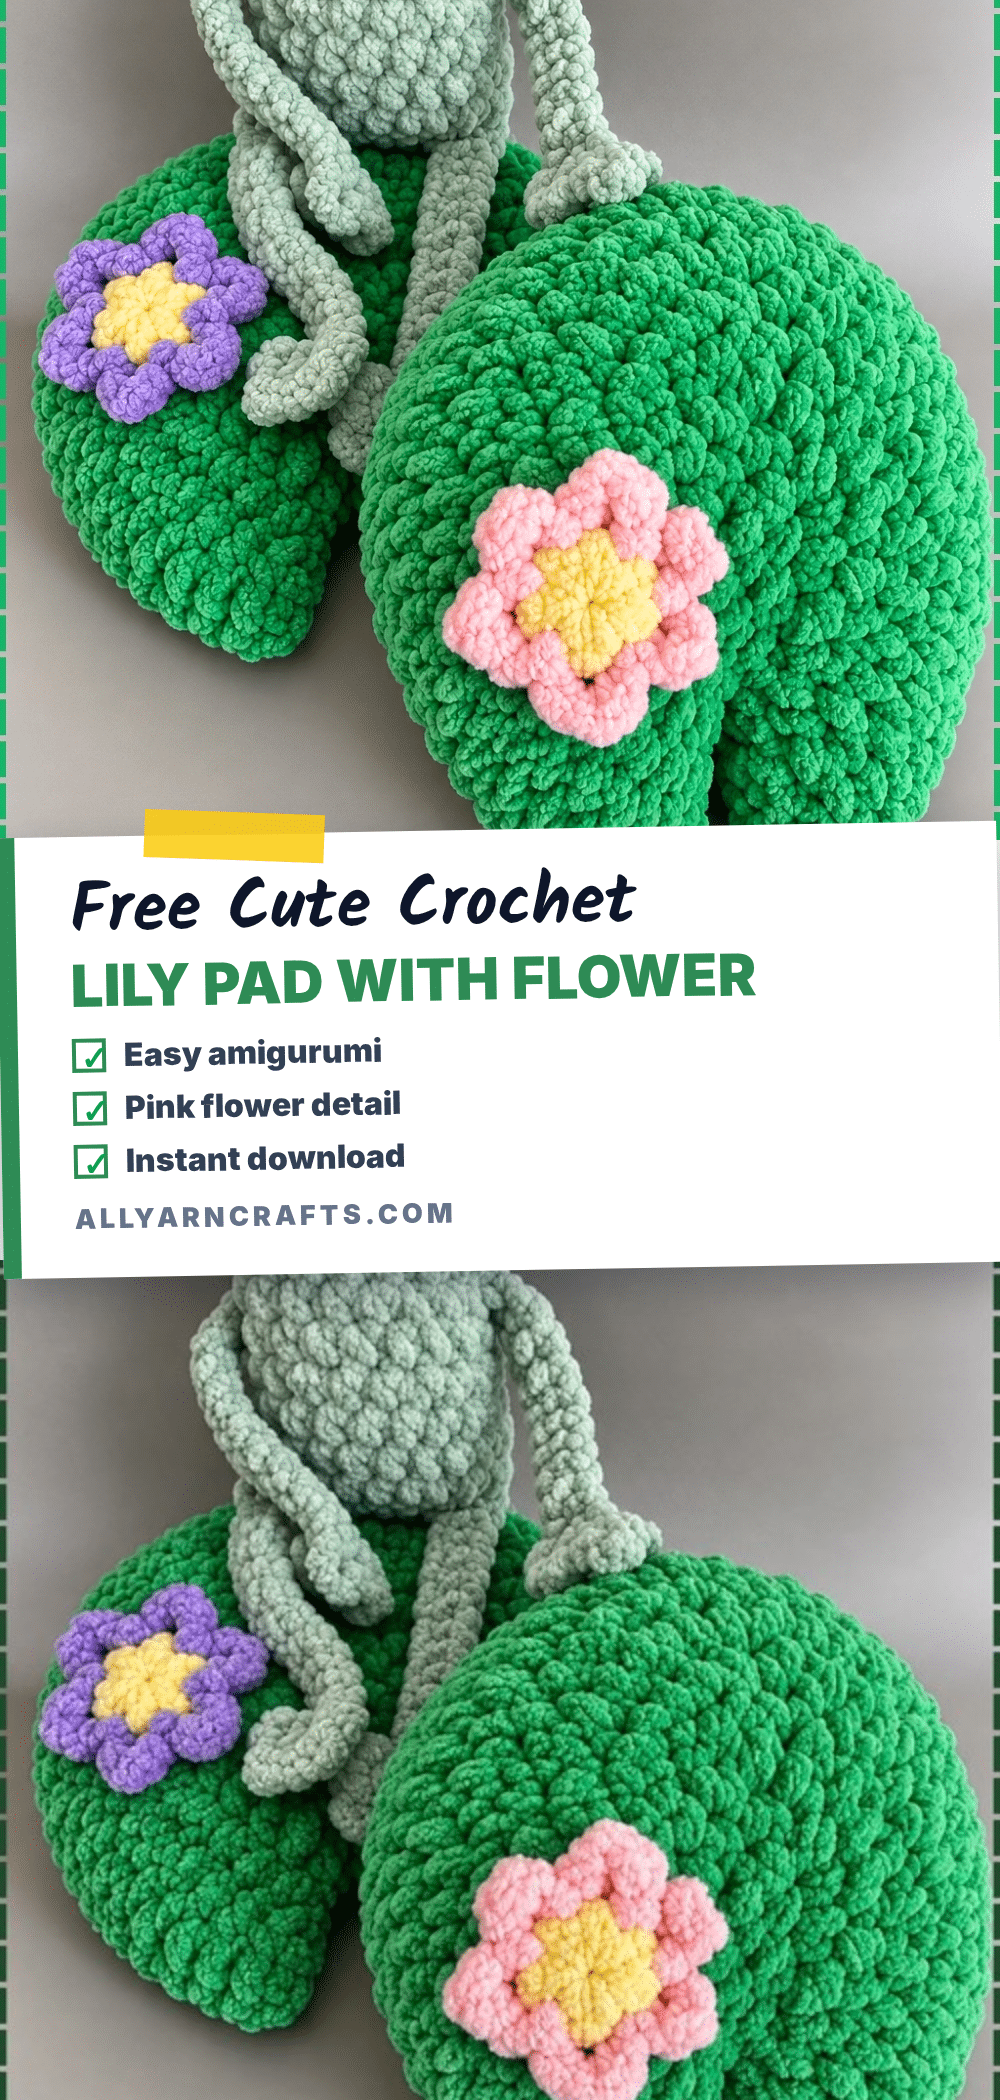
This chunky chenille lily pad is the perfect blend of whimsy and utility. Whether you are looking to add a splash of spring to your nursery, create a unique addition to an Easter basket, or simply enjoy a quick, satisfying crochet project, this pattern delivers. It works up quickly in bulky yarn, resulting in a soft, wide mat or a lightly stuffed pillow that looks beautiful year-round. The design features a classic green pad with a signature wedge notch, topped with a delicate layered flower in pink or lilac with a yellow centre.
Gift and Use Ideas
The crochet lily pad reads as a warm-season piece straight through, meaning a project started in March will still look right in August. It is an excellent choice for spring nursery setups, especially once frogs and flowers become part of the decor theme. Beyond the nursery, this piece fits beautifully on summer porch shelves or as a decorative accent in Easter baskets. Because the bulky blanket yarn compresses easily, the finished piece holds its shape well under light use, making it a practical yet charming handmade object for everyday display.
Project Overview
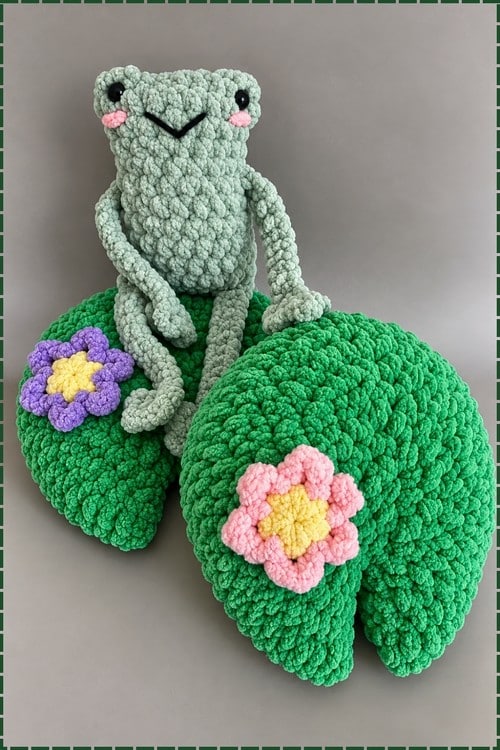
This amigurumi-style project creates a broad green circle with an open wedge notch. The construction is straightforward, relying mostly on increases worked outward from the middle, with the notch shaped at the end. The flower is worked separately and sewn on top, adding a layer of texture and color. You can choose to make a single flat mat or create a second piece to form a lightly stuffed pillow.
Materials
- Size 6 bulky blanket yarn in green
- Bulky yarn in pink
- Bulky yarn in yellow
- 6 mm crochet hook
- Stuffing (optional, for pillow version)
- Yarn needle
- Scissors
Abbreviations
- sc: single crochet
- dc: double crochet
- ch: chain
- sl st: slip stitch
Pattern Notes
This chunky chenille lily pad has a broad green circle with an open wedge notch and a layered flower in pink or lilac with a yellow centre. Crochet it flat as a soft mat or make a second piece for a lightly stuffed pillow; simple increases shape the pad. The crochet lily pad reads warm season straight through, and a crochet lily pad made in March still looks right in August. Bright green covers the whole surface, and a layered flower sits off centre near the edge. The bloom has six petals in pink or lilac with a yellow centre worked separately and sewn on top. Padding gives the piece some loft, so it holds its shape when something sits on it. Construction is straightforward, mostly increases worked outward from the middle with the notch shaped at the end. The flower takes a little more attention. Making a second one in another petal colour goes faster.
Pieces List
- Lily pad: 1 (or 2 for the pillow version)
- Flower yellow centre: 1
- Flower pink petals: 1 (worked directly onto the centre)
Pattern Instructions
Lily Pad
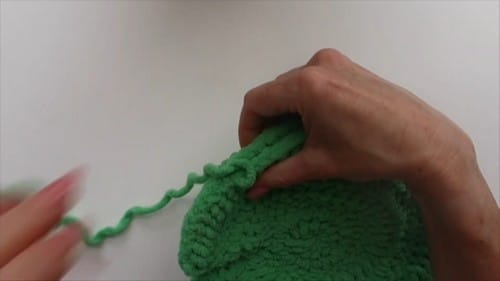
Round 1: Make a slip knot and chain 4. Work 11 dc into the 4th chain from the hook. Sl st to the top of the beginning chain 3 to join. [12] Checkpoint: a small tight ring of dc stitches. The beginning chain 3 counts as the first dc, giving 12 total.
Round 2: Chain 3 and turn. Work 1 dc in the same space, then 2 dc in each stitch around. Sl st to the top of the chain 3 to join. [24] Checkpoint: a flat hexagonal-looking circle, no cupping, no ruffling.
Round 3: Chain 3 and turn. Work 1 dc in the same space, then 1 dc in the next stitch, 2 dc in the next stitch repeat around. Sl st to the top of the chain 3 to join. [36] Checkpoint: the pad now reads clearly as a circle. Still completely flat at this stage.
Round 4 (the notch): Chain 3 and turn. Work 1 dc in the same space, then 1 dc in each of the next 2 stitches, 2 dc in the next stitch repeat around. Do not sl st at the end. Leave the round open to create the split. Checkpoint: the notch appears as a small V-shaped gap where the round ends without joining. This is correct.
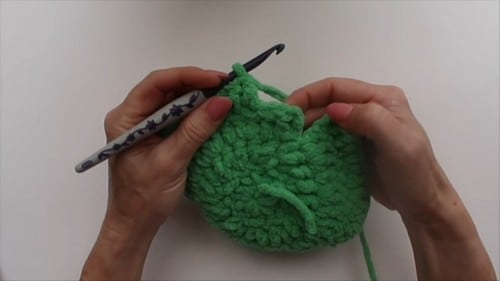
Round 5: Chain 3 and turn. Work 1 dc in each of the next 3 stitches, then 2 dc in the next stitch, 1 dc in each of the next 3 stitches repeat around. Checkpoint: the outer edge is wide and slightly floppy with bulky yarn. The notch remains open as a clean split. For the flat mat, fasten off here. For the pillow, make a second identical piece before moving to assembly. For the flat mat: fasten off and weave in ends. For the pillow: make a second identical lily pad before assembly.
Flower Yellow Centre
Chain 2. Work 6 sc into the 2nd chain from the hook. [6] Sl st to the first sc to join. Fasten off.
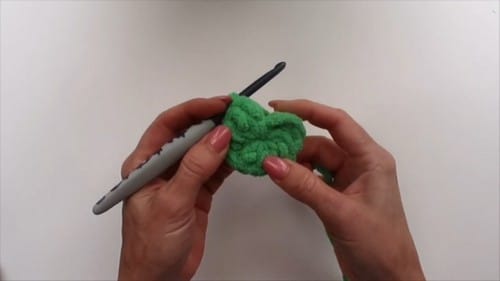
Just picking up your first amigurumi project? The video tutorial below breaks it all down in a simple, beginner-friendly way!
Flower Pink Petals
Join pink yarn to any stitch of the yellow centre. Chain 4, sl st into the next stitch repeat 6 times around. Checkpoint: 6 small chain loops fan out from the yellow centre like open petals. If any loop is tighter than the others, ease it by pulling the chain gently before the sl st sets. Fasten off leaving a long tail for sewing.
Assembly
For the flat mat version there is almost nothing to assemble. Sew the flower to the top centre of the pad and weave in all ends.
For the pillow version:
- Place both lily pad pieces together with the right sides facing outward. Align the notches so they match on both layers. Using a long green tail and a whip stitch, sew around the outer edge. Leave a small opening of about 8 to 10 cm. Stuff lightly through the opening. The pad should feel slightly puffy, not firm. Finish sewing the opening closed. Weave in all ends. Sew the flower to the top centre.
- Pin the flower before sewing to centre it properly. The notch gives you a reference point for the centre opposite it.
Stuffing Guide
The flat mat version has no stuffing at all. For the pillow, use a light fill only. Over-stuffing pushes the two layers apart and distorts the round shape into a dome. The pad should stay recognisably flat when laid on a surface, just with a gentle loft. Bulky blanket yarn compresses easily, so less stuffing than you expect will give the right result.
Tips
If you are looking for more cozy home decor ideas, you might also enjoy our easy crochet floor pouf patterns for a matching living room set.
FAQs
Does the notch stay open or close up after stuffing the pillow?
It stays open if you align both layers carefully before sewing. The whip stitch holds the notch edges apart. If it starts to close, ease the layers apart and stitch across the notch entrance twice.
Can I use a different yarn weight?
Yes, and the size changes a lot. DK weight at 3.5 mm gives a smaller, stiffer pad. Super bulky at 8 mm gives something closer to a floor cushion. The round counts stay the same.
The flower petals look too short. Can I make longer ones?
Chain 6 or 7 instead of 4 for each petal. They’ll drape more and overlap slightly rather than fanning out flat. Both looks work.
Is this pattern suitable for beginners?
Yes, the construction is straightforward with mostly increases. If you are new to amigurumi, this is a great project to practice basic stitches and assembly.
Can I make this as a gift for Father’s Day?
Absolutely. You can use green and brown tones for a more masculine aesthetic, or pair it with a frog. Check out our easy Father’s Day crochet gifts for more inspiration.
Pin This Crochet Pattern!