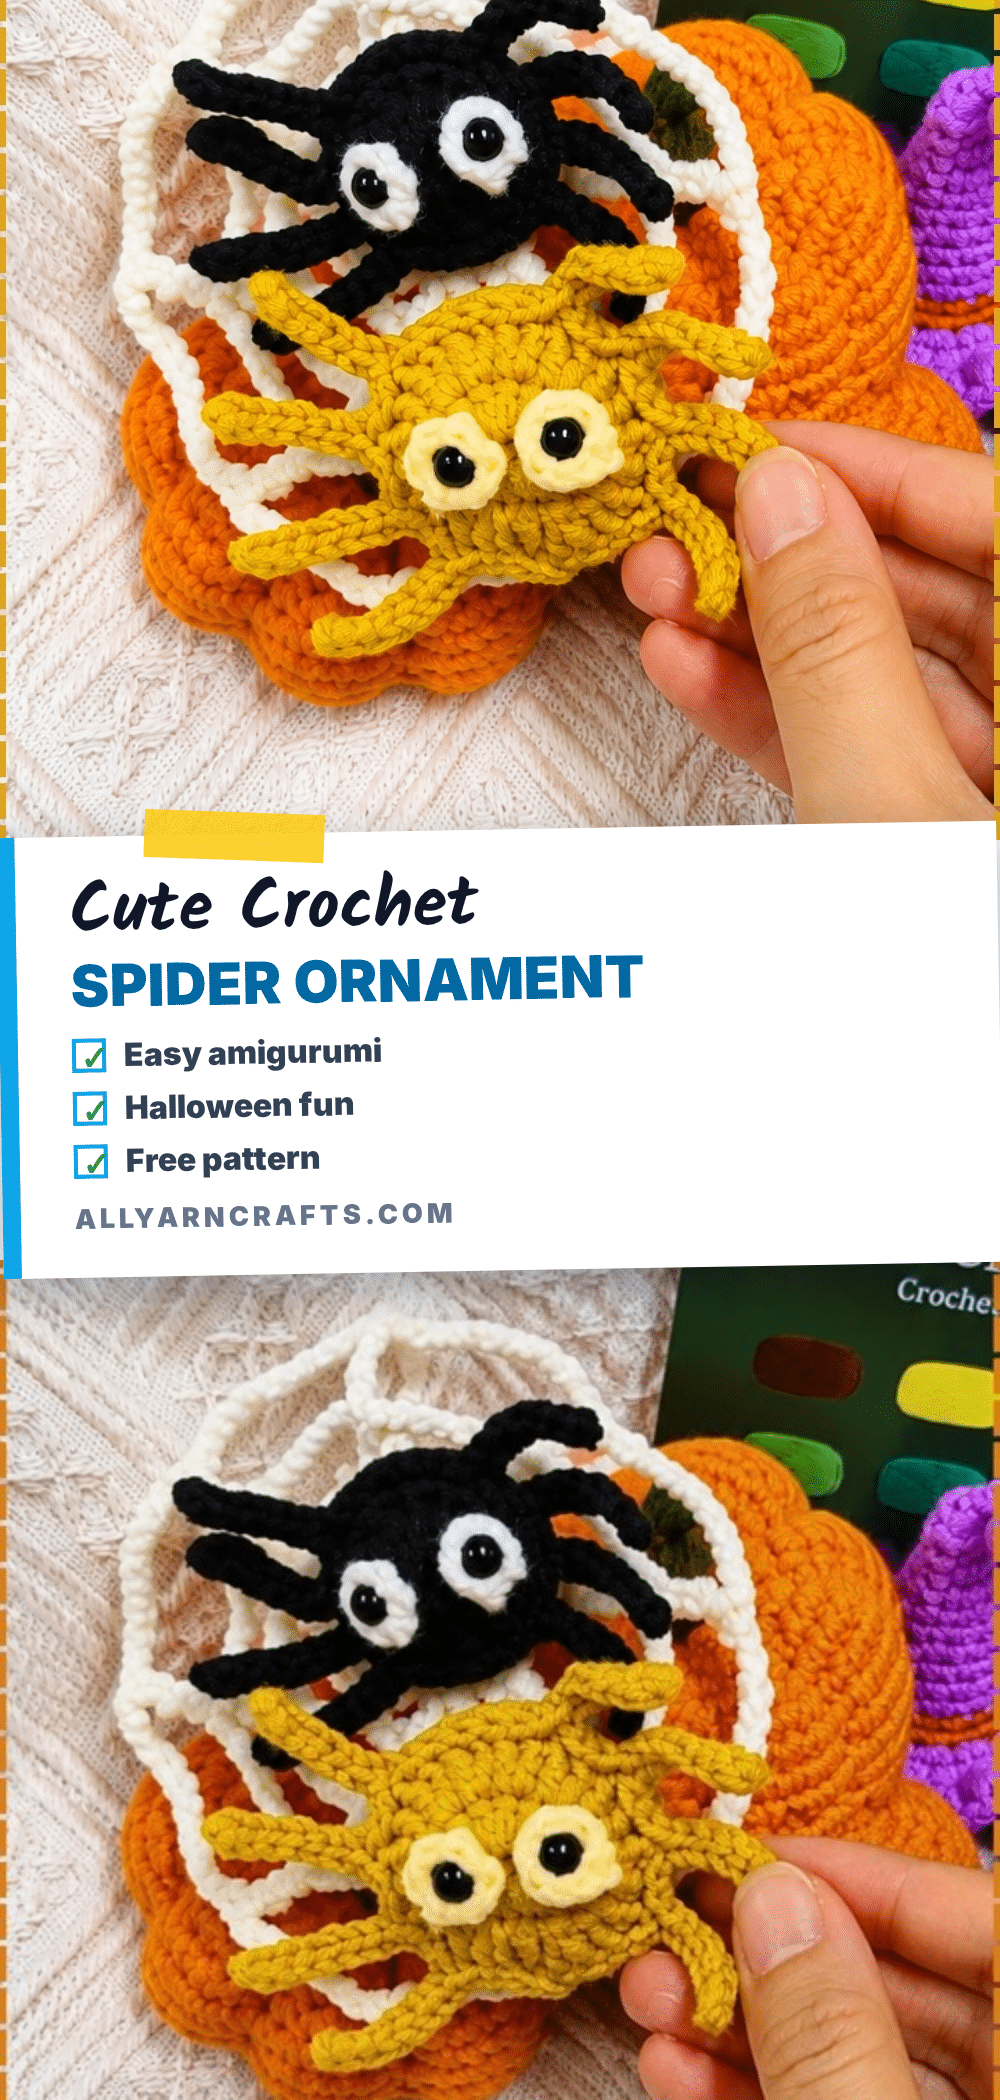
There is something undeniably charming about a spider that defies the usual creepiness factor, and this amigurumi version is the perfect proof. I found myself reaching for the stash bin, specifically a skein of matte black worsted weight yarn that had been waiting for a project with a bit of personality. The texture of the yarn really helps define the rounded shapes, and the decision to use a contrasting color for the eyes—perhaps a pale cream or bright orange—gave the little guy a look that was more “friendly Halloween decor” than “scary basement dweller.” It’s a small project, but the intentionality of the color choice makes it feel like a deliberate piece of seasonal art rather than just a quick hook-and-pull exercise.
Yarn and Color Notes
While the classic look relies on black yarn, this pattern is incredibly versatile when it comes to colorways. The source suggests using purple or orange for a more traditional Halloween palette, but don’t be afraid to experiment. A deep charcoal grey can look sophisticated for autumn decor, while a bright neon green might appeal to kids who want a “fun” spider rather than a spooky one. The key is ensuring your yarn has enough body to hold the shape of the legs, which is why worsted or DK weight is recommended. If you choose a variegated yarn, keep in mind that the stitch definition might be slightly harder to see, so a solid color is often best for beginners to track their rounds.
Project Overview
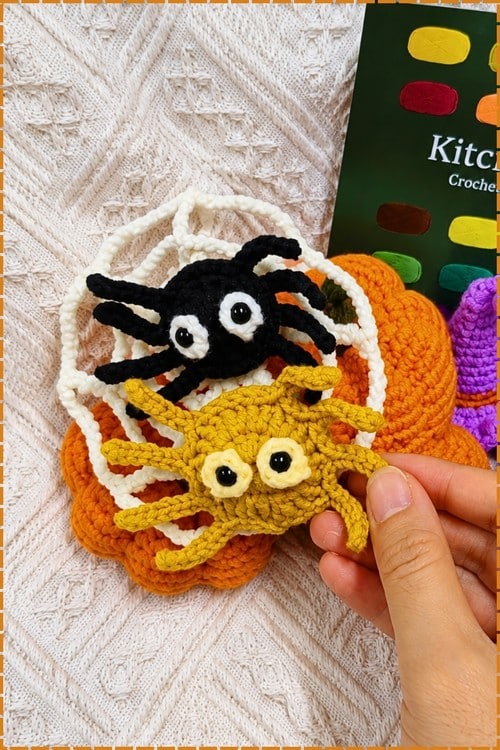
This crochet spider amigurumi ornament is designed to be playful and approachable, featuring a rounded head, a distinct abdomen, and eight curled chain legs. It is an ideal project for beginners who want to practice essential amigurumi techniques like the magic ring, continuous rounds, and invisible decreases. The finished piece is designed to sit flat against surfaces, making it perfect for wreaths, doors, and table runners. It is a quick make that can be completed in a few hours, allowing you to create a set for seasonal displays or hand them out as unique party favors.
Materials
- Worsted or DK weight yarn in black (or purple or orange for Halloween versions)
- 2.5 to 3.5 mm crochet hook
- 2 to 4 black safety eyes, approximately 6 to 8 mm
- Fiberfill stuffing
- Stitch marker
- Tapestry needle
- Craft wire or pipe cleaners (optional, for poseable legs)
- Scissors
Gauge and Finished Size
Specific gauge measurements and finished dimensions are not provided in the source pattern. However, the pattern relies on standard worsted or DK weight yarn and a 2.5 to 3.5 mm hook. The final size will depend slightly on your personal tension, but the shaping instructions are designed to create a proportional spider with a head and body that are visibly distinct in size.
Abbreviations
- MR: magic ring
- ch: chain
- sc: single crochet
- inc: increase (2 sc in the same stitch)
- dec: decrease (sc 2 stitches together using front loops)
- sl st: slip stitch
Pattern Notes
These four techniques appear throughout the pattern. Reading them before you start will make the rounds much easier to follow.
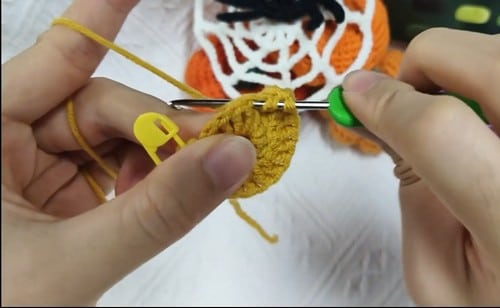
- Magic ring: Wind the yarn tail into a loop around two fingers, insert the hook, pull up a working loop, and chain 1. Work your stitches into the loop centre. When you pull the tail, the ring closes with no gap. Every piece in this pattern starts this way.
- Continuous rounds: After the first round, keep working in a spiral without joining at the end of each round. Place a stitch marker in the last stitch you work in each round and move it up as you go. This is the only way to track where rounds start and end.
- Increase: Work 2 single crochet into the same stitch. Your count goes up by one for each increase.
- Decrease: Insert your hook through the front loop only of the next stitch, then through the front loop only of the stitch after it. Pull up one loop through both, then yarn over and complete the stitch. This uses two stitches and makes one, reducing the count. Picking up only the front loops keeps the decrease flatter than the standard method.
Pattern Instructions
Head
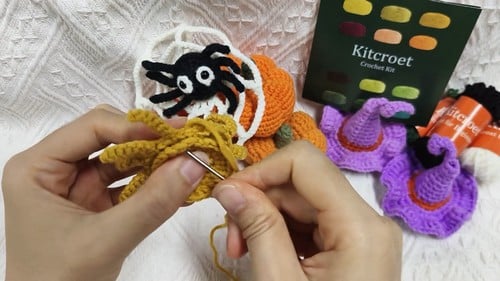
Work in continuous rounds.
- Round 1: Make a magic ring and work 6 sc into it. [6]
- Round 2: Work 1 inc in each stitch. [12]
- Round 3: 1 sc, 1 inc repeat 6 times. [18]
- Round 4: 2 sc, 1 inc repeat 6 times. [24]
- Checkpoint: a flat even disc. No cupping yet. If the edge ripples, your tension is too loose.
- Rounds 5 to 7: Work 1 sc in each stitch for 3 rounds. [24]
- Checkpoint: the sides curve upward into a dome shape. Insert safety eyes between rounds 5 and 6, spaced 2 to 3 stitches apart, before the dome closes further. See Eyes and Toy Safety below.
- Round 8: 2 sc, 1 dec repeat 6 times. [18]
- Round 9: 1 sc, 1 dec repeat 6 times. [12]
- Checkpoint: the top closes inward. Stuff the head firmly now before round 10 makes the opening too tight to reach through. Stuff the head firmly.
- Round 10: Work 1 dec 6 times. [6] Fasten off leaving a tail. Thread the needle through the front loops of the remaining 6 stitches, pull tight to close, and weave in the end.
Body (Abdomen)
Work in continuous rounds.
- Round 1: Make a magic ring and work 6 sc into it. [6]
- Round 2: Work 1 inc in each stitch. [12]
- Round 3: 1 sc, 1 inc repeat 6 times. [18]
- Round 4: 2 sc, 1 inc repeat 6 times. [24]
- Round 5: 3 sc, 1 inc repeat 6 times. [30]
- Checkpoint: a flat disc larger than the head disc was at round 4. The body should look visibly wider than the head at the same stage.
- Rounds 6 to 10: Work 1 sc in each stitch for 5 rounds. [30]
- Checkpoint: a deep barrel shape, the widest part of the spider.
- Round 11: 3 sc, 1 dec repeat 6 times. [24]
- Round 12: 2 sc, 1 dec repeat 6 times. [18]
- Checkpoint: the body tapers below its widest point. Stuff now while the opening is still workable. Stuff the body securely.
- Round 13: 1 sc, 1 dec repeat 6 times. [12]
- Round 14: Work 1 dec 6 times. [6] Fasten off leaving a long tail for sewing to the head.
Legs (Make 8)
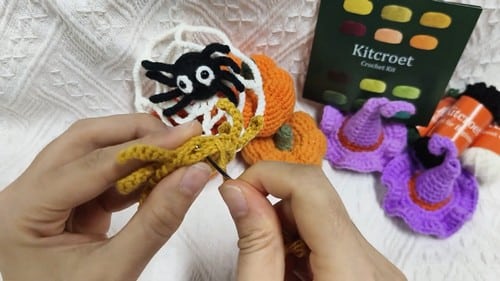
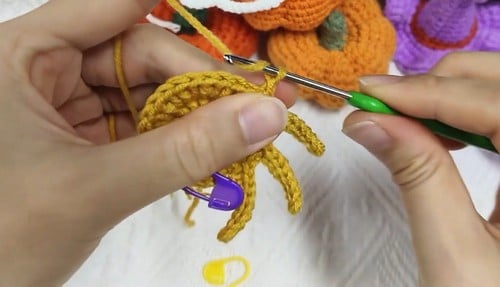
- Chain 16 (or chain 18 for longer legs). Starting in the 2nd chain from the hook, work 1 sl st in each chain back to the base. [15 stitches]
- Fasten off leaving a 10 cm tail on each leg for attachment.
- Optional: Insert a pipe cleaner or thin wire inside the chain tube before fastening off if you want bendable legs that hold their shape.
Assembly
- Thread the long body tail onto the tapestry needle. Hold the flat closed end of the head against the front of the body and pin at four points before sewing. Sew the head to the body using the tail, working all the way around the join and back again for strength. A spider’s head sits at one end of the abdomen rather than on top of it.
- Lay out all 8 legs and divide them into two groups of 4, one for each side. Align 4 legs on the left and 4 on the right where the head meets the body, fanning them outward.
- Use the yarn tail of each leg to sew it firmly to the seam between the head and body.
- Weave all remaining ends inside the stuffed body.
- Bend each leg into a natural spider curve if wire was inserted.
Tips
- Safety Eyes Placement: Safety eyes go into the head between rounds 5 and 6, spaced 2 to 3 stitches apart. The piece is at 24 stitches and fully open at this point, so locking the washers from inside is easy. Do this before continuing past round 7. The pattern suggests 2 to 4 safety eyes. Two eyes gives the classic toy look. Four eyes in a 2×2 arrangement gives a more spider-accurate appearance, though at this scale four eyes clustered in a small area can look crowded; try both positions before locking. For toys or ornaments going to children under three, skip safety eyes entirely. Embroider the eyes with small black satin stitches in black yarn. Check that all yarn ends are knotted firmly on the inside before giving to a child. The slip-stitch legs are soft and pose no hazard, but if wire is added inside the legs, keep the piece away from young children.
- Stuffing Technique: The head stuffs firmly so it holds its round shape after it is sewn to the body. Pack the fiberfill in before round 10, while the opening is still at 12 stitches and easy to reach. The body also stuffs firmly and evenly, with particular attention to the upper section so no hollow appears at the head join. Adding stuffing before round 12 gives the most control. The legs have no stuffing; they are flat chain structures that hold their position from tension and, optionally, from wire.
- Magic Ring Alternative: You can start with a chain 2 and work into the second chain from the hook instead, but the magic ring gives a much tighter, neater centre. Try it once on scrap yarn and the technique will feel natural quickly.
- Shaping Corrections: The most common cause of weird shaping is working the decreases in the same position every round, which creates a spiral ridge. Offset the start of each decrease round by one or two stitches to spread the shaping evenly around the sphere.
- Leg Firmness: The slip stitch back along the chain is what makes the leg firm and rope-like rather than a loose floppy chain. Skip it and the legs will curl and droop. The sl st pass takes under a minute per leg and makes a significant difference.
- Leg Attachment: Sew each leg at two points along its length rather than just at the base. One stitch at the attachment point and a second stitch 1 cm along the leg gives it enough support to hold a bent position, especially without wire.
- Body Proportions: The body should be noticeably larger. At its widest the body reaches 30 stitches versus the head’s 24. If they look the same, check that you completed round 5 of the body before starting the straight rounds.
FAQs
I’ve never worked a magic ring before. Do I have to use one, or can I chain instead?
You can start with a chain 2 and work into the second chain from the hook instead, but the magic ring gives a much tighter, neater centre. Try it once on scrap yarn and the technique will feel natural quickly.
The decrease rounds are pulling the sphere into a weird shape. What went wrong?
The most common cause is working the decreases in the same position every round, which creates a spiral ridge. Offset the start of each decrease round by one or two stitches to spread the shaping evenly around the sphere.
Can I use a regular chain stitch for the legs without the slip stitch?
The slip stitch back along the chain is what makes the leg firm and rope-like rather than a loose floppy chain. Skip it and the legs will curl and droop. The sl st pass takes under a minute per leg and makes a significant difference.
How do I ensure the head and body are the correct size?
The body should be noticeably larger than the head. At its widest, the body reaches 30 stitches versus the head’s 24. If they look the same, check that you completed round 5 of the body before starting the straight rounds.
Is this pattern safe for young children?
For toys or ornaments going to children under three, skip safety eyes entirely and embroider the eyes with small black satin stitches. Check that all yarn ends are knotted firmly on the inside. If you add wire or pipe cleaners to the legs, keep the piece away from young children as it may pose a hazard.
Pin This Crochet Pattern!