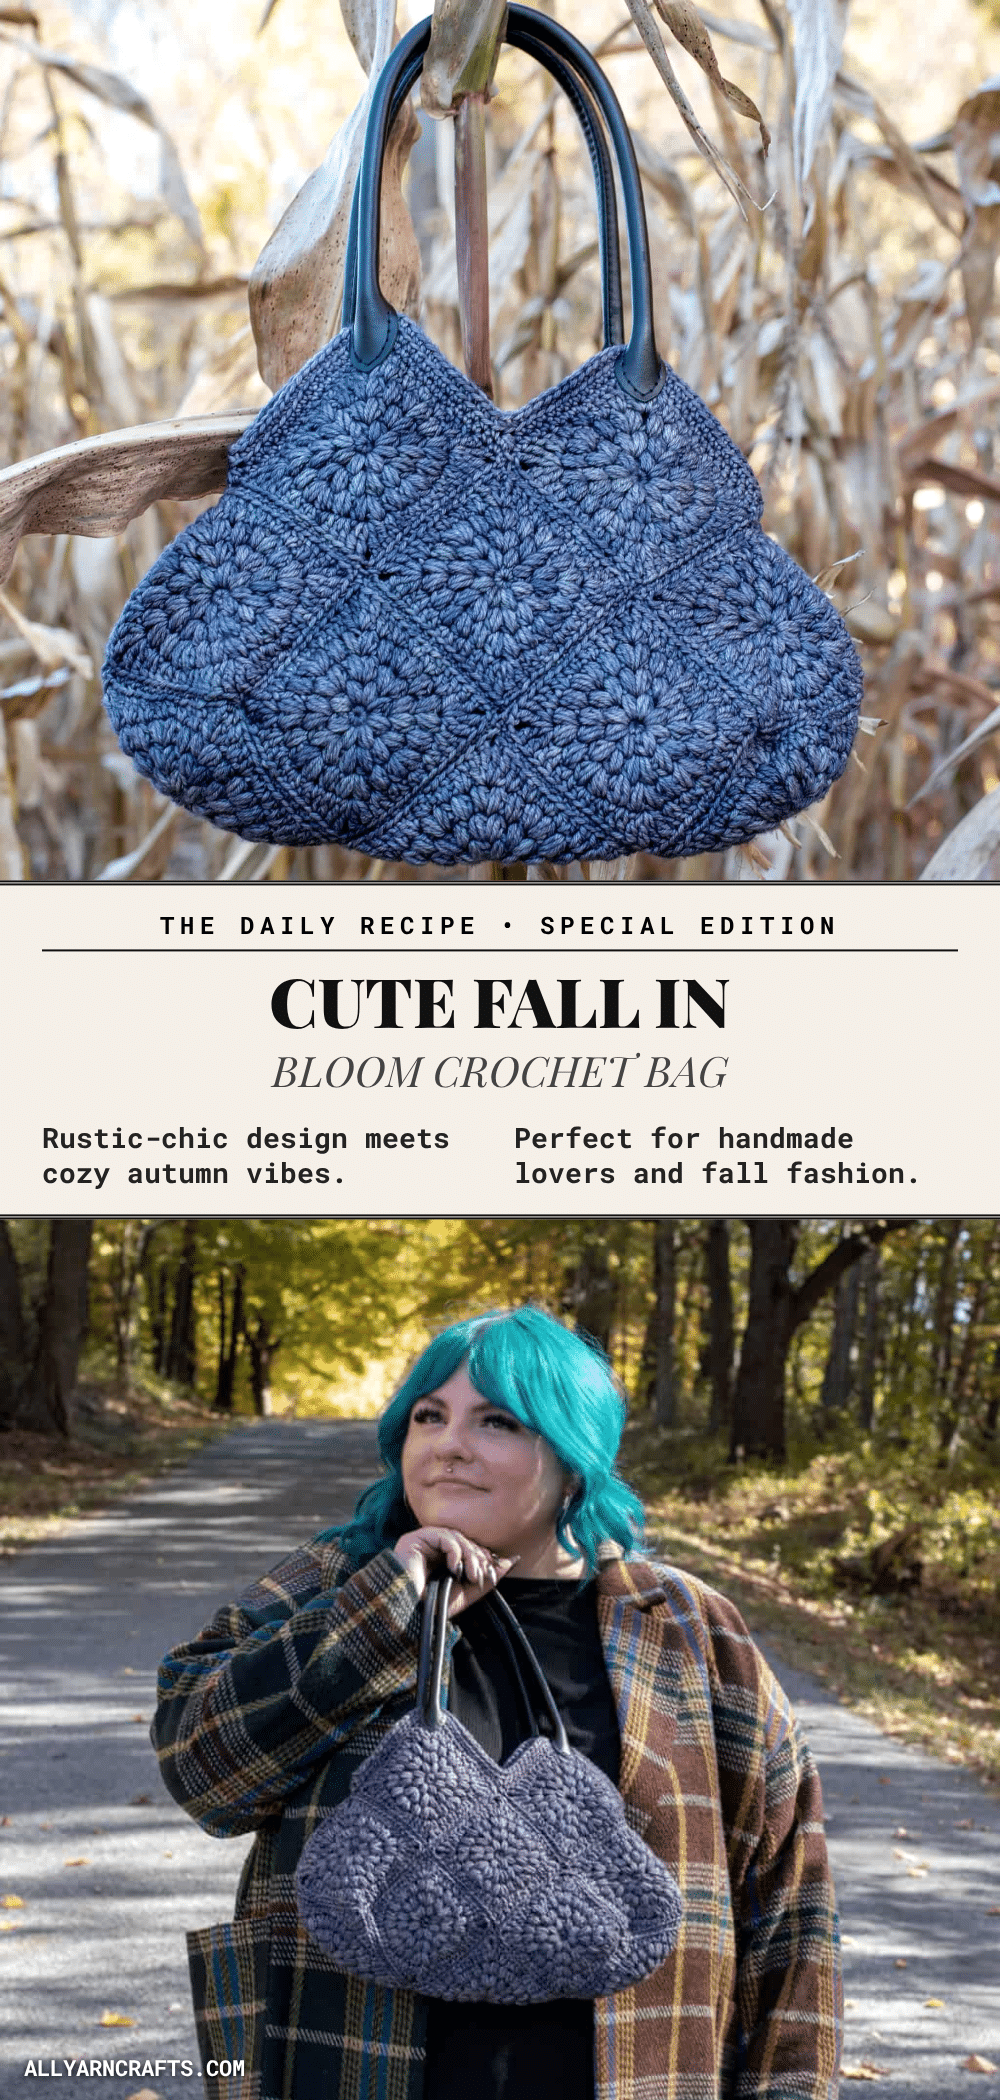
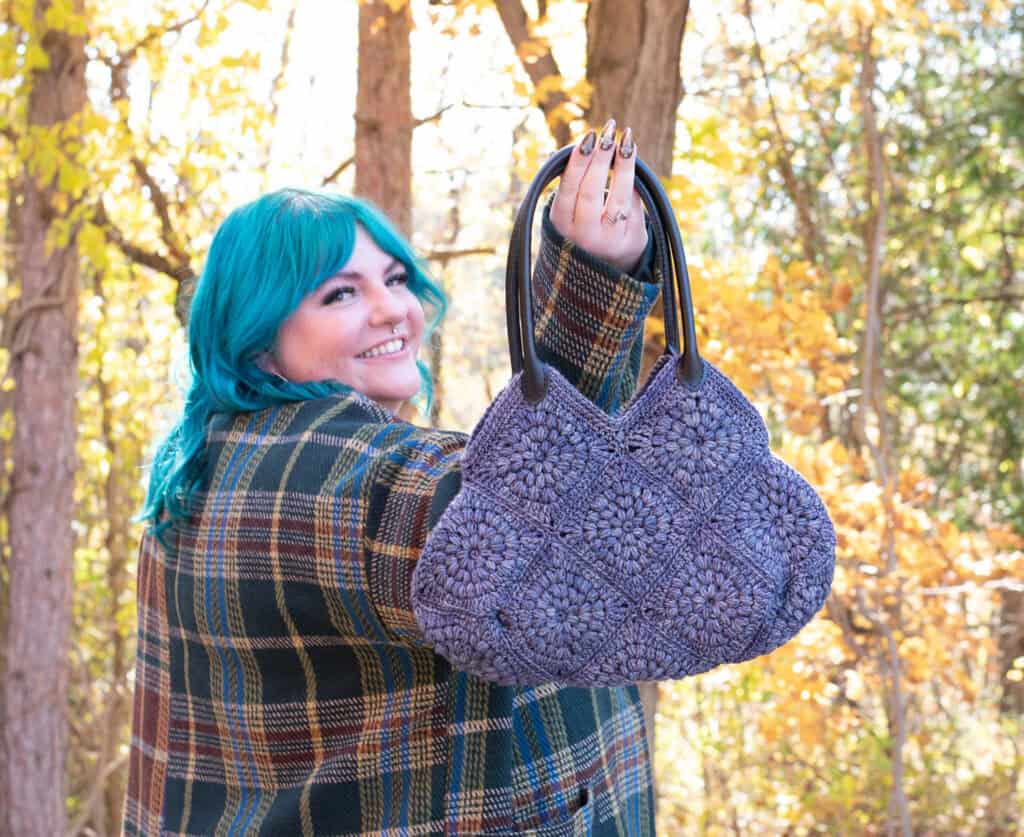
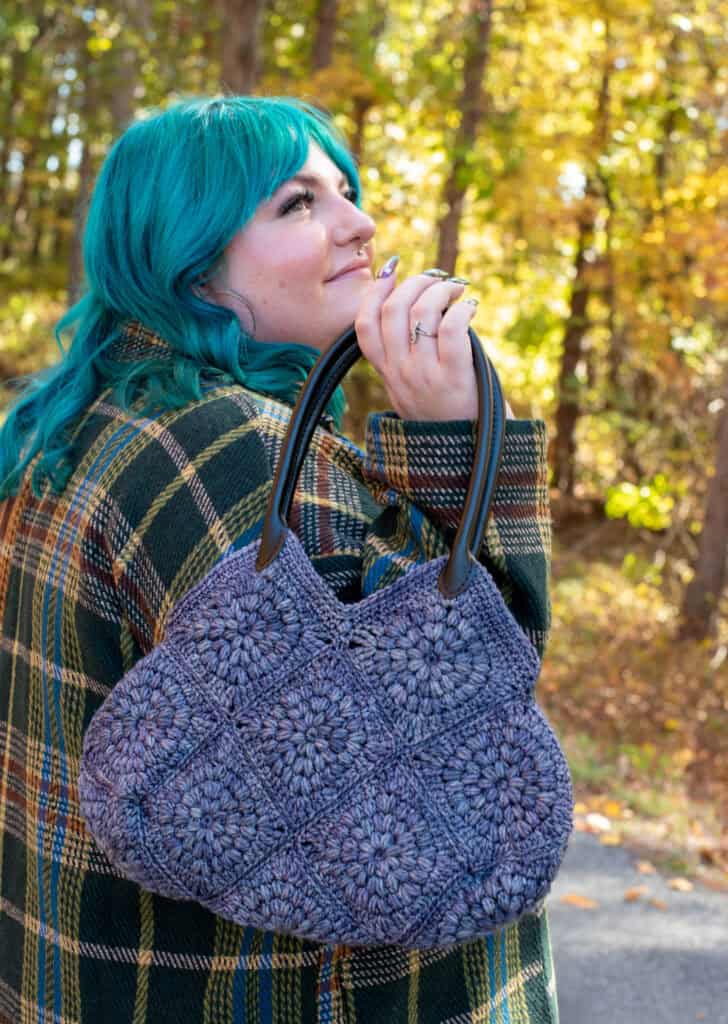
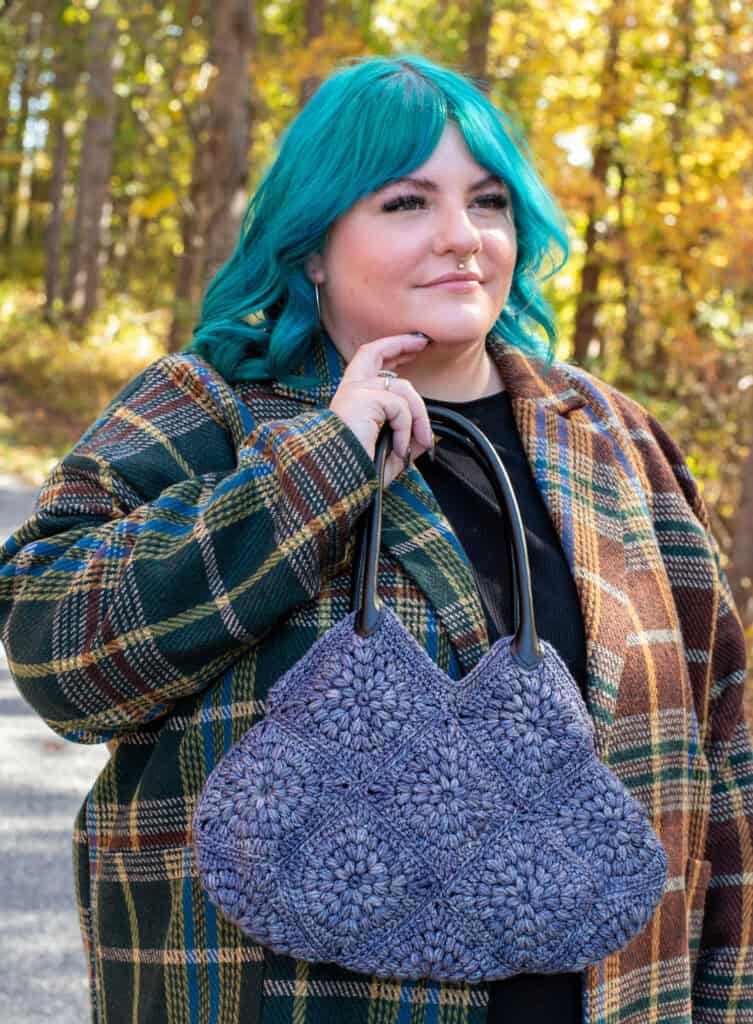
There is something undeniably satisfying about a finished crochet project that looks as good as it feels. The Fall in Bloom Bag strikes that perfect balance, offering a squishy, textured surface that invites touch while remaining a tidy and display-worthy accessory for autumn. Its unique puff-stitch construction creates a plush, dimensional look that turns a simple handbag into a statement piece. Whether you are looking for a unique gift for a loved one or a cozy companion for your own daily carry, this bag’s soft structure and elegant drape make it a joy to behold and use.
Why the Finished Piece Stands Out
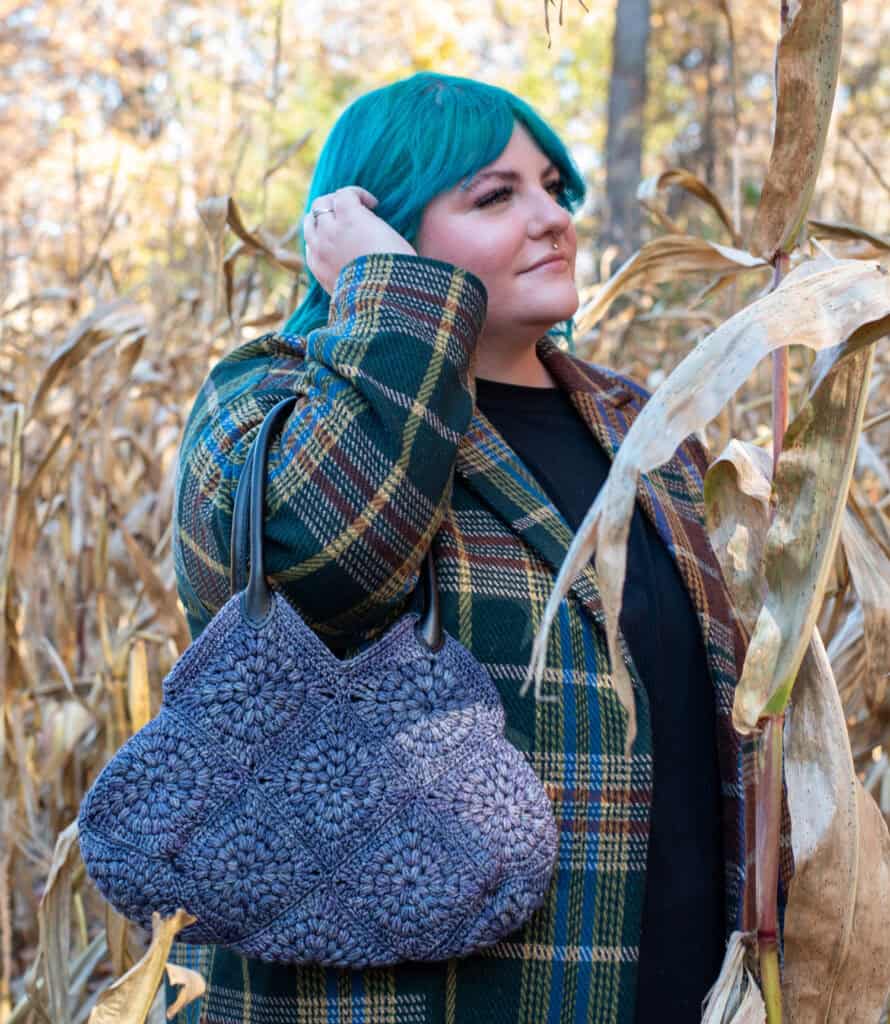
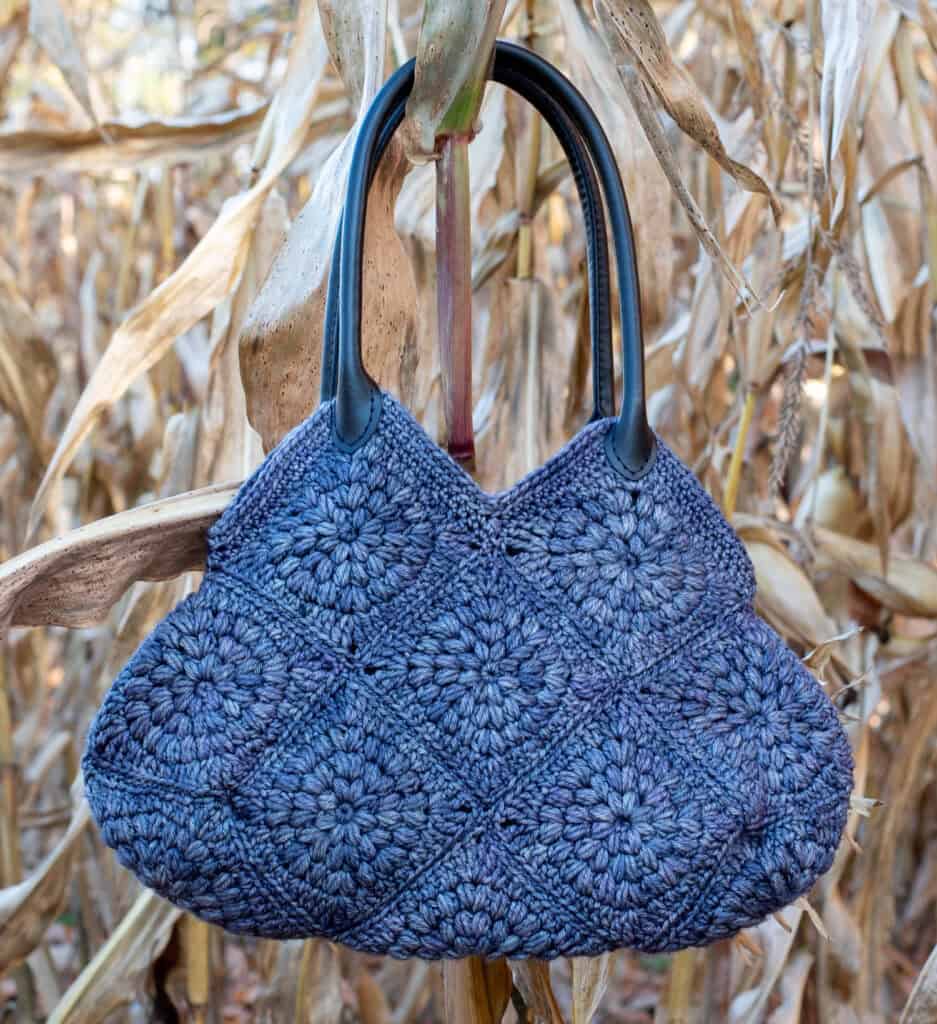
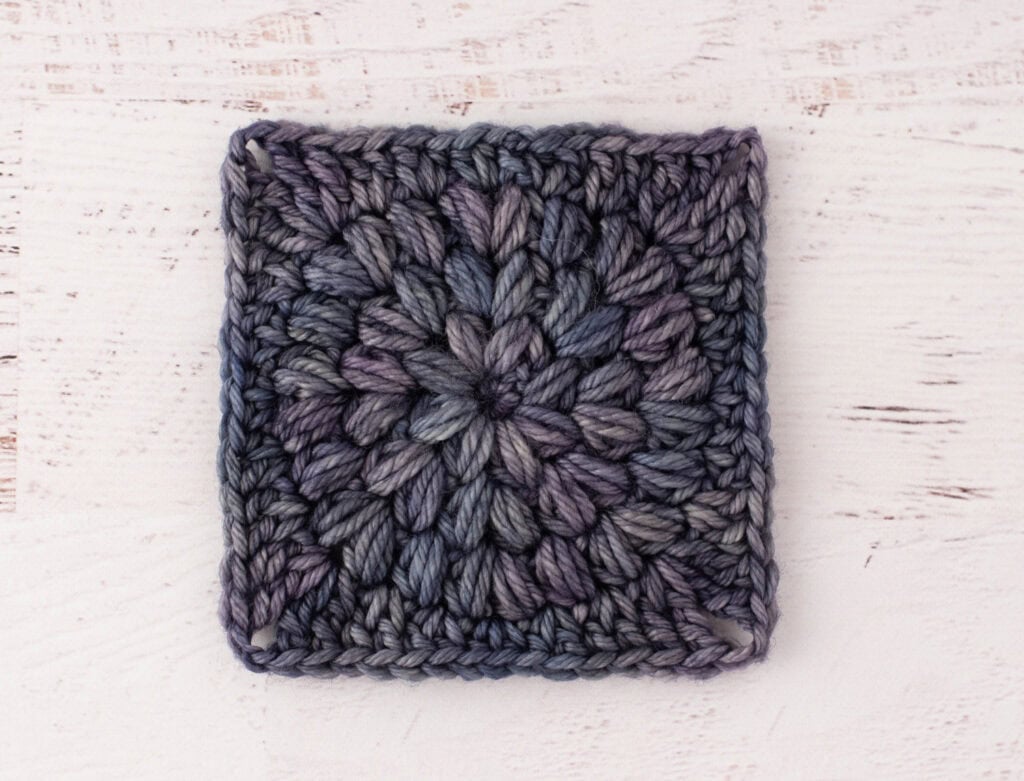
What truly sets this bag apart is the interplay between the plush, squishy texture of the puff stitches and the structured form of the final assembly. The “Puff Flower Square” creates a highly textured block that feels luxurious against the hand, reminiscent of a soft petal. The choice of yarn plays a massive role here; the sample uses Malabrigo Rios, a lightweight worsted weight that adds a beautiful drape and a dusky, gray-blue hue with purple flecks that perfectly captures the essence of an autumn day. Unlike rigid structured bags, this one has a flexible, organic shape that molds to your belongings while maintaining its silhouette. It is a project that feels indulgent to make, especially when working with high-quality merino wool, and the result is a bag that feels as warm and inviting as a country road in the fall.
Project Overview
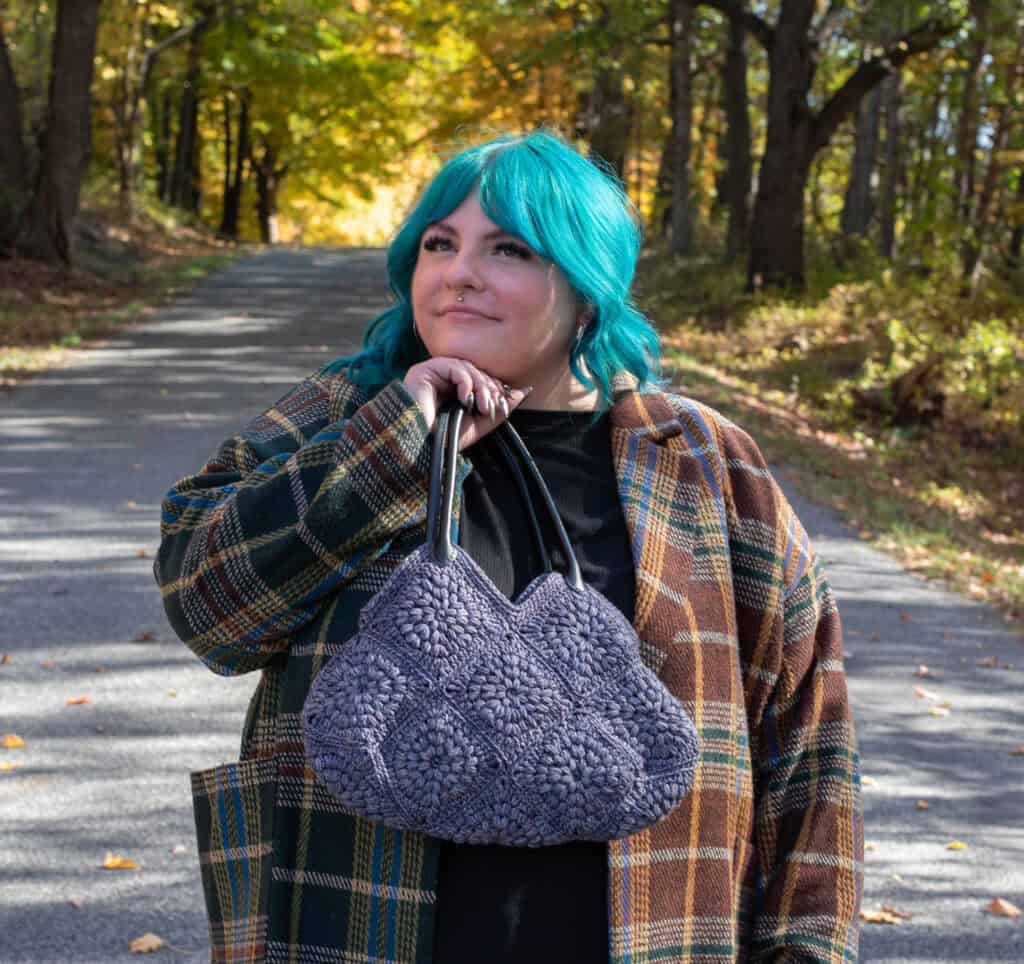
This pattern creates a medium-sized, flexible handbag constructed from 17 individual “Puff Flower Squares.” The squares are joined to form the body of the bag, which is then bordered with single crochet to create a clean edge. The design allows for customization, including the option to add a lining for structure or to crochet your own handles instead of using leather straps. It is a project that rewards patience with a beautiful, tactile result.
Materials
- Yarn: 380 yards of #4 Worsted Weight Yarn (lightweight). The sample used Malabrigo Rios Yarn in color 846 Winter Lake. You can find this at local yarn shops or online retailers.
- Crochet Hook: US G6/4.00 mm crochet hook.
- Handles: 20″ Leather Purse Straps (or yarn to crochet your own handles).
- Notions: Tapestry needle and scissors.
- Optional: Fabric, interfacing, and thread for lining the bag; Blocking board or foam board for blocking squares.
Gauge and Finished Size
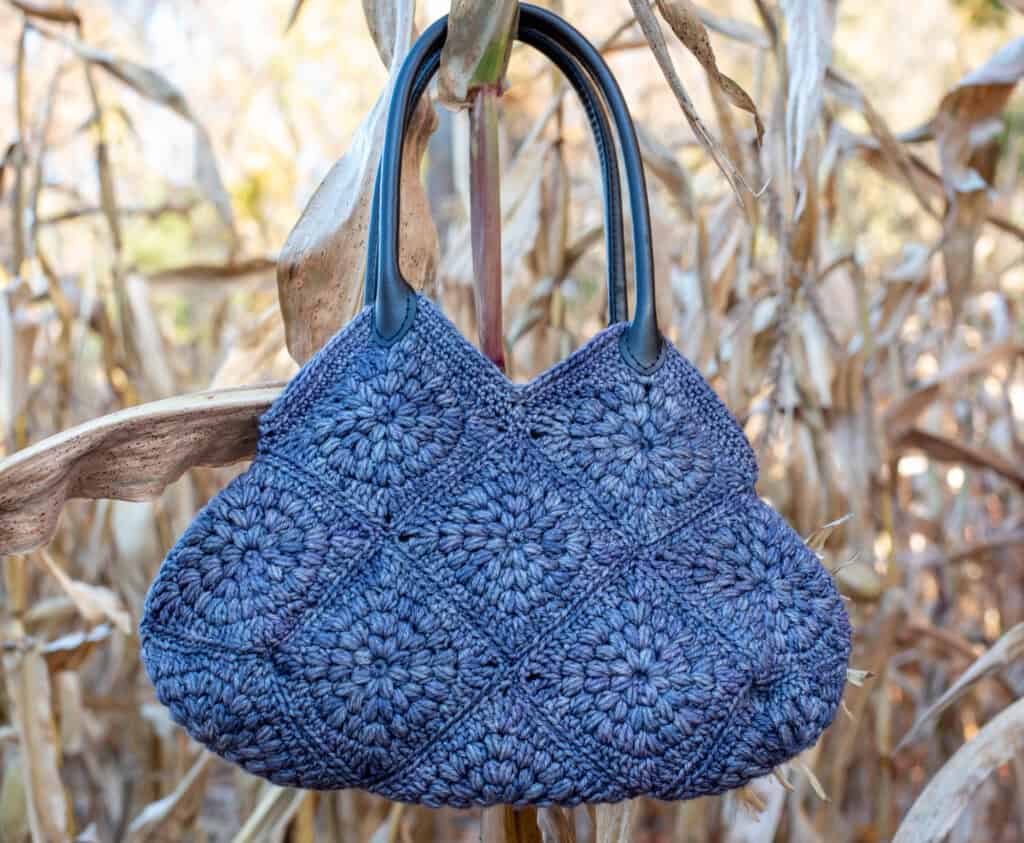
Gauge: To achieve the correct gauge, crochet a square, block it, and measure it. Using the indicated yarn, the gauge square should measure 4 inches x 4 inches. Note that you can substitute a thinner or thicker yarn for a smaller or larger bag, though you may need to adjust the yarn quantity accordingly.
Finished Size: The finished bag measures 15″ wide by 11″ tall (excluding the handles). With the handles attached, the total height is approximately 18″.
Abbreviations
ch = chain
dc = double crochet
hdc = half double crochet
sc = single crochet
sl st = slip stitch
st = stitch(es)
tr = treble crochet
Pattern Notes
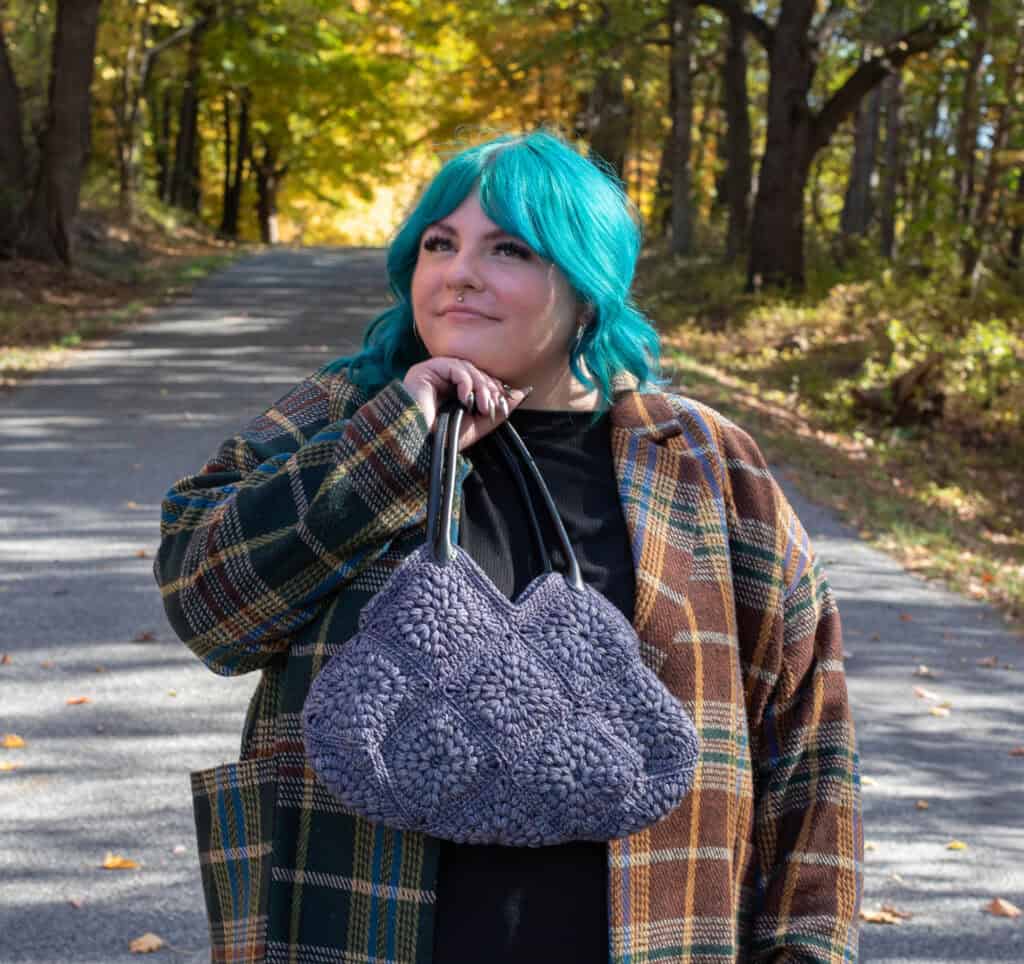
This is a flexible bag design. If you use a different weight yarn, the bag will stay in proportion but will likely be slightly larger or smaller than the finished size listed above. You can also choose to crochet the purse handles instead of purchasing leather ones; if you prefer this route, you can refer to similar spiral handle instructions found in other patterns. The bag can be lined to reduce stretching, which is recommended if you plan to carry heavier items.
Pattern Instructions
Puff Flower Square (Make 17)
Special Stitches:
Puff Stitch: Yarn over, insert hook into next stitch and pull up a loop to the height of a double crochet (3 loops on hook). Then yarn over again and insert hook into the same stitch and pull up another loop (5 loops on hook). Yarn over again, insert hook into the same space and pull up another loop (7 loops on hook). Pull yarn through all loops. Chain 1 to lock in the stitch.
Partial Puff Stitch: The first puff stitch in each row starts with a ch 1 to help bring the top of the puff stitch to the proper level. The rest of the stitch is worked as a normal puff stitch.
Make a magic ring.
R1: 8 sc in magic ring, join with sl st to top of starting sc (8 st).
R2: Ch 1, work puff stitch in 1 st st, *puff stitch in next stitch. Repeat from * around. Join with slip stitch to top of 1 st puff. (8 puff st)
R3: Sl st into first sp between puff stitches, ch 1, work 2 puff stitches in same space, *2 puff stitches in next space. Repeat from * around. Join with slip stitch to top of 1 st puff. (16 puff st)
R4: Sl st into first sp between puff stitches, ch 1, work 2 puff stitch in same space, 1 puff stitch in the next space, *2 puff stitches in next space, 1 puff stitch in the next space. Repeat from * around. Join with slip stitch to top of 1 st puff. (24 puff st)
R5: Sl st into 1 st ch space between puff stitches, ch1, 2 hdc in the same space, (hdc, dc) in next space, (2dc) in next space, (2tr, ch 2, 2tr) in next space (1 st corner made), *(2dc) in next space, (dc, hdc) in next space, (2 hdc) in next space, (hdc, dc) in next space, (2dc in next space, (2tr, ch 2, 2tr) in next space (corner made). Repeat from * twice, then 2dc in next space, (dc, hdc) in next space, join with a sl st to top of 1 st st to join.
Block Squares
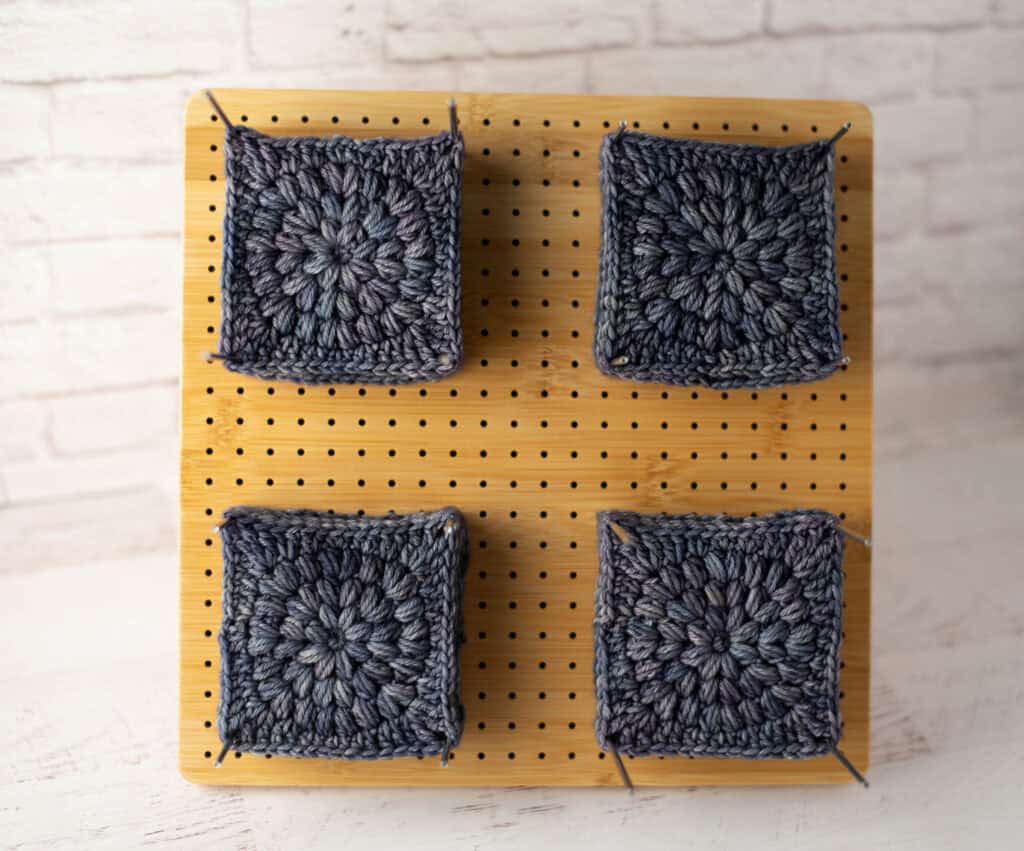
Wet squares and block them. Using a blocking board or pinning them to a foam board helps get the blocks to be perfectly square, which is crucial for the final assembly.
Join Squares
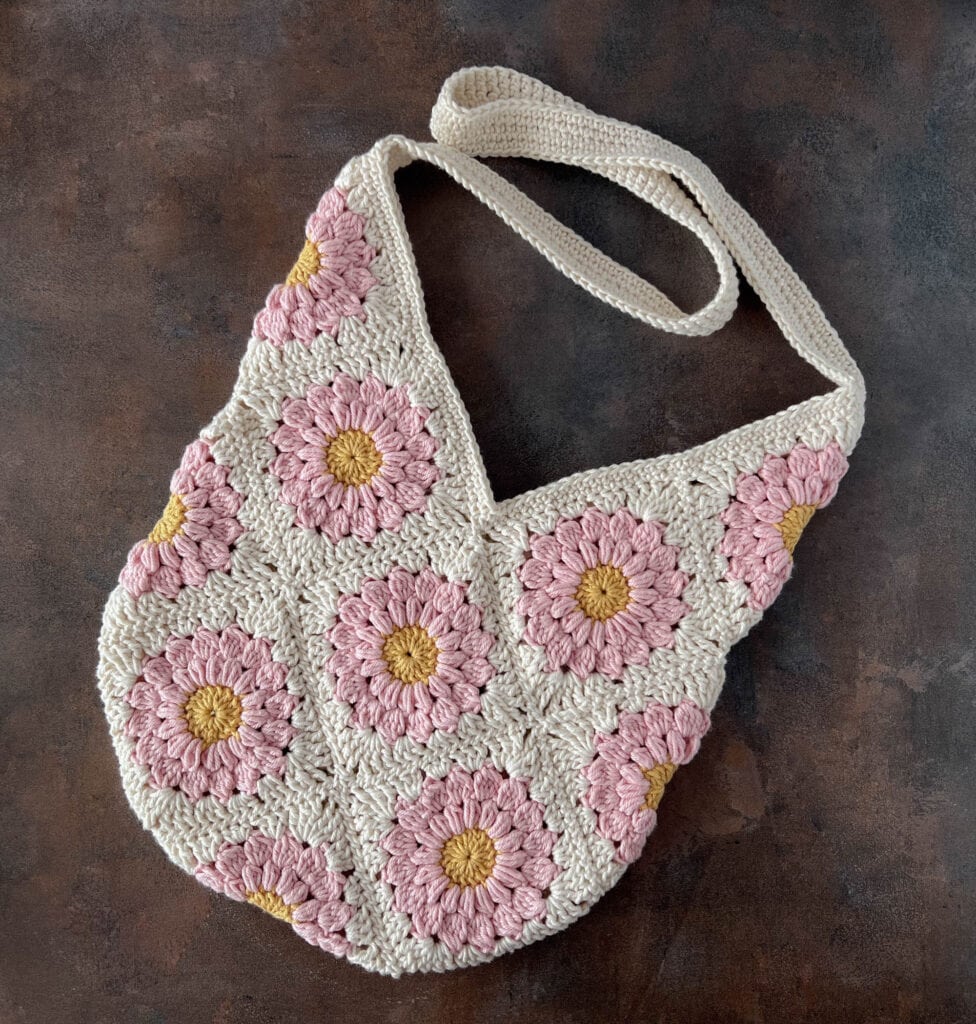
Sew the blocks for the bag together using a whip stitch and sewing through the back loop only. Once the squares are sewn together in the designated shape, fold the purse in half and join the sides. It is often easiest to fold in the bottom center first to align the edges properly.
Crochet the Border
R1: Join yarn with a slip stitch to the square closest to the right side of the bag. Attach the slip stitch to a stitch that is about 4 or 5 stitches from the side itself. Ch 1 and work single crochet stitches around the top edge of the bag, working 2 sc stitches in the top corners of each square (where the handles will eventually be placed). When you come to a “V” (at the center front and either side of the bag), work a single crochet decrease. You may work the decrease over 2 or 3 stitches. Try one way and continue to work sc in the next several stitches to see how your work lays. If you don’t like the look, go back and try the other way. Be consistent. The decreases on either side of the bag should be the same, and the decrease in the front center and back center of the bag should be the same for each row.
Bag Lining (Optional)
If you are making a lining, do so first before sewing the handles in place. This ensures the handles are sewn right through the crochet and fabric lining for maximum security. If you prefer, you can just sew the handles onto the bag itself.
Attaching the Bag Handles
The final step is to sew on the purchased handles. Use strong thread, doubled over a few times, and a sewing needle to carefully go through the holes in the leather handles to secure them onto the crochet bag. If you lined your bag, work through all the layers. Take your time and be patient. If your needle is struggling to get through the holes in the leather, use a thinner needle or use a pair of pliers to help pull the needle through the leather.
Tips
- Border Flexibility: It’s important to be a bit flexible when working the border. Working across the “V” shape at the center front and back and the sides can be especially tricky. If you find your work is not laying flat and is a bit too full, work an extra decrease in that spot.
- Decrease Consistency: When working decreases at the “V” shapes, try one method (over 2 or 3 stitches) and see how it lays. Ensure the decreases on either side of the bag are identical, and the center decreases are identical for each row.
- Handle Attachment: Patience is key when attaching handles. If the needle resists, pliers can be a helpful tool to pull the needle through thick leather or multiple layers of lining.
FAQs
Can I make this bag without a lining?
Yes, you can choose to skip the lining entirely. However, adding a lining helps reduce stretching and adds durability, especially if you plan to carry heavier items. If you do add a lining, attach the handles after the lining is sewn in for extra security.
What yarn is best for this pattern?
The pattern calls for #4 Worsted Weight Yarn (lightweight). The sample uses Malabrigo Rios, which is a merino wool that offers a beautiful drape and softness. You can substitute other worsted weight yarns, but keep in mind that the finished size may vary slightly depending on the thickness of your chosen yarn.
How do I fix a border that isn’t laying flat?
If the border is curling or looking too full, particularly around the “V” shapes at the center front and back, try working an extra single crochet decrease in those spots. Adjusting the decrease over 2 or 3 stitches can help flatten the fabric.
Can I crochet my own handles instead of using leather?
Absolutely. While the pattern uses leather straps for a structured look, you can crochet your own handles. You can refer to spiral handle instructions from similar patterns to create handles that match your yarn.
How many squares do I need to make?
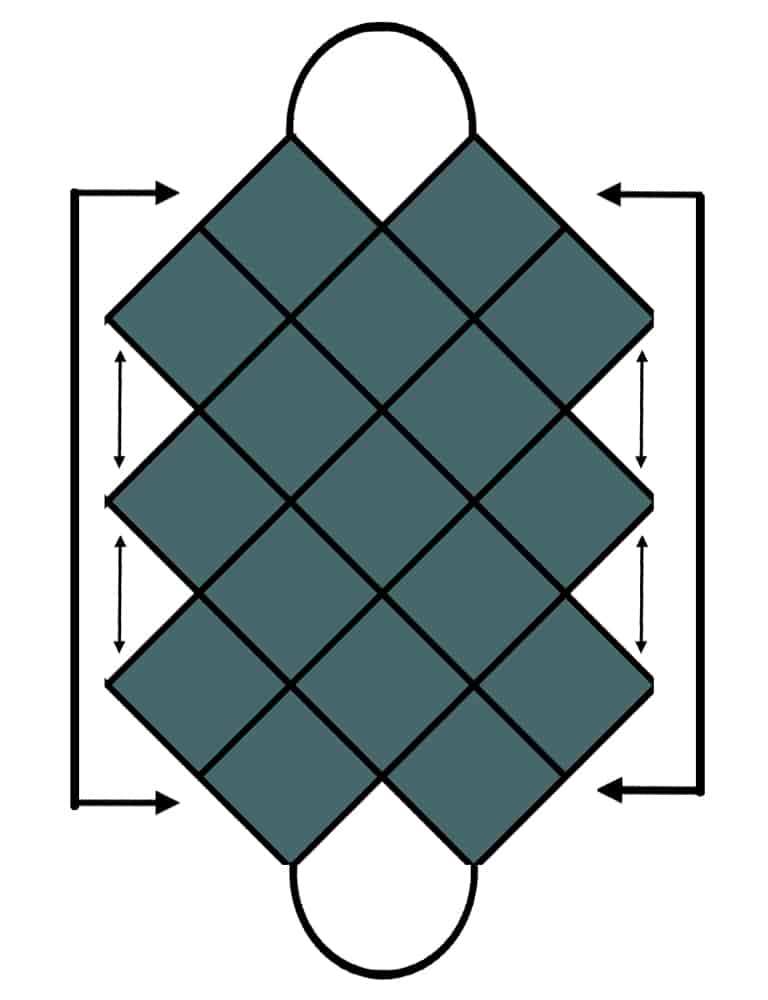
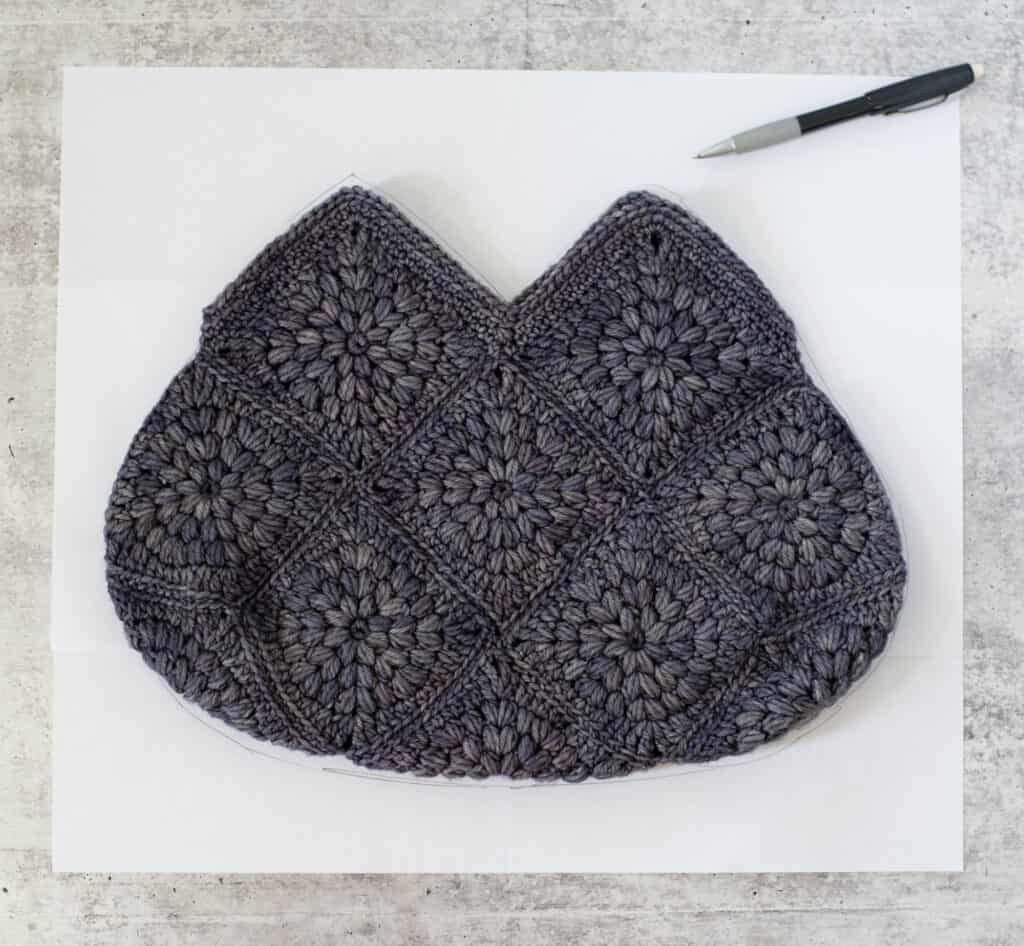
You will need to make 17 Puff Flower Squares to complete the body of this bag.
Pin This Crochet Pattern!