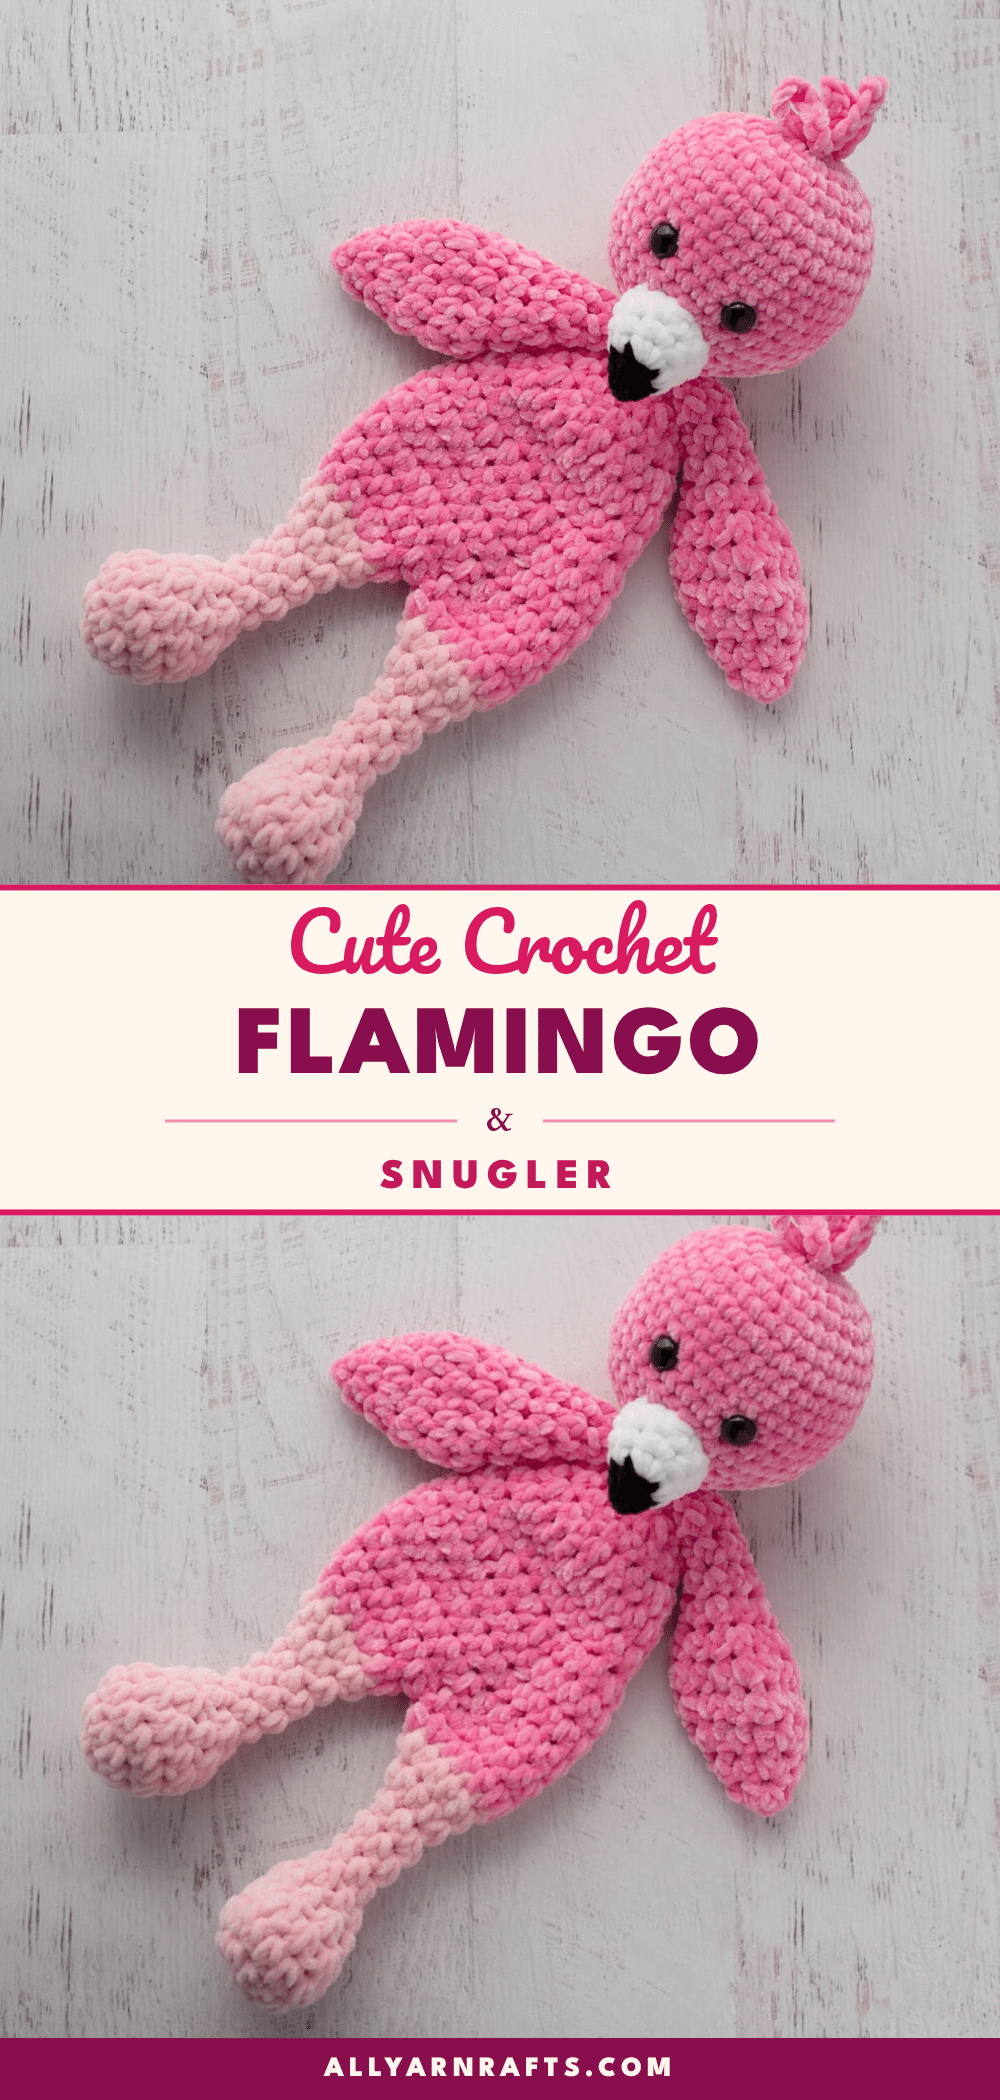
There is something undeniably soothing about the rhythm of crochet, especially when the yarn is as plush as a bulky chenille. Picture a quiet evening, a small batch of soft pink yarn, and the gentle counting of stitches. This cozy project ritual transforms a simple afternoon into a relaxing repeat of half double crochets and slip stitches. As you work through the rounds, the tension melts away, replaced by the squishy goodness of a growing amigurumi friend. This flamingo snuggler is designed to be a fast, fun project that rewards you with a tropical companion perfect for cuddling or display.
Small Details That Make It Better
While the vibrant pinks of this flamingo are sure to catch your eye, the true charm lies in the structural nuances that bring Fiona to life. The choice of a bulky chenille yarn not only speeds up the project but also gives the snuggler a unique, cloud-like texture that is perfect for hugging. Paying close attention to the hook size changes is crucial; using the larger hook for the body and the smaller hook for the head ensures the proportions remain balanced and cute. Another small but vital detail is the stuffing strategy. By stuffing only the feet and head while leaving the body unstuffed, you create a traditional “snuggler” feel that is soft and huggable rather than rigid. Finally, the alignment of the legs using stitch markers at the top center of the foot ensures that your flamingo stands tall and proud, with both feet facing forward for that authentic, majestic stance.
Project Overview
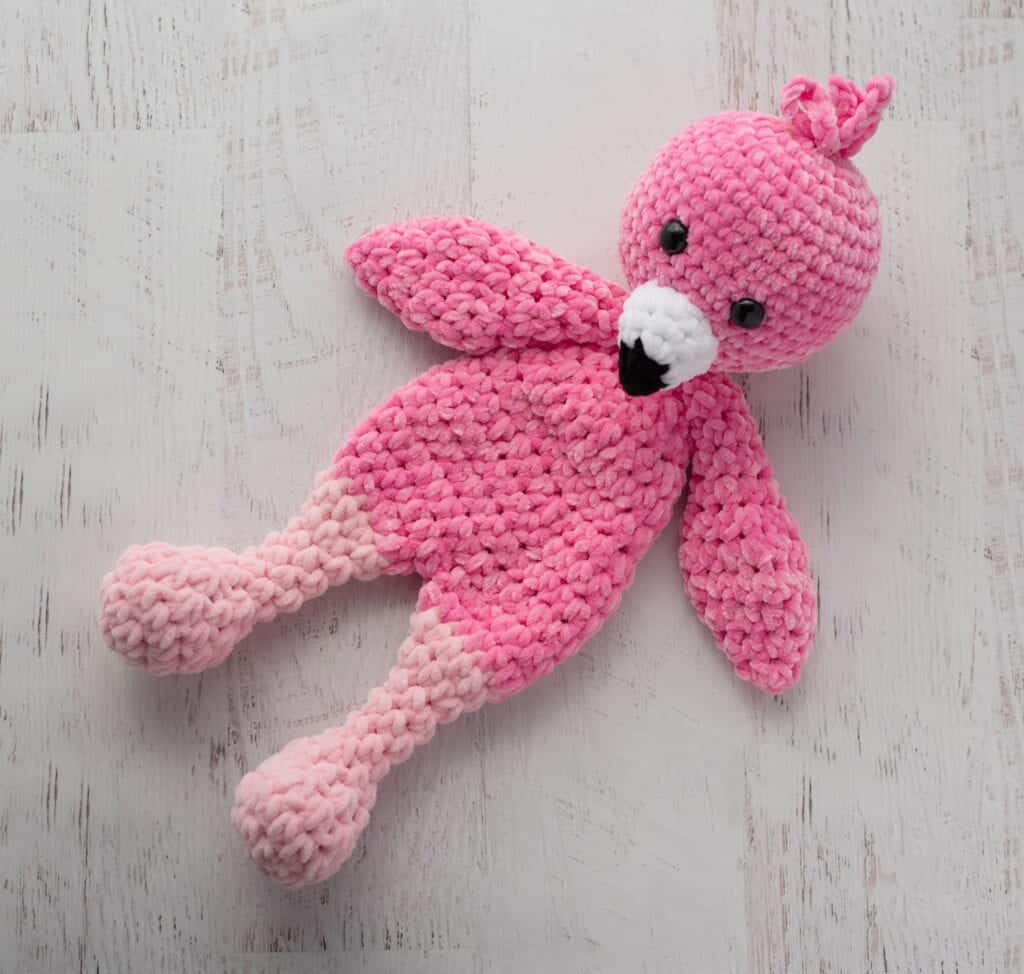
Fiona the Flamingo is a crochet snuggler, a hybrid of amigurumi and a lovey. This pattern uses Super Bulky Weight #6 yarn to create a quick and squishy project. The body is worked in continuous rounds using half double crochet stitches, while the head and facial features use single crochet stitches. The finished piece measures approximately 16-1/2 inches from the bottom of the feet to the top of the head, excluding the top feathers.
Materials
- Yarn: Super Bulky Weight #6 yarn.
- Main Body: 100 yards dark pink. The sample used Premier Just Chenille in Flamingo. Alternatively, Premier Parfait Chunky in Hibiscus works well.
- Legs: 30 yards light pink. The sample used Premier Parfait Chunky in Ballet Pink. If using Hibiscus for the body, Pink Lemonade is a good leg color.
- Beak Details: Small amounts of white and black yarn.
- Crochet Hooks:
- L/8.00 mm for legs, wings, and body.
- K/6.50 mm for head, beak, and top feathers.
- Notions:
- 15mm safety eyes (Note: If making for a baby or young child, embroider eyes instead).
- Stitch markers.
- Polyester fiberfill.
- Tapestry needle and scissors.
Gauge and Finished Size
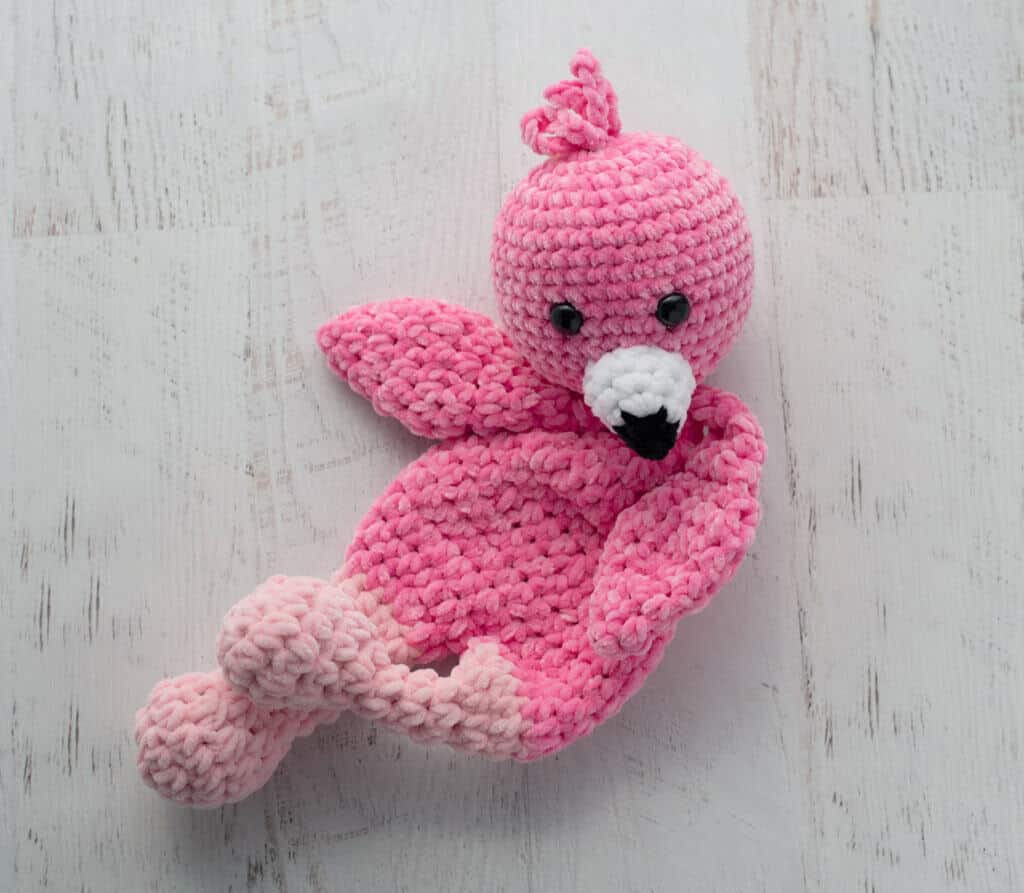
Finished Size: The flamingo snuggler shown measures 16-1/2” from the bottom of the feet to the top of the head (excluding top feathers).
Gauge: Using the smaller, 6.50 mm hook, the gauge is 5.5 sc to 2 inches. However, gauge is not important in this pattern. You may use other weights of yarn; adjust hook size to fit your needs.
Abbreviations
- ch = chain
- sc = single crochet
- hdc = half double crochet
- sl st = slip stitch
- st(s) = stitch(es)
Pattern Notes
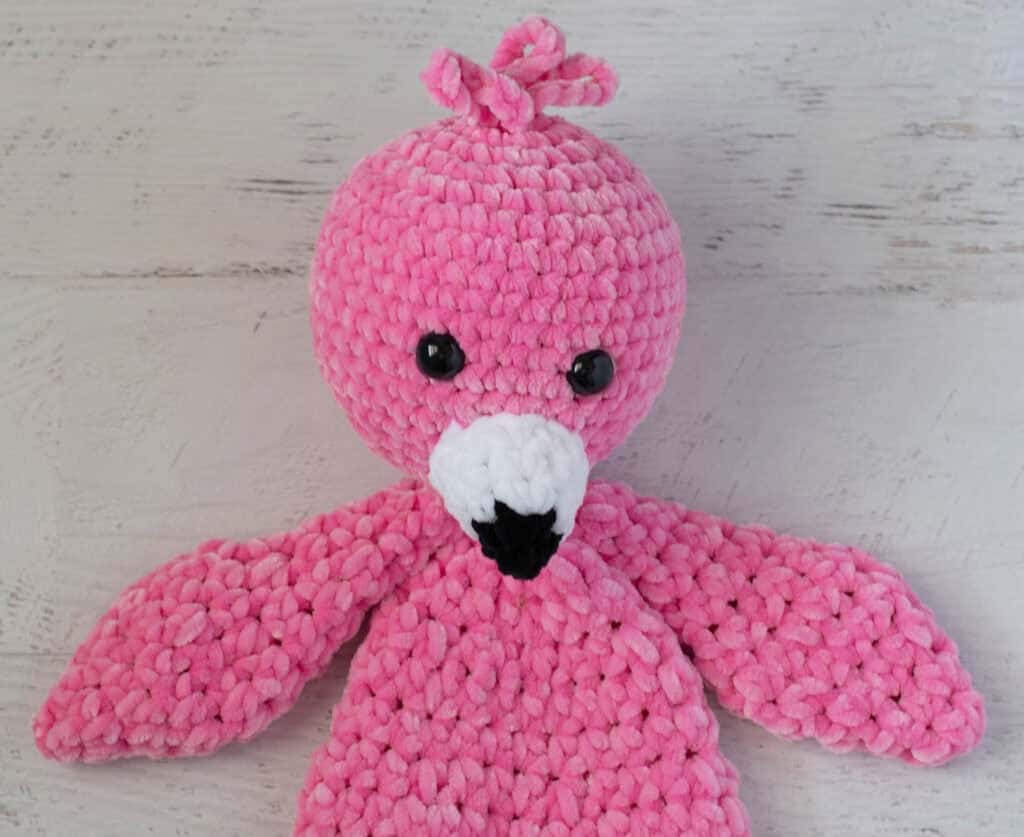
- A crochet snuggler is part amigurumi and part lovey. Typically the head, feet, and hands are stuffed, but the rest of the Snuggler remains unstuffed.
- Using a bulky chenille style yarn makes this a fun and fast project.
- This pattern uses two different hooks and two different main stitches. Ensure you use the 8.0 mm hook for the arms, legs, and body (worked in Half Double Crochet) and the 6.5 mm hook for the head, beak, and top feathers (worked in Single Crochet). Using the wrong hook/stitch combination can result in an oblong head.
- Use a stitch marker to mark the last stitch of each round as you work, moving the stitch marker as you work each round.
- For more help with basic stitches, refer to standard crochet tutorials for single crochet, double crochet, and chain stitches.
Special Stitches
Half Double Crochet 2 Together (hdc 2 tog): This pattern uses a modified half double crochet decrease. Complete the stitch as follows: Yarn over, insert hook into next stitch and pull up a loop, insert hook into next stitch and pull up a loop, Yarn over and pull through all 4 loops on hook. Half double crochet decrease made.
Pattern Instructions
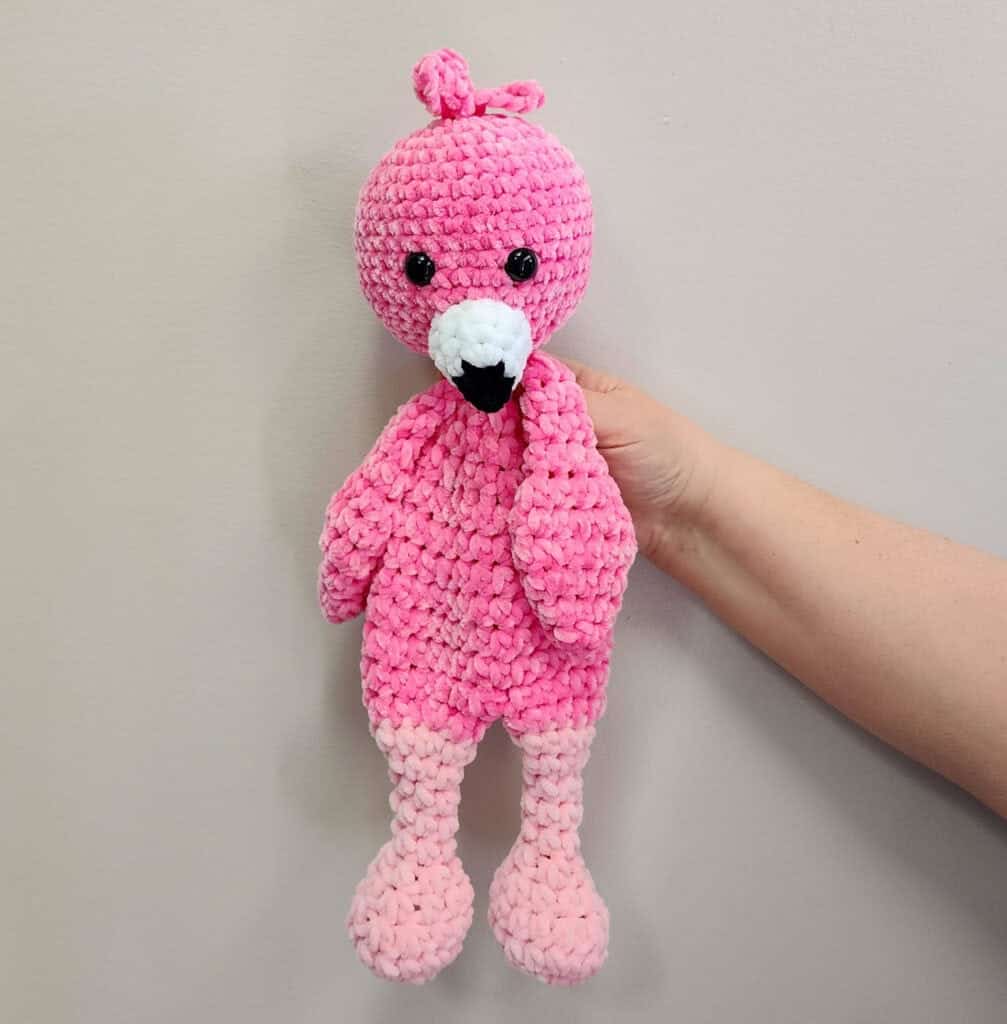
Legs (Make 2)
With light pink yarn and the larger (L/8.00 mm) hook, make a magic ring.
R1: 6 sc into ring (6 sts). Work in rounds.
R2: *2hdc in ea st, repeat from * around (12 st).
R3: *hdc in next 3 st, 2 hdc in next st, repeat from * around (15 st).
R4: hdc in next 5 st, (hdc 2 tog) three times, hdc in last 4 st (12 st).
Note: Use an additional stitch marker to mark around the 2nd decrease (to identify the top center of the foot).
R5: *hdc in next 2 st, (hdc 2 tog) repeat from * around (9 st).
R6: *hdc in next st, (hdc 2 tog), repeat from * around (6 st).
Stuff feet only, leaving rest of leg and body unstuffed.
R7-10: hdc around (6 st).
R11: *hdc in next st, 2 hdc in next st, repeat from * around (9 st).
R12: *hdc in next 2 st, 2 hdc in next, repeat from * around, changing to dark pink yarn in the last stitch. (12 st).
R13: With dark pink yarn, *hdc in next 3 st, 2 hdc in next st, repeat from * around (15 st).
For first leg: At end of last round, single crochet into next stitch, slip into next stitch, then fasten off, leaving a long strand for sewing.
For 2nd leg: Repeat steps, but do not fasten off.
Flamingo Body
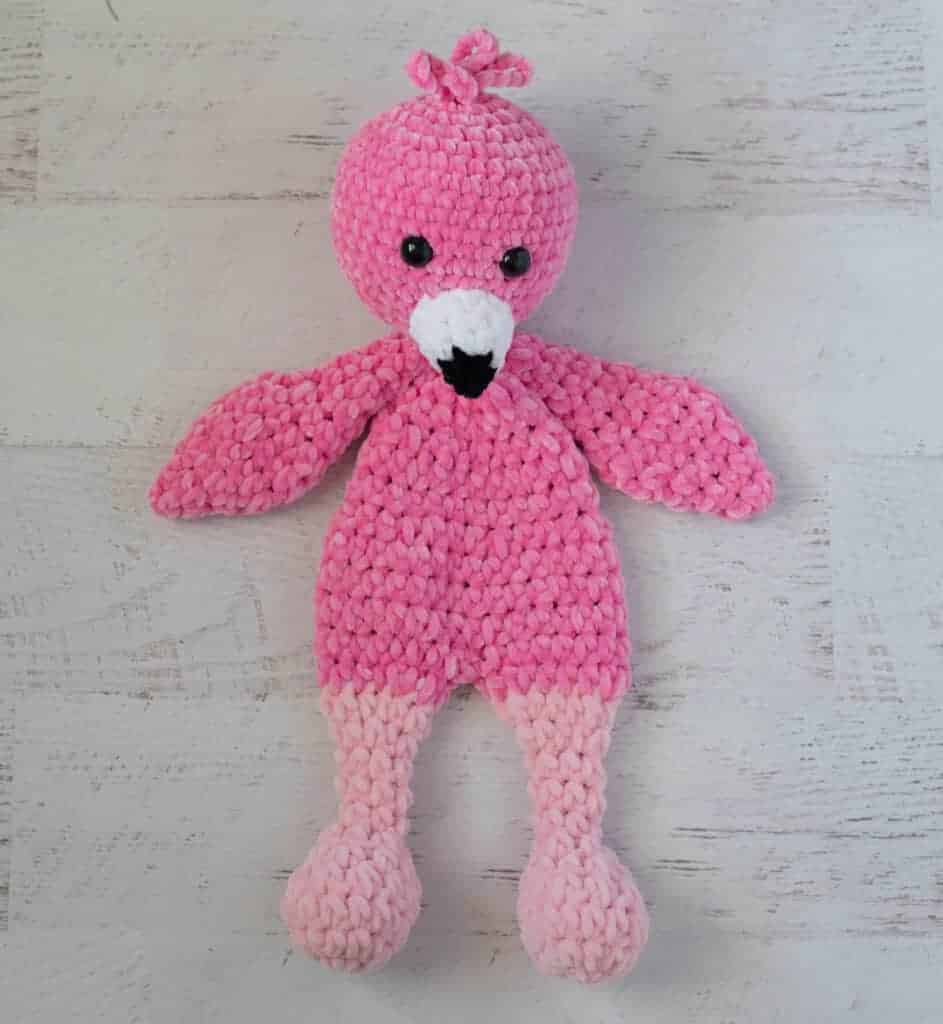
In the next row, the legs are crocheted together and form the bottom of the body. Position the legs so that they are in the correct position with both feet facing forward, using the stitch markers in the top center of each foot to assist in alignment. Use an additional stitch marker to mark where the two legs meet in the middle. This stitch marker holds the center stitch from each leg to each other. Make sure that you also have a stitch marker in the last stitch worked in the leg just completed. This stitch will be the last stitch worked in this row.
R1: hdc in the next stitch of the leg just worked. Continue to half double crochet in each stitch until you reach the marker holding the 2 legs together. Work a half double crochet in the next stitch (which is the stitch holding the legs together). THEN work a half double crochet in the matching stitch on the OTHER leg. You can remove the stitch marker if you’d like. Continue to half double crochet all the way around the other leg (15 stitches on that leg). You are now at the middle of the doll on the opposite side. Half double crochet in the remaining unworked stitches on the first leg worked in this row, finishing in the stitch you marked as the end of the row. Count your stitches for this row. There should be 30 stitches in the row. If you have more or less than this, take a look at the stitches worked at the joining points and see if you’ve missed or worked an extra stitch here.
R2-4: hdc around (30 st).
R5: *hdc in next 3 st, (hdc 2 tog), repeat from * around (24 st).
Pause your work and sew up the hole between the 2 legs with the fastened off yarn left from one of the legs. Weave in ends, then continue with remainder of body as follows:
R6-7: hdc around (24 st).
R8: *hdc in next 2 st, (hdc 2 tog), repeat from * around (18 st).
R9: hdc around (18 st).
R10: *hdc in next st, (hdc 2 tog), repeat from * around (12 st).
R11: (hdc 2 tog) around (6 st).
R12: Working in BLO, sc around (6 st), cut long strand, weave through ends to close.
Head
Using dark pink yarn and the smaller (K/6.5mm) hook, make a magic ring.
R1: 6 sc into ring (6 sts). Work in rounds.
R2: 2 sc in ea st (12 st).
R3: *sc in next st, 2 sc in next. Repeat from * around. (18 st).
R4: *sc in next 2 st, 2 sc in next. Repeat from * around. (24 st).
R5: sc in next st, 2 sc in next *sc in next 3 st, 2 sc in next. Repeat from * around until last 2 stitches, then sc in the next 2 st. (30 st).
R6: *sc in next 4 st, 2 sc in next. Repeat from * around. (36 st).
R7-14: sc around. (36 st).
R15: *sc in next 4 st, sc next 2 st together. Repeat from * around (30 st).
R16: *sc in next 3 st, sc next 2 st together. Repeat from * around (24 st).
R17: *sc in next 2 st, sc next 2 st together. Repeat from * around (18 st).
Insert safety eyes between rows 11 & 12, leaving 5 stitches in between them. Begin stuffing.
R18: *sc in next st, sc next 2 st together. Repeat from * around (12 st).
R19: *sc next 2 st together. Repeat from * around (6 st). Fasten off, leaving a long strand for finishing.
Beak
Using black yarn and the smaller (K/6.5mm) hook, make a magic ring.
R1: 3 sc into ring. (3 sts) Work in rounds.
R2: 2 sc in ea st, changing to white yarn in the last stitch. (6st).
R3: With white yarn, *sc in next st, 2 sc in next. Repeat from * around. (9 st).
R4: *sc in next 2 st, 2 sc in next. Repeat from * around. (12 st).
R5: *sc in next 3 st, 2 sc in next. Repeat from * around. (15 st).
Slip stitch to next stitch and fasten off leaving a long strand for joining. Lightly stuff beak.
Top Feathers
Using dark pink yarn and the smaller (K/6.5mm) hook, *ch 10, sl st to first ch. Repeat from * twice. Fasten off leaving a long strand for joining (3 loops).
Wings (Make 2)
With dark pink yarn and the larger (L/8.00 mm) hook, make a magic ring.
R1: 3 sc into ring (3 sts). Work in rounds.
R2: *2hdc in ea st, repeat from * around. (6 st).
R3: *hdc in next st, 2 hdc in next st, repeat from * around. (9 st).
R4: *hdc in next 2 st, 2 hdc in next st, repeat from * around. (12 st).
R5: *hdc in next 3 st, 2 hdc in next st, repeat from * around. (15 st).
R6: *hdc in next 3 st, (hdc 2 tog), repeat from * around. (12 st).
R7: *hdc in next 2 st, (hdc 2 tog), repeat from * around. (9 st).
R8: hdc in next 4 st, (hdc 2 tog), hdc next 3 st. (8 st).
R9: hdc in next st, (hdc 2 tog), hdc next 5 st. (7 st).
R10: hdc in next 3 st, (hdc 2 tog), hdc next 2 st. (6 st).
R11: hdc in next st, (hdc 2 tog), hdc next 3 st. (5 st).
R12: hdc around. (5 st.)
Sc in next st, then sl st to next stitch and fasten off, leaving a long strand for sewing. Note: wings are not stuffed.
Assembly
- Using the strand of yarn from the head, position it on the body so that the head is facing the front. Attach the last row of the head to the free front loops from the last round of the body. Go around the head a second time, working through all layers to sew it firmly on the body. Then fasten off and weave in ends.
- Sew the beak to the face, centered as shown. Then fasten off and weave in ends.
- Flatten the top of the wings. Leaving the wings unstuffed, whip stitch closed, then sew the wings on either side of the body near the head. Fasten off and weave in ends.
- Sew the top feathers to the top of the head.
- Weave in any remaining ends.
Tips
- Leg Alignment: Use an additional stitch marker to mark around the 2nd decrease in the leg rounds to identify the top center of the foot. This ensures your flamingo stands straight.
- Closing the Gap: Pause your work after Round 5 of the body to sew up the hole between the 2 legs with the fastened off yarn left from one of the legs. Weave in ends, then continue with the remainder of the body.
- Eye Placement: Insert safety eyes between rows 11 & 12 of the head, leaving 5 stitches in between them. Begin stuffing at this point.
FAQs
Can I use a different yarn weight?
Yes, gauge is not important in this pattern. You may use other weights of yarn, but you will need to adjust the hook size to fit your needs and potentially modify the stitch counts to achieve the desired size.
Is this pattern safe for babies?
The pattern calls for 15mm safety eyes. If making this for a baby or young child, it is recommended to embroider the eyes instead to ensure there are no small detachable parts.
Why are my legs uneven or twisted?
Ensure you use the stitch markers to identify the top center of each foot. When joining the legs in Body Round 1, align the feet so they face forward and use the markers to stitch the center stitches together correctly.
Do I stuff the body?
No, this is a snuggler pattern. Only the feet and the head are stuffed. The body and wings remain unstuffed to provide a soft, huggable texture.
What is the hdc 2 tog decrease?
This is a modified half double crochet decrease. Yarn over, insert hook into next stitch and pull up a loop, insert hook into next stitch and pull up a loop, yarn over and pull through all 4 loops on the hook.
Pin This Crochet Pattern!