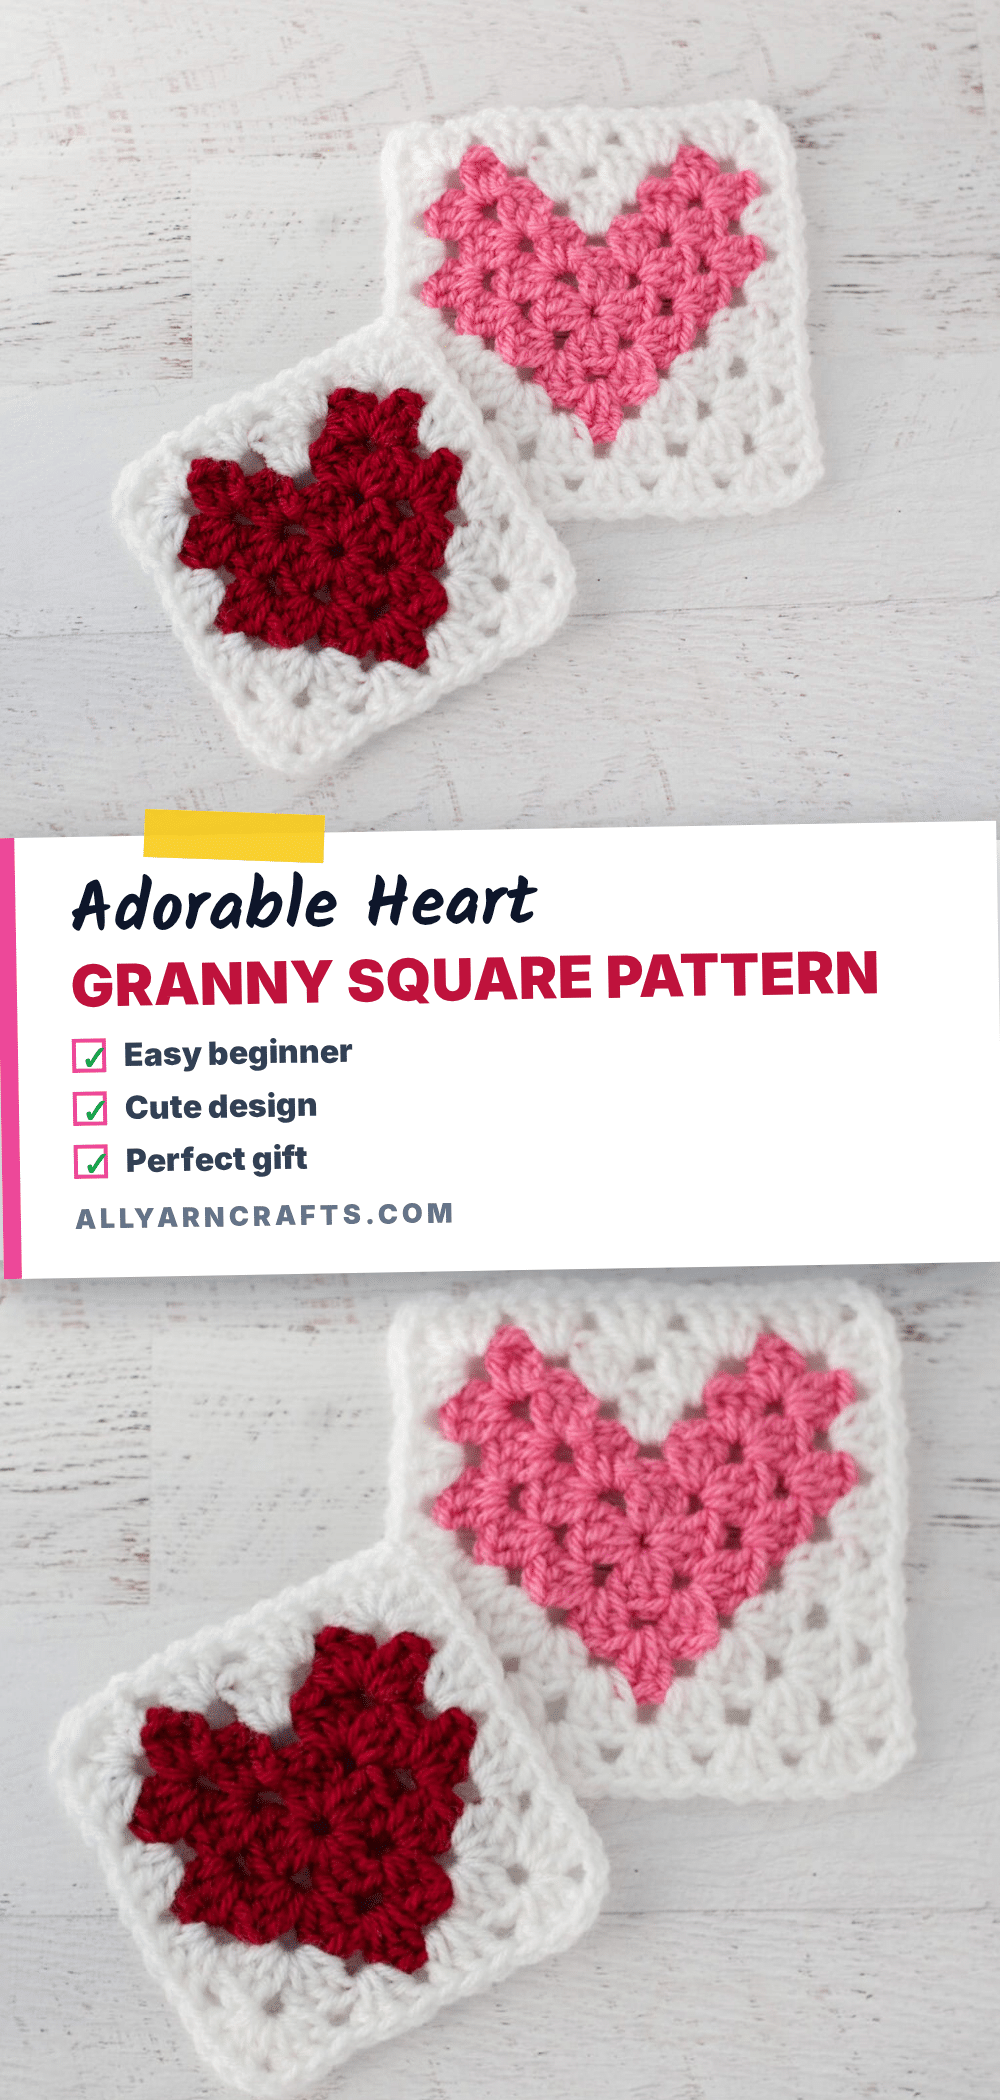
There is something undeniably sweet about the classic granny square, and the heart version adds a lovely twist that feels both nostalgic and modern. Whether you are looking to create a heartfelt gift for a loved one, add a charming accent to a nursery, or simply enjoy the meditative rhythm of color-changing stitches, this project offers a perfect balance of simplicity and visual appeal. These squares are versatile enough to be used as standalone decorations or joined together to create larger, cozy items.
Gift and Use Ideas
While the heart granny square is a delightful project in its own right, its true magic often shines when it is put to use. Because the design is compact and self-contained, it serves as an excellent building block for various handmade items. You might consider crocheting several of these squares to create a festive Valentine’s Day garland or a cozy throw blanket for a child’s room. The contrasting colors of the heart against the background make it a standout motif for pillow covers, adding a touch of whimsy to living room decor. Additionally, because the pattern is beginner-friendly, it is an ideal project for gifting to new crocheters who want to learn color changes and basic shaping without feeling overwhelmed.
Project Overview
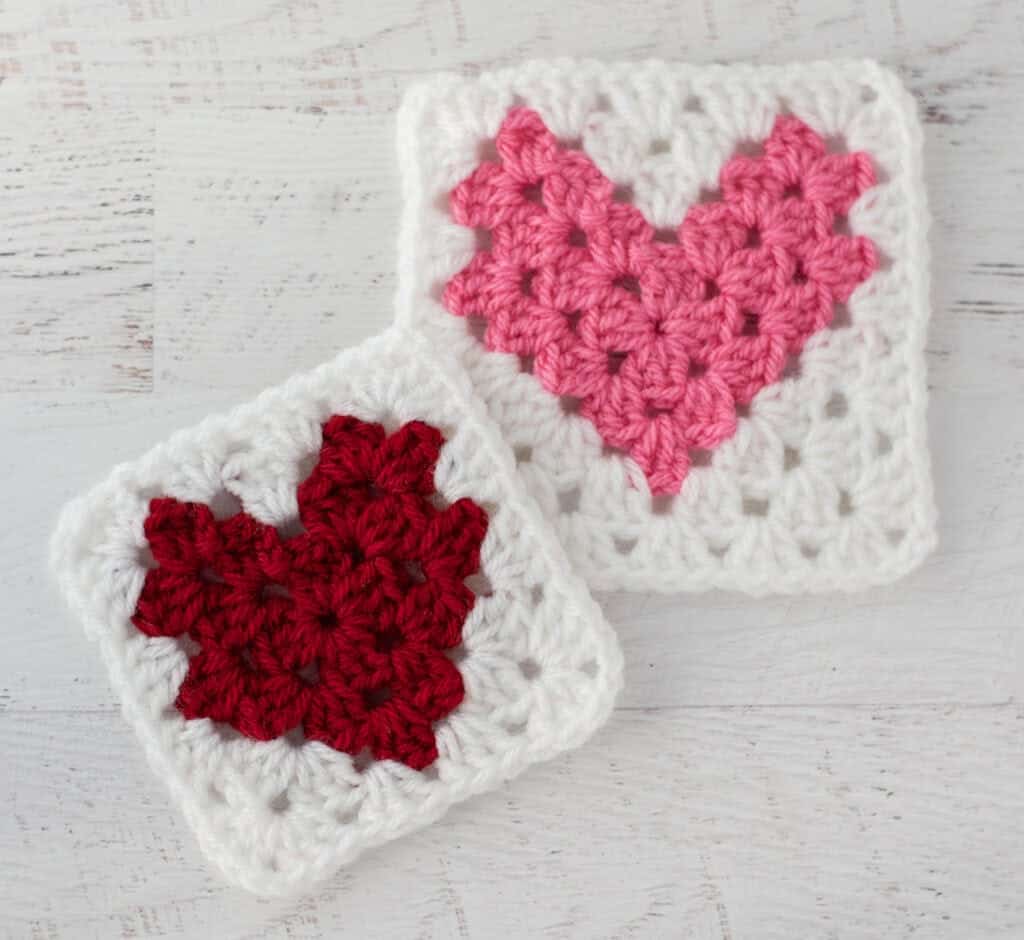
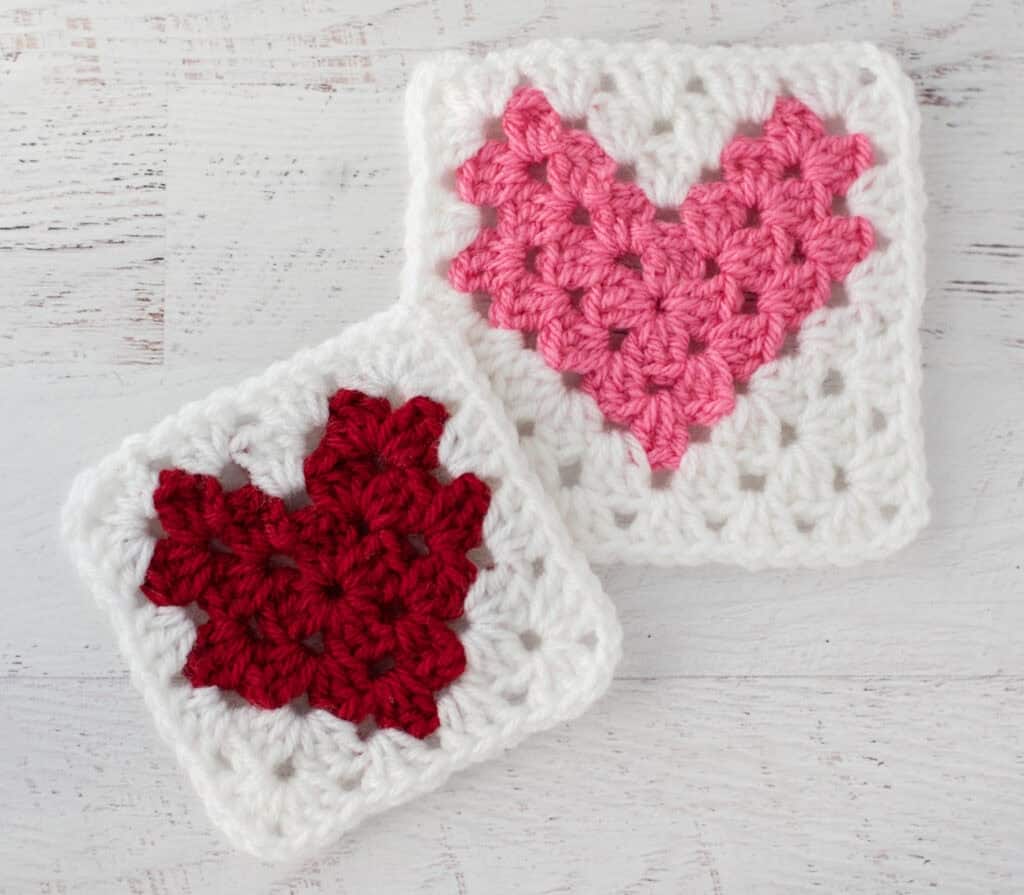
This pattern provides instructions for two sizes of heart granny squares: a small version using red and white yarn, and a larger version using pink and white yarn. The construction relies on the traditional granny square technique of working double crochet clusters into chain spaces, with strategic color changes in the later rounds to form the heart shape. The pattern is perfect for crocheters of any skill level, particularly beginners who want to practice joining colors and weaving in ends.
Materials
- Worsted Weight Yarn:
- Small Square: 12-18 yards white, 10-13 yards red
- Large Square: 12-18 yards white, 10-13 yards pink
- US H 8/5.00 mm Crochet Hook (or appropriate size hook for chosen yarn)
- Tapestry Needle
- Scissors
Gauge and Finished Size
Gauge and finished size measurements are not specified in the source pattern. The size of the finished square will depend on your individual tension and the specific yarn weight used.
Abbreviations
ch = chain
dc = double crochet
sl st = slip stitch
st = stitch(es)
Pattern Notes
When changing colors, cut the yarn at each color change rather than carrying the yarn up the side of the square. This method ensures a cleaner look. Later, you will weave each end into the stitches of the same color for a polished finish. Be sure to carefully weave in all yarn strands, keeping the strand within the appropriate color section to maintain the integrity of the heart design.
Pattern Instructions
Small Heart Granny Square Pattern
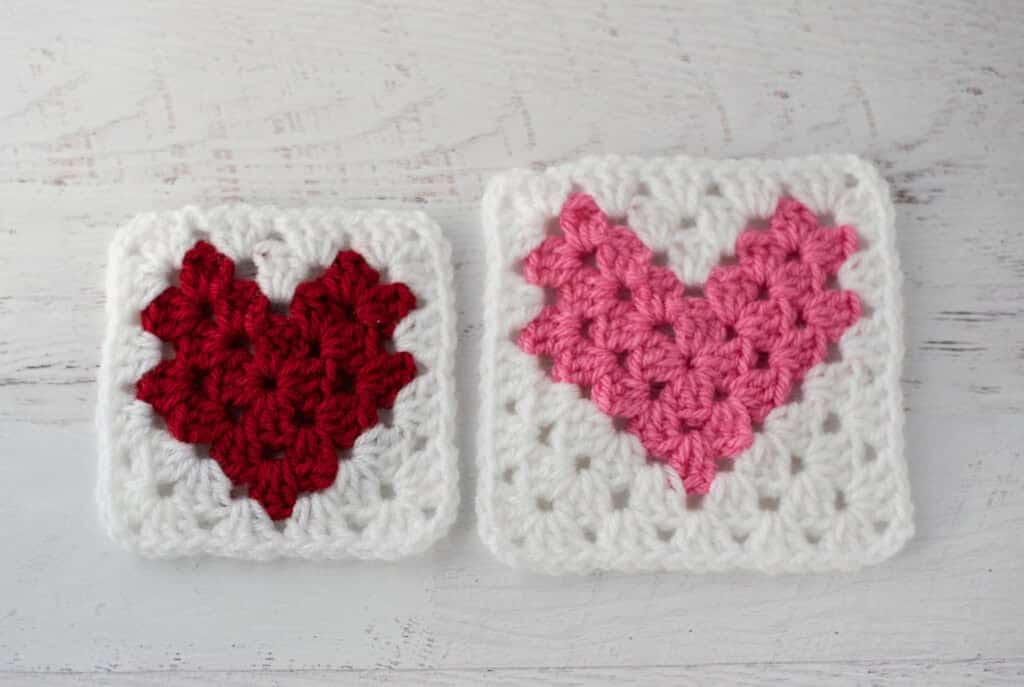
With red yarn: ch 4 and join with a sl st to 1 st ch to form a ring.
R1: Work all in the ring: Ch 3 (counts as 1 st dc), 2 dc, ch 2, *3dc, ch 2. Repeat from * 2 more times. Sl st to top of starting ch-2 to join.
R2: Sl st to next ch-2 space, then ch 3 (counts as 1 st dc), 2dc, ch 2, 3 dc into same space, *3dc, ch 2, 3dc into next space. Repeat from * 2 more times. Sl st to top of starting ch-3 to join.
In the next round, begin changing colors. Cut yarn at each color change instead of carrying. Then later, you will weave each end into the same-color stitches for a clean, polished look.
R3: Continuing with red yarn, sl st to next ch-2 corner space, (ch 3 (counts as 1 st dc), 2dc, ch 2, 3 dc into same space), 3dc into next space, changing to white yarn in the last dc. With white yarn, (3dc, ch 2, 3dc) into next corner space, changing to red yarn in the last dc. With red yarn, 3dc in the next space, changing to white yarn in the last dc. With white yarn, (3dc, ch 2, 3dc) into next corner space, changing to red yarn in the last dc. With red yarn, 3dc in the next sp, (3dc, ch 2, 3dc) into next corner space, changing to white yarn in the last dc. With white yarn, 3dc in the next space. Sl st to top of starting ch-3 to join. Fasten off white yarn.
R4: Reattach white yarn to any corner sp. (Ch 3 (counts as 1 st dc), 2dc, ch 2, 3 dc) into same corner space, 3dc into each of the next 2 sp, *(3dc, ch 2, 3 dc) into the corner space, 3 dc into each of the next 2 sp. Repeat from * twice. Sl st to top of starting ch-3 to join. Fasten off white yarn.
Carefully weave in all yarn strands, making sure to keep the strand in the appropriate color section.
Large Heart Granny Square Pattern
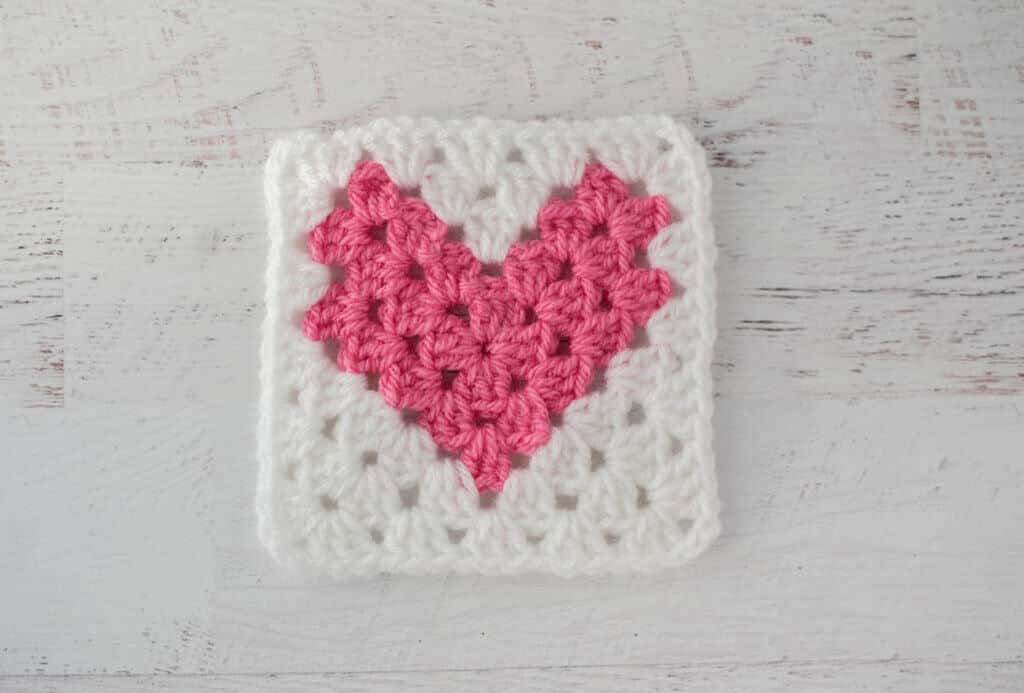
With pink yarn: ch 4 and join with a sl st to 1 st ch to form a ring.
R1: Work all in the ring: Ch 3 (counts as 1 st dc), 2 dc, ch 2, *3dc, ch 2. Repeat from * 2 more times. Sl st to top of starting ch-2 to join.
R2: Sl st to next ch-2 space, (ch 3 (counts as 1 st dc), 2dc, ch 2, 3 dc) into same space, *(3dc, ch 2, 3dc) into next space. Repeat from * 2 more times. Sl st to top of starting ch-3 to join.
In the next round, begin changing colors. Cut yarn at each color change instead of carrying. Then later, you will weave each end into the same-color stitches for a clean, polished look.
R3: Continuing with pink yarn, sl st to next ch-2 corner space, (ch 3 (counts as 1 st dc), 2dc, ch 2, 3 dc) into same space, 3dc into next space, changing to white yarn in the last dc. With white yarn, (3dc, ch 2, 3dc) into next corner space, changing to pink yarn in the last dc. With pink yarn, 3dc in the next space, changing to white yarn in the last dc. With white yarn, (3dc, ch 2, 3dc) into next corner space, changing to pink yarn in the last dc. With pink yarn, 3dc in the next sp, (3dc, ch 2, 3dc) into next corner space, changing to white yarn in the last dc. With white yarn, 3dc in the next space, changing to pink yarn in the last dc. Sl st to top of starting ch-3 to join.
R4: Continuing with pink yarn, sl st to next ch-2 corner space, (ch 3 (counts as 1 st dc), 2dc, ch 2, 3 dc) into same corner space, 3dc into next space, changing to white yarn in the last dc. With white yarn, 3 dc in next sp, (3dc, ch 2, 3dc) into next corner space, 3dc in the next 2 sp, (3dc, ch 2, 3dc) into next corner space, 3dc in next space, changing to pink yarn in the last dc. With pink yarn, 3dc in the next space, (3dc, ch 2, 3dc) into next corner space, changing to white yarn in the last dc, 3dc in the next 2 spaces. Sl st to top of starting ch-3 to join. Fasten off white yarn.
R4 (Continued): Reattach white yarn to any corner sp. (Ch 3 (counts as 1 st dc), 2dc, ch 2, 3 dc) into same corner space, 3dc into each of the next 3 sp, *(3dc, ch 2, 3 dc) into the corner space, 3 dc into each of the next 3 sp. Repeat from * twice. Sl st to top of starting ch-3 to join. Fasten off white yarn.
Assembly
Carefully weave in all yarn strands, making sure to keep the strand in the appropriate color section. If you plan to join multiple squares, use a tapestry needle and matching yarn to sew the corners together for a seamless finish.
Tips
To ensure a professional finish, always cut your yarn when changing colors rather than carrying it. This prevents loose strands from showing on the wrong side and keeps the color blocks distinct. When weaving in ends, follow the path of the yarn through the existing stitches of the same color to make the ends disappear invisibly.
FAQs
Can I use a different yarn weight for this pattern?
Yes, you can use any worsted weight yarn. However, if you switch to a lighter or heavier yarn, you may need to adjust your hook size to maintain the structure of the granny square clusters.
How do I keep the color changes neat?
The key is to cut the yarn at each color change and weave the ends into the stitches of the same color. This technique avoids “stranding” yarn across the back of the work, which can create bulk and visible lines.
Can I make these squares larger?
The pattern provides specific instructions for small and large sizes. If you wish to make a larger square, you would need to add additional rounds following the established granny square pattern, though the heart shape is specifically formed in the later rounds of the provided instructions.
What is the best way to join these squares?
You can join the squares using a slip stitch seam for a flat finish or a whip stitch for a slightly raised, decorative edge. Using a tapestry needle and yarn that matches the background color of the square works best for a unified look.
Are these squares suitable for beginners?
Absolutely. The pattern uses basic crochet stitches and is perfect for crocheters of any skill level, especially beginners who want to practice color changes and shaping.
Pin This Crochet Pattern!