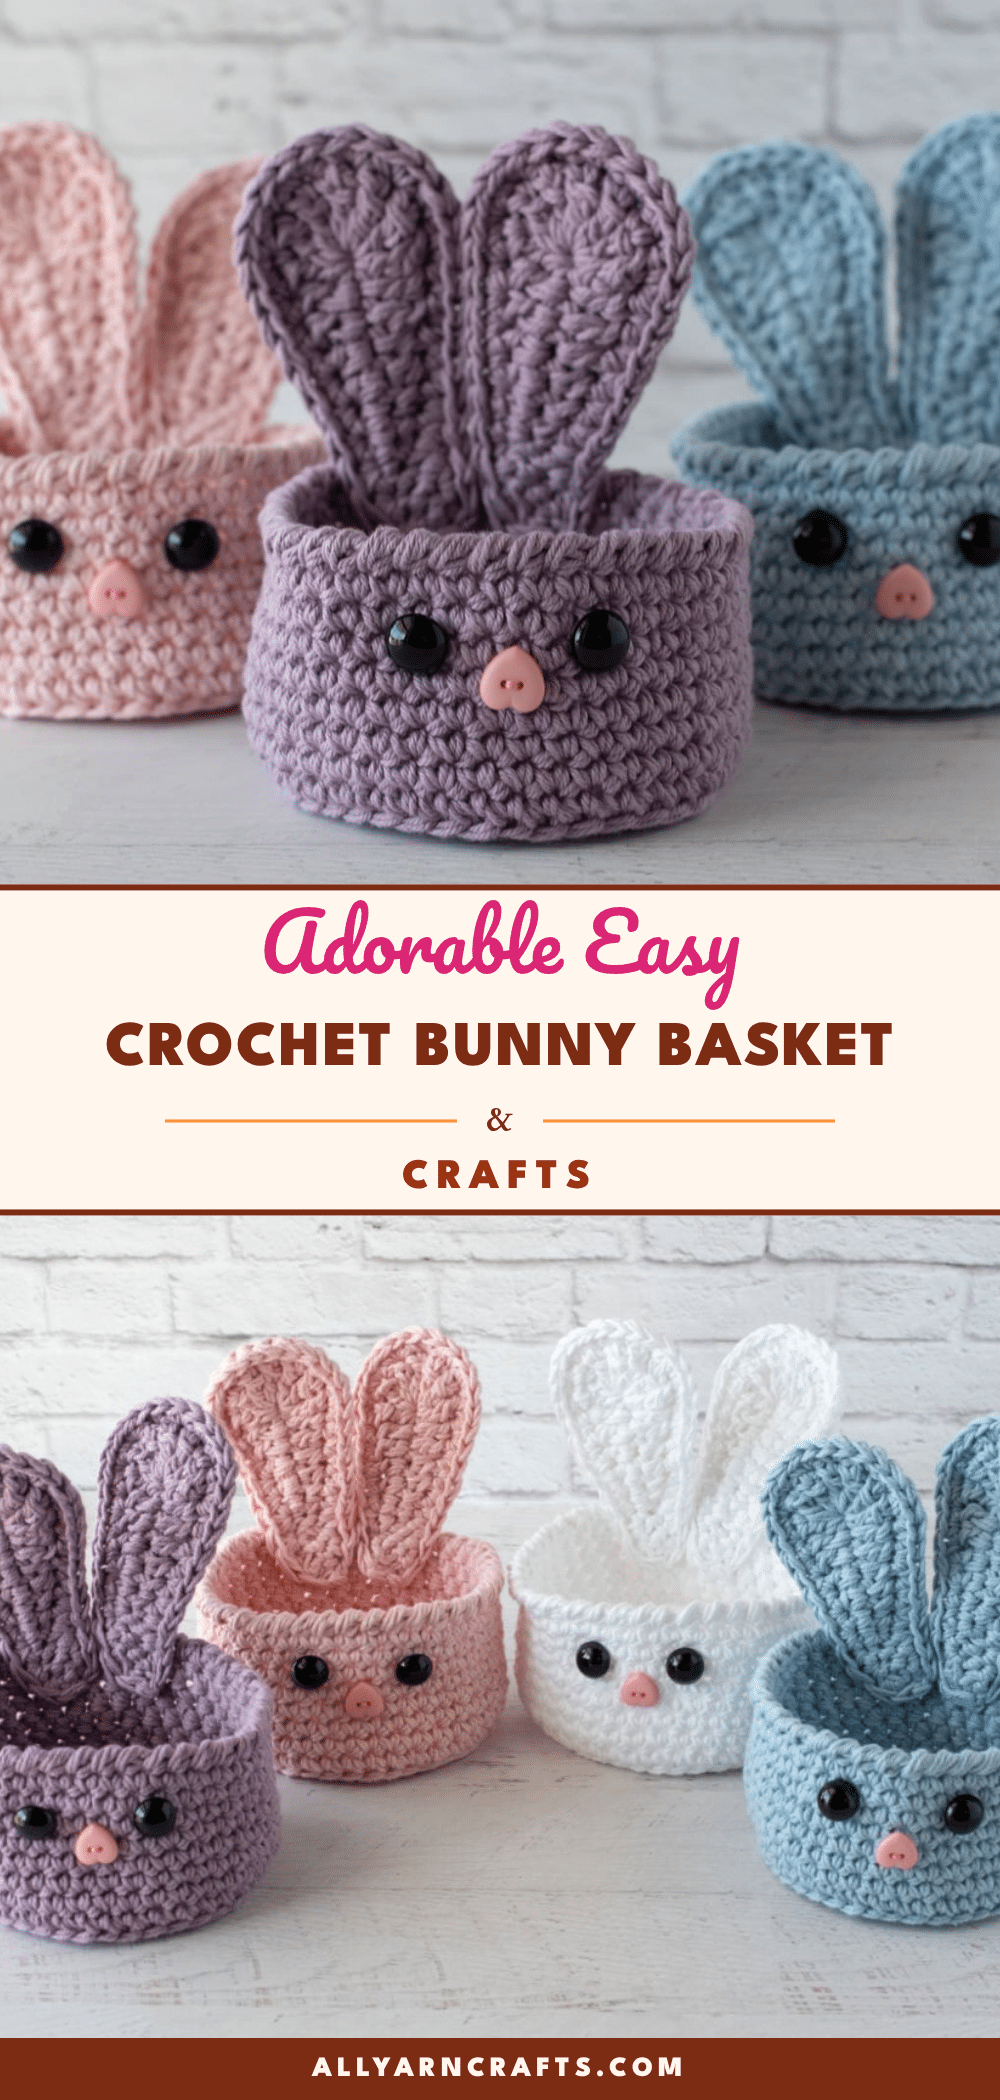
Looking for a charming handmade gift that doubles as practical decor? This adorable easy crochet bunny basket pattern is the perfect solution. Whether you are preparing for an Easter egg hunt, looking for a unique gift for a new mom, or simply want to add a touch of spring to your home, this project delivers. It is sturdy enough to hold treats and small gifts, yet cute enough to sit on a shelf as a delightful decoration. The construction is straightforward, making it an excellent choice for makers who want a satisfying result without a steep learning curve.
Gift and Use Ideas
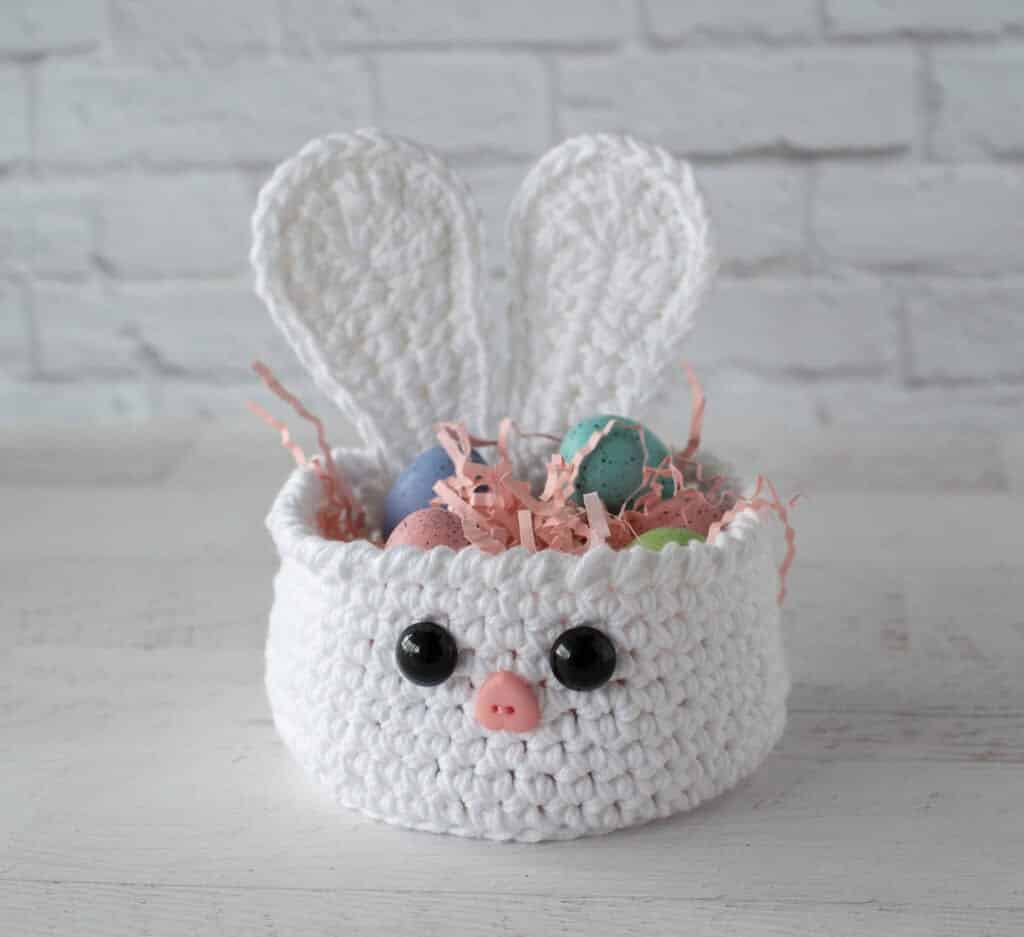
While the bunny basket is undeniably cute, its versatility is where it truly shines. Because the pattern uses two strands of worsted weight cotton yarn held together, the finished fabric is thick and structured. This means the basket holds its shape well, making it ideal for holding Easter eggs, spring flowers, or small toys. When not in use, the basket can be folded flat for easy storage, a feature that is incredibly handy for seasonal decor. You can also make multiples in different colorways to create a set for a nursery or to sell at local craft markets. The soft cotton material is gentle, making it safe for children to handle, and the button details add a tactile element that is both decorative and functional.
Project Overview
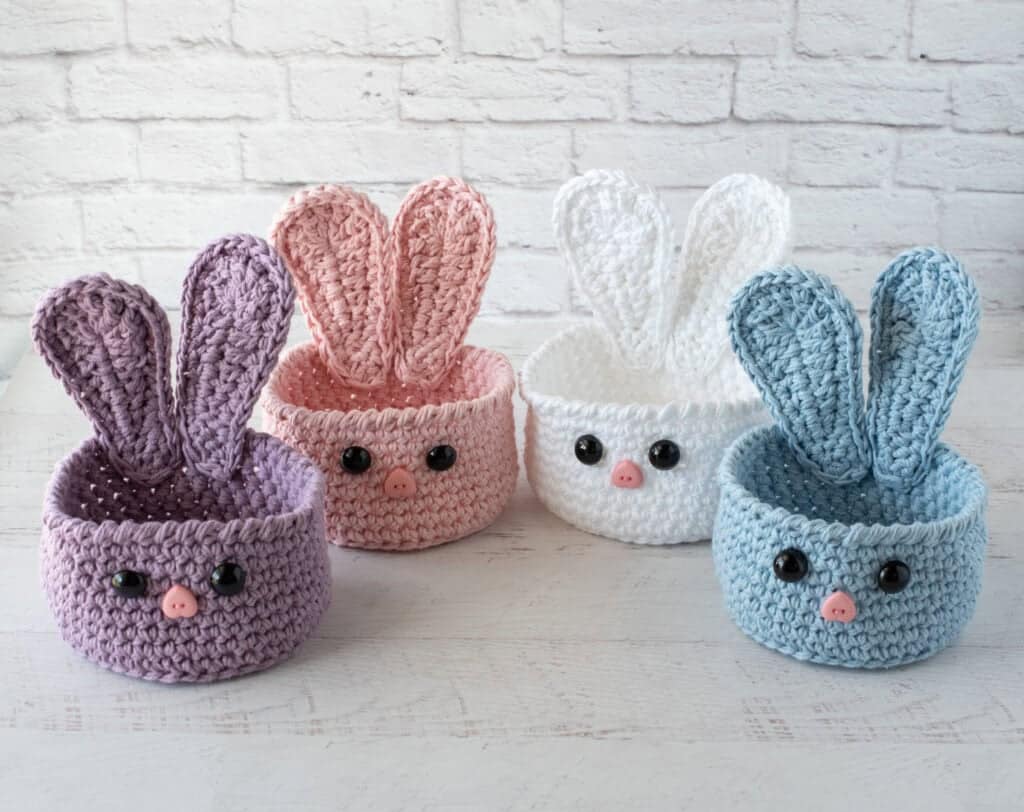
This amigurumi project features a sturdy basket with a reverse single crochet border and two-layer ears that stand up on their own. The design prioritizes a smooth interior by using shank buttons instead of safety eyes, ensuring no sharp hardware touches the inside of the basket. The pattern is designed for adventurous beginners, focusing on basic stitches and simple shaping.
Materials
-
Yarn: Dishie, size 4 worsted weight, 100% cotton, 190 yds per 100 gm skein. Approximately 140 yds per basket.
- Note: 2 strands of yarn are held together throughout the project. It is recommended to purchase 2 skeins for easier construction, which will make 2 baskets.
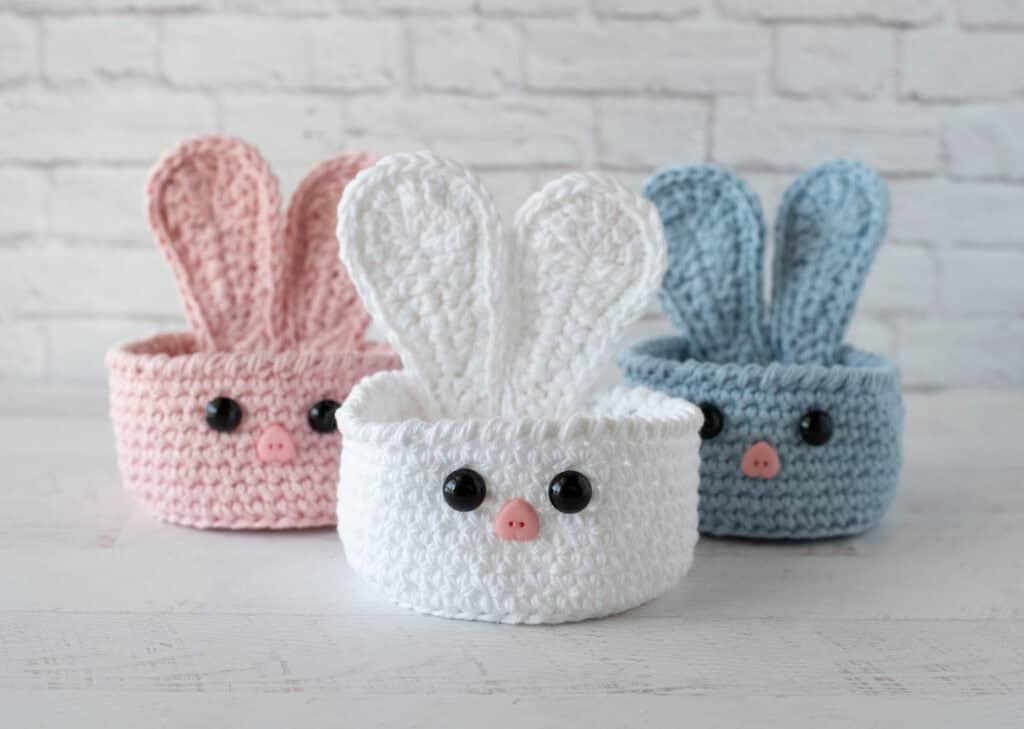
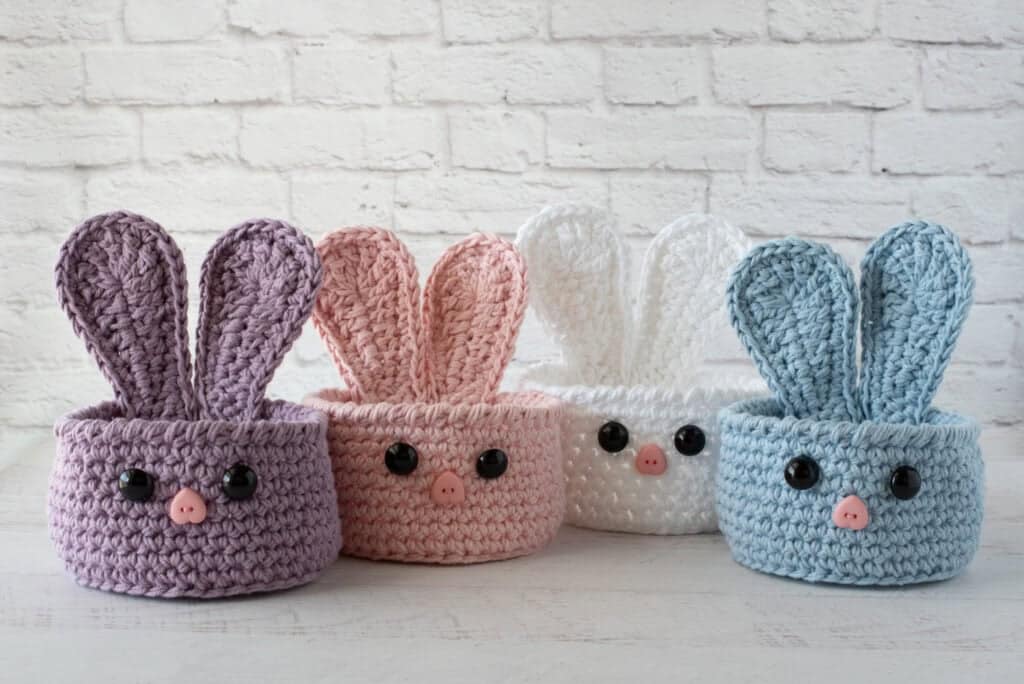
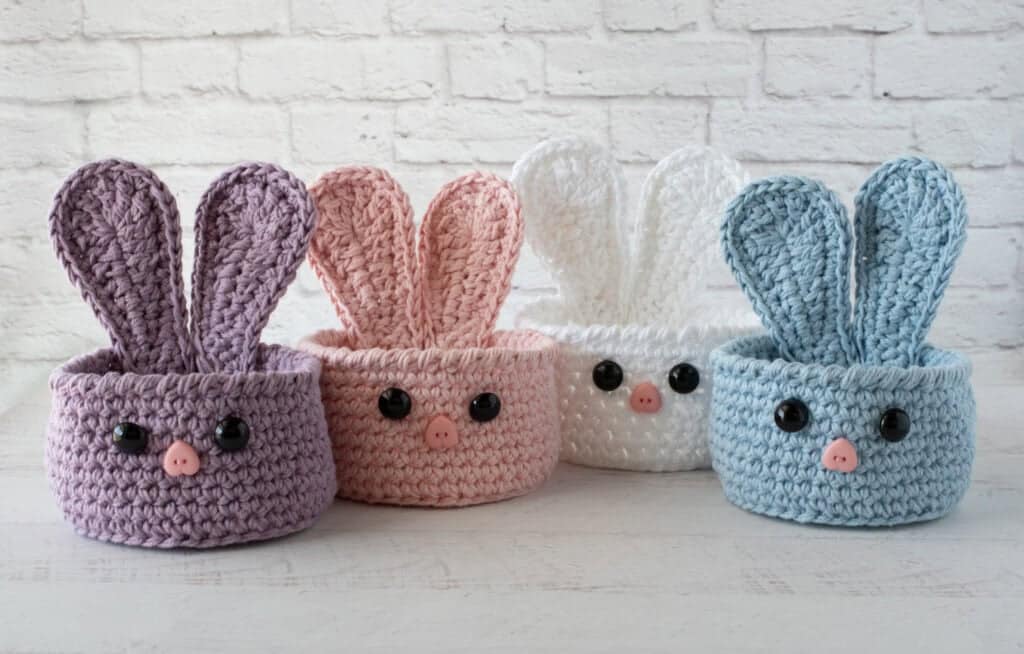
- Colorways shown: White, Blush (pink), Dewdrop (blue), Lilac Mist (purple).
- Substitutes: Other worsted weight cottons like Peaches & Creme, Lily Sugar ‘n Cream, or Crafter’s Secret work well.
- Crochet Hook: US J10/6.0 mm
- Buttons:
- (2) Sewology 5/8” Black Shank Style Buttons per basket (for eyes)
- (1) Sewology 5/8” Pink Heart Button per basket (for nose)
- Notions: Stitch marker, tapestry needle, scissors
Gauge and Finished Size
Gauge: The author’s gauge is 6 sc to 2 inches. However, gauge is not important in this pattern.
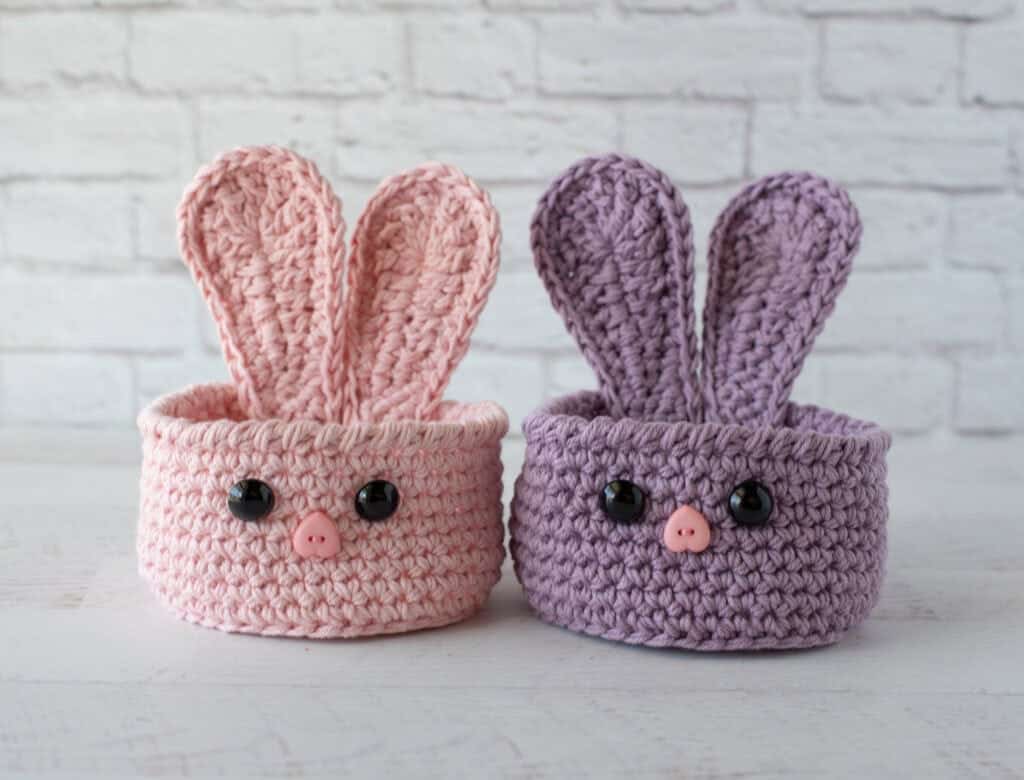
Finished Size: The basket is 2.75” tall excluding ears (approximately 6” tall including ears) x 4.5” wide.
Abbreviations
- ch = chain
- BLO = back loop only
- dc = double crochet
- hdc = half double crochet
- RSC = reverse single crochet
- sc = single crochet
- sl st = slip stitch
- st = stitch(es)
- tr = treble crochet
Pattern Notes
- Yarn Weight: Holding 2 strands of yarn together is what makes this basket sturdy enough to hold its shape and allows the ears to stand up on their own.
- Ear Construction: Each ear is comprised of 2 layers: a back ear layer and a front ear layer. First, make a back ear and fasten off the yarn. Then make a front ear, but do not fasten off. Place the back ear behind the front ear with right sides facing up. Continue to work stitches around to connect the two layers.
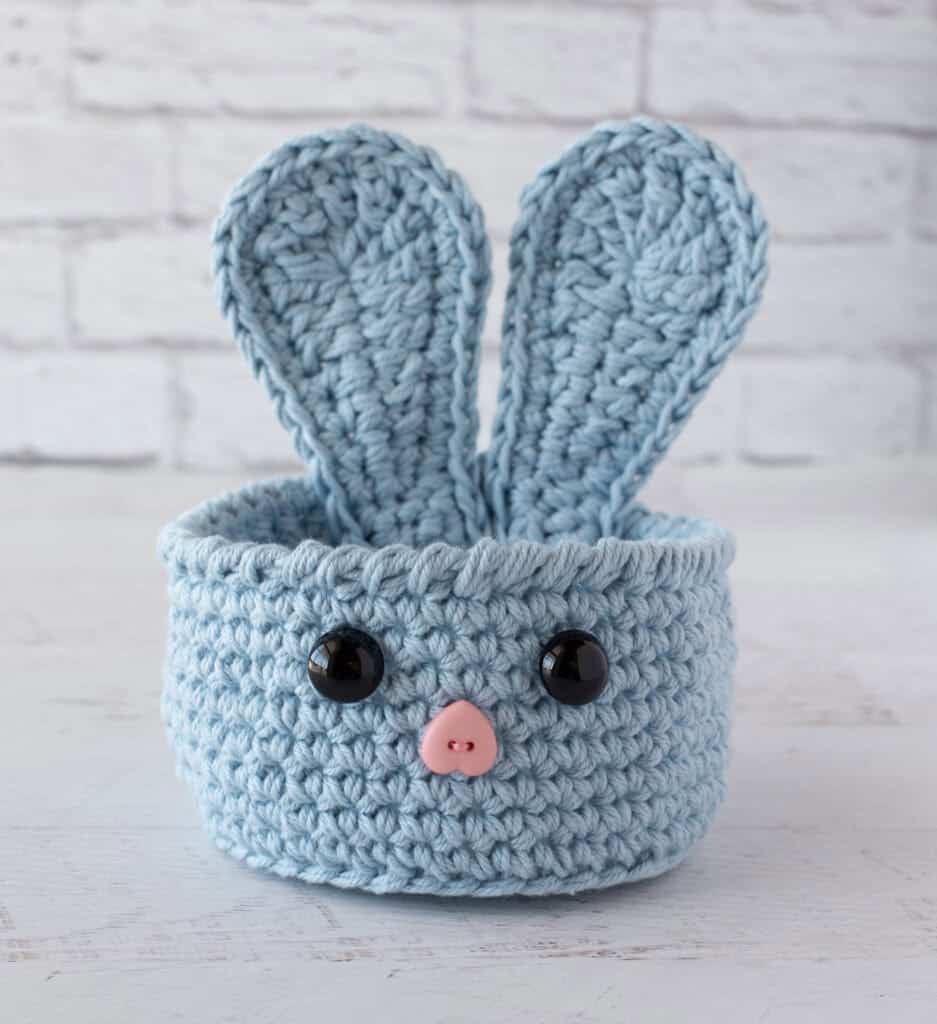
- Button Eyes: The eyes look like safety eyes but are actually buttons with a shank. This keeps the inside of the basket smooth and prevents scratching hands when reaching inside for treats.
- Button Nose: The nose is a heart button turned upside down and sewn on.
Pattern Instructions
Basket
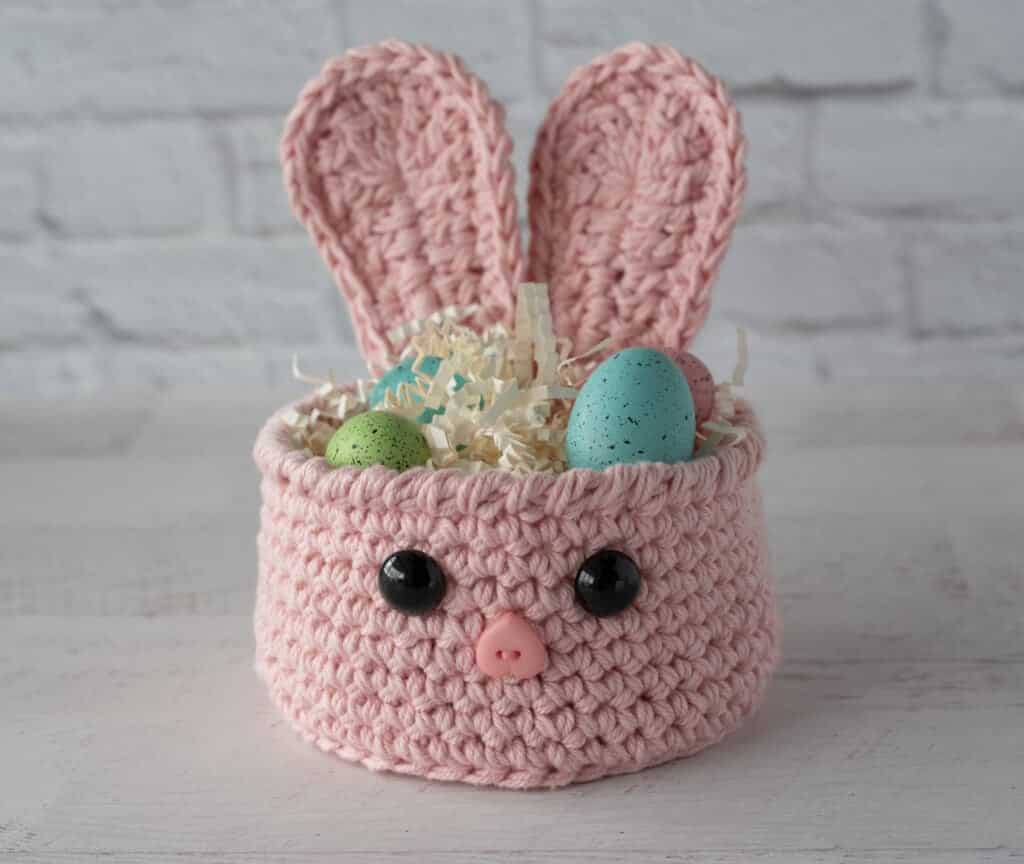
Holding 2 strands of yarn together throughout, make a magic ring.
R1: 6 sc into ring. Place stitch marker and work in continuous rounds. (6 st)
R2: 2 sc in ea st. (12 st)
R3: *Sc in next st, 2 sc in next. Repeat from * around. (18 st)
R4: *Sc in next 2 st, 2 sc in next. Repeat from * around. (24 st)
R5: Sc in next st, 2 sc in next, *sc in next 3 st, 2 sc in next. Repeat from * around until last 2 st then sc in next 2 st. (30 st)
R6: *Sc in next 4 st, 2 sc in next. Repeat from * around. (36 st)
R7: Sc in next 2 st, 2 sc in next, *Sc in next 5 st, 2 sc in next. Repeat from * around until last 3 st then sc in next 3 st. (42 st)
R8: Working in BLO, sc around. (42 st)
R9-14: Working in both loops, sc around. (42 st)
R15: Working in both loops, sc around. At end of round, sl st to next st. (42 st)
R16: Ch 1 and RSC around. Fasten off and join to first st in round, then weave end through last stitches. (42 st)
Ear Notes
Each ear is comprised of 2 layers: a back ear layer and a front ear layer. First, make a back ear and fasten off the yarn. Then make a front ear, but do not fasten off. Place back ear behind front ear with right sides facing up. Then continue to work stitches around to connect the two layers.
Ear Back (Make 2)
Holding 2 strands of yarn together, ch 11
R1: Sl st in 2nd ch from hook and next 2 ch, sc in next 2 ch, hdc in next 2 ch, dc in next 2 ch, 7 tr in last ch. Rotate work to work stitches on the opposite of chain as follows: dc in next 2 ch, hdc in next 2 ch, sc in next 2 ch, sl st in next 3 ch. Fasten off yarn.
Ear Front (Make 2)
Repeat row 1 of ear back, but do NOT fasten off. Place back ear behind ear front with right sides facing up. To seam: Turn to work back up the row with front facing you. Work into front stitch and corresponding back stitch at the same time as follows:
R2: Holding both layers of ear together and working through corresponding stitches on both pieces, ch 1, sc in next 9 st, 2sc in each of the next 7 st, sc in next 9 st. At end of round, join with sl st to 1 st sc in row. Fasten off and leave a long strand for joining. (32 st)
Assembly
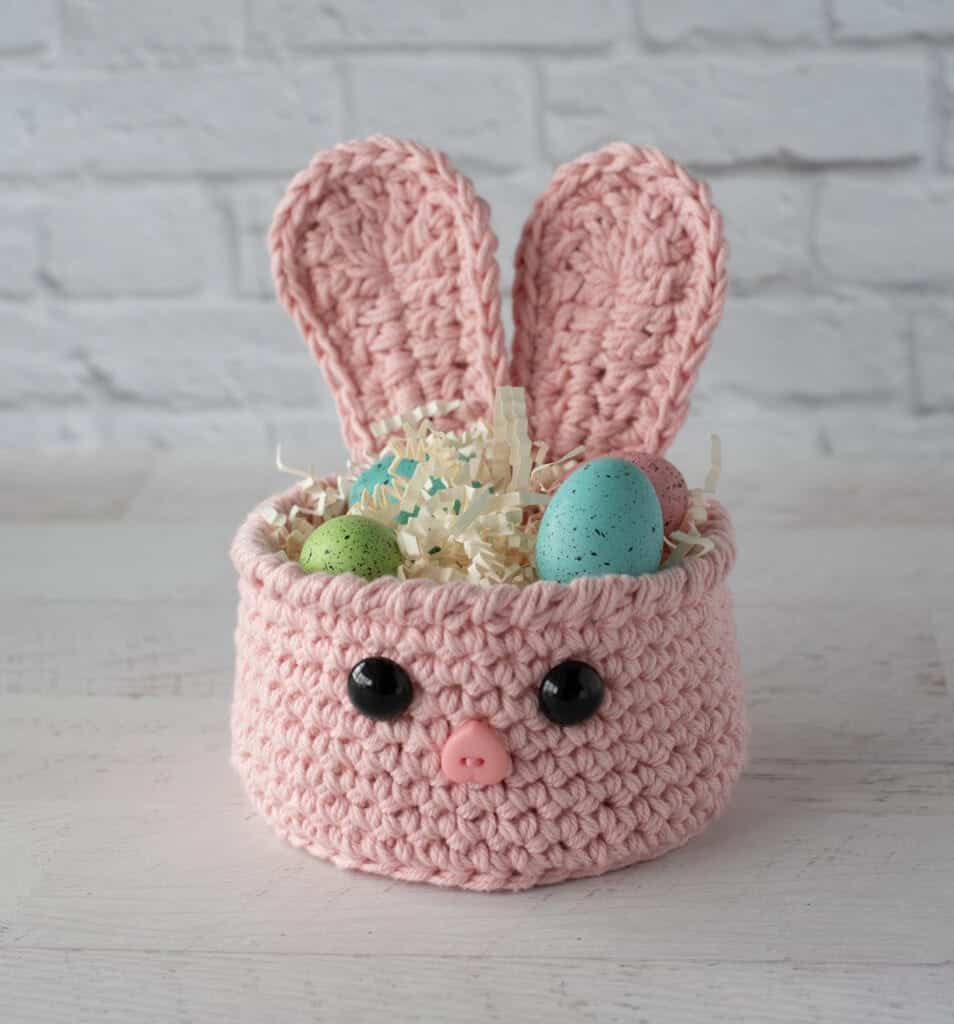
Using a tapestry needle and one strand of yarn, sew ears on the inside back of the basket. The bottom of ears should cover the last 3 rows of stitches. Sew securely up and around both ears where they touch the basket.
Sew button eyes and nose on the outside of the front of the basket. The eyes are sewn between rounds 13 & 14 with 4 stitches visible between them. For the eyes, you can thread a piece of matching yarn through the shank of the button and then tie it on the wrong side and weave in the ends. You can also sew the buttons down with a needle and matching thread.
For the nose, position the heart button upside down and use matching thread to sew it between rounds 12 & 13, centering between the eyes.
Tips
- Yarn Choice: While Dishie cotton is recommended for its soft colors and feel, other worsted weight cottons like Peaches & Creme, Lily Sugar ‘n Cream, or Crafter’s Secret are great substitutes and can often be found locally or in your stash.
- Button Sourcing: Black shank buttons that look like safety eyes and puffy heart buttons can be found at craft stores like Hobby Lobby.
- Ear Structure: The ears stand up all on their own without wire, thanks to the double-layer construction and sturdy yarn.
- Storage: When empty, the basket can be easily folded flat for easier storage.
FAQs
Can I use acrylic yarn for this pattern?
The pattern is designed specifically for worsted weight cotton yarn held in two strands to ensure the basket is sturdy and the ears stand up. While acrylic might work, it may not provide the same structural integrity or smooth finish.
How do I attach the buttons without a shank?
The pattern recommends shank buttons for a clean finish. If you must use flat buttons, you will need to create a “button shank” by wrapping a piece of thread or yarn under the button before sewing it down, or use a small spacer like a bead to keep the button off the fabric.
Why are the ears made in two layers?
The two-layer construction (back ear and front ear) creates a thicker, stiffer fabric that allows the ears to stand up on their own without needing wire or stiffeners.
Is this pattern suitable for absolute beginners?
This is considered an “Adventurous Beginner” project. It is best for those who are comfortable with basic stitches like single crochet, working in the round, and simple increases. If you are new to crochet, you might want to practice these basics first.
How much yarn do I need for one basket?
You need approximately 140 yards of yarn per basket. Since you hold two strands together, it is recommended to purchase 2 skeins to make construction easier and to potentially make two baskets.
Pin This Crochet Pattern!