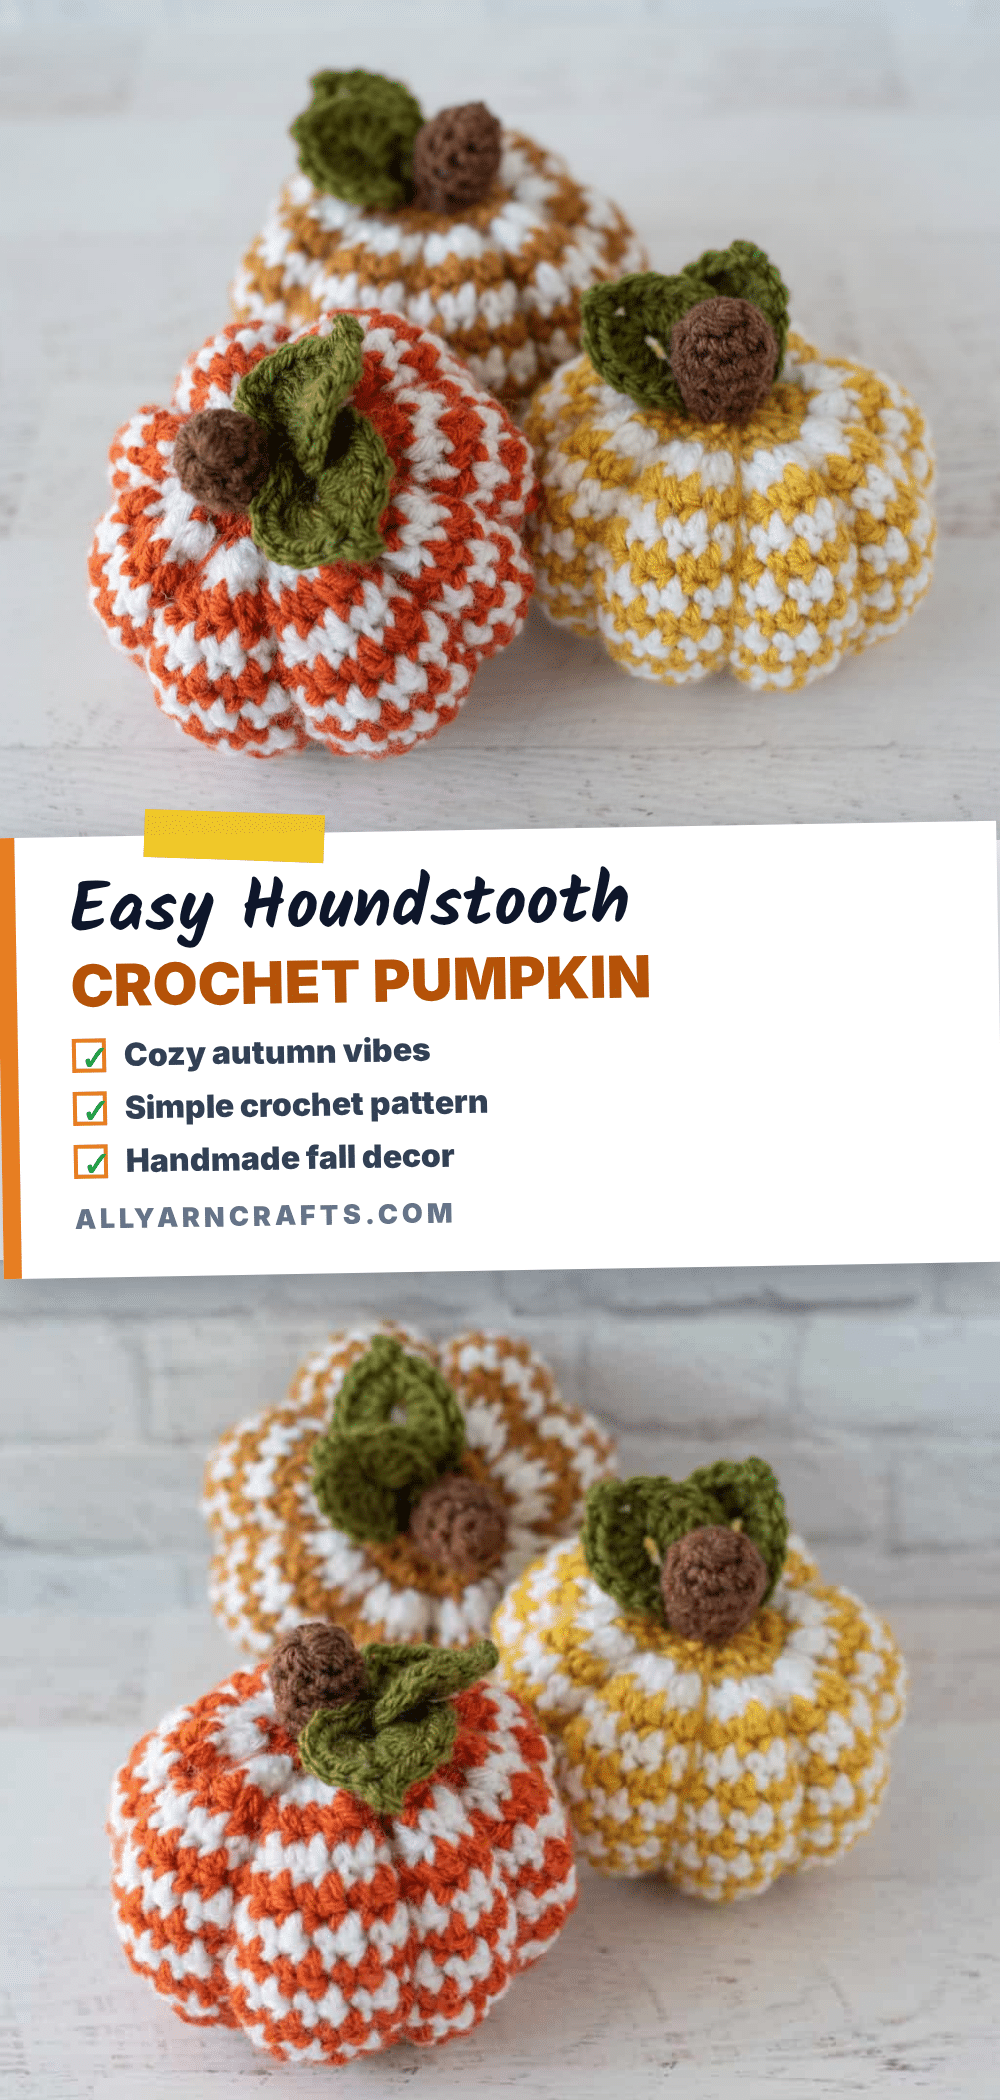
There is something undeniably cozy about the crisp air of autumn, and nothing captures that seasonal shift quite like a handmade pumpkin. For this project, the yarn choice was the first spark of inspiration. I reached into my stash for a skein of Lion Brand Vanna’s Choice in Terra Cotta, drawn to its rich, earthy orange tone that feels perfectly intentional for fall. The texture of this worsted weight acrylic is sturdy yet soft, making it ideal for a project that needs to hold its shape while remaining huggable. Pairing that warm orange with crisp white and hints of Honey and Mustard created a classic houndstooth palette that feels both timeless and fresh. It’s the kind of color story that makes you want to curl up with a blanket and a hook, creating something beautiful for your home.
Yarn and Color Notes
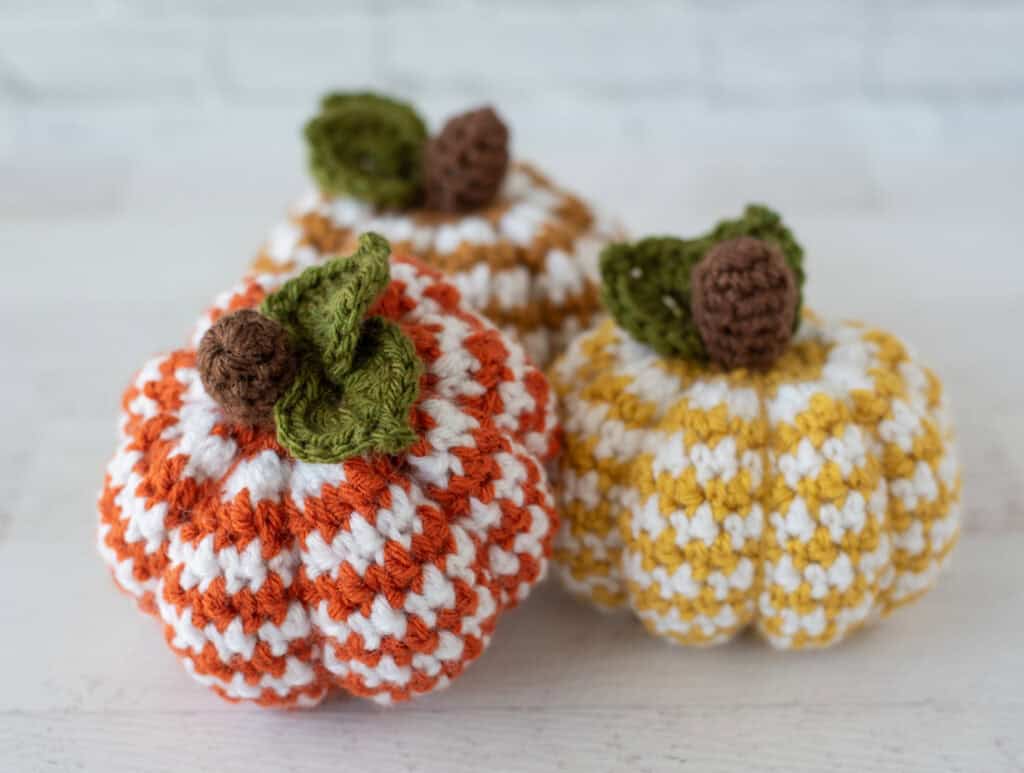
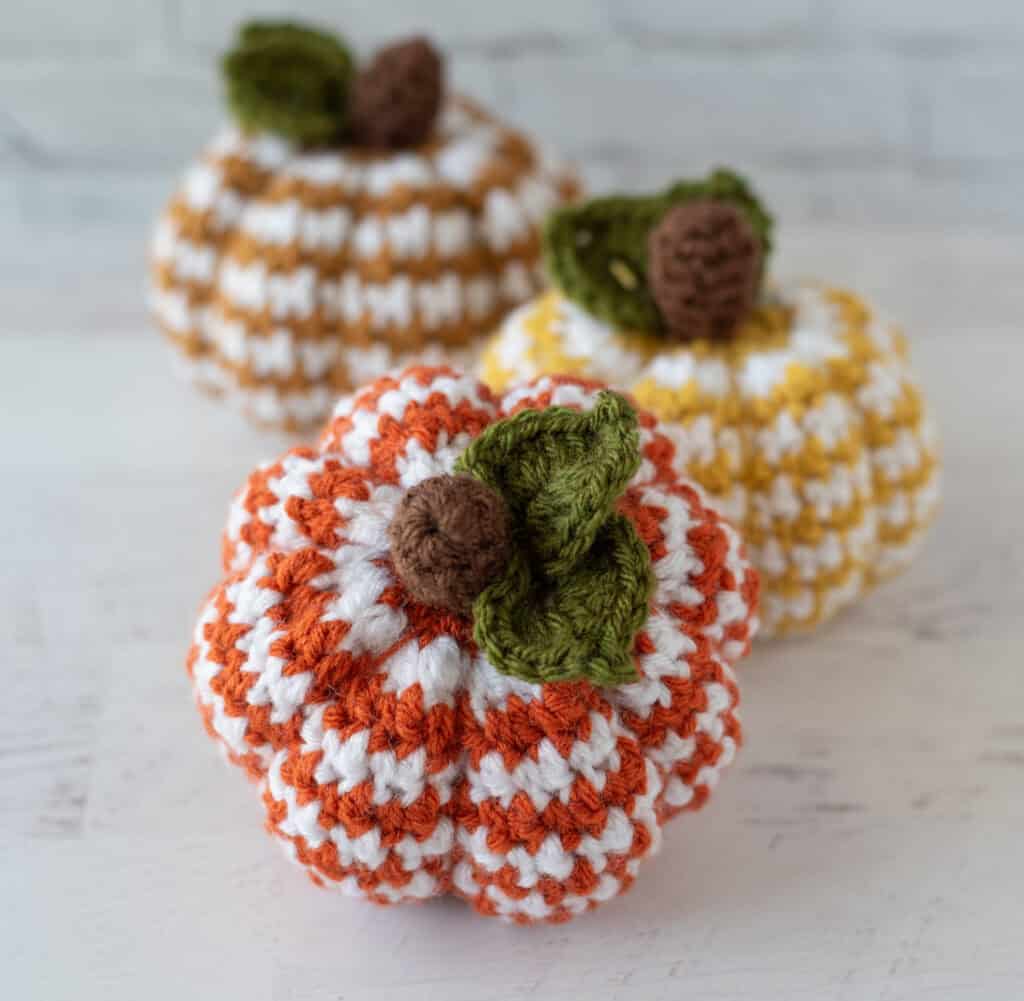
The beauty of this houndstooth design lies in its color play. While the source pattern showcases a vibrant mix of Terra Cotta, Honey, Mustard, and White, the pattern is incredibly adaptable. The houndstooth effect is created by alternating single crochet and double crochet stitches between two contrasting colors. You might choose a classic black and white for a traditional look, or opt for neutral shades like beige and cream for a softer aesthetic. The key is to ensure your two colors have enough contrast to make the stitch pattern pop. Using the recommended worsted weight yarn ensures the stitches are defined and the pumpkin holds its structure well.
Project Overview
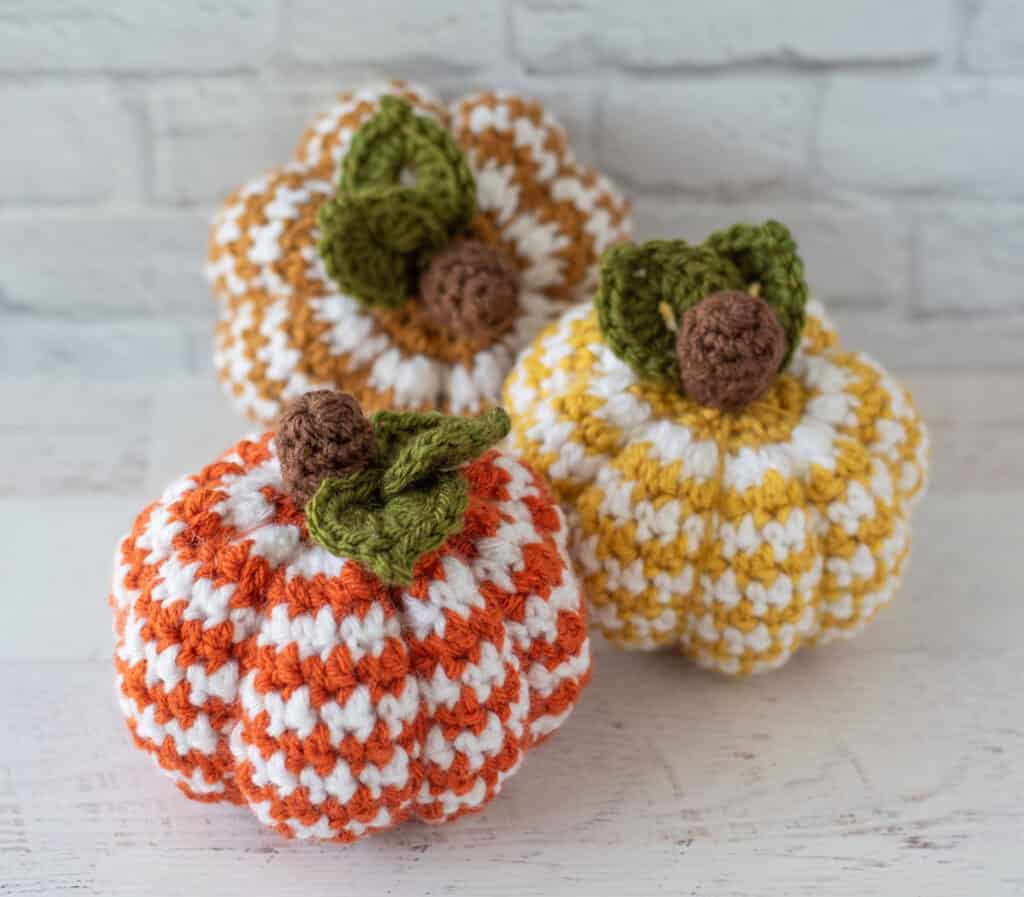
This Houndstooth Crochet Pumpkin is a delightful amigurumi project that combines a classic pumpkin shape with a sophisticated, timeless stitch pattern. It is designed to be a “one size” pumpkin that stands approximately 4.5 inches tall and wide. The pattern is suitable for makers of varying skill levels. If you have experience with amigurumi, you will find the techniques familiar. For those new to amigurumi, this project is an excellent way to build skills, as it relies on simple stitches, straightforward shaping, and basic color changes.
Materials
- Yarn: Lion Brand Vanna’s Choice (size 4 worsted weight, 100% acrylic, 170 yds per 3.5 oz. skein).
- 30 yards of contrast color (e.g., Terra Cotta, Honey, or Mustard).
- 33 yards of white yarn.
- Stem and Leaves: Scraps of size 4 worsted weight yarn in brown and green.
- Crochet Hook: US G6/4.0mm.
- Notions: Stitch marker, fiberfill, tapestry needle, and scissors.
Gauge and Finished Size
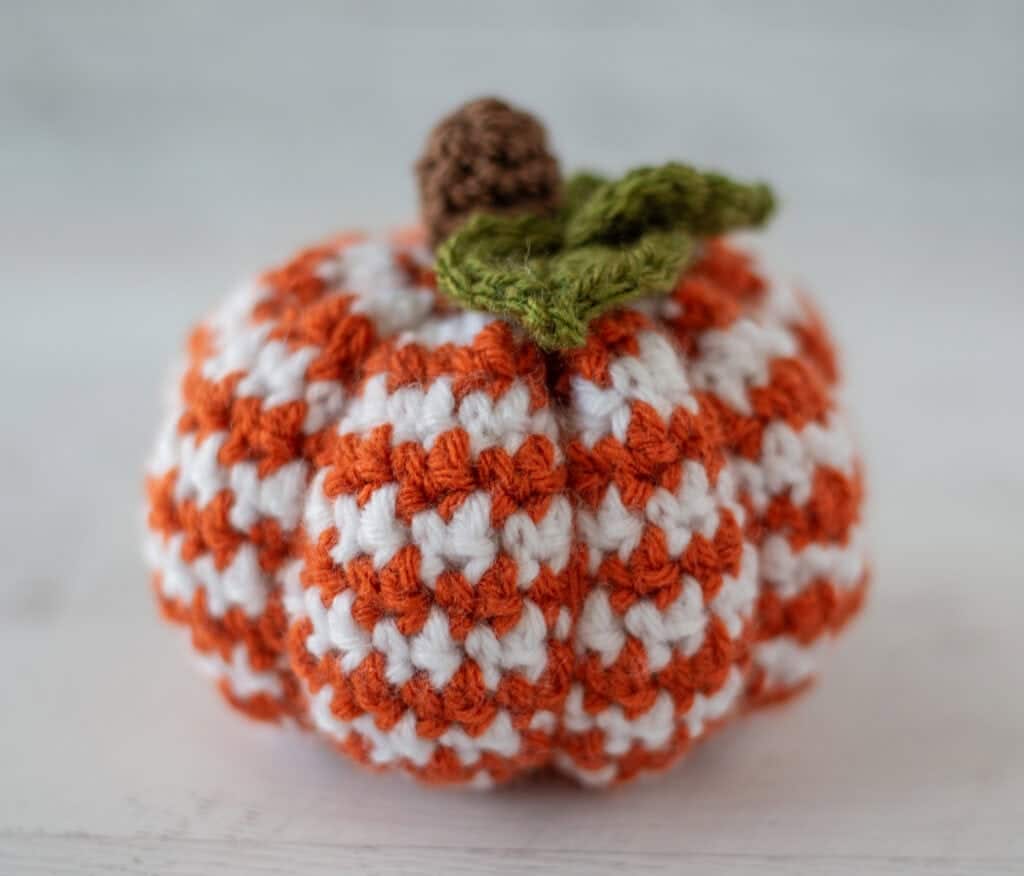
In the established pattern, the gauge is approximately 8 stitches = 2 inches. However, gauge is not critical for this pattern. The most important factor is to ensure your stitches are tight enough so that the stuffing does not peek through the fabric when the pumpkin is finished. The finished pumpkin measures approximately 4.5 inches wide by 4.5 inches tall, depending on how tightly you cinch the sections at the end.
Abbreviations
- ch(s) = chain(s)
- sc = single crochet
- dc = double crochet
- sl st = slip stitch
- st = stitch(es)
Pattern Notes
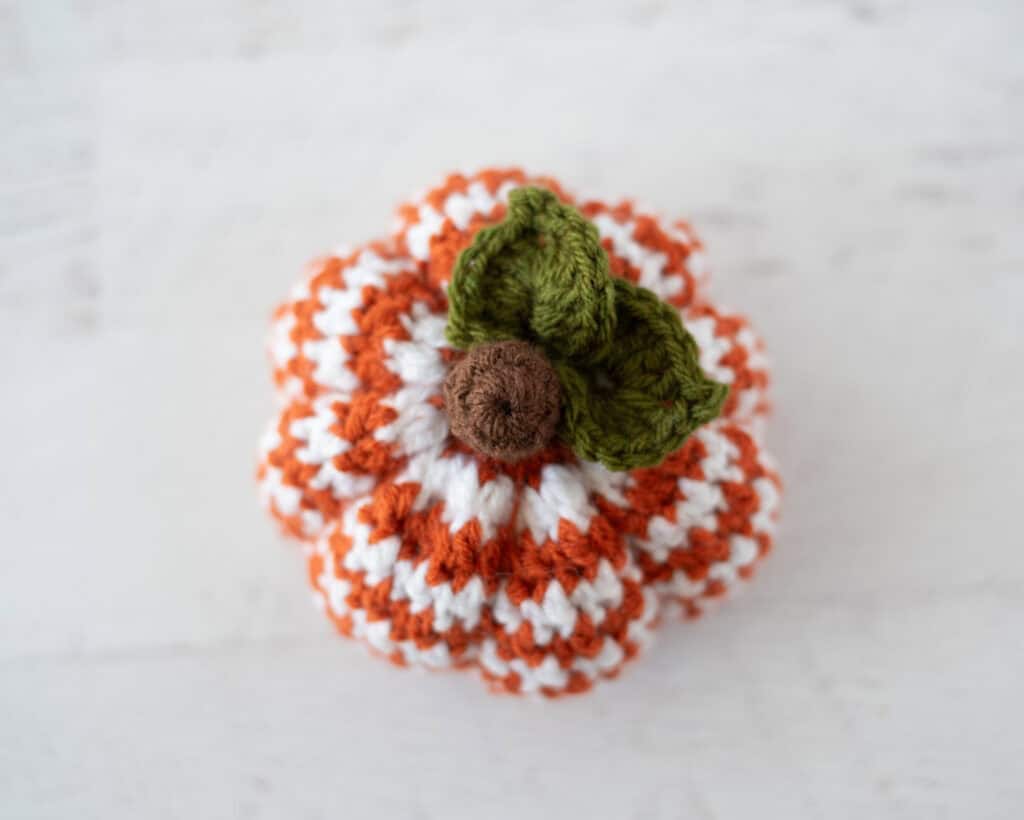
This pattern uses a special decrease method to maintain the integrity of the houndstooth stitch pattern. You will need to be comfortable with basic amigurumi techniques, including single crochet increases and decreases, working in continuous rounds, sewing pieces together, and basic stuffing and finishing. The pumpkin is worked in one piece, and the distinctive houndstooth look is achieved by alternating between single crochet and double crochet rows while changing colors every round.
Special Stitches
hdec (houndstooth stitch decrease): Insert hook and pull up a loop (2 stitches on hook), yarn over, insert hook in the next stitch and pull up a loop (4 stitches on hook), yarn over and pull through 2 loops (3 stitches on hook), yarn over and pull through 3 loops.
Pattern Instructions
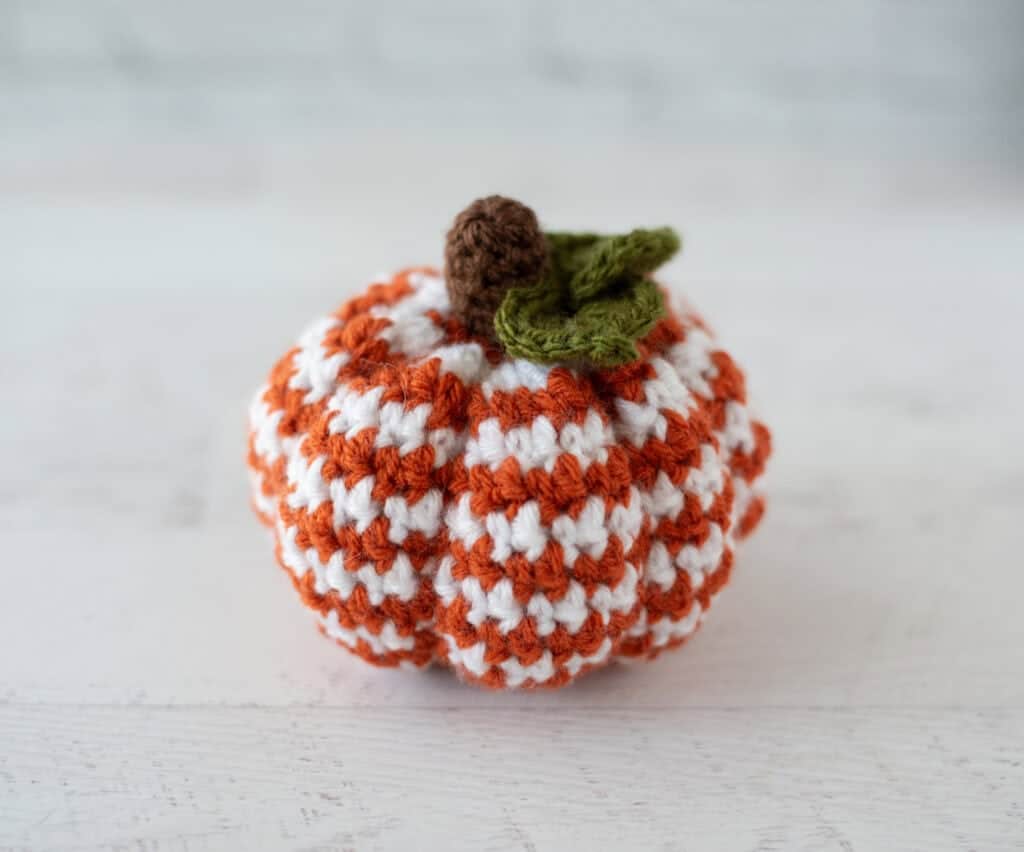
Pumpkin
Using orange (or chosen contrast color) and leaving a long tail, chain 14 and join to form a loop.
R1: Ch 1, sc in each chain. At end of round, join with sl st to 1st st. (14 st)
R2: Ch 1, 2 sc in ea st, changing to white yarn in last st. Join with sl st to 1 st st. (28 st)
R3: With white yarn, ch 1, *(sc, dc) in next st. Repeat from * around, changing to orange yarn in last st. Join with sl st to 1 st st. (56 st)
R4: With orange yarn, ch 1, *dc in next st, sc in next st. Repeat from * around, changing to white yarn in last st. Join with sl st to 1 st st. (56 st)
R5: With white yarn, ch 1, *sc in next st, dc in next st. Repeat from * around, changing to orange yarn in last st. Join with sl st to 1 st st. (56 st)
R6-13: Repeat rounds 4 & 5
R14: Repeat round 4
R15: With white yarn, hdec around, changing to orange yarn in last st. Join with sl st to 1 st st. (28 st)
R16: With orange yarn, hdec around. Join with sl st to 1 st st. Fasten off, leaving a very long tail. (14 st)
Assembly
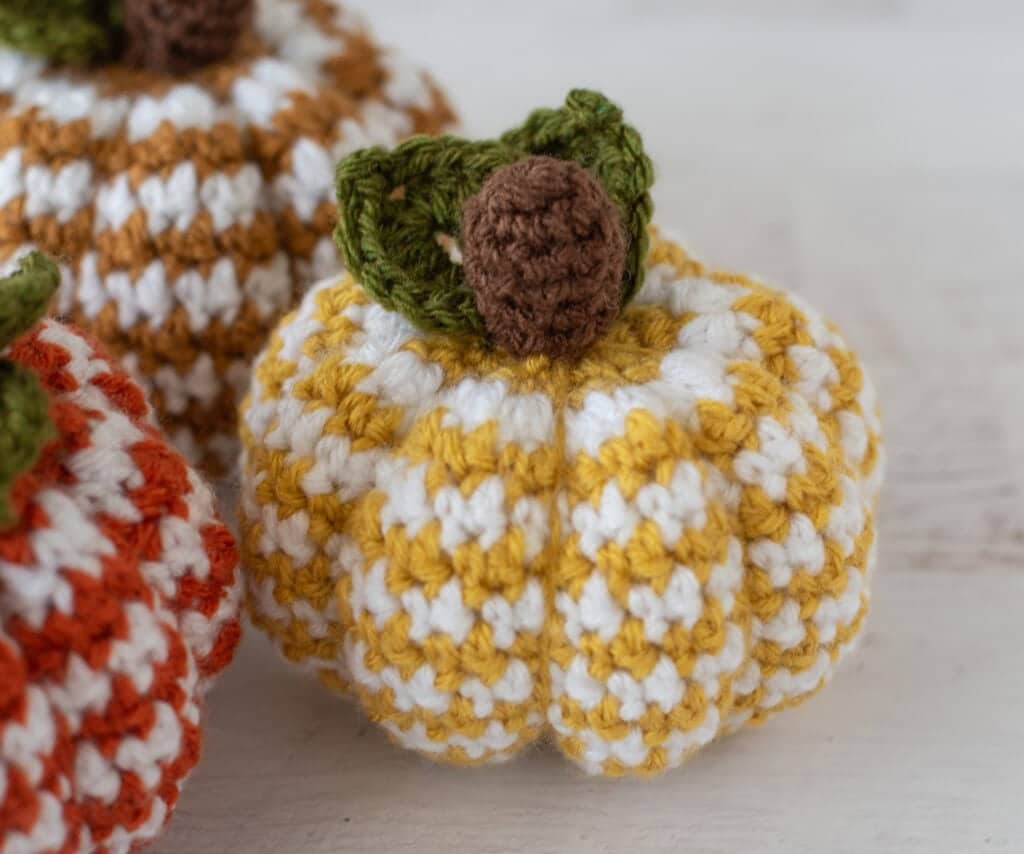
- Using the long starting tail, weave around the beginning stitches and cinch tight to close one end of the pumpkin. Secure and weave in end.
- Stuff the pumpkin firmly.
- Use the remaining end to gather up and close the opening, cinching tight and knotting the yarn to hold it tight.
- Wrap yarn over and around pumpkin to the starting point to divide pumpkin in half. Pull tight and knot at center over the same yarn you used to make the wrap.
- Divide in half again to form 4 equal sections, wrapping the yarn up and around. Loop under the knot you made and tighten it up.
- Knot whenever you feel like you need to hold the yarn at the end of a wrap.
- Divide the pumpkin 2 more times to have a total of 8 sections. Knot securely at center and finish off.
- At this point, you have a choice which side of your crochet pumpkin you want to show as the top and which to show as the bottom.
- Sew the stem in place at the top center of the pumpkin.
- Sew the leaves in place on top of the pumpkin at the base of the stem.
- Weave in all ends.
Tips
One of the most fun things about this Houndstooth Crochet Pumpkin is playing around with the colors. The houndstooth pattern really comes to life when you pair two contrasting shades. You can try classic black and white, orange and white, or neutral shades like beige and brown for a softer look. You can also change up the stem and leaves to make each pumpkin unique. If you want a bigger pumpkin, try using a heavier #6 yarn, or for a smaller version, try DK or fingering weight yarn. Just remember to adjust your hook size and ensure your stitches are tight enough so stuffing doesn’t poke through. For more inspiration on yarn crafts, you might also enjoy exploring easy Father’s Day crochet gifts or checking out our pattern collection.
FAQs
Is this pattern beginner-friendly?
Yes! If you are new to amigurumi, this pumpkin is a great project for building skills. It uses simple stitches (sc, dc, ch) and straightforward shaping. You just need to know how to work in rounds, sew pieces together, and stuff your project.
Can I use a different yarn weight?
Absolutely. The pattern is designed for worsted weight (#4) yarn, but you can use a lighter yarn (like DK or fingering) for a smaller pumpkin or a heavier yarn (#6) for a larger, chunkier pumpkin. Just be sure to adjust your hook size accordingly.
Why are my stitches loose?
Amigurumi requires tight stitches to prevent stuffing from showing through. If you see gaps, try using a smaller hook or tightening your tension as you crochet.
How do I maintain the houndstooth pattern?
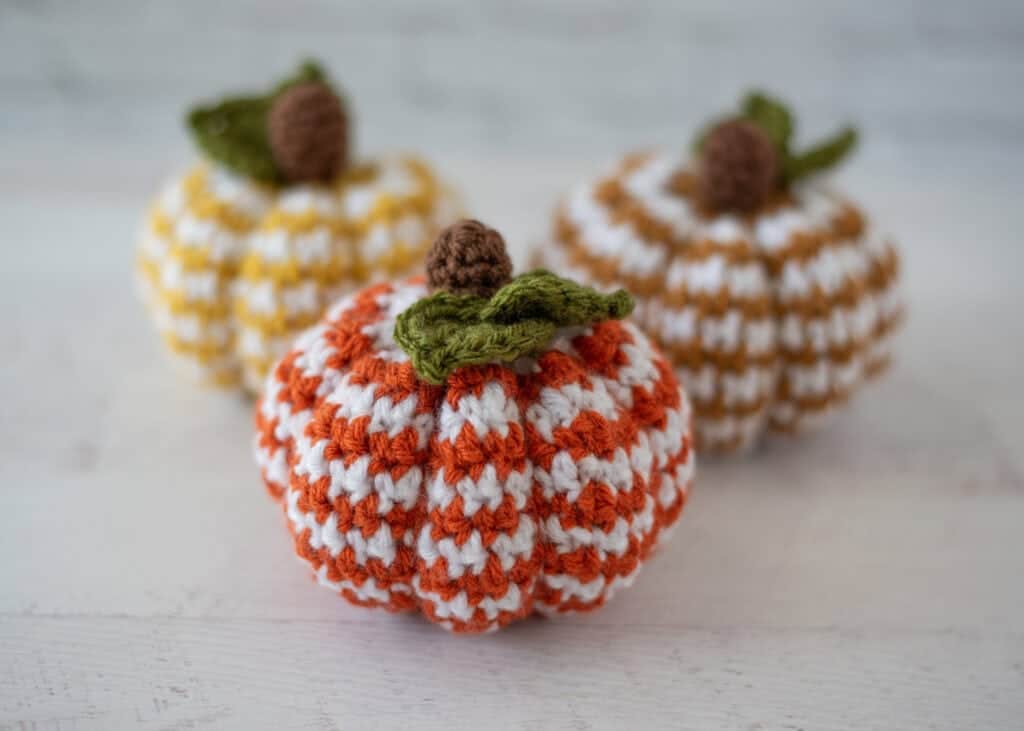
The pattern relies on alternating rows of (sc, dc) and (dc, sc) while changing colors every round. Be sure to follow the color change instructions carefully to keep the checkered effect consistent.
What if I don’t have the exact yarn colors?
You can use any two contrasting colors of worsted weight yarn. The pattern works with any color combination, such as black and white, gray and cream, or any fall-themed palette you prefer.
Pin This Crochet Pattern!