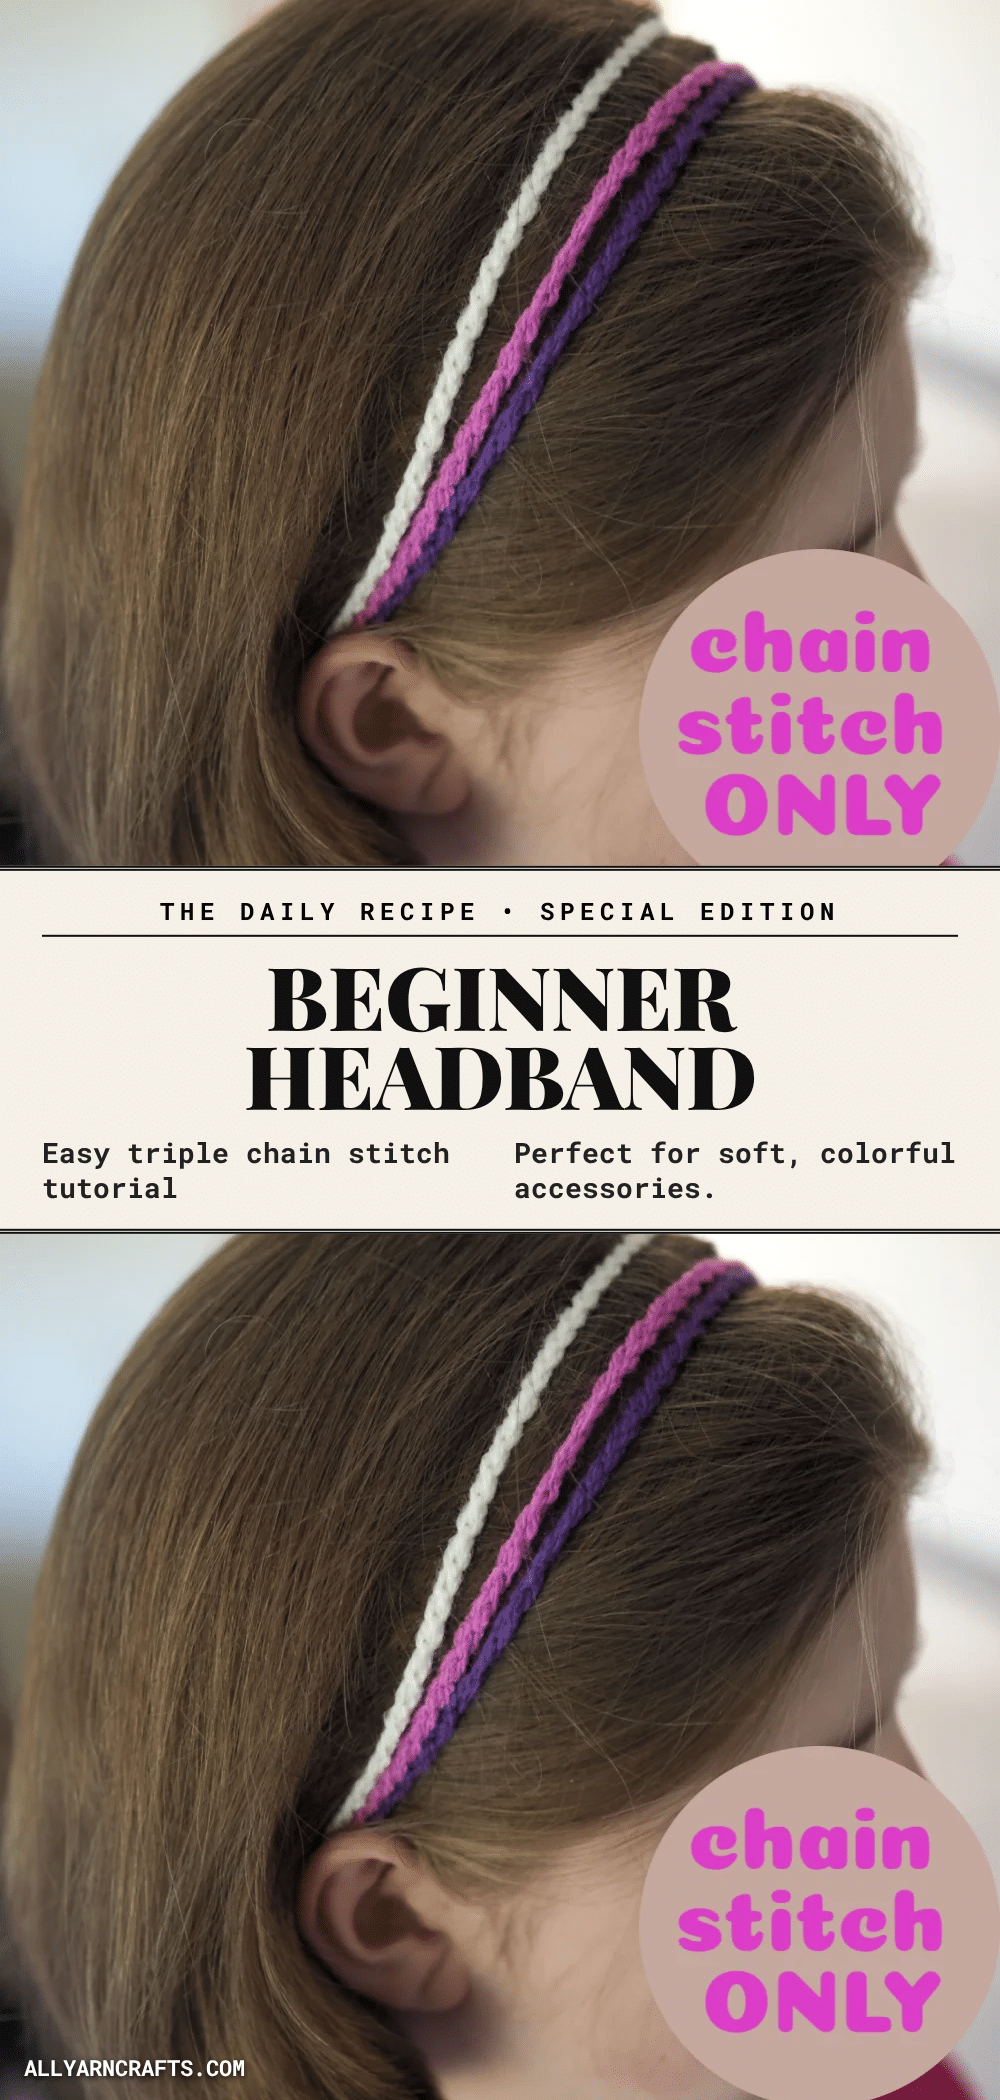
Yarn rests in a neat pile on the table, the hook glinting in the light. You pick it up, feeling the familiar weight and balance, and your fingers find the rhythm before your mind even catches up. This is the moment where a project begins to take shape—not with complex calculations or intimidating charts, but with simple, repetitive motion. The triple chain headband is exactly that kind of project: a quick, satisfying build that turns a few strands of yarn into a wearable accessory in under fifteen minutes.
Why This Project Works
This headband is a celebration of simplicity. By using only the chain stitch, the pattern removes the barrier of learning multiple techniques, making it an ideal first project for beginners or a mindful practice for experienced crocheters. The triple-strand design adds visual interest and texture without adding technical difficulty. Because the yarn used is elastic, the headband naturally conforms to the head, offering a comfortable fit that doesn’t require precise tensioning. It’s a project that feels like a win from the very first chain, providing immediate gratification and a stylish result that pairs perfectly with yoga wear, sports outfits, or casual weekend looks.
Project Overview
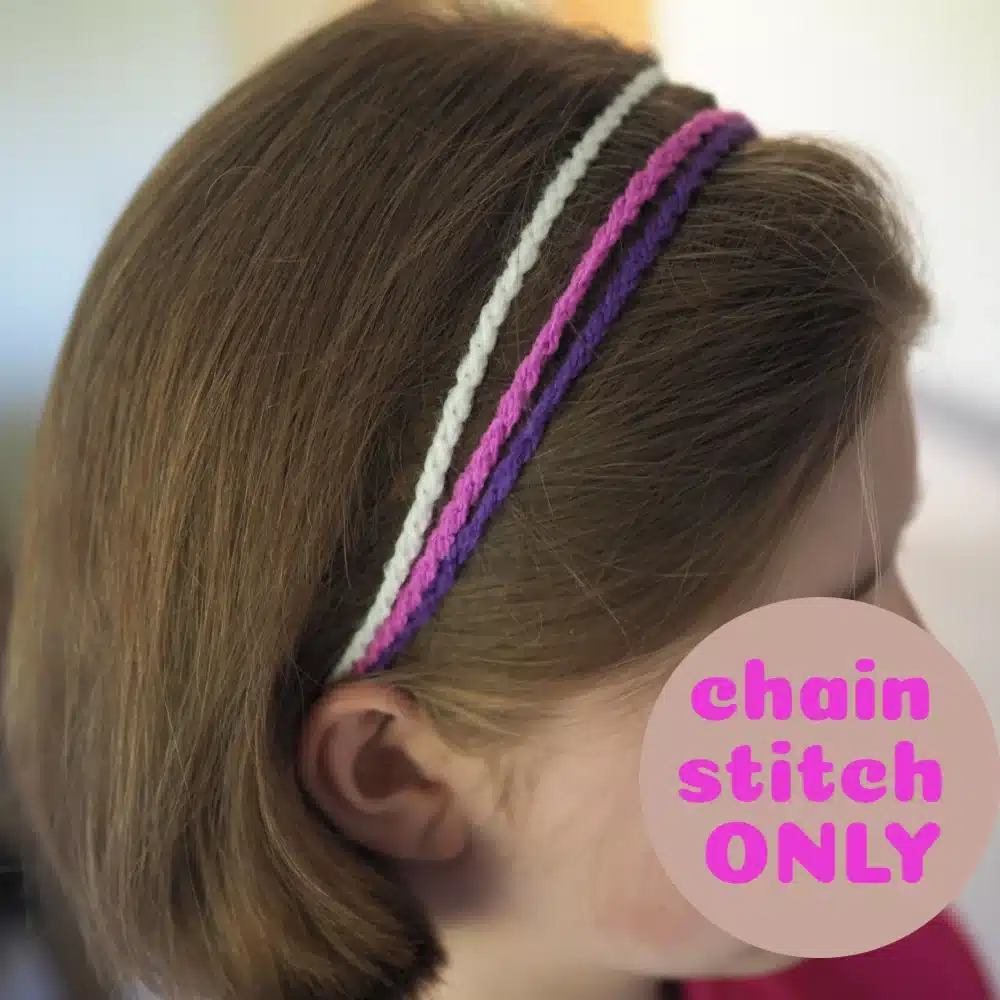
This beginner-friendly pattern creates a triple-strand chain headband using a single, repetitive stitch. It is designed to be quick to make, taking less than 15 minutes from start to finish. The pattern relies on the elasticity of the yarn to ensure a comfortable fit, allowing for a custom size adjustment based on head circumference.
Materials
- Yarn in 3 colors (e.g., Stylecraft Special)
- 4 mm crochet hook
- Elastic hair band
- Scissors
Gauge and Finished Size
There is no specific gauge swatch required for this project. The finished size is determined by the length of the chain and the elasticity of the yarn.
Sizing Note: As the yarn is elastic, make the headband 3” smaller than the head circumference. For example, for a head circumference of 21 ½” (55 cm), the chains should be made 17 ¼” long. The elastic hair band used in this example was folded in half and measured 1 ¼”.
Abbreviations
- ch: chain
- sl st: slip stitch (implied in the joining method)
Pattern Notes
This pattern uses only the chain stitch. If you are looking for another quick chain stitch project, consider trying the Easy Chain Stitch Friendship Bracelet. A crocheted bracelet from a chain stitch is a perfect, fun project for kids to encourage them to learn crocheting. It’s simple and quick to craft, so you will have a gift for a friend or jewelry matching your favorite outfits in no time.
Pattern Instructions
Step 1: First Strand
Start with the first color of yarn. Leave approximately 8” (20 cm) of yarn and make a slip knot. Insert the hook and make 80 chains (see the measurement above).
Step 2: Attaching the First Strand
Take the elastic hair band. Fold it in half to make it stronger and look smaller. Join the chains to the elastic hairband using the following method:
- Place the yarn under the elastic.
- Insert the hook into the hairband from the top.
- Grab the yarn below (you will have 2 loops on the hook).
- Yarn over and pull through 2 loops. Repeat this process along the length of the elastic.
- For extra security, you can make one more stitch on the left side of the chain stand. Place the hook backwards above the stand and below the hairband, grab the yarn (2 loops on the hook). Now, insert the hook into the hairband from the top, grab the yarn and pull through the loops.
- Chain 1, cut the yarn leaving 10 cm (4”) for weaving in the ends, and pull the yarn through the last chain and then tighten it.
Step 3: Securing the Ends
Insert the hook into the first chain and repeat the joining steps to connect the second end of the yarn with the hairband, ensuring both ends of the first strand are securely attached.
Step 4: Second and Third Strands
Repeat the process with the second and third colors of yarn. Attach each new strand to the elastic hairband using the same joining technique described in Step 2. Weave in all ends securely.
Assembly
The assembly is integrated into the pattern instructions. Each strand is attached directly to the elastic hair band as you crochet. Ensure that the joining method is consistent across all three strands for a uniform look. The final step is to weave in the loose ends from the start and finish of each color.
Tips
- Double the Elastic: Take the elastic hair band and fold it in half. This makes it stronger and gives it a smaller, neater profile on the head.
- Adjust Length: Remember to adjust your chain count based on the 3” reduction rule if your head circumference differs from the example.
- Secure Joins: When attaching the yarn to the elastic, ensure you pull the loops tight enough to prevent gaps, but not so tight that you distort the chain.
FAQs
Can I use a different type of yarn?
Yes, but the pattern relies on the elasticity of the yarn (like Stylecraft Special) for the fit. If you use a non-elastic yarn, you will need to measure the head circumference precisely and add ease manually, as the yarn will not stretch to fit.
How do I make the headband tighter or looser?
To make it tighter, reduce the number of chains or use a thinner elastic band. To make it looser, increase the chain count or use a wider elastic band. Always aim for the headband to be 3” smaller than the actual head circumference.
Is this pattern suitable for children?
Absolutely. Because it uses only the chain stitch and is quick to make, it is a great project for kids learning to crochet. It can also be made in smaller sizes for children.
What if I don’t have an elastic hair band?
You can substitute the elastic hair band with a wide elastic ribbon or even a strip of fabric, provided it has enough stretch to fit over the head comfortably. The joining method will remain the same.
How do I wash the finished headband?
Hand wash in cold water and lay flat to dry. Avoid wringing the headband, as this can distort the chain stitches and the elastic band.
Pin This Crochet Pattern!